What Tool Has A Shape Designed To Follow The Natural Curve Of The Nail?
If you’ve ever given yourself a manicure or pedicure at home, you’ve likely used a tool specifically shaped to follow the natural curve of your fingernails and toenails. This indispensable nail care tool is called a nail file, and it’s a must-have for achieving smooth, even nails.
Nail files are available in a variety of shapes and abrasiveness levels to suit different nail care needs. In this comprehensive guide, we’ll explore the many nail file options, best practices for their use, and additional nail care tools and tips for flawless, beautiful nails.
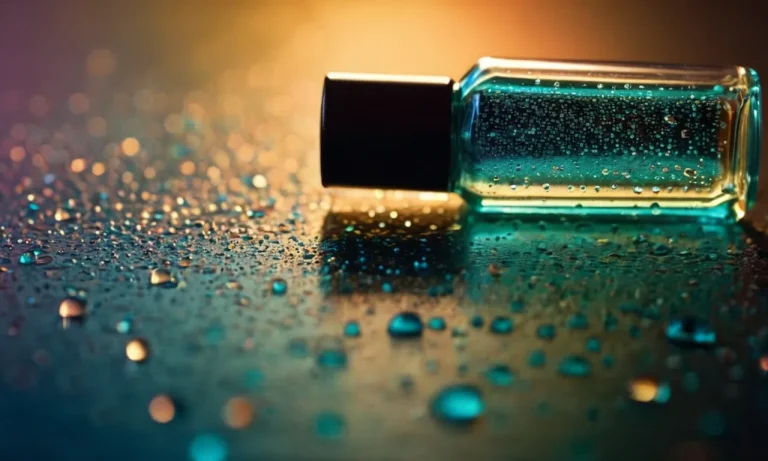
What Is a Nail File?
A nail file is a hand tool used for filing and shaping fingernails and toenails. It has an abrasive surface that allows you to smooth sharp edges, give shape to nails, and remove small amounts of excess nail material. Nail files are commonly made of emery boards, glass, ceramic, metal or crystal.
Basic Design and Use
The most common type of nail file is the emery board, which consists of a thin cardboard strip coated with emery particles. Emery is a naturally occurring mix of minerals like corundum and magnetite that acts as an abrasive.
The coarseness of the file depends on the size of the emery granules – the coarser the particles, the rougher the file surface. Most nail files have two grits – a rougher side for reducing length and shaping, and a finer side for smoothing edges.
To use a basic nail file, hold it underneath the nail at a 45 degree angle against the edge you wish to shape. Apply light pressure and make long, even strokes from one side of the nail to the other. Use the rougher grit to taper the edge and the finer grit to buff and shine.
Be careful not to file too aggressively as this can damage the nail bed. Always file in one direction to avoid weakening nails.
Abrasiveness Levels
Nail files come in levels of abrasiveness, from coarse to fine. Coarse files (150 grit and lower) quickly reduce length and thickness. Medium grits (180-240 grit) shape nails and smooth ridges. Fine files (280 grit and higher) refine shape and give nails a polished look.
For acrylic/gel nails, start with a coarse 100 grit file to take off excess material from application. Then use medium grits to shape. Finish with a fine grit buffing file for a smooth natural-looking nail.
For natural nails, stick to finer files of 240 grit and above. Coarse grits can damage thin natural nails. If reducing length, use a medium 180 grit file then smooth with a fine file.
Shapes and Styles
The most common nail file shape is rectangular, but there are other shapes as well:
- Square/rectangular files – The classic straight file in 3-4 inch size. Allows filing of entire nail edge in single strokes.
- Round/cylindrical files – For filing curved nail shapes like squoval, oval and almond. The curved shape matches the nail tip.
- Pointed files – For precision filing and getting into corners of nails.
- Flame files – An elongated pointed shape ideal for filing toenails.
- Sandwich files – Coarse and fine grits stacked for easy access. Convenient when you need to switch grits.
Some other popular styles are:
- Glass files – Made of tempered glass instead of emery. Smooth filing, easy to clean by rinsing with water.
- Metal nail files – Made from stainless steel. Can be reused after washing and last longer than emery boards.
- Electric nail files – Rotary tools that use bits to file nails via electric motor. Quick filing but requires caution.
How to Use a Nail File
Filing Technique
When using a nail file to shape or smooth your nails, it’s important to employ proper technique to avoid damaging the nails. Gently glide the file in one direction, starting from the outside corner of the nail towards the center. Apply light pressure and avoid sawing back and forth.
Work slowly and carefully, filing each nail into the desired shape. The nail file is designed to follow the curve of the nail, so allow it to do so as you file. Proper filing technique helps prevent peeled, cracked or rough edges.
Filing Tips for Toenails
Filing toenails requires some extra care compared to fingernails. Because the toenails are thicker, filing needs to be done gently yet effectively. Soak feet first to soften the nails before filing. Use a large, flat file with medium or coarse grit designed especially for thick toenails.
Sit comfortably and prop your foot up, filing across rather than downward on each nail. Apply aloe vera gel after filing to condition nails and skin. The American Podiatric Medical Association recommends always filing toenails straight across to prevent painful ingrown toenails.
When to Use a Nail File
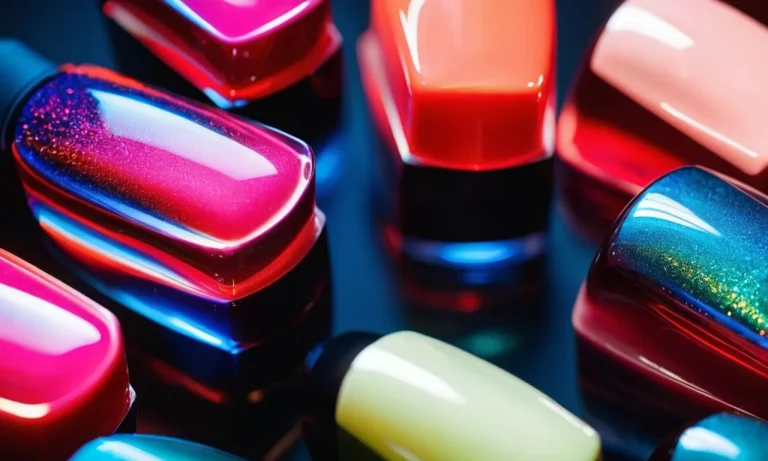
It’s best to file nails once a week to keep them well-groomed. File after showering when nails are still slightly soft and easy to shape. Use a file to smooth rough edges and snags immediately to prevent further tearing. Apply a clear strengthener polish if nails are splitting or peeling.
Before painting nails, always use a nail file to remove shine and help the polish adhere better. It’s also important to file off old chipped polish so it doesn’t lift the new coats of color. Salons recommend having a professional file your nails every 2 months for optimal health and appearance.
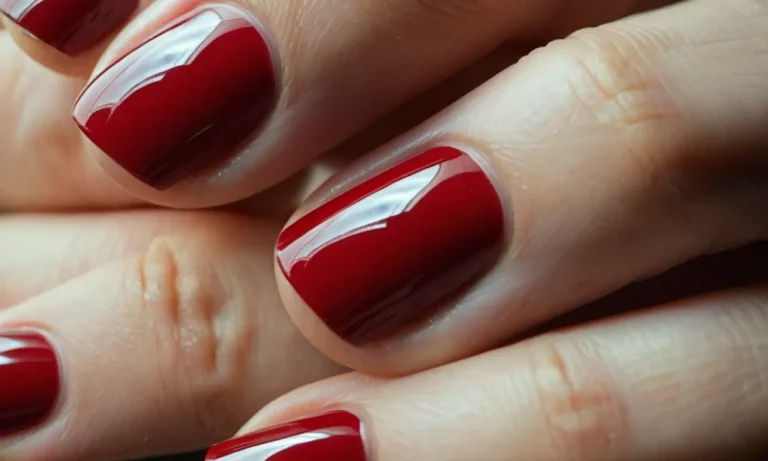
With the uniquely designed abrasive surface made to hug the natural nails, a nail file is the perfect tool for DIY nail care and maintenance. By using proper technique and filing nails regularly, you can achieve beautiful, strong nails painlessly.
Just a few minutes a week goes a long way in preventing hangnails, cracks and other nail problems. Follow these nail filing tips and you’ll be flashing flawless fingertips and toes.
Some key things to remember when using a nail file (👉always file in one direction, 👉avoid sawing back and forth, 👉apply aloe after filing toes) will keep your nails looking great! You’ll be ready for fun nail polish colors and pretty sandal weather in no time. 😊🎉
Other Nail Care Tools
Nail Clippers
Nail clippers are essential tools for maintaining healthy nails. The key part of nail clippers is the blade, which is usually made of stainless steel for durability and sharpness. Nail clippers come in a variety of sizes and shapes to suit different nail types and uses.
For example, large nail clippers work well for trimming thick toenails, while small nail clippers allow for precise fingernail cutting.
When using nail clippers, it’s important to avoid cutting the nails too short to prevent pain or infection. The appropriate place to cut the nails is just slightly longer than the tip of the finger. After clipping, use an emery board or nail file to smooth any rough edges.
Cuticle Remover
Removing excess cuticle skin is an important step in a manicure. Cuticle removers help dissolve and loosen the dead cuticle tissue to allow for easy, painless removal. Common ingredients in cuticle removers include salts, aloe vera, glycerin, and fruit acids such as malic acid from apples.
To use a cuticle remover, apply it around the base of the nail and cuticles. Let it sit for a minute or two to soften the skin, then gently push back the cuticles with an orangewood stick or towel. The softened cuticles can then be easily nipped off with cuticle nippers.
Be careful not to cut any living tissue. Finish by applying a nourishing cuticle oil.
Nail Buffers
Nail buffers, also called nail shiners, use abrasive surfaces to smooth, shape, and polish the nails. Buffers are often made of fabrics like chamois leather or foam filed with materials such as aluminum oxide, silicone carbide, or corundum crystal.
Using a nail buffer evens out ridges on nails and imparts a natural sheen.
When using a buffer, apply gentle pressure in single direction strokes. Buffing too roughly or back-and-forth can damage the nail. Use a medium grit buffer first to shape the nail, then switch to a fine grit buffer to refine the surface.
Finish with a buffing cream or high-shine buffer to achieve a glossy finish.
Nail Brushes
A nail brush is a versatile tool with soft, short bristles used in manicures and pedicures. A nail brush helps thoroughly clean underneath and around the nails and cuticles prior to clipping or cutting. The bristles reach crevices that fingers or towels may miss.
Nail brushes are also utilized after the nails are trimmed and shaped to brush away nail clippings and dust. Some nail brushes have a slightly abrasive texture on one side that assists with removing stubborn dirt and staining.
When selecting a nail brush, look for one with sturdy bristles that have a little flexibility to prevent scratching the nails.
Best Practices for Healthy Nails
Moisturize
Keeping nails hydrated is crucial for maintaining strength and shine. Massage a rich hand cream or cuticle oil into nails and cuticles at least twice per day. Ingredients like shea butter, vitamin E and jojoba oil boost moisture.
Another tip is to apply a thick layer of petroleum jelly over nails before bed and wear cotton gloves overnight. The emollient properties allow moisture to penetrate.
Protect Your Nails
Safeguarding nails from damage can promote growth and prevent breakage. Wear rubber gloves when washing dishes, cleaning or using harsh chemicals. Avoid prolonged exposure to water that can lead to dryness and brittleness. Also, use a base coat under nail polish to shield nails from staining.
Opt for a strengthening base with nutrients to condition nails. Furthermore, take care not to over-file nails which can thin them out over time.
Monitor Health Issues
Pay attention to nail changes as they can indicate underlying medical problems. For instance, spoon-shaped nails may signal iron deficiency anemia while white spots can appear due to trauma. Also, fungal infections manifest through thickening and discoloration.
Plus, dark streaks emerging under the nail can mean melanoma. It’s advisable to get checked by a doctor if you notice any abnormal nail signs that persist. Keeping nails healthy goes hand in hand with monitoring them for disease.
Conclusion
With the right nail files and proper filing techniques, you can easily achieve salon-worthy nails right at home. Look for high-quality nail files in shapes made to follow your nails’ natural curve. File gently in one direction, never sawing back and forth. Moisturize and protect your nails daily.
With practice, you’ll be filing your nails like a pro.
Nail files are indispensable tools for shaping and smoothing nails. We hope this guide gave you lots of useful details on selecting and using the best nail files for flawless, healthy nails.