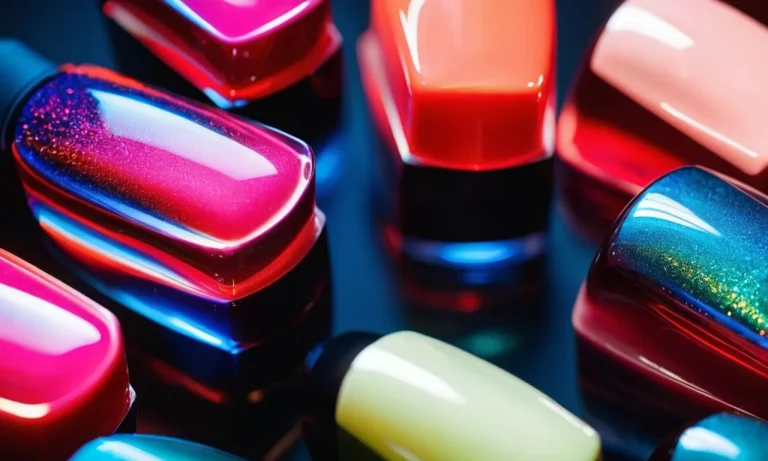
What Is Nail Builder Gel?
Nail builder gel has become an increasingly popular nail enhancement product in recent years. With its durable, natural look and relatively easy application process, it’s no wonder many people are reaching for the builder gel over traditional acrylics or hard gels.
If you’re short on time, here’s a quick answer to your question: Nail builder gel is a type of soak-off gel product used in nail enhancements to help create strong, natural-looking nails that can last up to 3 weeks without chipping or breaking.
In this comprehensive guide, we’ll explore everything you need to know about builder gel including what exactly it is, the differences between builder gel and other nail enhancement options, application and removal processes, and the pros and cons of using this unique product.
What is Builder Gel?
Definition of builder gel
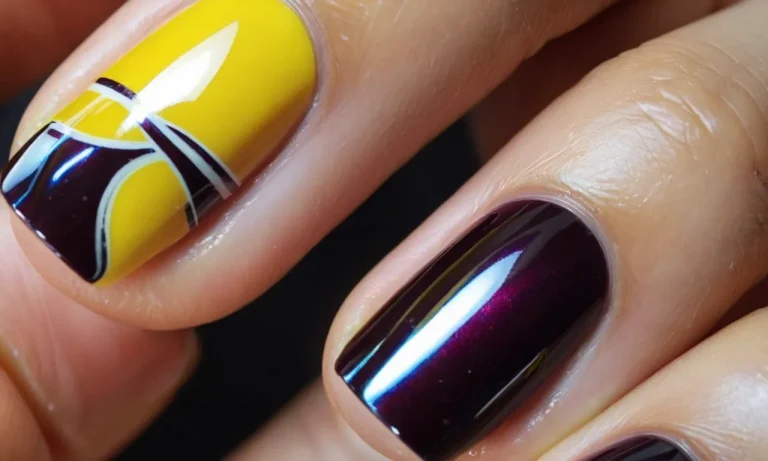
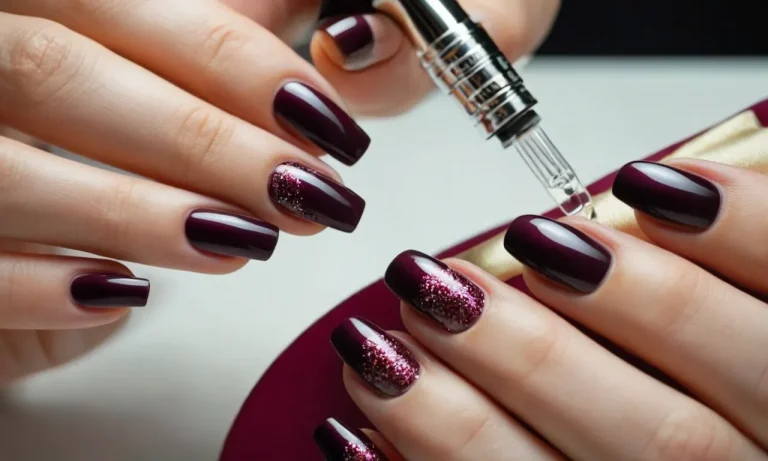
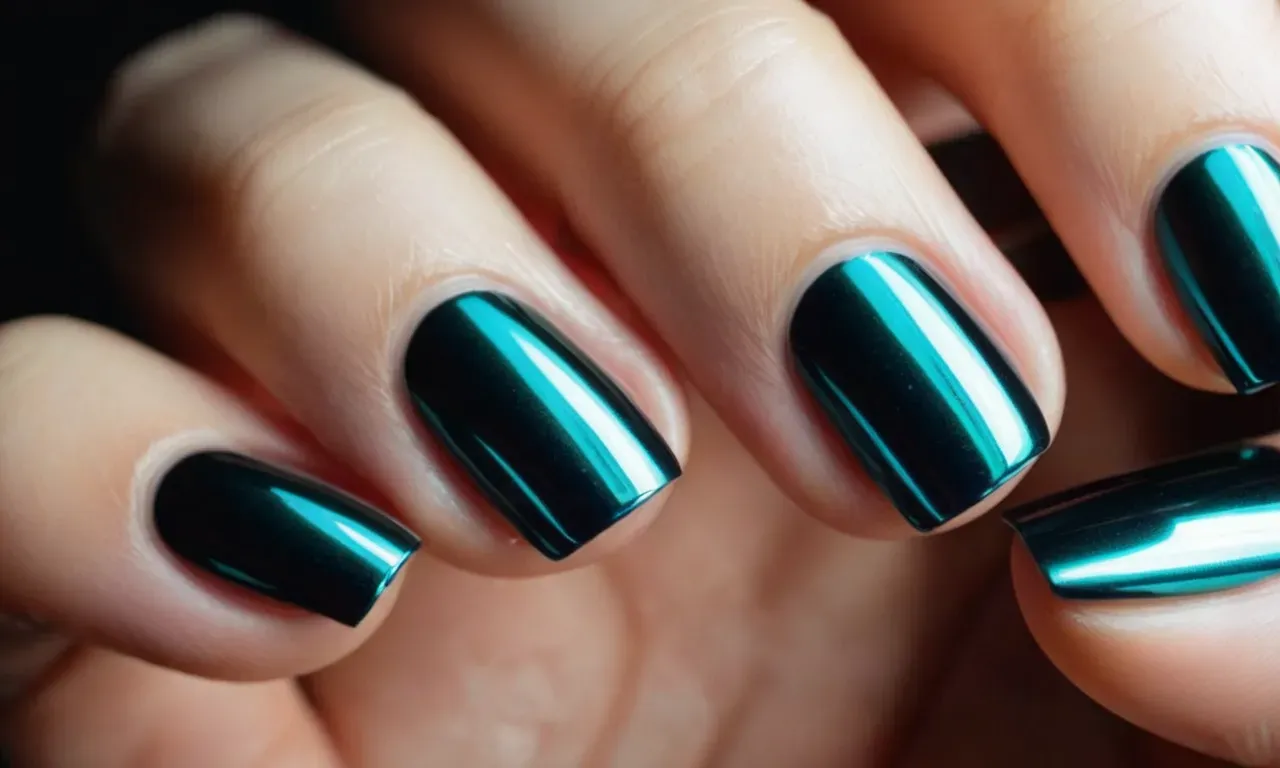
Builder gel is a revolutionary nail product that creates strong, durable nail extensions without using damaging acrylics or hard gels. It is a thick, rubbery gel that is applied and shaped directly onto the natural nail plate to build length and structure.
Builder gel is sometimes called a gel overlay, hard gel, or rubber base gel. It contains lower levels of monomer solvents than acrylics, so it is considered a healthier alternative. When properly applied and cared for, builder gel nail extensions can last 3-4 weeks on natural nails.
Key characteristics
Here are some of the standout qualities of builder gel that make it a top choice for professional nail techs and clients:
- Thick, doughy texture allows it to be sculpted and shaped
- Adheres very strongly to the natural nail
- Dries hard, but remains flexible like gels
- Does not damage or thin the natural nail plate
- Soak-off removal minimizes filing and damage
- Can be used to add length, structure, and reinforce weak nails
- Lasts 3-4 weeks on most clients
How it works
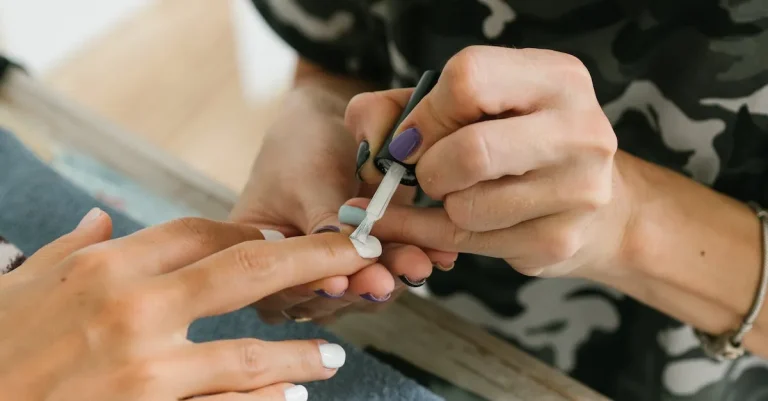
Builder gel nail extensions are applied through a multi-step process by professional nail technicians:
- The natural nail is prepared – filed to shape and cleaned thoroughly
- Nail tips are glued on for added length if desired
- Builder gel is applied over the nail in layers to build and extend it
- Each layer is cured under an LED or UV nail lamp until hardened
- The extension is shaped and refined using nail files and buffers
- A final layer of gel sealer is applied over the nail surface for shine and protection
Builder gel requires precise application and skill to sculpt beautiful, strong nail extensions. The finished results are light, durable extensions that look and feel like your real nails.
Builder Gel vs. Acrylics and Hard Gels
Differences from acrylic nails
Builder gel and acrylic nails have some key differences. Builder gel is applied on natural nails or nail tips and cured under UV or LED lamps to harden. Acrylic powder and liquid are mixed together to create an acrylic polymer that hardens on its own.
Builder gel tends to have more flexibility and soak-off capability for easy removal compared to rigid acrylics. Acrylics require heavy filing and can damage natural nails when removed. Builder gel also creates a thinner, lighter layer on nails.
Thick layers of acrylics can cause lifting or cracking over time.
Differences from hard gel/shellac
While builder gel and hard gel or shellac are both gel polishes cured under lamps, builder gel creates a thicker, rigid layer that extends the nail length. Hard gel and shellac are very thin and only coat nails, so they don’t add length or structure.
Builder gel adheres well to natural nails and nail tips for building extension while hard gel works best only on natural nails. Builder gel requires primer while most shellacs have base coats with bonding properties instead.
Lastly, builder gel soaks off in 10-20 minutes with acetone while shellac easily peels off in one piece after wrapping tips in foil.
Pros and cons comparison
| Type | Pros | Cons |
| Builder Gel |
|
|
| Acrylics |
|
|
| Hard Gel/Shellac |
|
|
As we can see, builder gel strikes a nice balance between durability and protectiveness for natural nails. While costlier, builder gel allows for customizable nail art and length with less risk of damage compared to acrylics.
For those wanting gel polish with no fuss but don’t need added length, hard gel or shellac does the trick marvelously.
Builder Gel Application Process
Supplies Needed
Applying builder gel requires having the right supplies on hand. Here is a list of the basic items you’ll need:
- Builder gel – This thick gel comes in various colors and finishes to match your preference.
- Nail primer – Primes the nail plate for better gel adhesion.
- Nail forms – Shaped fabric or plastic guides for sculpting the builder gel on the nails.
- Nail tips – Optional to use for lengthening the nails.
- Gel cleanser and brush cleaner – Removes residue and cleans brushes between uses.
- 100/180 grit nail file – Shapes and refines the builder gel.
- Buffer block – Smoothens the nail surface for a shiny finish.
- Cuticle pusher and nails clippers.
- LED or UV nail lamp – Cures the builder gel layers.
Step-By-Step Application Instructions
Applying builder gel may seem complicated but just follow these step-by-step instructions:
- Prep the natural nails – Push back and trim cuticles, shape free edge with nail clippers, lightly buff surface for adhesion.
- Apply nail dehydrator and primer – Let dry.
- Customize nail form and slide under nail plate for sculpting guide.
- Apply thin layer of clear builder gel at cuticle area and down the nail plate for strength and adhesion.
- Apply desired builder gel colour thinly over entire nail area with an even stroke pattern.
- Use the body and thickness of gel to extend and sculpture nail shape as desired. Make sure side walls are balanced.
- Repeat layering gel until desired extension length and thickness is achieved. Remember – thin layers cure best!
- Pinch and hold the forms to steady nail shape. Slide out forms carefully when gel feels firm enough.
- Refine and shape nail edges with 100/180 grit nail file. Be gentle!
- Finish by buffing the entire surface for a smooth, glossy shine.
- Apply cuticle oil around nails to condition skin and nourish nails.
Curing Under LED or UV Lamp
Proper curing is essential for durable, long-lasting builder gel nails. Follow these best practices:
- Cure each layer under the lamp for 30-60 seconds until no sticky layer remains.
- Do not wipe nails with alcohol after curing as this causes overexposure.
- Cure entire nail surface including side walls and free edges to prevent lifting or cracking.
- Invest in a high quality LED or UV lamp that emits the ideal wavelength for complete curing.
- Replace lamp bulbs yearly for the strongest output as bulbs lose intensity over time.
- Use the timer function on advanced lamps to prevent over or under-curing.
By following this comprehensive builder gel application and curing process, you can achieve stunning, salon-quality nails safely at home. With a steady hand and lots of practice, you’ll be a pro gel manicurist in no time!
Builder Gel Removal
Soaking off with acetone
The most common method for removing builder gel is soaking the nails in pure acetone. Acetone breaks down the bonds in the gel formula, allowing you to scrape off or wipe away the product more easily. Soak cotton balls or pads in acetone and place them on each nail, securing with foil.
Leave for 15-20 minutes before gently pushing back the cuticles and scraping off the gel with a wooden cuticle pusher or orangewood stick. Be patient during this process and do not force off pieces of gel that need more soaking time.
Filing off gel residue
After removing the bulk of the builder gel, there may still be a thin layer or some shine left behind on the natural nail. Use a 100/180 grit file to gently buff away this residue, being careful not to overfile. Filing removes the tacky layer and any minor gel leftovers.
Bits of gel can also get stuck near or underneath the cuticles and sides of the nails – carefully file these areas to remove all traces. Finish by wiping nails with acetone one last time.
Cutting down for infill instead of full removal
Doing an infill allows you to refresh the builder gel instead of removing and reapplying a whole new set. To infill, file off the top shiny layer of the existing gel using a 180 grit file. You only need to remove enough product to expose fresh, porous gel that new layers can bond to.
An infill is faster than a soak-off and helps preserve nail health by avoiding excessive removal/reapplication. Pay attention while filing – if you see greenish tint in the builder gel or very thin areas, it’s best to remove and start over instead of attempting an infill.
Pros and Cons of Builder Gel
Benefits of builder gel
Builder gel has become an increasingly popular choice for nail enhancements due to several key benefits:
- Durability – Builder gel is extremely hard and durable once cured under a LED or UV lamp. It can last 3-4 weeks on natural nails without chipping or cracking.
- Strength – The rigid finish helps reinforce and strengthen natural nails prone to peeling or breakage.
- Versatility – Builder gel can be used to create various nail shapes and lengths. It also adheres well to nail tip and form extensions.
- Enhanced appearance – The smooth, glossy finish gives nails a natural yet polished looking enhancement.
- Soak-off removal – While strong on the nails, builder gel can be soaked off without excessive filing or drilling.
- Healthier alternative – Builder gel generates less heat and UV exposure during the curing process than acrylics.
According to a survey conducted by NAILS Magazine in 2021, over 60% of nail techs reported an increase in builder gel services compared to the previous year.
Potential drawbacks to consider
While builder gel offers an array of benefits, there are some downsides to weigh when considering this service:
- Higher cost – On average, builder gel manicures start at $45 due to more time-intensive application and refinement by the nail technician.
- Harsh chemicals – Builder gels still utilize methacrylate monomers, which can cause irritation or allergic reaction in those with sensitive skin.
- Nail damage if improperly removed – Trying to peel off builder gel at home can strip layers of natural nail.
- Regular infills needed – Nail growth emerging along the cuticle area becomes obvious faster than with other enhancements.
| Builder Gel | Acrylics |
|---|---|
| Up to 4 week wear time | 2-3 week average wear time |
| Soaked off for removal | Filed off for removal |
| $45 average service cost | $30 average service cost |
Weighing the pros and cons of builder gel helps determine if these highly durable yet pricier nail enhancements are the right choice for your lifestyle and budget. Reputable salons like Nail Care HQ also offer builder gel removal and fill services to properly maintain the nails week-to-week.
Conclusion
Builder gel has become a go-to choice for many nail clients thanks to its durable yet natural-looking results. While the application process takes more time than a simple manicure, the long-lasting wear of builder gel makes it an appealing option for those wanting an enhanced, chip-free manicure.
Compared to acrylics, builder gel offers a more flexible, comfortable enhancement. And unlike hard gel which can be brittle, builder gel provides strength without the risk of cracking or breaking. Of course, drawbacks like greater expense and lengthy removal process should be considered as well.
If you’re interested in trying builder gel nails, be sure to schedule an appointment with a skilled nail technician. With proper application and care, builder gel can help you achieve the beautiful, strong nails you’ve been dreaming of.