What Is Magnetic Nail Polish? A Detailed Guide
Magnetic nail polish is one of the hottest nail art trends. If you’re wondering what exactly magnetic nail polish is and how it works, you’ve come to the right place.
In short, magnetic nail polish contains iron powder that allows you to create fun designs on your nails using magnets.
In this comprehensive guide, we’ll cover everything you need to know about magnetic nail polish including how it works, what you need to use it, tips for application, removal, and more.
What Exactly is Magnetic Nail Polish?
Magnetic nail polish is one of the coolest nail art innovations in recent years. This amazing product allows you to create incredible designs on your nails quickly and easily.
Contains iron powder that reacts to magnets
The magic of magnetic nail polish lies in its formula. It contains iron powder, which allows it to react when near a magnet. When you hold the magnet over your nail after applying the polish, the iron particles in the polish move and align in the direction of the magnetic field.
This creates visible ridges, waves, cracks, or other patterns on your nails. It’s like magic!
Two bottles – Base coat and magnetized color polish
Magnetic nail polish systems actually contain two bottles of polish:
- A magnetized nail polish containing the iron powder
- A base coat polish you apply first
You’ll get the best magnetic effects by first applying the base coat, and then the magnetized polish. The base coat helps the magnetic polish glide on smoothly and adhere properly.
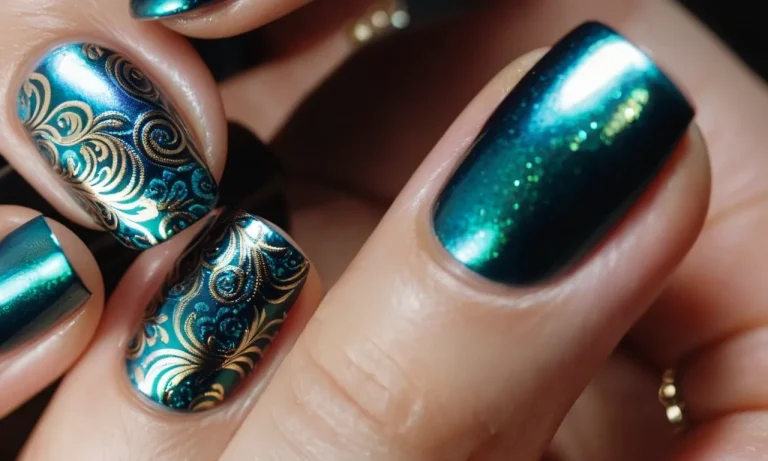
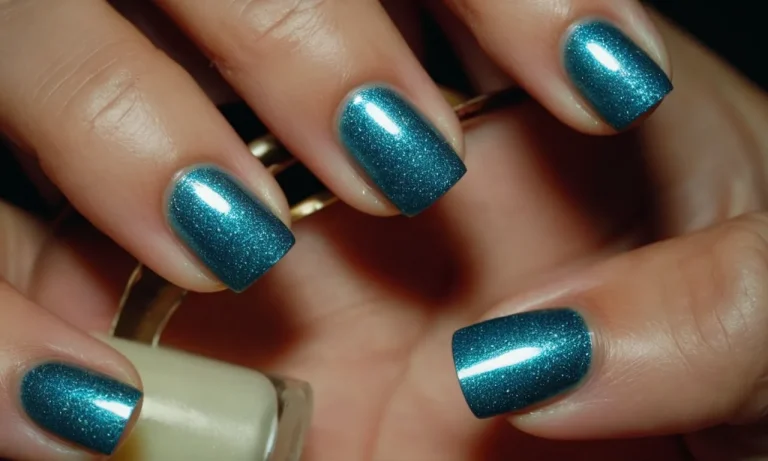
Creates fun designs like waves, cracks, zigzags on nails
The cool thing about magnetic nail polish is that you can create so many different looks by moving the magnet in different ways over your nails after painting. You can make subtle wave designs, bold geometric zigzags, interesting crackle effects, and more. The possibilities are endless!
Some of the fun and easy magnetic nail art designs you can achieve include:
- Waves: Move the magnet slowly over your nail from side to side
- Zigzags: Quickly move the magnet back and forth over your nail
- Cracked glass effect: Hold the magnet still over your nail for a few seconds, then move it around
- Kitty claws: Hold the magnet at an angle over your nail to get a cool slanted ridge effect
You can create different designs on each nail for a funky mixed pattern manicure. Or make matching designs on all nails for a coordinated look. Either way, it’s an easy way to get creative and artistic with your nails!
Magnetic nail polish is taking the nail art world by storm. With just a few strokes of the magnet after painting, anyone can easily achieve super stylish nail designs. It’s like having your own mini nail art studio right at home! Try out this fun polish – your nails will never look boring again.
How Does Magnetic Nail Polish Work?
Magnetic nail polish relies on the power of magnetism to create pretty designs on your nails. Here’s a step-by-step explanation of how it works:
Base Coat Contains Iron Powder
The base coat of magnetic nail polish contains tiny particles of iron powder. These iron particles are sprinkled throughout the entire base coat layer underneath the colored polish.
Magnetized Polish Aligns Iron Particles When Magnet is Held Over Wet Polish
After applying the magnetized colored polish on top of the base coat, you hold a special nail polish magnet (usually a round bar magnet) over the still-wet polish. This brings the magnetic field close to the iron particles in the base coat layer.
The magnetic poles attract and pull the iron powder particles, aligning them along the magnetic field lines. So instead of random iron particles, you now have neat lines of particles running along the magnetic field created by the magnet you’re holding nearby.
Particles Stay Aligned When Polish Dries, Creating Pretty Designs
Finally, while continuing to hold the magnet in place, you simply wait for the nail polish to dry. As it hardens, the iron particles stay locked along the magnetic lines, suspended within the clear top layers of polish. When you remove the magnet, a lovely pattern remains!
Depending on the magnet’s shape, you can create different effects like stripes, waves, peaks and valleys. The possibilities are endless! You can then seal it with a protecting topcoat to lock in the magnetic particle design.
What You Need to Use Magnetic Nail Polish
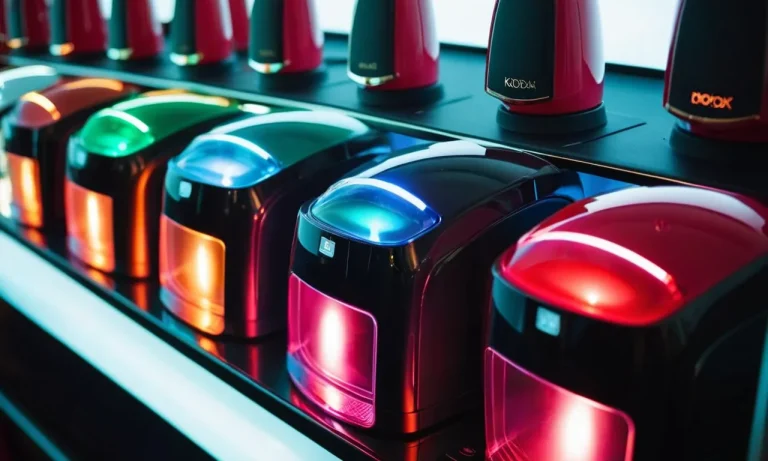
A magnetic nail polish kit is essential for achieving the unique magnetic nail art look. Here are the key items you’ll need:
Magnetic nail polish kit with base and magnetized color polish
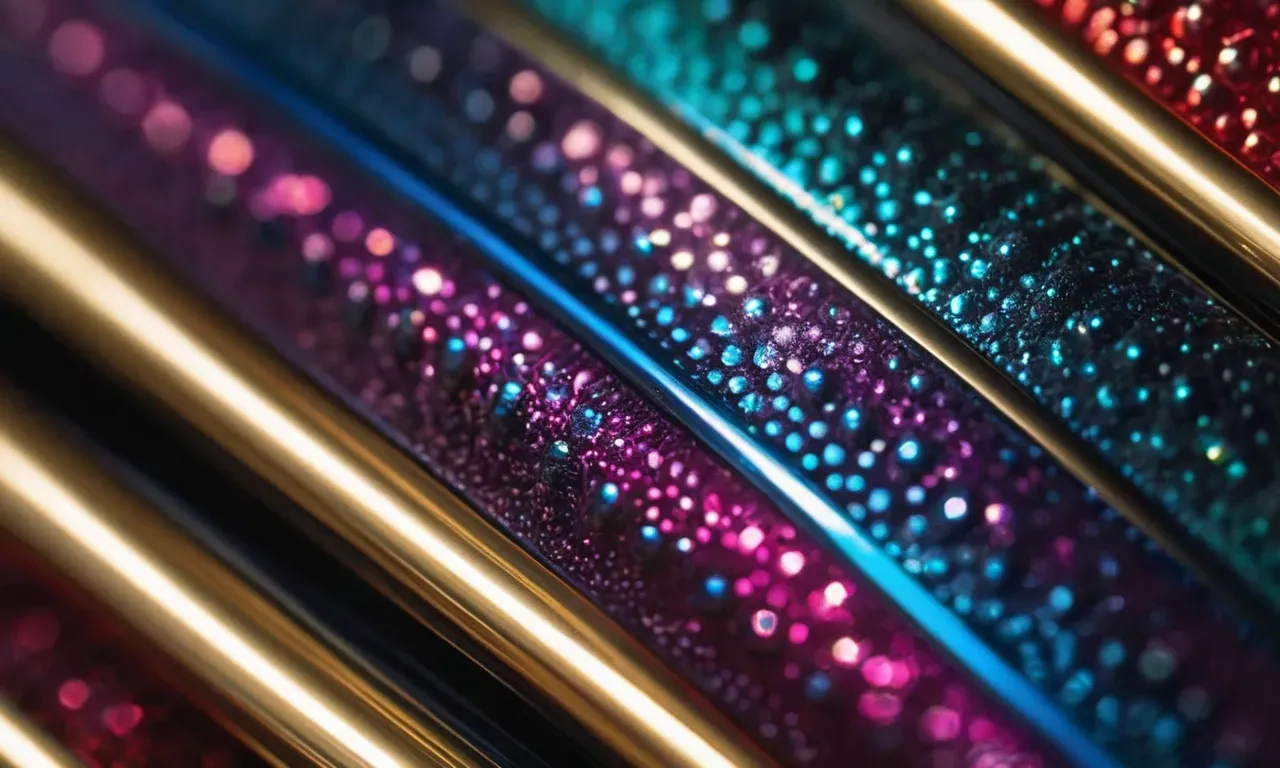
This specialty nail polish kit contains two bottles – a base coat that is infused with iron powder or ferromagnetic particles, and a magnetized nail polish in a bold color like black, silver, gold or purple.
The magnetized polish contains the same particles that allow it to move when a magnet is nearby. Popular brands include UberChic Beauty, Nails Inc, China Glaze and Dollish Polish.
Nail polish remover
You’ll need 100% acetone nail polish remover to take off the magnetic polish. Regular remover may not break down the thick formula easily.
Q-tips
Use q-tips dipped in remover to correct any polish mistakes and for cleanup around the edges.
Magnets – bar or circle shapes work best
You’ll need a strong magnet to create the magnetic effect. Bar and circle magnet shapes give the most precise, dramatic designs.
Optional – latex barrier, rhinestones, striping tape
A latex barrier around the skin can help create sharp lines. Rhinestones and striping tape add extra flair when placed in strategic spots over the magnetic polish.
The key to magnetic nails is the unique formulation of the polishes. The iron particles allow the polish to move when exposed to the magnet’s force. This lets you create concentrated designs, spikes and cat-eyes that shift and shimmer as you move your hands!
With the right supplies and some practice, you can master this trendy nail art technique. The magnetically aligned polish offers effects you can’t get using brushes alone. Flaunt your new skills with beautiful magnetic nails!
Tips for Applying Magnetic Nail Polish
Magnetic nail polish is such a fun and innovative way to get creative with your manicure! The mesmerizing nail art designs you can create are endless. But like any new nail product, there is a bit of a learning curve. Follow these pro tips to help you master the magnetic effect.
Apply base coat first and let dry
It’s crucial that you start with a base coat. This helps the magnetized polish adhere properly to the nail. Allow the base coat to dry completely before moving on. Rushing this step can cause bubbling or prevent the polish from spreading evenly.
Apply 1-2 coats of magnetized color polish
Apply your chosen magnetic nail polish color. The application is similar to regular polish. Be sure to use thin, even coats and let each layer dry between applications. Using 1-2 coats will give you vibrant color intensity and make the magnetic particles easier to manipulate.
Hold magnet above nail while wet for 10-15 seconds
Here’s where the magic happens! Once the polish is still wet, gently hover the magnetic tool 1-2 inches above the nail. Hold it there for 10-15 seconds, being careful not to let it touch the nail. Slowly move the magnet around to shift the iron powder particles and create gorgeous 3D designs.
Repeat on each nail, move magnet around for unique designs
The fun part is that each nail can have a different look! Move the magnet in different directions over each one. You can go for bold stripes, subtle waves, or abstract shapes. Get creative and don’t be afraid to experiment until you get a design you love.
Apply top coat to smooth and seal in design
The last step is to lock in your magnetic nail art with a glossy top coat. This helps smooth out any ridges and protects the design from chipping or fading. Allow time for the top coat to dry thoroughly before using your hands.
Now go rock your new magnetic mani! Just follow these handy tips each time for salon-worthy results. With practice, you’ll be a pro at creating and switching up mesmerizing nail designs anytime you feel like it. Have fun unleashing your inner artist!
Removing Magnetic Nail Polish
Magnetic nail polish has become a popular nail art trend in recent years. The unique formula contains iron powder, allowing the polish to move when exposed to a magnet. This creates fun designs and patterns.
However, removing magnetic polishes requires some extra care to avoid stains and damage to the nails. Here is a detailed guide on how to safely remove magnetic nail polish.
Use nail polish remover with acetone
When removing any magnetic nail polish, it’s best to use an acetone-based nail polish remover. The acetone effectively breaks down the iron particles and pigments in magnetic polishes. Using a non-acetone remover may leave behind staining and residue.
Apply the acetone-based remover liberally on each nail, ensuring complete coverage. Let it soak for 1-2 minutes. This allows the acetone time to fully penetrate the polish and break it down. Avoid rubbing or scrubbing at this stage.
May need to scrub gently with q-tip
After letting the remover soak, you can start gently scrubbing away the magnetic polish. Use a cotton ball or q-tip dipped in more nail polish remover. Apply light, but firm pressure as you swipe the cotton over each nail. The polish should start coming off.
Pay close attention to the cuticle area and sides of the nails. Use a cuticle stick or orangewood stick to get into the edges and clean off all traces of polish.
You may need to apply remover and scrub multiple times to remove every last bit. The iron particles can be stubborn! Be patient and take your time with this step.
Iron powder residue can cause staining – buff nails after removing
Once the polish appears gone, it’s time to tackle staining. Even with careful remover, magnetic polish can leave behind a residue or stain on the nails. This is caused by the iron powder in the formula.
Use a soft buffer block to gently smooth over the nail surface. This helps buff away any clinging residue or discoloration. Buffing lightly also eliminates scratches and returns the nails to a pristine state.
An alternative is to scrub the nails with a paste made of baking soda and lemon juice. The citric acid tackles stains, while the baking soda buffs. Rinse and apply cuticle oil when done.
Be very diligent about removing all traces of magnetic polish. Leaving behind iron powder can lead to stubborn stains on the nails or cuticles. It may take time, patience and elbow grease, but properly removing magnetic manicures allows your nails to get back to healthy!
Conclusion
Magnetic nail polish is an easy and fun way to create mesmerizing nail art designs with minimal effort. Now that you know what magnetic polish is and how to use it properly, you can get creative with magnets and make your own unique manicures!
Just remember to thoroughly remove all traces of the iron powder when taking it off to prevent staining. Have fun unleashing your inner artist with magnetic nail polish!