What Is A Nail Overlay?
If you’ve ever gotten your nails done at a salon, you may have heard your nail technician mention something called a “nail overlay.” But what exactly is a nail overlay and how is it different from other nail services like a regular manicure or acrylics?
If you’re short on time, here’s a quick answer to your question: A nail overlay is when a thin layer of material, usually made of silk, fiberglass, or acrylic, is applied over the natural nail for reinforcement and enhancement.
In this comprehensive guide, we’ll cover everything you need to know about nail overlays including what they’re made of, the different types, pros and cons, and more.
What is a Nail Overlay?
A nail overlay is a thin layer of material that is applied on top of the natural nail to extend its length or alter its appearance. Nail overlays provide a protective coating over the natural nail and can be made from various materials like acrylic, gel, silk, or fiberglass.
Nail overlay definition
Nail overlays are a type of artificial nail enhancement that consists of an extra layer bonded on top of the natural nail plate using adhesive. They create a smooth canvas over the natural nail bed to help protect, strengthen, and lengthen nails.
Some key things to know about nail overlays:
- They are applied over the natural nail – no filing or trimming of the nail bed is required.
- Can be made from silk, fiberglass, acrylic, gel, or a blend of materials.
- Provides protection and reinforcement to weak, thin or damaged nails.
- Creates an extension for short nails, adding length and thickness.
Nail overlays differ from artificial tips or nail extensions because they fuse directly to the natural nail plate rather than being anchored with forms or glued on tips.
How it differs from other nail services
Nail overlays provide more natural-looking and flexible nail enhancements compared to acrylics or gel polish. Here’s how they differ from other popular nail services:
| Nail Service | Process | Appearance | Maintenance |
|---|---|---|---|
| Acrylics | Applied over tips and forms. Thick and rigid. Requires filing real nail. | Thick, durable. Opaque pink/white color. | Infills every 2-3 weeks. |
| Gel Manicure | UV gel polish only. No extensions added. | Glossy finish. Thin overlay. | Reapply every 2-3 weeks. |
| Dip Powder | Powder and glue layers. Surface filing needed. | Slightly textured. Durable. | Fill every 2-3 weeks. |
| Nail Overlays | Thin overlay over natural nail. Little to no filing. | Natural looking. Flexible. | Fill needed every 3-4 weeks. |
As you can see, nail overlays provide a happy medium between the reinforcement of acrylics and gels with the natural look of a regular manicure. The overlay protects the nail bed while appearing almost seamless on the natural nail.
Types of Nail Overlays
Silk
Silk nail overlays are a popular and classic choice for enhancing natural nails. They provide a subtle, natural look while also protecting the nails underneath. Silk overlays are made from a thin, woven silk fabric that is bonded to the natural nail with UV gel or acrylic resin.
The silk fabric is flexible and lightweight, allowing the natural nail to grow out with the overlay attached. Silk overlays can last up to 4 weeks before requiring a fill or replacement. They are a great option for those who want an overlay with a seamless, natural finish.
Fiberglass
Fiberglass nail overlays provide strength and protection with their fiber-reinforced material. Tiny glass fibers are saturated in an acrylic resin to create a stiff, durable overlay that is bonded to the natural nail. Fiberglass overlays are very thin yet incredibly tough.
This makes them an optimal choice for those who are rough on their hands or want their overlays to last a long time – up to 4 weeks between fills. The fiberglass fabric gives the overlays a distinctive, rippled appearance on the nail that some find quite stylish.
Overall, fiberglass overlays are versatile and strong overlays great for active lifestyles.
Acrylic
Acrylic nail overlays are a common, affordable option made by applying a liquid acrylic resin and polymer powder to the natural nails and curing it under UV light. This creates a plastic-like overlay that can be shaped and polished as desired.
Acrylic overlays are rigid, making them quite durable and long-lasting for 2-4 weeks on average. The thickness of the overlay can be customized, allowing for a range of looks from a subtle enhancement to bold length and shape.
While acrylics have a reputation for being damaging, modern formulation and proper application help protect the natural nails underneath. Overall, acrylic overlays offer versatility and durability at a low cost.
Gel
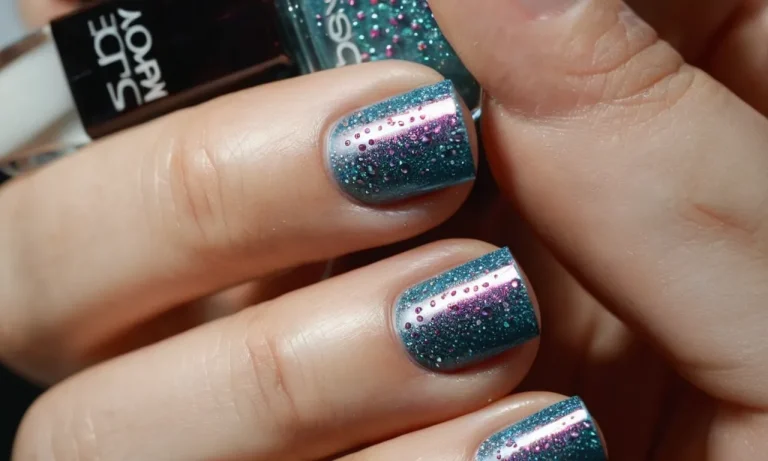
Gel nail overlays provide a chip-resistant, glossy finish and have gained popularity in recent years. The overlays are created by brushing gel polish onto the natural nail and curing it under UV or LED light. This bonds the gel firmly to the nail.
Gel overlays are flexible and thin, making them comfortable to wear and easy to remove. They come in endless color options for fashionable nails. While gel overlays don’t last as long as acrylics or fiberglass, they can go up to 2 weeks between fills and are gentler on natural nails.
For those seeking an affordable overlay with a flawless look, gel polishes are a great modern option.
Pros and Cons of Nail Overlays
Pros
Nail overlays offer several benefits that make them a popular nail enhancement option (1):
- They add length and thickness to natural nails, providing the appearance of long, strong nails.
- Overlays are thin and light, allowing natural nails to grow out underneath without damage.
- They are an affordable and accessible option compared to other enhancements like acrylics.
- Application and removal is quick and easy without harsh drilling or filing.
- Nail overlays allow nails to breathe and don’t obstruct oxygen like acrylics, promoting nail health.
Additionally, nail overlays come in various styles and designs like French tips, glitter, prints, and more to suit personal taste.
Cons
While overlays have clear advantages, there are some potential drawbacks (2):
- Overlays don’t last as long as acrylics, requiring replacement every 1-2 weeks.
- The adhesive can damage natural nails if overlays are removed incorrectly.
- Bubbles may appear underneath overlays over time as nails grow out.
- Some people are allergic to overlay adhesives, causing skin irritation.
- Overlays can pop off occasionally, requiring emergency repairs.
Overall, nail overlays add length and thickness with fun designs for an affordable price. While they require more maintenance than acrylics, overlays are less damaging long-term. Consulting a nail technician can help determine if overlays are the right option.
Nail Overlay Process Step-By-Step
Preparation
The first step in applying a nail overlay is proper preparation of the natural nail. Start by shaping and filing the natural nails into the desired length and shape. Use a nail file to gently buff away any shine from the nail plate. This helps the overlay product adhere better.
Next, use a dehydrator and primer to thoroughly cleanse and dehydrate the nails. This removes any oil and debris while creating a tacky surface for the overlay to stick to. Gently push back and trim any cuticles to create a clean canvas.
It’s important not to damage the cuticles, as this can allow bacteria to enter and lead to infection. Select your overlay product and have it ready to use. Common options include acrylic, gel, polygel, dip powder, or silk/fiber wraps.
Have all necessary tools like brushes, forms, tips, and lamps nearby.
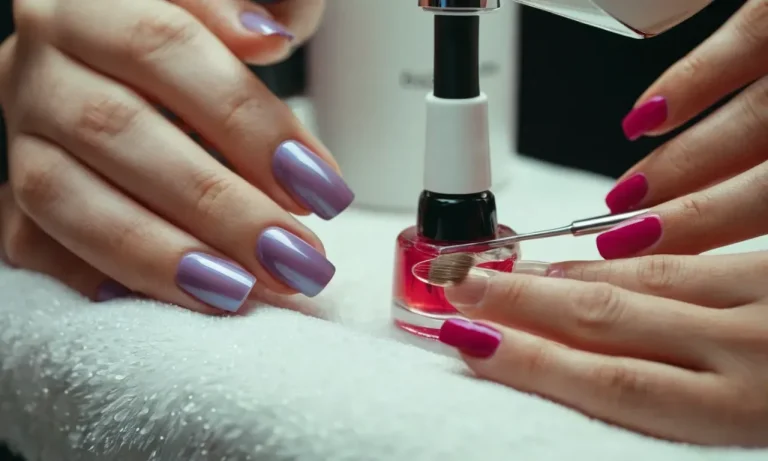
Application
Once the nails are prepped, you can begin applying the overlay product. For acrylic or polygel overlays, apply nail forms to each finger and brush on the product to extend the free edge and cover the entire nail.
Make sure the product covers from cuticle to tip, keeping it thin near the cuticle and gradually thickening as you work towards the tip. This helps prevent lifting or cracking. If using nail tips instead of forms, fit each tip to the free edge and apply acrylic over the entire nail to blend tip and natural nail.
With gel overlays, brush on layers of gel polish or builder gel, curing in between coats. 2-3 coats is usually sufficient. For dip powder, dip the nail into the powder, then into the activator liquid repeatedly to build the overlay. File and shape the overlay as needed once application is complete.
Avoid over-filing the overlay or natural nails, as this can weaken them.
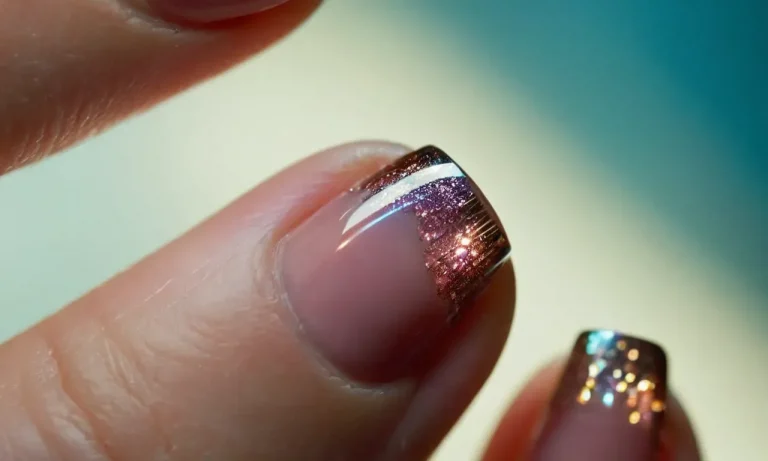
Finishing Touches
Once the overlay is shaped, buff the surface gently to smooth everything out. Apply a hydrating cuticle oil around the nail edges to nourish the skin and prevent lifting. Use a nail cleanser or wipe to remove any dust and oils from the nails.
Apply your choice of nail polish or art on top to finish the manicure. An LED or UV top coat helps seal everything in and adds long-lasting shine. It’s recommended to avoid heat, water, and chemicals for at least 24 hours after application to allow proper curing and adhesion.
Proper maintenance and avoiding picking or peeling extends the wear. Fill in any grown out areas as needed every 2-3 weeks. Overall, nail overlays allow you to lengthen, strengthen, and beautify natural nails for a flawless look and feel.
Nail Overlay Maintenance Tips
Keep nails short
Keeping natural nails trimmed short under the overlay allows better adhesion and growth. Longer free edges can catch on things, causing the overlay to lift or peel off. Experts recommend filing nails down every 5-7 days. Use a crystal nail file gently in one direction to prevent breakage.
Clip off any hanging overlay bits with sterile toenail clippers to reduce chances of infection under the nail.
Use cuticle oil
Rubbing cuticle oil around the overlay and nail can improve health. Jojoba, vitamin E, and coconut oils hydrate the nail bed and surrounding skin. This keeps the cuticles flexible and strong rather than allowing cracking and loosening around the free edge.
Massage a few drops into the skin and overlay’s underside morning and night. Just avoid getting oils on the nail plate surface to prevent sliding during fills.
Avoid water exposure
Constant water exposure can weaken overlay bonds, causing lifting near the cuticles and sides. When washing hands or dishes, wear rubber gloves to protect the tips. Or apply an acrylic nail paste barrier like Mia Secret Surface Barrier before submerging nails.
Limit shower times as well, and avoid swimming pools or hot tubs which can warp overlays with prolonged moisture.
Be gentle
Since nail overlays are thin synthetics bonded over natural nails, rough activity can lead to cracks or losing whole sections. Avoid using hands aggressively or catching overlays on materials when cleaning, lifting kids or pets, grabbing items carelessly, etc.
Also remove rings and bracelets temporarily after new application for 1-2 weeks until completely hardened.
Get fills regularly
As natural nails grow out, the gap between cuticle and overlay widens. Most technicians recommend fills every 2-3 weeks to prevent lifting or bacterial buildup in these gaps. Fills only replace the grown out section rather than removing whole overlays.
With regular maintenance, overlays can safely enhance nails 6 months or longer before fully replacing them. Going longer without fills risks moisture pockets loosening whole overlays unexpectedly.
| Overlay Fill Schedule | Cost per Session |
| Every 2 weeks | $15-$30 |
| Every 3 weeks | $30-$45 |
| Every 4+ weeks | $45-$60+ (full replacement may be needed) |
Conclusion
Nail overlays can be a great option if you want reinforced, natural-looking nails without the damage of acrylics. While not as strong as acrylics, they provide more strength than a natural nail and allow your real nail to grow out underneath.
With proper application and care, nail overlays can last 2-3 weeks for a beautiful, long-lasting manicure.
We hope this guide gave you a comprehensive overview of everything you need to know about nail overlays. Now you can walk into your next salon service with confidence and get the perfect overlay manicure.