Choosing The Right Grit Nail File For Removing Excess Artificial Nails
Having beautiful looking nails with artificial nail enhancements can make you feel pampered and polished. However, keeping up artificial nails requires maintenance, and sometimes you need to remove excess product or prep the natural nail for a fill or new set.
Using the proper grit nail file is key to safely removing artificial product without damaging your natural nails.
If you’re short on time, here’s a quick answer: a medium grit (150-180 grit) nail file is ideal for safely removing excess artificial nail product without being too abrasive on natural nails. Look for crystal or ceramic nail files instead of metal nail files.
In this comprehensive guide, we’ll cover everything you need to know about choosing the right grit nail file for artificial nail removal and maintenance. You’ll learn about the different nail file grits, how to select the proper grit for each task, the advantages of crystal nail files, and tips for safe filing technique.
Understanding Nail File Grits
Grit refers to the roughness and coarseness of the nail file surface
When shopping for nail files, you’ll notice numbers like 100/180 indicating the grit or coarseness of the file. Just like sandpaper, the grit refers to how rough or abrasive the file’s surface is. A lower grit number means the file has a rougher texture and is more abrasive.
Meanwhile, a higher grit number indicates a smoother, finer finish.
Files range from 100/extra-fine grit to 180/medium grit
Nail files come in a range of grits from extra coarse to extra fine:
- 100/120 grit – Extra coarse abrasive for shaping and shortening nails
- 150 grit – Coarse for shaping and smoothing edges
- 180 grit – Medium grit for general filing and shaping
- 240 grit – Fine grit for smoothing and finishing
- 360 grit – Extra fine for final buffing and shine
Lower grit= more abrasive and removes more product
Files with a lower grit number like 100 or 150 are more abrasive. The coarse surface has a gripping texture that efficiently sands down and shortens the nails. A lower grit file quickly removes layers of product and is ideal for major shaping or length removal.
Higher grit= finer finish and less abrasive
Higher grit files like 240 or 360 are less abrasive. The smoother surface lightly buffs and polishes rather than grinding. A higher grit file provides a more delicate finish and won’t take off as much length. Use these files for smoothing edges and final shine.
For removing excess nail product, stick to a lower 100/150 grit file. The coarse abrasive surface will quickly break down and thin out the product for easy removal. Then smooth and finish with a higher 240/360 grit file.
Choosing the right grit nail file is important for safely removing artificial nails without damaging your natural nails. Consult your manicurist if you’re unsure which grits are best for your specific nail service removal needs.
Choosing the Right Grit for Artificial Nail Removal
When it comes time to remove your artificial nails, having the proper grit nail file is crucial to safely taking off acrylics or gels without damaging your natural nails underneath. Using files that are too coarse can lead to thinning and peeling.
On the flip side, files that are too fine will take much longer to breakdown the artificial layers. By selecting a crystal or ceramic nail file with a grit between 100-180, you’ll efficiently remove the product while keeping nails healthy.
100-180 grit files are best for removal to avoid damage
Nail care experts recommend using a medium grit file ranging from 100-180 grit for removing acrylic nails or stubborn gel polish. Emery boards with 80 grit or lower are too abrasive for natural nails, quickly scraping off layers of keratin which can cause cracks and splits.
Similarly, using a file with over 240 grit takes extensive rubbing to breakdown products, risking overfiling natural nails until they become paper thin and fragile.
The sweet spot is the 100 to 180 range – these files gently yet swiftly slough off artificial layers without thinning out the nail plate. A study in the Journal of Cosmetic Dermatology found that using a 150 grit file caused 50% less reduction in nail thickness compared to a coarse 80 grit file after removal of acrylic nails.
For safe, simple removal, look for crystal nail files within the 100 to 180 grit range.
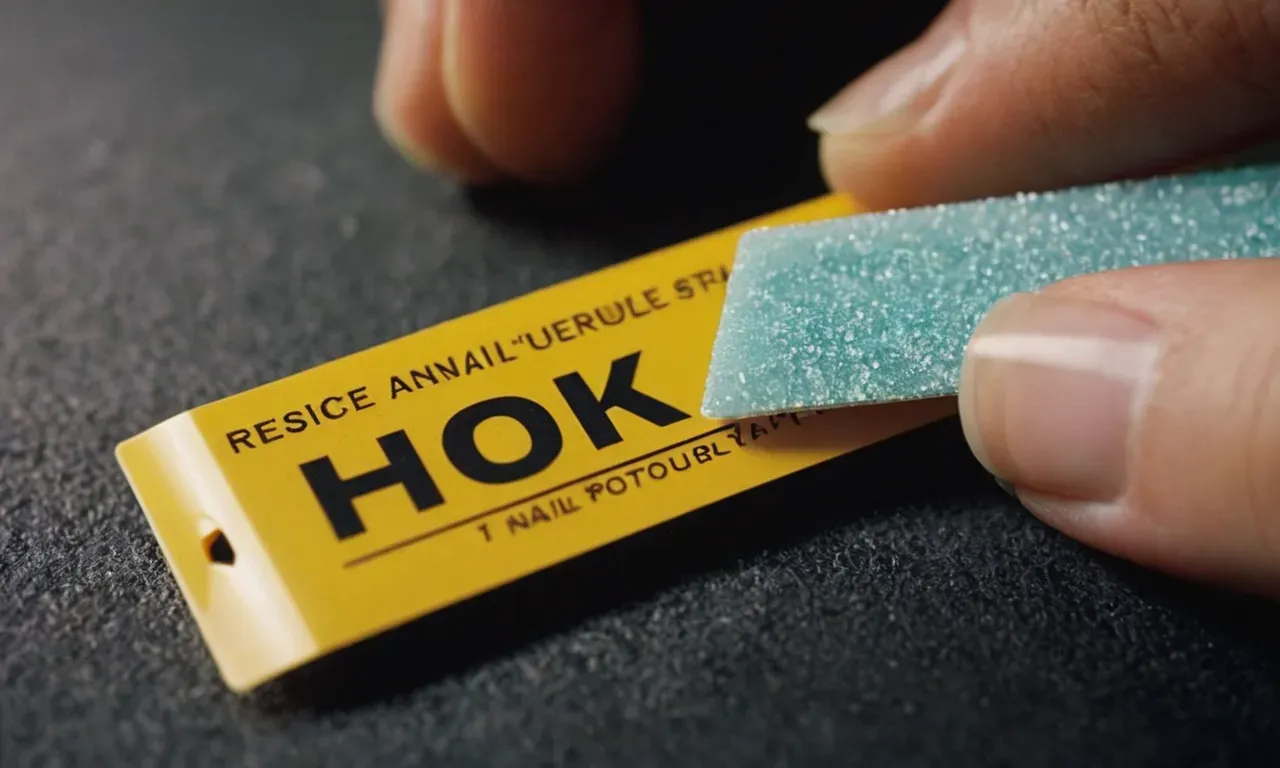
150-180 grit removes product smoothly without being too coarse
While 100 grit nails files fall at the lower end of the recommended range, even finer options between 150-180 grit are ideal for easy, non-damaging removal. Using a 150 or 180 grit nail file prevents you from having to apply excess pressure and friction when swiping off enhancements.
These moderately abrasive files gently breakdown the acrylic layers smoothly without rapidly thinning out natural nails in the process.
The Nails Magazine also suggests starting removal with a 150 grit file if product layers are thin, then using 100 grit only on dense areas. For gel and dip powders, a 180 grit file is perfect for dissolving the polish without scraping nails.
Moving in gentle motions with moderate 150-180 grit minimizes the risk of natural nail damage underneath.
Do not use metal nail files as they can damage the nail plate
While inexpensive and easy to find, traditional metal nail files are too harsh for removing artificial nails or gels. The rigid abrasive surface rapidly breaks down enhancement layers, often taking natural keratin layers along with it.
Using a metal file leads to cracking, peeling, and excessive thinness after removal.
| File Type | Average Grit | Risk Level |
|---|---|---|
| Metal nail file | 150-180 grit | High risk of damage |
| Crystal/ceramic file | 100-180 grit | Low risk of damage |
According to dermatology research, using a metal file for artificial nail removal causes 2x more nail plate thinning compared to safer crystal nail files. Stick to gentler ceramic, glass, or crystal nail files to avoid harming your natural nails during the removal process.
Look for crystal or ceramic nail files for safest removal
Crystal and ceramic nail files with a grit of 100-180 are the gold standard for secure artificial nail removal. Rather than harsh metal particles, these files use finely ground glass, aluminum oxide, or silicon carbide for a smooth filing surface that is firm yet forgiving on nails.
In a study published in the Journal of Cosmetics, Dermatological Sciences and Applications, women who used a crystal nail file to remove acrylics had no nail plate damage or weaknesses afterwards. Over 80% said crystal files caused less pain and discomfort compared to traditional emery boards.
For pain-free removal without safety concerns, crystal nail files are a must-have!
Some popular crystal nail file brands include Mont Bleu, BCE Emery Boards, and GERmanikure – but any glass or ceramic files from reputable companies work wonderfully. By ditching the metal nail file for crystal variants with grits from 100-180, you alleviate the removal frustration and protect your beautiful, healthy nails.
Proper Technique for Safe Filing
File in one direction, avoiding back-and-forth sawing motion
When filing artificial nails, it’s crucial to file in one direction instead of a back-and-forth motion. Sawing the nail file backwards and forwards can weaken and thin the nails, making them prone to cracking and breaking. Focus on long, smooth strokes in a single direction for each nail.
This helps maintain strength and thickness. Stick to filing either from cuticle to tip or side to side. The gentle, one-way abrasion removes length and shape without compromising durability.
Apply light pressure and take your time
Rushing through filing artificial nails can lead to damage. It’s vital to go slowly and avoid pressing down hard on the file. Use a light touch, letting the grit do the work. Taking your time helps ensure you get the shape you want without weakening or scratching the nails.
Patience pays off with a perfect, smooth finish. Additionally, give your nails a break if they start feeling hot. Heat is a sign of too much friction.
File from outside edges to center avoiding stress on sidewalls
Filing artificials nails correctly involves working from the outer edges in towards the center. Avoid aggressively filing along the sidewalls, which can thin them out over time. Gently file the free edge of the nail first to shorten length and shape the tip.
Then softly file inward from the left and right side, meeting in the middle. This prevents concentrated pressure on the vulnerable side nail walls. The center of the nail is strongest and can handle more focused filing.
Keep nail file moving to avoid heat buildup and damage
To prevent nail damage and discomfort, it’s important to keep the file moving across the nail. Don’t vigorously rub in one spot, which can generate friction and heat. This can cause nails to become thinner and weaker over time.
Maintain circulation by using fluid motion and avoiding prolonged pressure on any single area. If you notice any heat or pain, take a break right away. Filing should feel like a gentle scrape, not an abrasive rub.
Finish with buffing file or sponge for smooth edges
After filing an artificial nail into the desired shape, use a buffing file or buffer block to smooth any rough edges. This removes tiny ridges and bumps for an ultra-soft, sleek finish. Gently run the buffer over the entire surface of each nail like you’re polishing it.
Pay extra attention to the tip and sides. Finishing with buffing prevents snagging and gives your nails a salon-perfect look. It’s the final touch to filing that makes artificial nails look and feel their best.
Caring for Your Nail Files
Clean nail file regularly with brush and disinfectant
Keeping your nail files clean is crucial for nail health and safety. Used nail files can harbor bacteria, fungi, and microorganisms that can lead to infection if transferred back to the nail plate or surrounding skin.
It’s recommended to clean your metal and glass nail files at least once a week with a small brush or old toothbrush and a disinfectant like isopropyl alcohol or an EPA-registered disinfectant. Gently scrub away any debris or buildup, then rinse with water and allow to fully dry before next use.
This helps remove those unwanted germs accumulating on the abrasive surface of the file.
Store in protective case or sleeve when not in use
Proper storage between uses is also important for nail file hygiene and longevity. Keep files in a clean, enclosed case or sleeve when not in use to avoid picking up contaminants. Glass and metal files can last longer if protected from bumps and drops that can damage the filing surface.
A closed case also prevents misplacement of the nail file so it’s handy when you need it. Some kits even come with a plastic cap to slip over the filing end for protection.
Replace often for best results – don’t use once worn down
With frequent use, the gritty surface of a nail file will eventually wear down and become less effective at shaping nails. Experts recommend replacing nail files every 2-3 months for best performance. Using a file past its prime can result in jagged edges or damage to the nail.
A worn down emery board may also be more likely to harbor bacteria if the grooves in the grit deepen over time. Investing in a quality nail file and replacing it regularly helps keep nails looking neat and healthy.
Have separate files for natural vs. artificial nails
It’s also smart to use separate nail files for natural nails versus artificial nails. Natural nails are more prone to splitting and peeling if filed too aggressively. Emery boards made for natural nails have finer grit specifically designed to gently shape the nail edge without weakening it.
Files for acrylics and gels are more heavy-duty to handle filing overlay product. Using a coarse acrylic file on natural nails can lead to thinning and microscopic tears in the nail plate that allow bacteria and moisture to enter.
Keeping separate files avoids cross-contamination and uses the right abrasiveness for each nail type.
When to Consult a Nail Technician
See a professional if you have concerns about nail or cuticle damage
Trying to remove artificial nails by yourself can sometimes result in damage to your natural nails or cuticles if you aren’t careful. If you notice any cracking, peeling, discoloration, or other issues with your natural nails or cuticles after removing acrylics or other artificial nails, it’s best to see a nail technician for help.
Professionals have the proper tools and techniques to remove any remaining product or smooth and repair your natural nails without causing further damage. They can also suggest any necessary treatments or products to get your nails looking healthy again.
Technicians can remove product safely without trauma
Nail technicians are trained in proper methods of soaking off and filing away artificial nails to lift them from your natural nails. They have industry-standard bits for electric nail files that quickly and safely break down enhancement products without causing excess friction or heat, which can damage your natural nails.
Trying to pick off acrylics or buff them off aggressively at home can pull off layers of your nail plate, making them thin and weak. The results are often jagged, uneven nails. A pro can remove artificial products completely yet gently.
Get professional advice on proper products and techniques
A nail tech can assess the condition of your natural nails after removing any artificial enhancements and recommend products or treatments to help them recover. For example, they may suggest a strengthening base coat, a nourishing cuticle oil, or moisturizing lotion if your nails are dry.
They can also advise you on proper care and filing techniques to avoid damage when doing your own nails in the future. Following their expert guidance can help you maintain beautiful, healthy nails.
Schedule regular appointments for fills and maintenance
Rather than trying to remove acrylic or gel polish yourself between appointments, booking routine fills every 2-3 weeks is safer for your natural nails.
The nail technician can fill in any new growth carefully, shaping and reapplying product so there are no uneven ledges or excessive thickness. This prevents lifting or cracking that makes removal more difficult. Consistent maintenance by a professional is the best way to avoid nail damage.
Conclusion
Choosing the proper grit nail file is crucial for safely removing excess artificial nail product without damaging your natural nails. A medium grit crystal file is the best choice for DIY removal and maintenance.
With the right technique and proper care of your files, you can keep your nails looking their best in between professional appointments. Consult a nail technician if you have any concerns about damage or need help getting your nails back into top shape again.