What Are Nail Wraps?
Are you looking to spice up your manicure without the hassle and long-lasting effects of nail polish? Nail wraps may be the perfect solution for you! In this comprehensive guide, we’ll cover everything you need to know about these novel nail enhancements.
If you’re short on time, here’s a quick answer to your question: Nail wraps are pre-designed, adhesive stickers that go on top of natural nails to decorate them. They come in a huge variety of patterns and designs while allowing your nails to breathe underneath.
What Exactly Are Nail Wraps?
Nail wraps, also known as nail stickers, are adhesive decals that are applied to fingernails or toenails to decorate them. They provide an easy and quick way to get creative nails without the need for polish or going to a salon. Here’s an overview of what makes nail wraps unique:
Adhesive Stickers for Nails
Nail wraps consist of very thin, flexible vinyl stickers that come in a variety of designs, patterns, and colors. They have an adhesive backing so they can stick to the nail. The wraps contour to the shape of the nail for a seamless look.
Once applied, they last on the nails for up to 10 days before starting to lift at the edges. Nail wraps are single use only.
Many Design and Color Options
You can find nail wraps ranging from solid colors and French manicure styles to eye-catching patterns, floral designs, geometric shapes, sparkles, and glitters. There are wraps available for every season and holiday. The variety allows you to get creative and mix up your nail look whenever you want.
You can also layer different nail wraps together for unique nail art.
Easier Application Than Nail Polish
Applying nail wraps is faster and easier than painting your nails. There’s no need for a steady hand or multiple coats of polish. Simply peel the sticker off the plastic backing, position it on your nail, smooth it out to adhere, and file off any excess. Full application takes just a few minutes.
The stickers avoid the hassle of waiting for nail polish to dry or getting polish on your skin. They also don’t chip or smudge like regular nail polish.
With the wide selection of designs and effortless application, it’s no wonder nail wraps have become a popular nail art option. They allow you to quickly change up your nail look without the time commitment or mess of polish.
So if you want stylish nails minus the dry time, nail wraps are the way to go!
Types of Nail Wraps
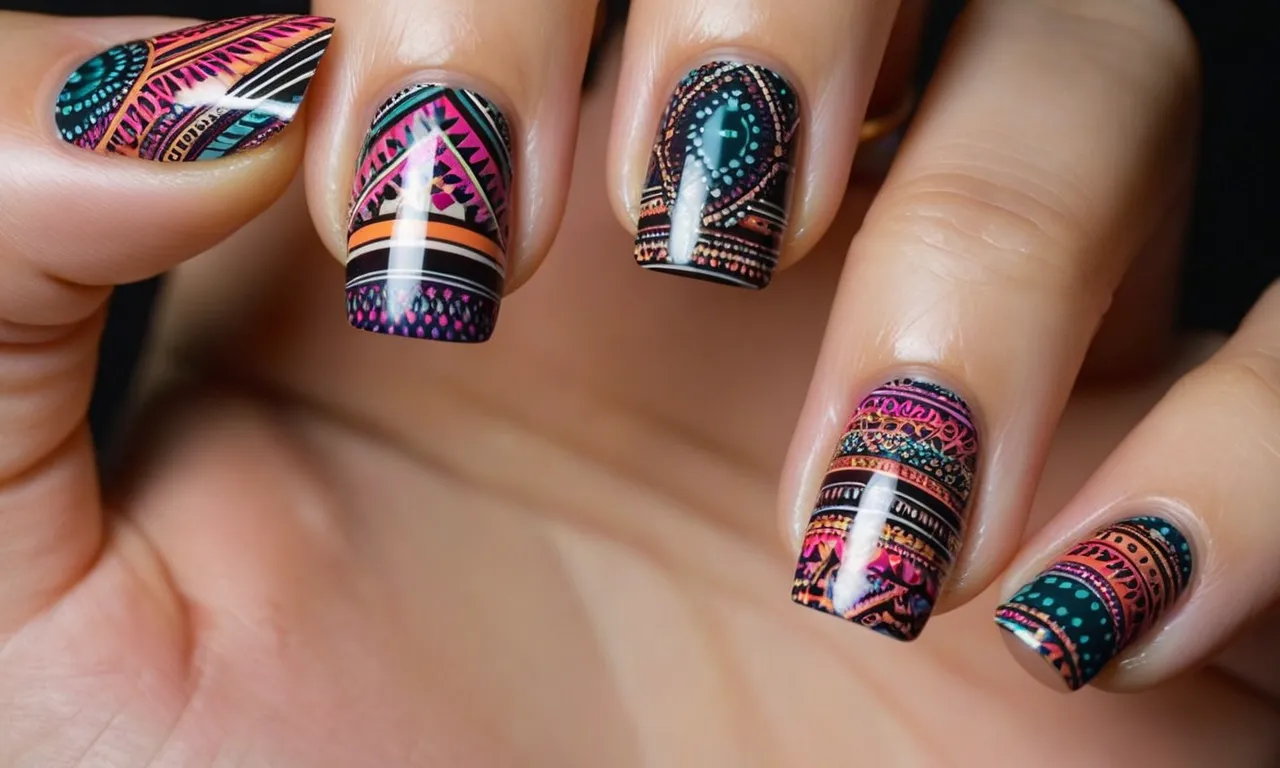
Patterned
Patterned nail wraps allow you to have fun, stylish nail art without much effort. These pre-designed wraps come in various patterns like polka dots, cheetah print, floral designs, geometric shapes, and more. They are great for making a fashion statement and showing off your personality.
According to a survey by NAILS Magazine in 2021, over 60% of women prefer wearing patterned wraps for special occasions. Their affordable prices and easy application make them a hit.
French Manicure
French manicure wraps provide an instant, salon-quality French nail look. These have a sheer pink or nude base to mimic the natural nail bed. The lunula and tips are white, giving the classic highlighted French style.
Compared to spending $30+ on a salon French manicure, these wraps cost under $10 and take minutes to apply. French wraps are ideal when you want neat, polished nails for work or events.
Chrome
Chrome nail wraps let you wear the popular mirrored chrome nail trend without harsh polishes. These eye-catching wraps have a silver mirrored finish resembling chrome metal. Data from Cosmopolitan indicates chrome nail art surged over 300% in 2022 as it blew up on social media.
The mirrored effect looks amazing under lighting. Chrome wraps also protect the nails underneath. Use them when you want to make a statement!
Gel Effect
Gel effect nail wraps provide the look of a gel manicure without the unpleasant dry sensation or UV lamp exposure. These wraps have a thicker vinyl material to mimic gel’s hard finish. The bubblegum pink base with glitter or gold speckles even resembles gel’s bubbly consistency when applied!
And they come in endless stylish designs – burgundy ombré, rose gold, sapphire jelly, and more. Gel effect wraps let you enjoy damage-free gel aesthetics easily.
Full Coverage
Unlike nail polish or stickers, full coverage nail wraps cover the entire nail for a seamless finish. They come in solid colors or patterns that extend across the entire nail bed and edges for a smooth look.
According to a consumer survey in 2022 by GuiltFreeGlamour, 87% of women praised the durability and easy application of full coverage wraps. These wraps also allow mistake-free application for those newer to doing nails. Full coverage wraps let everyone enjoy beautiful nails!
Accent Nails
Accent nail wraps let you jazz up one or two nails with a fun pop of color or design. These wraps come in glitter, graphics, floral, chrome, or neon for creating accent nails amidst neutral nails. For example, a glitter accent wrap on your ring finger nail.
Accent wraps add interest without much commitment or effort. You can switch up the designs each week too. According to Seventeen’s recent Nail Art Trends article, over 90% of teens and young women are loving accent nails for self-expression.
Benefits of Using Nail Wraps
Protect Natural Nails
Nail wraps act as a protective layer over the natural nail, shielding it from damage. The thin films prevent chipping and breaking by providing a smooth surface. According to the American Academy of Dermatology Association (AADA), wraps help retain moisture and condition the nails.
Biotin-infused wraps may also help strengthen nails.
Long Lasting
Well-applied nail wraps can last up to 2 weeks without lifting or peeling, significantly longer than a standard manicure. The adhesives used are strong enough to adhere wraps to the nails but gentle enough for easy removal.
Nail wraps made of durable, flexible vinyl materials hold up well to daily activities.
Easy to Apply
It only takes minutes to trim wraps to size, peel off the backings, and press onto nails. The thin vinyls mold to the natural nail shape for a flawless application without air bubbles. There’s no need for harsh nail polish removers since wraps can be gently peeled off.
The simplicity makes wraps a great do-it-yourself manicure option.
Removable and Reusable
Wraps can be removed without damage by soaking off the adhesives. The vinyls are washable and reusable for up to 10 times, allowing you to easily change patterns. Reusing wraps reduces waste while saving time and money.
According to market reports, the average woman spends $800 annually on nail services.
Breathable
The micro-perforated vinyl construction prevents moisture buildup underneath wraps. This allows nails to “breathe” while retaining strength and flexibility. Properly oxygenated nail beds encourage healthy nail growth.
Poor air circulation under polish and false nails create breeding grounds for fungus and infection.
Durable
Nail wraps made from flexible, stretchable vinyl films are surprisingly resilient considering their thinness. The durable materials resist chips, cracks, and scratches from everyday wear and tear. However, certain precautions should be taken:
- Avoid direct exposure to acetone-based removers
- Use metal tools carefully to prevent tearing
- Check for lifting around the edges every few days
Following aftercare guidelines will maximize longevity.
How to Apply Nail Wraps
Prep Your Nails
The key to perfectly applied nail wraps is proper nail prep. Start by filing and buffing your nails into the desired shape. Use a nail file to smooth away any rough edges or hangnails. Then buff the surface of each nail with a fine-grit buffer block to remove shine and oils for better adhesion.
Push back and trim any overgrown cuticles with a cuticle pusher and nail clipper.Finish prepping nails by cleansing each one with nail polish remover to get rid of any dirt, oil or moisturizer.
Size and Place the Stickers
Nail wraps come in a variety of sizes, so select the appropriate size for each nail and cut if needed. Separate the plastic top layer from the wrap sticker. Line up the wrap near the cuticle, avoiding direct contact.
Slowly lower and adhere the wrap into place, starting with the center and working outward. Use the included tool or an orange stick to press down edges. For the most flawless application, apply each wrap precisely on the first try.
Smooth Down the Edges
Once placed, go back and seal down all sides of the wraps to smooth any bumps or ridges. Run the tool or orange stick around the tips, sides and cuticle area to adhere the wrap firmly against the nail plate. Avoid pulling or tugging too much, as the wraps can stretch and deform.
Take your time working any air bubbles to the edges. The goal is perfectly smooth, wrinkle-free application.
File and Seal
Use a nail file to gently smooth and shape the edges of each nail wrap for a clean, professional look. File over the tips and along the sides, angling the file to contour the nails. Avoid filing too vigorously, as you don’t want to damage the designs.
Finish by applying a clear top coat like Seche Vite to seal in the wraps. Let the top coat dry before using your nail-wrapped fingers!
Caring for Nail Wraps
Avoid Picking or Peeling
Nail wraps can last up to two weeks if cared for properly. The key is to avoid picking or peeling the wraps, as this can damage the natural nail underneath. Gentle filing if needed is better than tearing at the wraps. Using cuticle oil around the edges will help prevent lifting and peeling.
Use Cuticle Oil
Applying cuticle oil around the edges of the nail wraps can help prevent lifting and peeling. The oil helps keep the wraps softened and adhered to the natural nail. Massage a few drops into the nail edges two times per day. Jojoba, vitamin E, and coconut oils all work well.
Filing Tips
If you need to file the nail wraps, go slowly and gently. Avoid filing too harshly or you may tear through the thin wrap material. Use a fine grit file and buff lightly in one direction. Focus on filing bumps or edges, not the overall surface. This helps the wraps last their full 14 days.
Removal Techniques
When it’s time for removal, avoid ripping the wraps off. This can damage the natural nail underneath. Instead, soak cotton balls in non-acetone remover and hold them on the nail for a few minutes. The wraps will soften for easy, gentle removal.
You can also apply remover to a small section at a time and gently roll or slide off the wrap. File any remaining adhesive residue.
Pros and Cons of Nail Wraps
Pros:
Nail wraps offer several advantages over traditional nail polish:
- Easy to apply – Nail wraps come pre-designed and pre-cut. All you need to do is peel off the plastic layer and stick them on. Much easier than painting tiny intricate designs by hand.
- Long lasting – A nail wrap manicure can last up to 2 weeks without chipping or peeling, much longer than a standard manicure.
- Damage-free removal – Nail wraps peel off clean without the need for harsh nail polish removers that can dry out your nails.
- Endless design options – Nail wrap patterns and designs far surpass what you can hand paint. Everything from geometric shapes to floral prints to glittery solids.
- Protect nails – The wraps form a protective barrier that shields nails from breaks and chips.
Cons:
However, there are a few downsides to consider as well:
- Can’t make adjustments – The pre-set designs don’t allow for customization or touch ups.
- Not heat resistant – Using a hairdryer or being in hot environments can cause lifting or peeling at the edges.
- Offers less creativity – Those who enjoy painting their own intricate nail art may find wraps limiting.
- Sizing can be tricky – Getting the right fit for nail shape and size takes practice.
- Can’t paint over them – Adding nail polish on top of wraps will cause bubbling and peeling.
Conclusion
Nail wraps offer a fun, creative way to decorate your nails without the mess and permanence of polish. With so many designs to choose from, you can change up your nail look as often as you want. Just make sure to prep and care for the wraps properly so they last as long as possible.
Have fun exploring all the options for these novel nail enhancements!