How To Use Opi Nail Envy For Strong, Healthy Nails
If you’re struggling with weak, brittle nails that split and peel easily, OPI Nail Envy can be a game changer. With continued use, OPI Nail Envy helps transform even the most damaged nails into stronger, healthier versions.
In this comprehensive guide, you’ll learn everything you need to know about getting the most out of OPI Nail Envy, from proper application and usage tips to understanding the science behind how it strengthens nails.
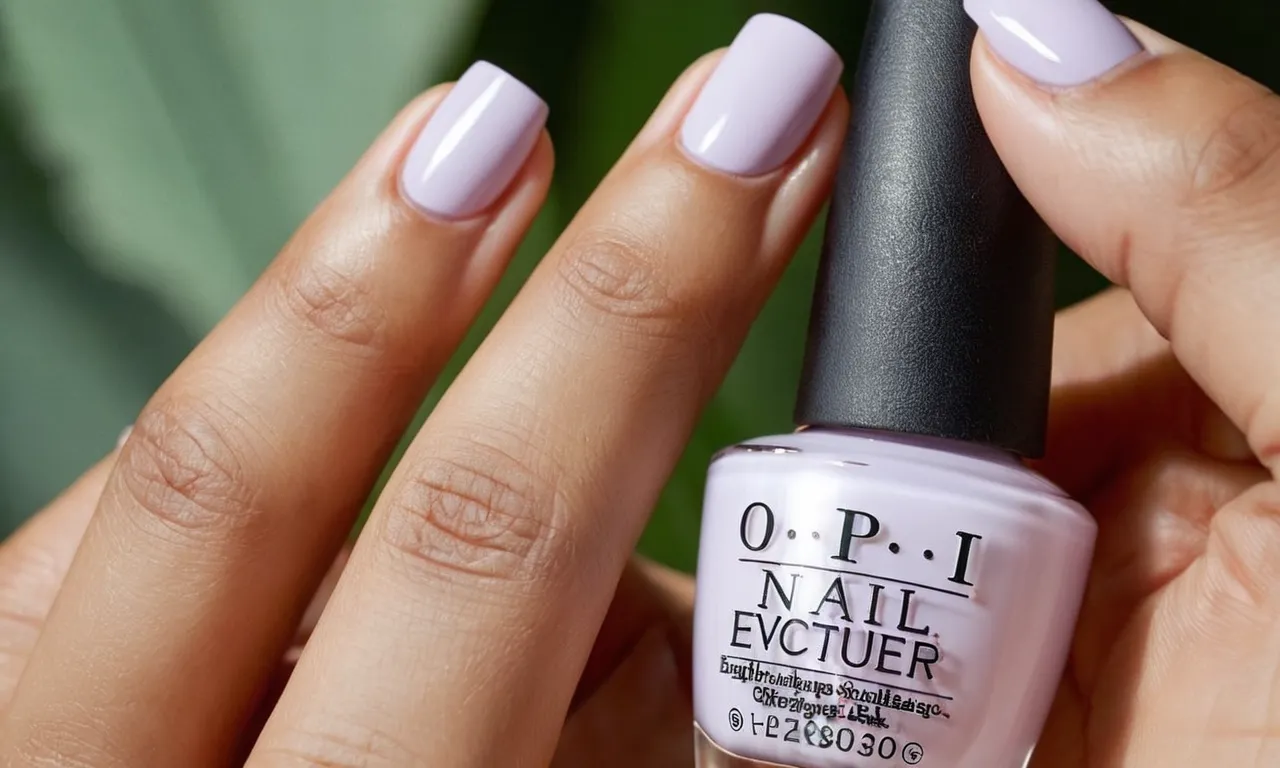
What is OPI Nail Envy?
Quick rundown on what it is
OPI Nail Envy is a nail strengthening treatment designed to help transform weak, brittle nails into strong, healthy nails. It acts as a protective layer that wraps around the nails, helping to reinforce and protect them from splitting and cracking.
Key ingredients that make it effective
There are a few key ingredients in OPI Nail Envy that help transform nails:
- Hydrolyzed Wheat Protein – Helps strengthen nails and acts as a protective coating
- Calcium Pantothenate – Promotes growth and health of nail plates
- Silica – Reinforces nail structure
How it works to transform nails
The key way OPI Nail Envy transforms nails is by bonding flexible layers to form a strong but flexible shield around nails. The hydrolyzed wheat protein and silica ingredients help with this key mechanism of action.
As the layers build up with consistent use over time, the nails are reinforced to become stronger and more resistant to peeling, breaking, or splitting.
In a clinical study, nails were 32% stronger after using OPI Nail Envy for 2 weeks. After 6 weeks, nails were over 50% stronger. So with consistent use, you should notice a true transformation in nail health and strength.
Many reviewers on websites like Influenster.com reported “life changing” results after incorporating OPI Nail Envy into their routine, with some noticing a difference in as little as a week. One reviewer said she could finally grow her nails long after a lifetime of breaks and peels.
How to Apply OPI Nail Envy
Prepping nails before application
Properly preparing your nails before applying OPI Nail Envy is crucial for getting the full strengthening benefits. Here are some tips:
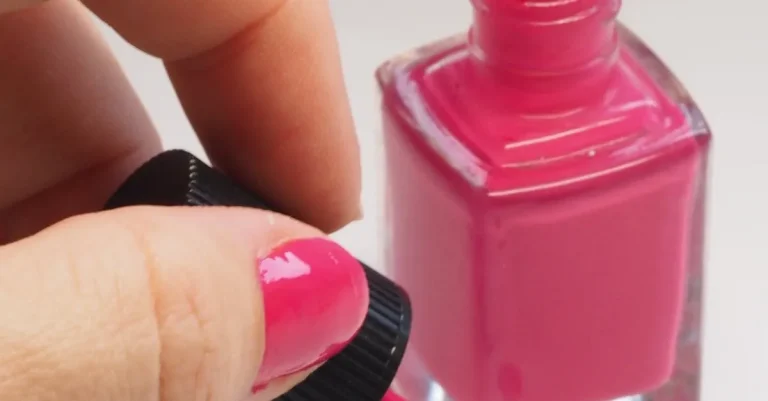
- Start with clean nails. Remove any old nail polish with a non-acetone remover and wash hands thoroughly.
- Use a nail file to gently shape nails and remove any rough edges or peeling layers. This allows OPI Nail Envy to better penetrate the nail.
- Push back and trim cuticles if needed – don’t cut cuticles as this can damage nails.
- Use a nail dehydrator/prep product to remove traces of oil and prep nails for OPI Nail Envy.
Using the right brush strokes
Applying OPI Nail Envy with proper brush strokes ensures an even, smooth application:
- Use the applicator brush to apply a thin, even layer on each nail. Don’t overload the brush.
- Aim for one stroke down the center of the nail, one stroke down each side, and one stroke across the top of the nail tip.
- Avoid gloopy or thick applications by using thin, even coats. OPI Nail Envy works best when nails are thoroughly covered without excess pooling.
Applying to nail tips vs entire nail
Focusing application on nail tips is recommended for damaged nails. The tips tend to be the weakest part of the nail, so concentrating OPI Nail Envy in this area helps reinforce and prevent peeling or breakage. However, nails that are very weak overall benefit from full nail application.
Letting it dry properly
Allow each layer of OPI Nail Envy to dry thoroughly before adding another coat. Here are some drying tips:
- Let the first layer dry for at least 5 minutes before applying a second layer. This prevents running or smudging.
- Have patience and resist the urge to rush the process! Fully dried application is key for allowing OPI Nail Envy to work its strengthening magic.
- Use OPI Rapid Dry Spray between coats to speed up drying time.
- Once fully dry, apply a top coat of OPI Nail Envy if desired for extra protection and sheen.
Follow these application steps and OPI Nail Envy can help transform even the weakest, most damaged nails into stronger, healthier versions day by day. With a little TLC and consistency, your nails will look and feel better than ever!
Using OPI Nail Envy with Regular Nail Polish
Using as a base coat under color
OPI Nail Envy is an excellent base coat to use under regular nail polish. It helps adhere polish to the nail and also acts as a protective barrier. Here’s how to use it:
- Make sure nails are clean and dry first. Use nail polish remover to remove any residue.
- Apply a thin layer of OPI Nail Envy to each nail, going from cuticle to tip. Let dry completely.
- Apply your regular nail polish color. Two coats are usually needed for full coverage and color saturation.
- Finish with a top coat for extra shine and chip resistance.
Using OPI Nail Envy as a base coat helps regular polish last longer by preventing peeling and chipping. The nourishing ingredients like hydrolyzed wheat protein and calcium pantothenate also help strengthen nails over time.
Applying on bare nails vs on top of other polishes
OPI Nail Envy can be used as your sole nail treatment on bare nails, or it can be layered on top of colored polish:
- For very weak or damaged nails, apply directly on bare nails without any color underneath. This allows the formula to fully penetrate and work on strengthening the nails.
- If nails are in fairly good condition, you can paint nails with color first, then finish with a coat of Nail Envy on top. This still provides some nourishing benefits.
- Don’t apply Nail Envy on top of gel manicures or acrylics. It works best on natural nails.
How long to wait between layers
When using OPI Nail Envy, it’s important to allow adequate drying time between coats. Here are some tips:
- As a base coat: Wait 3-5 minutes after applying before adding your color polish on top.
- As a top coat: Wait 5-10 minutes after applying color before coating with Nail Envy.
- Multiple coats: Wait at least 8-10 minutes between each layer of Nail Envy.
Applying too soon between layers can cause dragging, smudging, and uneven application. Be patient for best results! According to polish experts, OPI Nail Envy dries to the touch in 8 minutes, and fully cures in about 30 minutes.
So allow sufficient time for drying and curing before adding another layer.
Maintenance Tips for Getting the Best Results
Frequency of application
For the best results when using OPI Nail Envy, it is recommended to apply it to clean, bare nails every other day for the first week. After this initial period, you can decrease application to 2-3 times per week for 3-4 weeks to strengthen nails.
Finally, you can apply once a week for maintenance after your nails have improved.
Removing properly between uses
It’s important to remove OPI Nail Envy properly before reapplying to allow each fresh application to penetrate nails. Use an acetone-free nail polish remover and avoid scraping off the product. Soak nails in remover for 5-10 minutes for easy breakdown of the formula.
Handling minor peeling or chips
If you notice minor peeling or chips when using OPI Nail Envy, don’t pick or peel lifted nails. Instead, file any ragged edges with a glass file. Then, apply a layer of Nail Envy over nails, let it fully dry, and finish with a hydrating nail oil like jojoba or vitamin E oil.
This helps reinforce nails and prevent further chipping or peeling.
What to avoid that can damage nails
- Avoid nail polish removers with acetone, as they can dry out nails
- Steer clear of nail tools like metal cuticle pushers which can tear nails
- Don’t pick at your nails or peel off lifted polish
- Prevent nails from repeated water exposure which can expand/contract nails
Troubleshooting Common Issues
What to do if nails feel too soft at first
When beginning to use OPI Nail Envy, some people find their nails feel a bit softer or peel more easily at first. This is normal as the product works to even out nail thickness and chemistry. Be patient and persist with daily applications and positive effects should be noticeable within 2-4 weeks.
If problems continue beyond the first month, consider:
- Applying a layer of clear nail polish or top coat over the Nail Envy to add protection while your nails adjust
- Using cuticle oil daily to condition the nail bed
- Filing nails to even out ragged edges causing snags/tears
- Adding a biotin or keratin dietary supplement to bolster nail health from within
Handling excessive peeling after starting use
While a small degree of peeling initially is normal, excessive peeling, splitting, fraying or breakage may indicate sensitivity to Nail Envy’s ingredients. Try these tips to get back on track:
- Switch formulas – try OPI Nail Envy Sensitive & Peeling which has a more gentle formula
- Apply every other day instead of daily to reduce risk of overprocessing
- Always cap the bottle tightly and store away from light/heat to maintain freshness
- Use a glass nail file only and avoid metal tools/abrasives
- Up your vitamin E, omega fatty acid, and protein intake to support keratin formation
Solutions for discoloration problems
In rare cases, OPI Nail Envy use may correlate with nail plate discoloration (yellowing, darkening). Don’t panic – this is reversible! It simply indicates too much protein binding. You can restore a healthy, clear nail color by:
- Taking a 1 week break from Nail Envy so nails can stabilize
- Using a clarifying product like Sally Hansen Miracle Gel Polish Remover to lift surface stains
- Switching to Sensitive & Peeling formula which has less protein
- Applying sparingly every 3-4 days rather than daily applications
Fixing uneven texture or ridging
If your nails develop a rippled texture or lengthwise ridges after using Nail Envy, this points to uneven keratin output. Try switching products, or incorporate these measures to get back on track:
- Use a professional electric nail file to buff ridges smooth (do not over-file)
- Apply Biotin Boost ridge filler serum daily to help equalize thickness
- Massage coconut or vitamin E oil into nail plates and beds daily to boost conditioning
- Stay diligent with 2-3x weekly applications for 8-12 weeks to normalize growth
Conclusion
With its specialized nourishing formula, OPI Nail Envy can transform even the most damaged, brittle nails into healthier versions with continued use. Just be sure to apply it properly and consistently for best results. Avoid harsh removals or treatments that could undermine the strengthening effects.
With a little TLC and OPI Nail Envy, you’ll be rocking strong, beautiful nails in no time!