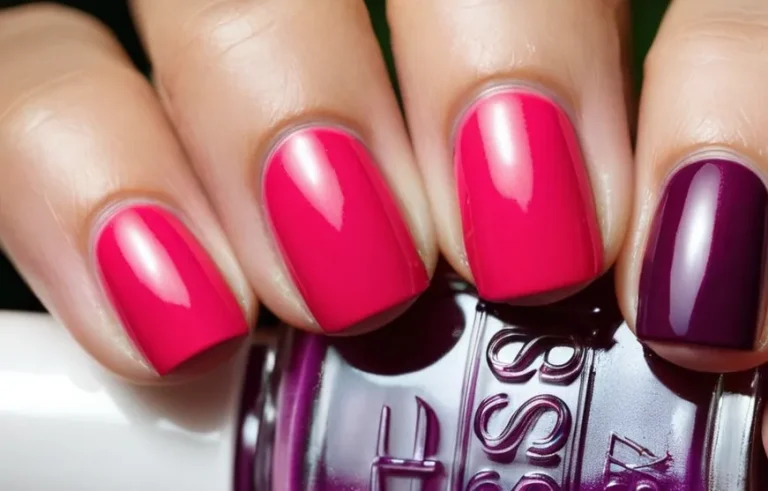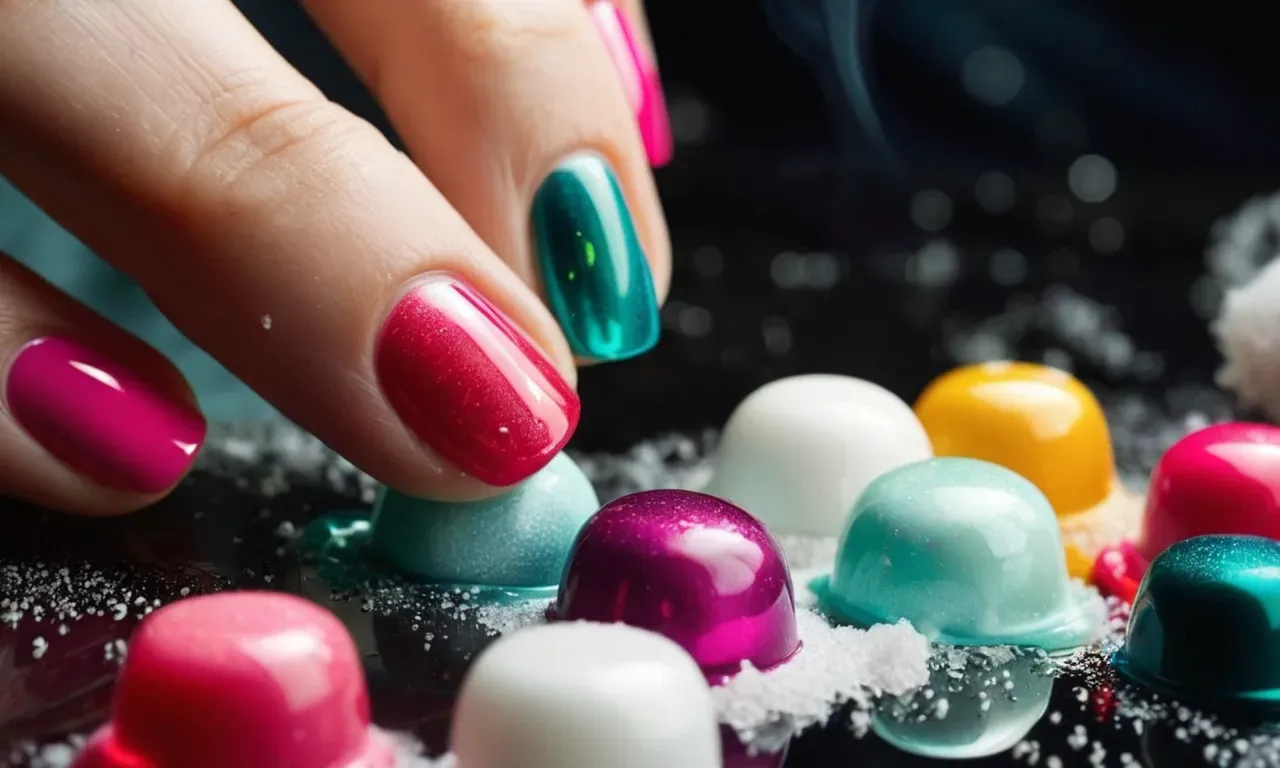
How To Use Nail Polish Remover: A Complete Guide
Nail polish remover is a nail care product that helps easily and effectively remove nail polish from your fingernails and toenails. If you’ve struggled with stubborn nail polish or made a mess trying to take it off, this comprehensive guide will walk you through the entire process of using nail polish remover properly.
If you’re short on time, here’s a quick answer to your question: Apply nail polish remover to a cotton ball or pad and rub it over your fingernails in a back-and-forth motion until the polish comes off completely. Use downward strokes for toenails.
Then wash your hands with soap and water when finished.
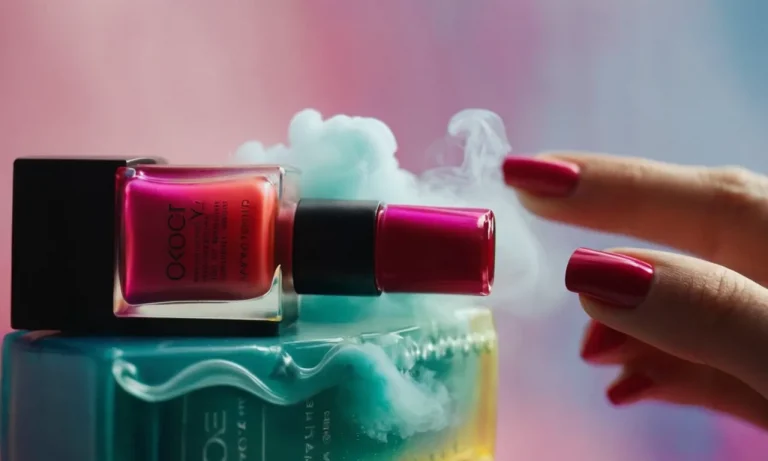
Choosing the Right Nail Polish Remover
Acetone vs. Acetone-Free Formulas
When it comes to removing nail polish, you have two main options – acetone-based removers and acetone-free removers. Acetone is an extremely effective solvent that breaks down nail polish quickly. However, it can be very drying and harsh on the nails and skin.
Acetone-free removers use milder ingredients like ethyl acetate to gently dissolve polish without stripping moisture from the nails. Here’s a helpful comparison:
| Acetone | Acetone-Free | |
|---|---|---|
| Strength | Very strong | Gentle |
| Drying Effect | Very drying | Hydrating |
| Polish Removal Time | Extremely fast | Slower |
| Ideal For | Removing glitters, dark polishes | Sensitive nails, natural nails |
In general, those with healthy nails can handle acetone removers with proper moisturizing afterwards. But if you have thin, peeling, or brittle nails, an acetone-free formula is a better choice to avoid further damage.
You may just need to wrap tips in foil and let it soak a bit longer to fully dissolve darker polishes.
Liquid, Gel, or Pad Formulas
Nail polish removers also come in a variety of formats – liquid, gel, and pre-soaked pad. Each has their own pros and cons:
- Liquid – The most common type, effective for soaking off polish. Can be messy and require cotton balls/pads to apply.
- Gel – Thicker consistency adheres to nails for targeted polish removal. No cotton pads needed.
- Pads – Convenient pre-soaked pads, but can dry out quickly. Not as cost-effective.
The type you choose depends on your preferences and polish removal routine. Many people like the ease of liquid remover applied with sturdy cotton rounds that grip polish well. While gel removers are great for travel and easy clean-up. Remover pads are super handy but you’ll go through them quickly.
You may also want to have different formulas on hand – like an acetone-based liquid for glitter polishes, and a moisturizing gel formula for regular use. Test out different types to see what works best for your nails!
Preparing to Remove Nail Polish
Trimming and Shaping Nails
Before removing your nail polish, it’s important to properly trim and shape your nails to avoid breakage (source). Use nail clippers or scissors to trim your nails straight across, then gently file them into your desired shape with an emery board.
File in one direction only to prevent nails from thinning and splitting. It also helps to soak your nails in lukewarm water for 5-10 minutes before trimming or filing to soften them up. This makes the nails less prone to cracking and makes trimming easier.
Once your nails are neatly trimmed and filed, use a cuticle pusher and cuticle nippers as needed to gently push back and trim any overgrown cuticles. Don’t cut or rip off healthy cuticles though – this can lead to infection!
Finish up with a light buff over nails to remove any remaining rough edges and prep the nail plate for polish removal.
Having Remover and Cotton Ready
Before starting the nail polish removal process, you need to make sure you have all the necessary supplies on hand. The most basic item is a bottle of nail polish remover. Acetone-based formulas work quicker than non-acetone removers, but they can be harsh on nails and skin so pick what works for you (source).
You’ll also need something like cotton balls, cotton pads, or reusable silicone nail polish remover caps to use with the nail polish remover liquid.
Line up everything you’ll require within easy reach so you’re not scrambling around mid-manicure. You may also want to lay down paper towels or foil sheets to protect the surface you’re working on from potential drips or spills while removing the polish.
And don’t forget to remove rings or bulky bracelets before starting, and opt to wear old clothing in case of stains from the remover. Once you have everything prepped and at hand, you’re ready to tackle removing your colorful nail lacquer!
Removing Nail Polish from Fingernails
Applying Remover and Rubbing
The first step to removing nail polish is to apply a remover product to a cotton ball, pad, or wipe. Acetone-based removers work best for breaking down the polish and removing it quickly. Apply the remover-soaked cotton to one nail at a time, holding it there for 10-20 seconds before gently rubbing the cotton back and forth across the nail.
The constant friction will help lift and dissolve the polish. Don’t scrub too hard or you may damage the nail bed. Be patient and keep rubbing until you see the colored polish start to transfer onto the cotton.
Getting Around Cuticles and Skin
When removing nail polish, it’s important to avoid getting acetone-based remover on your skin or cuticles as it can dry them out. As you rub off polish, try to keep the cotton focused on the nail plate itself.
If you do get remover on the surrounding skin, wash your hands with soap and water after removing all the polish. You can also apply cuticle oil to hydrate the skin and nails after taking off old nail polish.
Scrubbing Off Stubborn Polish
Sometimes nail polish can be stubborn to remove, especially if multiple coats were applied. Darker shades like black, blue, and purple are also notoriously hard to take off completely. If the cotton isn’t removing all traces, try scrubbing the nails with an old toothbrush soaked in remover.
The bristles will help exfoliate and dissolve any remaining flecks of polish. You can also try a remover soak – place all fingers into a bowl of pure acetone for 5-10 minutes. This will break down the polish so it wipes off easier with cotton.
Using Foil for Dark Colors
For those really stubborn dark polishes, using foil can help lift it off with less effort. Start by applying remover as usual, then wrapping each finger with a small piece of aluminum foil. Leave it on for 5 minutes, which allows the acetone to better penetrate the polish while trapped against the nail.
Remove the foils, and you should be able to easily wipe away the color that’s now softened. The foil method prevents you from having to vigorously scrub at fragile nails to get dark colors off.
Removing Nail Polish from Toenails
Proper Foot Positioning
When removing nail polish from your toes, it’s important to position your foot properly to allow for easy access. Here are some tips for getting your foot ready:
- Sit on a chair or the edge of a bathtub and place your foot on a stool, ottoman or rim of the tub.
- Have a towel underneath to catch any drips.
- Make sure you have full access to all sides and edges of the toenail. You may need to pull toes back or readjust as needed.
- If flexibility is an issue, use a grabber tool to help maneuver your foot into place.
Proper positioning is key for efficiently removing that stubborn toenail polish. Take the time to get comfortable before starting the process.
Downward Rubbing Motions
When working on removing nail polish from toes, use short downward rubbing motions. Here are some tips:
- Soak a cotton ball with nail polish remover and hold it against the nail for 5-10 seconds to loosen the polish.
- Gently rub the cotton ball across the nail, using a downward motion from cuticle to tip.
- Apply light pressure as you go. Pressing too hard can cause discomfort.
- Use short, downward swipes until the polish starts coming off.
- Repeat with fresh cotton balls as needed until the polish is gone.
The downward rubbing technique is effective at dissolving the polish without being overly abrasive on nails. Take your time and let the remover do the work.
Getting Polish Out of Toenail Corners
The corners of toenails can be tricky when removing nail polish. Here are some tips to get those spots clean:
- Use a cotton swab dipped in remover to precisely target the corners.
- Gently rotate the cotton swab back and forth along the edge and corner to dissolve any remaining polish.
- You can also use an orange stick, toothpick or nail tool to gently reach stubborn bits left in cracks or edges.
- Avoid scraping too harshly, as it can damage the nail bed.
Taking your time on the toenail edges ensures no old polish is left behind. Remember to moisturize after removing polish to prevent nails from drying out.
For more information, check out sites like WebMD and Healthline for additional nail care tips.
Finishing Up and Caring for Nails
Rinsing Completely
After removing your nail polish, it is crucial to rinse your nails thoroughly to get rid of any remaining acetone or nail polish remover residue. This helps prevent nail dryness or irritation. Rinse nails under lukewarm running water for 30-60 seconds on each hand, gently scrubbing nails with a soft brush or washcloth.
Be sure to get around and under the edges of the nails. Thorough rinsing keeps nails healthy!
Moisturizing After Removal
Acetone-based nail polish removers can be quite drying to the nails and cuticles, so it’s important to replenish moisture after taking off polish. Apply a hydrating cuticle oil, hand cream, or nutrient-rich moisturizer on nails and cuticles within a few minutes after rinsing.
Massage the moisture into the nail beds and cuticles for 30-60 seconds per hand. For added nail nourishment, work a vitamin E, jojoba oil, or essential oil into nails and cuticles before bedtime. Keeping nails moisturized prevents brittleness and cracking!
Storing Nail Polish Remover
To maintain the effectiveness of your nail polish remover and applicators, proper storage is key. Keep remover in an airtight, opaque container and store in a cool, dry place away from direct sunlight and heat sources. Exposure to light and air causes acetone to break down faster.
For pads and cotton balls, keep them sealed in a zip bag when not in use to prevent evaporation. Remover can be stored for 6-12 months, but if it smells odd or seems ineffective, it’s time to replace it.
With proper care, your nail polish remover will stay fresh and ready for removing the next fabulous manicure!
Conclusion
Removing nail polish doesn’t have to be a messy or frustrating process. With the right remover and technique, you can easily take off regular polish, gel polish, glitter polishes, and more. Follow the steps in this comprehensive guide for successfully using nail polish remover on both fingernails and toenails.
Your nails will look fresh and polished in no time!