How To Use Nail Forms: A Step-By-Step Guide
Using nail forms can help you achieve a perfect manicure at home. With some practice, you’ll be applying flawless acrylics and gel polish with ease. If you’re short on time, here’s a quick answer to your question: Soak forms in alcohol, push back and trim cuticles, select right size forms, adhere to nail plate, apply product and cure under LED or UV lamp, then file and shape for a salon-quality manicure.
In this comprehensive guide, we will go through all the steps and techniques for mastering nail forms. You’ll learn about preparing your nails, choosing the right size forms, applying product smoothly, and finishing with a natural look.
With the help of this guide, you’ll gain the skills to sculpt beautiful nails that will have people asking where you got them done!
Choosing the Right Nail Forms
Size Matters
When selecting nail forms, one of the most important factors is getting the right size. Nail forms come in a range of sizes, from petite to extra large, to accommodate different nail beds. Choosing a form that is too small can result in the artificial nail lifting or popping off, while one that is too big can leave gaps at the sidewalls or be difficult to apply neatly.
Professionals recommend having a range of sizes on hand to find the perfect fit for each client’s unique nail beds. Additionally, nail forms that are customizable with tabs or cut-to-fit options allow for more precision in getting an optimal size and shape.
Material Options
Nail forms are made from various materials, each with their own advantages. Popular choices include:
- Plastic – Affordable and easy to customize for proper sizing
- Paper – Often thinner and allows nails to breathe better
- Fabric – Flexible and can hug the nails well for a secure bond
- Foil – Ultra thin yet strong and durable
The material determines factors like thickness, rigidity, and how long they last before needing to be replaced. Paper forms tend to be single-use, while plastic and fabric can be used multiple times with proper sanitization.
Personal preference in ease of application and comfort for clients may dictate what works best.
Curved vs Straight
Nail forms are available with either a curved or straight shape. Curved forms better match the natural oval contour of most nail beds for a seamless look. However, straight forms may be preferred for those who want a squared tip style.
Mixing curved and straight forms for different nails can also create a fun, edgy appearance. Keep in mind that curved forms tend to be easier for beginners to work with compared to straight.
Test driving various form options to discover the ideal sizes, materials, and shapes for your nails and application style is key for creating flawless, professional enhancements. Don’t be afraid to experiment with different brands and combinations until you find your perfect match!
Preparing Your Nails
Remove Old Polish
Before applying new nail forms, it’s important to start with a clean slate by removing any old nail polish or acrylics. Use an acetone-based nail polish remover and cotton balls to gently remove residual color or shine from your natural nails.
This prep work helps the new forms and polish adhere better for a longer-lasting manicure.
Trim and Push Back Cuticles
Use cuticle nippers to gently trim and push back your cuticles, which are the thin skin around the base of your nails. Trimming them not only keeps your fingers looking tidy, but also ensures that the nail forms can fit flush against your natural nails.
Be careful not to cut your skin when nipping cuticles – ouch!
Lightly Buff Nails
Use a fine grit nail file or buffer to lightly smooth the surface of your natural nails. This removes any ragged edges and creates a lightly abraded texture for the nail forms to grab onto. Be very gentle though – over-filing can damage your nails! Just a few light sweeps over the nail plate is all you need.
Dehydrate Nails
Lastly, wipe your natural nails with nail prep solution or rubbing alcohol using a cotton ball. This step removes any lingering oil and moisture from your nails, ensuring maximum adhesion with the false nail tips. It literally dehydrates your nails (but don’t worry, they won’t get thirsty).
Okay, now your nails are prepped and ready for false nail application! Removing old polish, trimming cuticles, light buffing, and dehydrating are simple but important steps that pave the way for long-lasting, beautiful nail form nails.
💅 With the prep work done, it’s time for the fun part – picking a fierce nail shape and color!
Applying the Forms
Soak Forms in Alcohol
Before applying nail forms, it’s important to prep them so they adhere properly to the natural nail. Start by soaking new nail forms in 70% isopropyl alcohol for 2-3 minutes. This helps remove any residue or oils from the manufacturing process.
Gently rub the inside of the forms while soaking to get them extra clean. Let them air dry completely before attempting to apply them.
Find Proper Fit
Hold the form up to your nail to find the best size and shape. The side edges of the form should align flush with your natural nail edges. The form should not be too wide or extend too far beyond your fingertips. Proper form fitting helps create a natural look.
If needed, trim and file the forms to customize the fit before adhering them.
Adhere Forms to Nail Plate
Once the forms are prepped and fitted, it’s time to apply them. Brush a thin layer of nail primer over the entire natural nail plate. Let it dry for 30-60 seconds. Apply a drop of nail glue or resin inside the well of the form, then gently press it onto your nail so it sticks straight and tight with no air bubbles.
Hold for 30 seconds to set. If the form starts to slip off, apply more glue and hold firmly again. The key is getting it to adhere evenly across the entire nail.
Pinch and Seal Sidewalls
With the form securely applied, use your fingertips to pinch and crease the sidewalls down against your nail plate. This creates a nice seal so acrylic, gel or dip powder stays contained within the well space later on.
Run a nail file at a 45 degree angle along the edges to further seal and blend the form with your natural nail. The tighter the seal, the cleaner your final nail enhancement will look. Be careful not to file the form too thin or it may tear.
Applying Product
Acrylic – Apply Beads and Brush Smooth
When working with acrylic nails, the key is to apply small beads of acrylic polymer powder near the cuticle area and work your way down the nail. Use your brush to gently push the beads towards the free edge, brushing smoothly to create an even layer.
Avoid overworking the acrylic or applying too much pressure as this can cause cracking or lifting. The finished look should be a durable, crystal clear enhancement. According to the Nailcare HQ website, acrylic nails done properly can last 2-3 weeks on average.
Gel – Paint Even Layers for Coverage
Gel polish tends to have a thicker, gloopier consistency than regular nail polish. Applying gel polish requires painting on thin, even layers to ensure full coverage and curing. Leading gel brands like Shellac and Gelish recommend keeping the layers sheer initially and building up coats for flawless results.
Curing under an LED or UV lamp inbetween layers helps the gel polish set fully. Using gel coats for added shine at the end creates a salon-perfect manicure that can last up to 3 weeks with proper application and removal methods.
Dip Powder – Dip and Activate Layers
The dip powder process involves dipping the nail into powder activator liquid, then dipping into a colored powder, repeating for each layer. According to nail care brand Kiara Sky, 3-5 dips creates the best thickness for long-lasting nails.
It’s crucial to activate fully between dips so layers adhere properly. Finish by filing, shaping and buffing for a smooth finish. Added tips from industry sites like NAILS Magazine recommend lightly buffing off shine first for max adherence.
Correct application leads to a durable dip manicure that can last 3-4 weeks on natural nails.
Curing and Finishing
Cure Under LED or UV Lamp
After applying the nail forms and acrylic or gel polish, it’s crucial to properly cure the nails to ensure the product dries completely and lasts. The standard options for curing artificial nails are LED lamps and UV lamps.
LED nail lamps use visible light to cure or harden the polish or acrylic. The curing process takes 30-60 seconds under an LED lamp. LED technology allows nails to cure evenly without heat spikes that can cause damage.
Most modern nail salons use LED lamps because they cure polished quickly and provide a smooth, hard finish.
UV nail lamps use ultraviolet light to cure polish and are the more traditional option. It takes 2-3 minutes to fully cure nails under a UV lamp. While UV rays fully harden nails, there is a risk with overexposure that can damage the skin and nails.
Many nail techs still opt for UV lamps as the first choice or in combination with LED.
No matter which curing lamp you use, be sure to fully cure nails on top and underside to get an even, durable finish. Follow manufacturer instructions to get the recommended cure time.
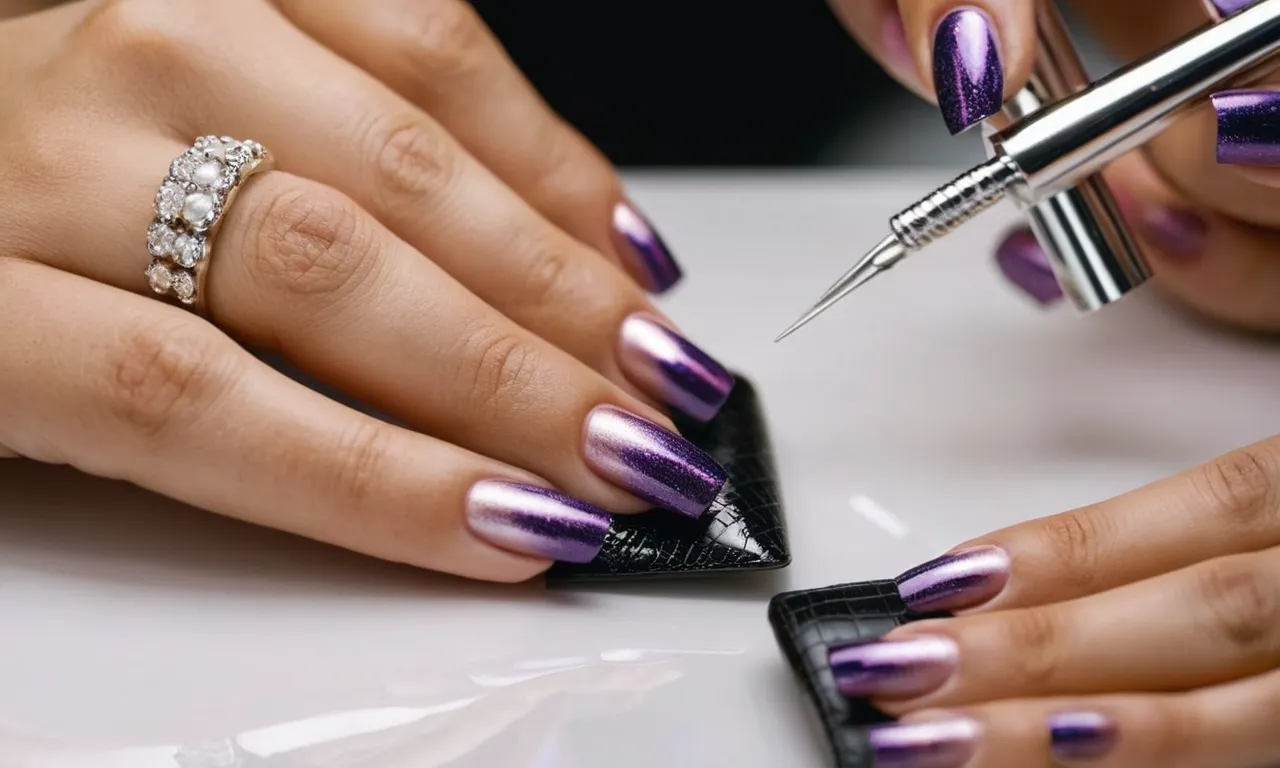
File and Shape
Once nails are fully cured, the next step is filing and shaping for a smooth, polished look. Use a coarse nail file to shape the artificial nail and blend it into your natural nail edge. File the surface of the acrylic or gel overlay to remove any lumps and imperfections.
Refine the shape using a fine grit nail file until you achieve the desired look – square, round, squoval or pointed.
Be sure to file gently and shape the nails evenly. Avoid filing too harshly or you could thin out the artificial nail. It’s also important to seal the edge of the nail so water doesn’t get underneath and cause lifting or damage. Smooth any rough edges with a fine buffer block or shine file.
You can get creative filing into unique shapes or embellishing with nail art. The filing and shaping step is when you can really define the look you want.
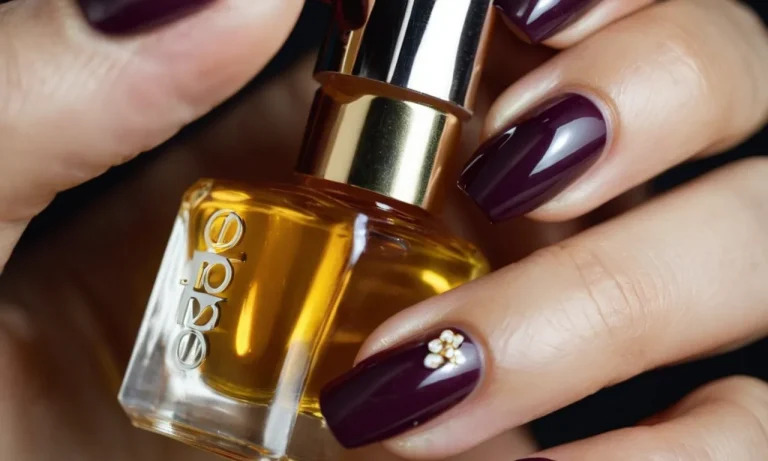
Finish with Cuticle Oil
The final step after nail forms is applying cuticle oil around the nails. This hydrates the nails and cuticles, promoting healthy growth. Brush a small amount of oil around each nail, massaging it into the nail plate and surrounding skin.
Look for cuticle oils infused with vitamins and moisturizers like vitamin E and jojoba oil. Avoid using lotions or creams, as the thicker consistency won’t absorb into the nails as well. Continue to apply cuticle oil daily after your manicure to get the most benefits.
Finishing with cuticle oil gives your nails a healthy, nurtured look. It also prevents the nail edges from becoming dry and brittle over time with the use of acrylics or gel polish.
Conclusion
With some practice using nail forms, you can achieve stunning nails at home. Focus on proper preparation, finding the right size and shape forms for your nails, smoothly applying product, and perfecting the shape. Use this guide as a reference while honing your technique.
Soon you’ll be doing pro-quality manicures that will have everyone convinced you just stepped out of the salon!