How To Use Nail Foils With Gel Nails For A Glamorous Manicure
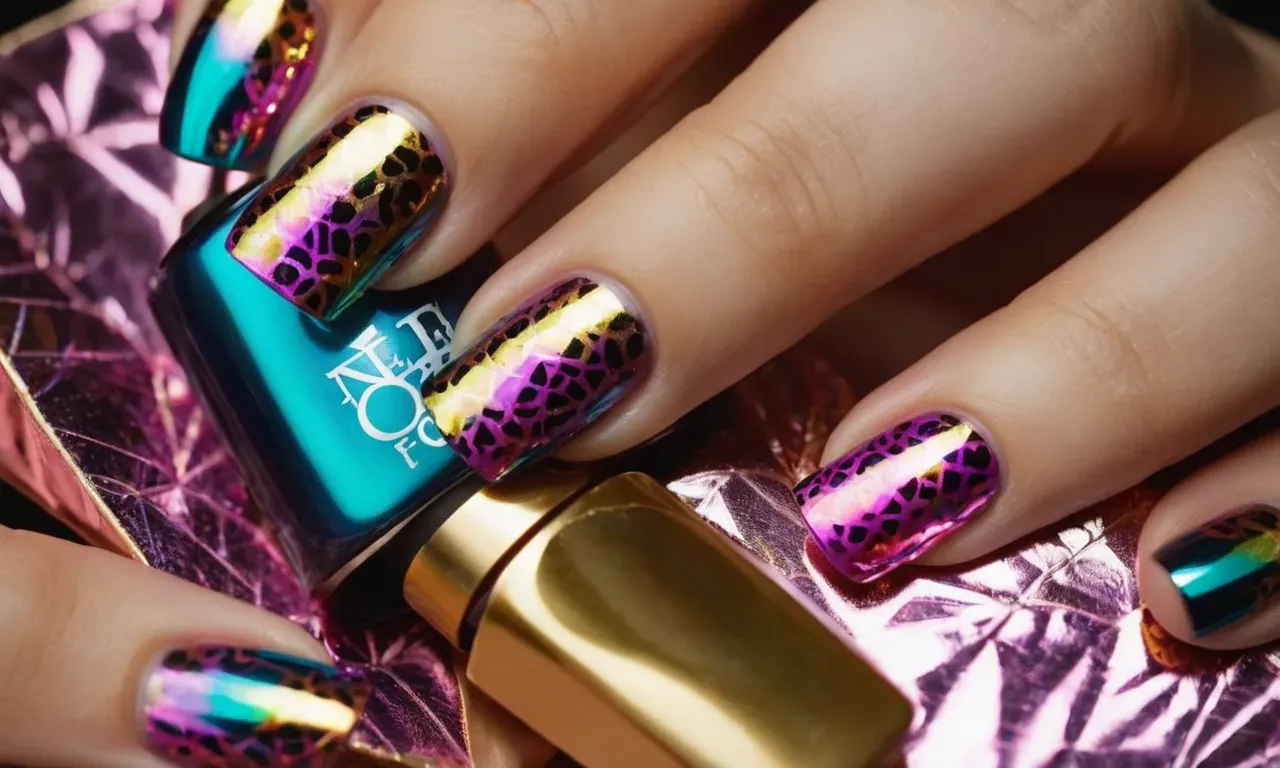
Nail art is an easy way to elevate your basic manicure and make a statement. Using nail foils with gel polish creates a fun, glamorous look that will have all your friends asking where you got your nails done.
If you’re short on time, here’s a quick answer to your question: Apply gel base and color per usual, cure, then apply foil adhesive to nail, place foil and seal it by applying gel top coat over the foil.
Read on and we’ll go over each step in detail, as well as tips and tricks for applying foils perfectly every time.
In this comprehensive guide, we’ll walk through the complete process for using nail foils with gel polish, from prepping your nails to sealing the foil for long-lasting wear. We’ll also cover must-have tools and products, design ideas, removal tips, and frequently asked questions about combining foils with gel manicures.
Gather Your Foil Nail Supplies
Before you can start applying nail foils, you’ll need to gather the right supplies. Here are the main items you’ll need for stunning foil nail art using gel polish:
Gel Polish System
A basic gel manicure system includes a gel primer or base coat, gel nail polish colors, and a gel top coat. These are UV/LED-curable gel polishes that will allow you to sandwich the foil between layers of polish.
Nail Foil Adhesive
You’ll need a special nail foil adhesive that goes on before the foils. This helps the foils adhere properly to the nail. A foil adhesive is a must for any foil manicure.
Assorted Nail Foils
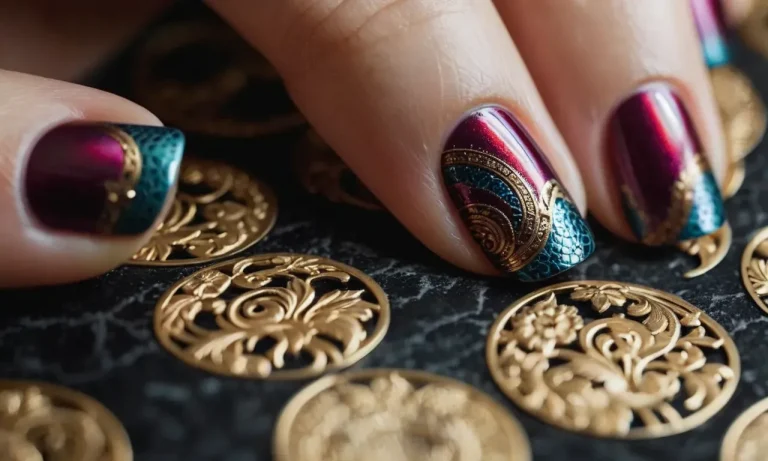
The possibilities are endless when it comes to foil choices! Look for foils in different colors, patterns, finishes and shapes. Good starter packs will give you a variety to work with.
Foil Nail Kit
For convenience, look for an all-in-one foil kit. These contain the essentials like adhesive, an array of foils, tweezers for application, and instructions. This takes the guesswork out of gathering supplies.
Nail File and Buffer
Use a nail file to shape your nails and a buffer to smooth and shine the surface before your manicure. This helps foils adhere better and makes for a professional look.
Cuticle Oil
Hydrated cuticles make for a neater foil application. massage in cuticle oil before you get started.
Gel Cleanser and Prep Solution
Use a gel cleanser to remove any oil from the nail plate before applying your base coat. A prep solution lightly etches the nails so gels bond properly.
Lint-Free Wipes
Have lint-free wipes or a nail wipe soaked in alcohol on hand to remove any oil or sticky residue from nails before applying your gel polish layers.
Once you have these foil nail essentials, you’ll be ready to create trendy, salon-worthy manicures at home!
Prep Your Nails for Foil Application
Trim and shape nails
Before applying nail foils, it’s important to start with a proper nail shape. Use nail clippers to trim your nails to your desired length. Then use a nail file to shape them into a rounded or square shape, being sure the edges are smooth without any roughness or sharp corners.
This will allow the foils to adhere nicely to the full nail surface.
Push back and trim cuticles
Use a cuticle pusher to gently push back your cuticles, which helps expose more of the nail plate for foil application. Then use cuticle nippers to carefully trim off any excess or hanging cuticle, being careful not to cut the skin. This prevents the foils from catching or lifting on dry cuticles.
Buff nail surface gently
Use a fine grit nail buffer or nail file to gently buff the surface of your natural nails. This removes any shine and creates a slightly rough texture for the nail foils to grip. Be very careful not to over buff as this can damage the nails. Just a few light sweeps over the nail surface is enough.
Wipe nails with lint-free wipe and gel prep solution
Wipe your nails with a lint-free wipe or pad soaked in a gel nail prep solution or isopropyl alcohol. This helps remove any oils, debris or moisture from the nail plate for maximum foil adhesion. Allow nails to dry completely after wiping.
Apply cuticle oil around nails
Finish your nail prep by brushing a small amount of cuticle oil around the skin surrounding your nails, avoiding the actual nail plate area. This nourishes the skin and prevents it from drying out during the foil and gel polish application process.
Apply Gel Base Coat and Cure
Applying a gel base coat is a critical first step when doing a gel manicure with nail foils. The base coat helps the foils adhere properly and creates a smooth surface for application. Here are some tips for applying gel base coat for foil nails:
Apply thin layer of gel base coat to entire nail
Use a gel base coat specifically formulated to work with gel polish and foils. Apply a very thin, even layer to cover the entire nail plate from cuticle to tip. Avoid getting too thick of an application, as this can cause issues later.
Make sure top edge is sealed to avoid lifting
Pay close attention to sealing the top edge near the cuticle area and sides of the nail plate. These areas are prone to early lifting and detachment. Take an extra moment to ensure they are smoothly covered with base gel.
Cure in LED lamp per brand instructions, usually 30-60 seconds
Once applied, cure the gel base coat layer in your LED lamp. Most brands recommend 30-60 seconds to fully set. Do not skip this curing step! The base must be fully set before applying foils.
Properly prepping the nails with a thin, smooth gel base coat is the key to foil application success. Taking the time to do this first step right will help the foils last longer and avoid lifting or damage.
Paint On Gel Color and Cure
Apply 2 coats of desired gel polish color
When working with nail foils and gel polish, it’s crucial to start by perfectly prepping the natural nail first. Once the nails are properly filed, buffed and dehydrated, apply two thin coats of your chosen gel polish color, whether a neutral, bright hue or French white tip.
As recommended by nail care experts, apply gel polish sparingly with each coat, smoothly gliding the brush to prevent overloaded, uneven layers. Allow a minute between coats for drying. Remember, thinner is better – two sheer layers provide ample vibrancy while avoiding excess thickness underneath foils.
Cure each coat in LED lamp for 30-60 seconds
Today’s advanced LED gel polish lamps allow for shorter curing times versus old UV lamps. Generally, each gel polish layer requires only 30-60 seconds of LED exposure to set completely. Check your lamp’s instructions to confirm exact timing.
Properly curing between coats is imperative for long-lasting manicure wear.
Avoid prematurely removing gel polish from the LED lamp, as tacky, incompletely cured polish won’t properly adhere foils. For best results, do not disturb nails immediately after curing – let cool undisturbed for 1 minute before proceeding.
Make sure coats are thin and even
Uneven gel polish coats become visible under foils. After natural nail prep, apply gel color super thin and smooth, like a sheer veil over nails. Strategically glide gel starting mid-nail and brushing outwards to prevent pooling product at cuticle sides or nail tips.
Check all angles in bright lighting to ensure full, flawless coverage with each coat. Allow thorough drying and curing times between applications for perfectly level layers, the key for professional foil application.
Adhere Foil to Nails
Once your gel polish base coat has fully cured, you are ready to adhere the foil design. This takes a bit of finesse, but following some key tips will help you get a smooth, wrinkle-free application.
Apply layer of foil adhesive over cured gel polish
After your gel polish has cured, apply a thin layer of foil gel adhesive or glue over the entire nail. This specially formulated gel will help the foil adhere properly. Using a dedicated foil adhesive brush, sweep the gel evenly over the nail from cuticle to tip.
Make sure there are no lumps or bare spots. Allow the adhesive layer to cure in your LED or UV lamp for 30-60 seconds.
Carefully place foil over nail in desired position
Once the adhesive has cured, use tweezers to gently lift and position your foil piece over the nail where you want it. Try to avoid touching the foil directly with your fingers, as the oils from your skin can cause it not to adhere as well.
Carefully place the foil so it is straight and smooth, without any folds or wrinkles.
Use tweezers to gently smooth out any wrinkles or bumps
If there are any small wrinkles after you set the foil down, use tweezers to gently smooth them out. Carefully press from the center of the foil outward to adhere it properly and remove any bumps. Be gentle so you don’t tear the foil.
The key is to take your time and carefully adjust the foil into place for optimal smoothness.
Do not cure foil yet
Once the foil is positioned perfectly with no wrinkles, do not cure it right away. The foil needs to be sealed first for the best adherence and longevity. Apply a thin layer of clear gel top coat over the foil, using a gel brush and gently sweeping from cuticle to tip to avoid lifting the foil.
Cure the top coat layer for 30-60 seconds. This seals and protects the foil design. After this top coat layer has cured, you can apply another layer of top coat if desired for added shine and durability. Your trendy foil nails are complete and ready to show off!
Seal Foil with Gel Top Coat
Apply thin layer of gel top coat over foil
Once you have the foil design adhered where you want it, it’s important to seal it down with a layer of gel top coat. This helps smooth down any lifted edges and prevents the foil from catching on things and peeling up.
Apply a very thin layer of gel top coat over the entire surface of the nail where you applied the foil. You want just enough to seal it down without covering up the design. Be gentle and try not to move the foil around too much.
Make sure all edges are sealed down smoothly
Pay extra attention to the edges of the foil when applying the top coat. Use the brush to gently push down any lifted corners or edges. This ensures there are no rough spots for the foil to catch on and start peeling up.
If you notice any bubbles or wrinkles under the top coat, gently smooth them out with the brush before curing. The top coat helps adhere the foil firmly in place for long-lasting wear.
Cure foil completely for 60 seconds
Once you’ve sealed the foil design with a smooth layer of top coat, cure it under the LED or UV lamp. Cure for a full 60 seconds to ensure the foil is completely set and bonded to the nail.
Proper curing is important to prevent any bubbling or lifting around the edges later on. The foil should be fully fused to the nail after curing.
Now your foil nail design is sealed and ready to go! Adding that glossy top coat not only protects the foil, but also makes the whole design really pop. Your foiled gel manicure will have that wow factor and should hold up beautifully!
Finish with Cuticle Oil for Healthy Nails
After applying fun and glamorous nail foils to your gel manicure, it’s important to finish off with some nourishing cuticle oil to keep your nails and skin healthy. Cuticle oil helps hydrate and condition the nail beds and surrounding skin, preventing cracking, peeling or irritation.
Hydrate Cuticles and Nails
Using cuticle oil is essential for maintaining the moisture balance of your nails and cuticles after gelling. The acetone and UV light used to cure gel polish can be dehydrating and drying to the natural nails over time.
Massaging in cuticle oil after your manicure helps replenish moisture and prevent brittle, dry nails.
Look for cuticle oils formulated with nourishing ingredients like vitamin E, jojoba, and essential oils. The Sally Hansen Vitamin E Nail & Cuticle Oil and Deborah Lippmann Lemon Cuticle Oil are great drugstore options.
Soothe Irritated Skin
The glues and tapes used when applying nail foils can sometimes irritate skin around the nails. Gently massaging in cuticle oil after removing the foils can help soothe and condition any reddened or sensitive skin, while also preventing future irritation.
If you experienced more significant skin reactions from the glues, you may want to opt for a cuticle oil formulated for sensitive skin. The Pureauty Naturals Organic Cold-Pressed Cuticle Oil contains anti-inflammatory essential oils like tea tree and lavender to help calm skin.
Prevent Hangnails and Infections
Keeping the skin around your nails conditioned with oil will also help prevent painful hangnails and potential nail infections. Hangnails form when dry, cracked skin separates from the nail wall. And openings in the skin provide a pathway for bacteria and fungi to get in and infect the nails.
Dermatologists recommend applying cuticle oil 1-2 times per day to maintain moisture and help protect skin integrity. This helps safeguard the nail borders from hangnails and outside contaminants that could lead to infections.
Boost Nail Strength
Some research indicates that the hydrating oils in cuticle treatments can penetrate down to strengthen the actual nail plates. In one study, using jojoba-based cuticle oil twice daily for six weeks increased nail hardness by 12% and thickness by 6%.
So treating your nails and cuticles with oil doesn’t just improve the skin – it may also help build stronger nails from within! Just be sure your nail foil application doesn’t damage the nail surface, which could offset these strengthening benefits.
Investing just a few minutes post-manicure to nourish your nails and cuticles pays off! Keeping the nail area conditioned helps your glam gel foil look last longer while preventing several nail issues. Your fingertips will look photo-shoot ready and feel soft and healthy.
Foil Gel Mani Do’s and Don’ts
Do use a foil adhesive made for nails
Using a high-quality foil adhesive specifically formulated for nails is key for getting the perfect foil application that will last (1). Foil adhesives contain tacky polymers that help the foil stick to the nail surface. Adhesives made for nails also dry quickly and won’t damage your manicure.
Avoid household glues or tape which can be too aggressive and damage the foil or pull off layers of your gel polish when removing.
Don’t apply foils on dry or dirty nails
For the foil to adhere properly, make sure to apply it on freshly polished nails that are still a bit tacky. Dry, hardened gel polish will lead to the foil not sticking or lifting after application. Nails should also be free of dust, oil or lotion that can interfere with adhesion (2).
Use a nail prep solution and avoid touching the nail surface for best results.
Do seal edges to prevent lifting and damage
Once foils are applied, it’s important to seal the edges by applying a layer of top coat. This helps smooth over the foil and prevent lifting or peeling (3). Make sure to cap the free edge and wrap the tips too.
Sealing the foils will help them last longer and protect the designs from wearing down too quickly.
Don’t pull or pick at the foils once applied
It can be tempting to poke at or pick off the foils once they are on your nails, but this will damage the manicure. Pulling the foils can strip off layers of gel polish underneath, leaving your nails uneven. It also exposes unsealed edges which can start peeling more.
Try to avoid too much direct contact with the foils and be gentle on your hands until cured under a LED lamp.
Foil Gel Manicure FAQs
How long does a foiled gel manicure last?
A foiled gel manicure can last up to 3-4 weeks with proper application and care! The longevity of a foiled gel manicure depends on a few factors:
- Quality of gel polish and top coat used – reputable salon brands tend to have better wear time
- Application technique – making sure each step is done properly and layers are sufficiently cured under the LED or UV lamp
- Avoiding excessive water exposure – foils may start lifting if exposed to too much water before fully cured
- Using cuticle oil daily – keeps nails hydrated and less prone to cracking/peeling
With proper application and some TLC, a foiled gel manicure can last as long as 3-4 weeks without chipping or damage to the foils. The gel helps lock in the foil design for long-lasting nail art!
Can you use foils with regular (non-gel) polish?
While gel polish is recommended, it is possible to apply nail foils on top of regular nail polish. The key is using a high-quality top coat to help seal in the foils.
Here are some tips for using foils with regular polish:
- Choose a long-wearing nail polish formula that dries to a hard, glossy finish.
- Apply polish in thin, even layers and let dry fully between coats.
- Wrap tips to help prevent peeling and increase wear time.
- Apply a top coat like Seche Vite or Essie Gel Setter to completely seal and smooth the manicure.
- Gently apply foil adhesive and foils as desired over the top coat while still tacky.
- Finish with another layer of quality top coat to lock in the foils.
While gel may last longer, it’s certainly possible to get 1-2 weeks of wear from foil nail art using regular polish if applied properly. Just be diligent with top coat to prevent foils from lifting or peeling early.
What’s the best way to remove foil gel manicures?
To safely remove a foiled gel manicure, an acetone-based gel polish remover is recommended to break down the polish layers and foils from the natural nail. Soak cotton pads in remover and hold over each nail for 5-10 minutes until gel starts lifting around the edges.
Then gently push or roll off gels and foils from cuticle to tip.
Do not peel or pick off gels/foils, as this can damage the natural nail. File off remaining color rather than scraping to prevent nail damage. Use cuticle oil after to rehydrate nails.
For a foil gel manicure removal at home, follow these steps:
- Buff surface lightly to thin gel layers
- Apply gel remover soaked cotton pads and allow to sit for 5-10 minutes
- Gently roll or push gels/foils off from cuticle to tip
- Use an orangewood stick to gently scrape off any remaining bits of foil or polish
- File surface to smooth and remove color residue
- Hydrate nails with cuticle oil when done
Salons may also use a drill or e-file for quick foil gel removal. Avoid DIY e-filing as it can cause damage if not done properly. With the right remover and technique, foils can be removed safely without damage to the natural nail underneath!
Conclusion
Using nail foils with gel manicures is an easy way to take your nails to the next level. With the right products and technique, you can get salon-worthy results at home. Prep nails properly, apply gel polish, adhere foils, seal with gel topcoat – and don’t forget to finish with cuticle oil.
With a little practice, you’ll be a pro at applying foils for showstopping nail looks. For more tips and design ideas, visit our nail art blog!

