How To Use Nail Dehydrator And Primer For A Long-Lasting Manicure
Having beautiful, long-lasting nails is a goal for many women. But achieving salon-quality nails at home can be a challenge without the right products and techniques. Using a nail dehydrator and primer is key to helping your manicure last.
If you’re short on time, here’s a quick answer: Apply nail dehydrator first to clean nails and remove oils. Let dry, then apply primer to help polish adhere better. Finish with base coat, color and top coat for a long-lasting manicure.
In this comprehensive guide, we’ll cover everything you need to know about how to properly use nail dehydrator and primer for the perfect at-home manicure.
What is a Nail Dehydrator?
Definition and Purpose
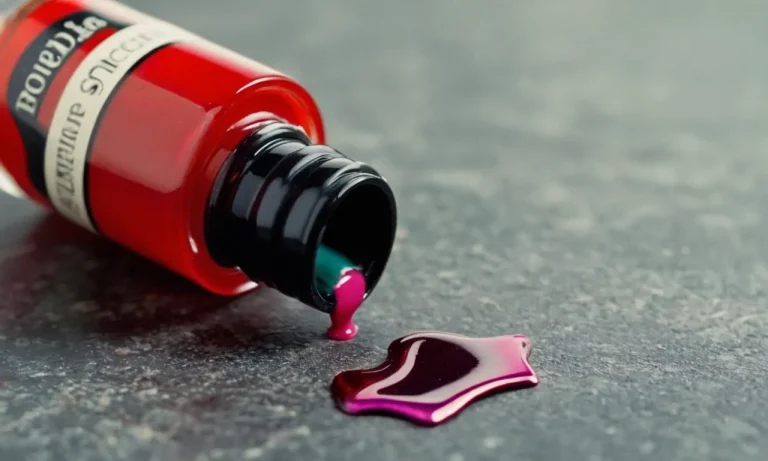
A nail dehydrator is a solution that is applied to the natural nail plate before nail enhancements or polish. It removes oils, moisture, and residue from the nail’s surface to allow products like gel, acrylics, or regular nail polish to properly adhere.
Using a dehydrator preps the nail bed for a long-lasting, chip-free manicure.
Types of Nail Dehydrators
There are a few main types of nail dehydrators:
- Acetone-based – Most common, removes oils effectively
- Alcohol-based – Less drying than acetone
- Acid-free – Gentler on nails
Many brands like Young Nails and NSI offer combination dehydrator and primer formulas as well. These convenient products prep and etch the nails in one step.
How it Works to Prep Nails
Nail dehydrators work to get rid of moisture and residue through the process of evaporation. When applied to the nail plate, the solution saturates the surface and allows oils and moisture to evaporate away. This leaves the nail clean and dry for enhanced adhesion.
Dehydrators also lightly etch the nail’s surface through gentle abrasives or acids like acetone. This etching creates microscopic grooves for nail products to seep into and grip onto. An etched nail plate allows the enhancement, gel, or polish to anchor strongly and last longer without peeling or chipping.
Using a primer after dehydrating seals in the nail’s dry, etched state to further prep it for polish. Primers often contain methacrylic acid, which helps products bond by chemically fusing to the keratin layers in the natural nail.
While dehydrators are optional for regular polish manicures, they are crucial when getting acrylics, dip powder nails, or gel polish overlays. Applying enhancements or gels on top of oils or moisture leads to premature lifting and damage to the natural nail.
For best results, be sure to fully dehydrate nails and follow with primer before starting your manicure.
When to Use Nail Dehydrator
Before gel manicures
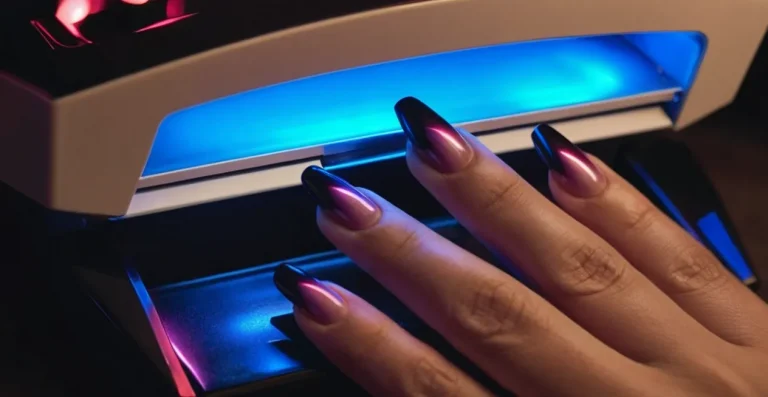
Using a nail dehydrator before a gel manicure is crucial for achieving a long-lasting, chip-free finish. Gel polish adheres best to nails that are free of moisture, oil and debris. A dehydrator will remove any residue and prep the nails for gel application.
Most professional nail salons will cleanse and dehydrate your nails before applying gel polish. At home, be sure to swipe on dehydrator like Beauty Secrets Nail Prep before using gel polish for optimal results.
Dehydrating gives the gel something to “grip” onto so it stays put on your nails for up to 3 weeks without lifting or peeling.
Before any polish application
While a dehydrator is especially key before gels, it can also be used before applying regular nail polish. Prepping with a dehydrator helps remove surface oils so polish adheres better and lasts longer without chips and cracks. Using a dehydrator makes any manicure more long-lasting.
An at-home dehydrator like Orly Bonder Rubberized Basecoat works for any nail polish type – regular, gel, dip powder, acrylics, etc. Wipe it on clean bare nails before polishing for a smooth, even application.
When to avoid dehydrator
While dehydrator is great for prepping for manicures, you’ll want to avoid it in some cases:
- On already thin, peeling or damaged nails – dehydrator can dry out and weaken nails further.
- If you have open cuts or sore spots around nails – stinging may occur.
- Before moisturizing treatments – dehydrator removes moisture, so avoid when using cuticle oil, etc.
- Before buffing nails – buffing opens up pores, so dehydrate after buffing.
- If you have allergies or sensitivities – discontinue use if irritation occurs.
Overuse of dehydrators can dry out the nail plate over time. Use sparingly only when needed, and be sure to keep cuticles and nails moisturized between manicures. An intensive cuticle oil like Bliss Kiss Simply Pure Cuticle & Nail Oil can rehydrate and nourish nails.
How to Apply Nail Dehydrator
Cleaning nails first
The first step in properly applying nail dehydrator is to make sure your nails are clean. Use nail polish remover to take off any old polish, dirt, or oils from your nails. You’ll want a clean slate before applying dehydrator.
An alcohol wipe can help get rid of any remaining debris or oils after using remover. Having clean nails helps the dehydrator work best.
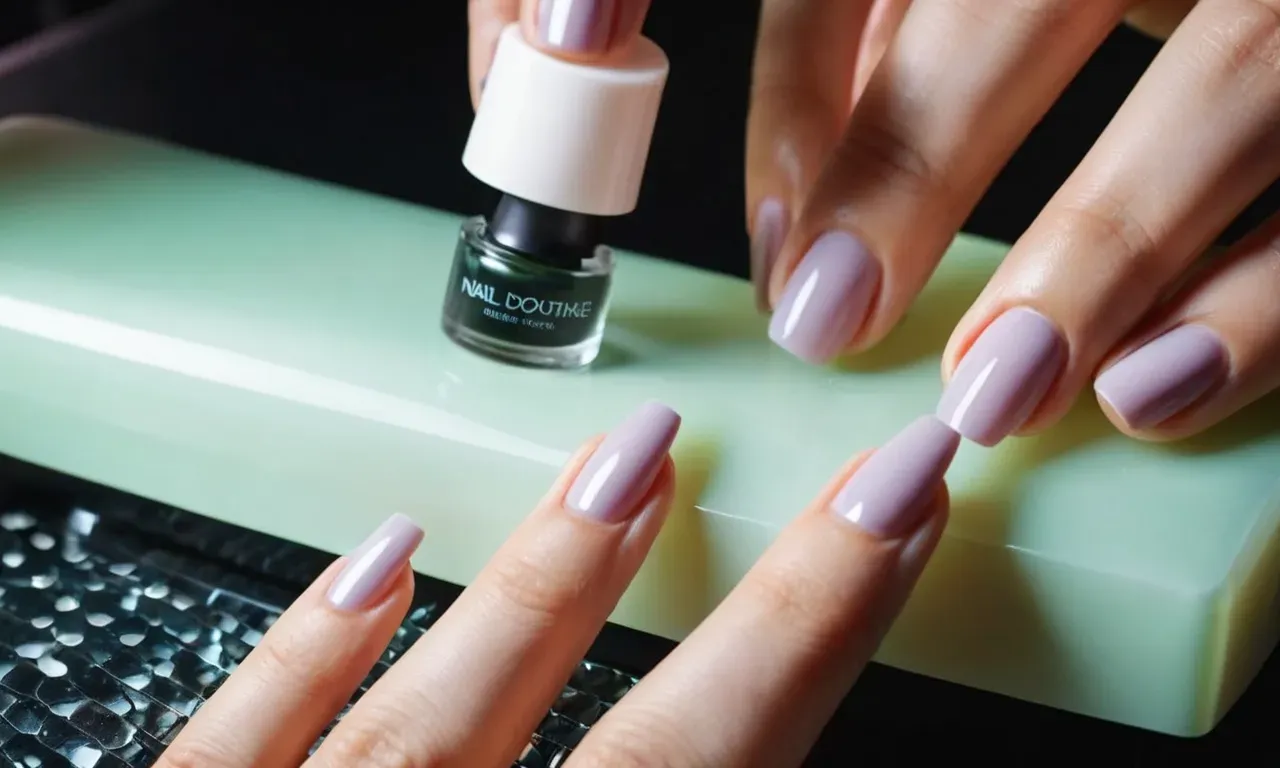
Brushing on dehydrator
After your nails are squeaky clean, take the nail dehydrator bottle and brush a thin layer onto each nail from base to tip. Don’t glob it on, a thin uniform layer is all you need. Make sure to get the edges of your nails too.
Let the dehydrator sink in for a few seconds before moving onto the next nail. Getting an even coat of dehydrator helps remove oils and moisture for better polish application.
Letting it dry
Now comes the important step of letting the dehydrator dry completely. This usually takes 60-90 seconds. Resist the urge to hurry and put polish on right away! Letting the dehydrator dry thoroughly allows it to work its magic of sealing and smoothing the nail.
Have patience during the quick dry time for a lasting manicure. You can wave your hands to help speed up the drying time.
How long it lasts
A nail dehydrator preps your nails for polish and helps it adhere better and last longer. With a good dehydrator base coat, your manicure can last over a week without chips, cracks or peeling! Some salon brands like CND Super Shiney can even prolong polish wear up to three weeks.
Using nail dehydrator helps polish resist chipping and fading. It’s a great secret for a long-lasting, flawless manicure.
What is a Nail Primer?
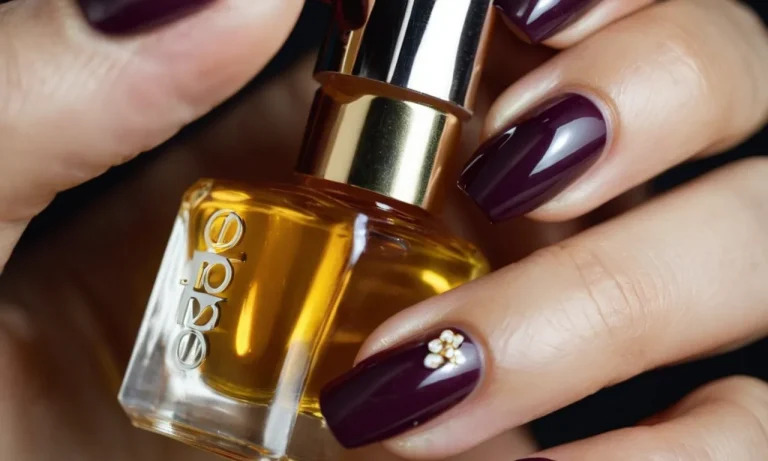
A nail primer is a product formulated to help nail polish adhere to natural nails and enhance its durability and longevity. It essentially provides a foundation or canvas for the polish to stick to.
Purpose of nail primer
There are a few key reasons to use a nail primer:
- It helps polish stick better to the nail surface and beds.
- It prevents chipping, peeling and other cosmetic issues with regular polish application.
- It evens out ridges, discoloration and other imperfections on natural nails for a smooth surface.
- It can help extend the longevity of a manicure by days or even weeks.
Types of primer formulas
Primers come in a few basic types and forms:
- Bonding primers use adhesives to help polish adhere to the nail.
- Ridge filling primers are thicker to fill in creases and ridges on nails before polish.
- PH balancing primers help prepare the nail for polish by normalizing PH.
- Primers also come as built-in base coats with some polish lines.
How primer works
Nail primer works by forming both a chemical and physical bond with natural nails:
- It penetrates and “grabs” onto the keratin layers in nails with adhesives.
- It provides a tacky base for polish so the layers can interlock as they dry.
- Any ridges are filled in to offer an even, consistent surface.
Using quality primer products is critical—it really preps and optimizes the nail bed before polish in key ways. Most experts now consider it an essential first step to any manicure for far better, longer lasting color results.
When to Use Nail Primer
With any nail polish
Using a nail primer before applying nail polish can help the manicure last longer. The primer acts as a base coat that allows the polish to adhere better to the natural nail. This prevents chipping and peeling, resulting in a manicure that can last up to a week without showing signs of wear.
Primers also help prevent staining of the nails from dark-colored polishes. So whether using creams, glitters, shimmers or bright shades, start with a primer for polished perfection!
With acrylics or dip powders
Acrylic and dip powder manicures require primers for best results. The primer fills in any ridges or imperfections in the natural nail surface to create a smooth base. This allows the acrylic or dip powder to adhere evenly over the entire nail.
Using a primer also prevents lifting and premature cracking or peeling. For long-lasting acrylics or dips, primer is a must-have prep step.
With gel manicures
Primers are commonly used with gel polish manicures. The primer enhances adhesion so the gel polish stays on without chipping or lifting for 14 days or longer. Primers also prevent discoloration of the natural nails that can occur with some gel polish formulas.
Apply primer before base and color coats for the ultimate long-lasting, flawless gel mani.
When to avoid primer
While primers are great for most manicures, there are a few exceptions:
- If you have sensitive nails or skin, avoid primers with harsh chemicals like formaldehyde, toluene, and dibutyl phthalate (DBP). Seek natural, non-toxic options.
- Don’t use primers under moisturizing treatments like oils or conditioners which require direct contact with the natural nail.
- Avoid primer if you have nail fungus or infections – treat the condition first before applying products.
- If wearing nail polish or gels for only 1-2 days, primer may not be needed.
The key is to read product instructions and ingredients to determine if a primer makes sense for your particular nail type and manicure plan. Consult a manicurist if unsure whether you need to prep with primer or not. With a few informed exceptions, primers can take your manicure the distance!
How to Apply Nail Primer
Applying nail primer is a crucial step in achieving a long-lasting, chip-free manicure. Here’s a step-by-step guide on how to properly use nail primer:
After Dehydrator Dries
Wait 60 seconds after applying nail dehydrator before moving on to primer. This gives the dehydrator enough time to do its job removing oils and moisture from the nail plate. Rushing this step can cause poor primer adhesion.
Brush on Thin Layer
Use the brush in the primer bottle or a disposable mascara wand to apply a thin, even layer of primer over each nail. The primer should glide smoothly onto the nails. Don’t overload the brush, as too much primer can make polish application messy.
Let it Dry
Give the primer 2-3 minutes to fully dry and get tacky before painting on color. This allows primer to form a strong bond with the natural nail. If you apply polish too soon, it can slide around on the unset primer.
How Long Primer Lasts
Nail primer effects generally last 1-2 weeks, the average lifespan of a manicure. Over time, nail oils start to break down the primer layer. For best results, use primer with every fresh manicure. Consistently priming nails helps weak, peeling nails regain strength and health.
Some key benefits of using nail primer include:
- Increases polish adhesion and longevity.
- Smooths ridges and fills imperfections.
- Protects nails from staining and discoloration.
- Helps polish application go on evenly.
With the right technique, nail primer can transform a basic manicure into a salon-quality one. Just remember to always start with clean, dry nails and apply primer sparingly. Let it fully dry before moving on to polish for a flawless, long-lasting mani.
Dehydrator and Primer Tips for Best Results
Prep nails properly
Before applying dehydrator and primer, make sure to prep nails properly. Start by trimming and shaping nails to your desired length and shape. Use a nail file to buff away any ridges on the nail plate. Then, wash hands with soap and water and scrub nails to remove any dirt, oil or debris.
Push back and trim cuticles if needed using a cuticle remover and cuticle nipper. Buff nail tips to remove any shine for better product adhesion. Having a clean base allows dehydrator and primer to work most effectively.
Don’t overlap products
A nail dehydrator and primer serve different purposes, so avoid using them redundantly. A dehydrator removes moisture, oils and debris from the nail plate for better polish adhesion. Primer creates a tacky layer that helps polish stick to the nail.
If you apply primer over a dehydrator, the primer won’t adhere as well. Let the dehydrator dry first before applying primer. The general rule is to wait 60 seconds between products.
Apply thin layers
When using a dehydrator or primer, you only need a very thin layer on the nail. Using too much product can lead to peeling or popping off the polish. Put a couple drops of dehydrator on a cotton pad or brush and wipe gently over the nail.
For primer, use the brush applicator sparingly – one swipe down the center of the nail is sufficient. Let each layer dry before moving onto the next step of your manicure.
Use manufacturer directions
Every brand of nail dehydrator and primer will have specific instructions, so always follow the product directions for best results. Pay attention to dry times, number of coats to apply, and any precautions noted. Using too much or too little of a product can affect performance.
Following the manufacturer’s instructions helps optimize adhesion and longevity.
Troubleshoot issues
If you notice problems like polish peeling or chipping soon after application, look at how you prepped the nails. Make sure to scrub away all oil and moisturizers from the nail plate. Don’t overlap products, as too much dehydrator or primer can cause lifting. Check that your polish isn’t expired.
Old polish may not adhere well. Lastly, consider using a nail dehydrator even if you already applied primer. Very oily nail beds may need that extra cleansing step. Address any prep issues and your manicure should last longer.
Conclusion
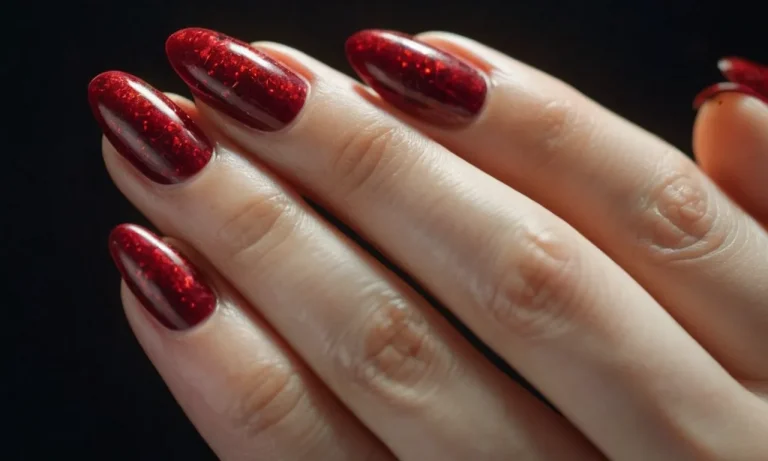
Using a nail dehydrator and primer might seem like extra steps, but they are vital to long-lasting, chip-free nails. Following the proper techniques of cleaning, applying dehydrator, letting dry, adding primer, and letting dry again will allow for polish to adhere for up to two weeks without chips or peeling.
With the right prep, you can achieve stunning nails that look like you just left the salon. Use our tips for applying nail dehydrator and primer for beautiful, professional-quality manicures at home.