How To Use Nail Builder Gel For Beautiful Nails
Having beautiful, healthy nails can make a world of difference in how your hands look. Nail builder gel is an excellent product that allows you to achieve salon-quality nails at home. If you’re short on time, here’s a quick answer to your question: Apply nail builder gel in thin layers according to the instructions, cure each layer with an LED or UV lamp, then finish with a glossy top coat for shine and protection.
In this comprehensive guide, we will cover everything you need to know about using nail builder gel for stunning nails. We’ll discuss the benefits of gel nail polish, the tools and supplies you’ll need, how to prepare your nails, step-by-step application instructions, curing techniques, removal processes, and aftercare tips for maintaining your manicure.
Benefits of Using Nail Builder Gel
Long-Lasting Color
One of the best things about nail builder gels is that they provide long-lasting color for your nails. Unlike regular nail polish that may chip after just a few days, nail gels can last 2-3 weeks without chipping or fading. The color stays vibrant and flawless during that time.
This makes nail builder gels a great option if you want beautiful nails that require less frequent touch-ups.
Chip-Resistant
Nail builder gels are extremely resistant to chipping and peeling. The gel formula creates a protective layer over your natural nails that helps prevent cracks, chips, and other damage. No need to worry about waking up to a chipped manicure!
The gel stays securely bonded to your nails for weeks at a time. You can go about your daily activities without worrying about ruining your perfect mani.
Enhances Natural Nails
Using nail builder gels can actually help strengthen and improve the health of your natural nails. The gel overlay acts as a protective shield that allows your nails to grow longer and stronger without splits and tears.
Many people find their nails become less brittle and prone to breakage after using builder gels. The gels also allow you to avoid harsh acetone removers that can be damaging to bare nails. Overall, nail gels create an environment that promotes healthy nail growth.
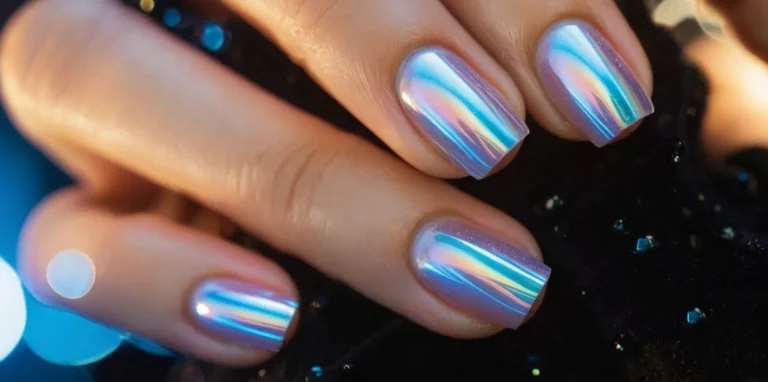
Wide Variety of Colors and Effects
Nail builder gels give you tons of options to customize your perfect manicure. You can choose from every color under the rainbow, as well as fun effects like ombre, chrome, glitter, and more. Can’t decide between a fierce red or an elegant nude? Why not do both!
Nail gels make it easy to mix and match colors on different nails for a funky rainbow look. The possibilities are endless for creating unique nail art and looks that are difficult to achieve with regular polish. Let your creativity run wild!
Supplies Needed
Nail Builder Gel Polish
The nail builder gel polish is the main ingredient you’ll need to create a gorgeous, salon-quality manicure at home. Choose a polish in your favorite shade – anything from nudes and pinks to bright pops of color. Apply two coats for super shiny, chip-resistant nails that last over a week.
Some great gel polish brands are OPI, Gelish, and Sensationail.
Nail Primer
A nail primer is a must for helping the gel polish adhere properly to natural nails. It lightly etches the nail plate so the gel has something to “grab onto”. Apply a thin layer before your base coat. Using a primer helps prevent chipping, peeling and damage to the natural nail.
Nail Forms
Nail forms are essential for sculpting a perfect smile line and shapely tips. They come in different sizes to customize your desired nail length and shape. Choose clear forms so the color shines through beautifully.
Nail forms provide structure and support while building out the gel polish – similar to false nails, but created on your own natural nails.
Nail File and Buffer
Proper filing and buffing creates the foundation for a flawless gel manicure. Use a coarse file to shape the nails, then refine the edges with a finer grit. Buff the surface smooth so the gel polish adheres evenly over the nail plate. Buffing also helps the color look super glossy.
Don’t forget to prep with a dehydrator and primer after buffing.
Cuticle Pusher
Pushing back the cuticles helps neaten up the nail bed for a tidy, professional look. It also prevents product from getting on the surrounding skin, which can reduce longevity. Use a metal cuticle pusher to gently push back cuticles and remove any excess dead skin before applying gel polish.
LED or UV Lamp
The LED or UV lamp “cures” or hardens each layer of gel polish, creating a smooth, glossy finish. Look for one with a built-in timer so you never have to guess the curing time. Most gels cure in 30 seconds under an LED light.
Always remember to use the lamp after the base coat, each layer of color, and the top coat to seal in your amazing manicure.
Top and Base Coats
Proper layering is key for long lasting gel nails. Apply a gel base coat first to adhere the polish to the nail and prevent staining or discoloration. Finish with a gel top coat to seal and protect the color underneath. The top coat also adds insane shine!
Using the lamp after each layer “freezes” it in place.
Acetone Nail Polish Remover
To remove your gel manicure, you’ll need 100% acetone nail polish remover. Acetone is the only ingredient that can break down and dissolve the cured gel polish. Look for removers enriched with aloe vera or vitamin E to prevent drying out the nails and skin.
Soak cotton balls and hold over each nail for about 10 minutes before gently wiping away.
Nail Clippers
It’s important to start with a fresh, clean nail plate when applying gel polish. Trim and shape the nails to your desired length using a high-quality nail clipper. Avoid using scissors, which can cause splits and cracks. Clippers create a smooth, even edge that won’t catch or snag.
Always clip nails before filing and buffing.
Preparing Your Nails
Trim and File Nails
Before applying nail builder gel, first give your natural nails some TLC. Using nail clippers, trim your nails to your desired length. Make sure to cut them straight across to create an even foundation for the gel. Then use a nail file to gently shape and smooth the edges of each nail.
Filing in one direction helps seal the edge to prevent cracking or peeling. This prep ensures the gel adheres properly and lasts longer without lifting.
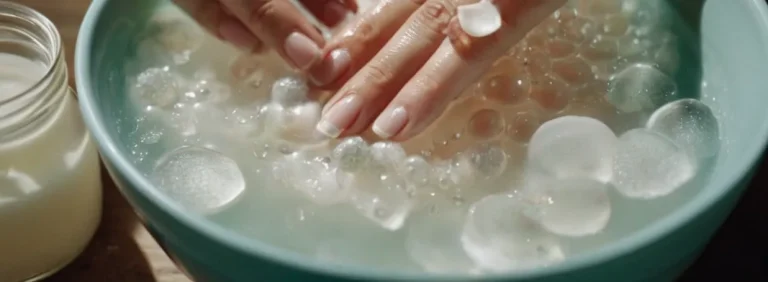
Push Back Cuticles
Now it’s time to tidy up those cuticles. Soak your fingertips in warm water mixed with a cuticle softener for 5-10 minutes. This helps soften and loosen the dead cuticle skin for easy removal. Gently push back the softened cuticles with an orangewood stick or cuticle pusher.
Avoid cutting your cuticles, as this can lead to hangnails and infection. Then use cuticle nippers to trim off any loose tags of skin. Your nail professional can help safely remove any stubborn cuticles when getting a gel manicure.
Buff Nail Surface
Buffing your natural nails is a key step that preps the nail plate for gel application. Use a fine-grit nail buffer or file to gently roughen up the surface shine on each nail. This removes any oily residues and creates texture for the gel to bond to.
According to Byrdie, buffing also helps the gel adhere evenly across the nail. Avoid over-buffing as it can damage and thin your nails. Use light pressure and buff in one direction.
Cleanse Nails
Now that your nails are shaped and prepped, it’s time to clean them. Mix a small amount of rubbing alcohol with water in a bowl. Dip a cotton pad or lint-free wipe in the solution and wipe each nail plate. Ensure you rub sidewalls and underneath free edges too.
This removes any remaining oil, moisture or product residue. Let your nails dry completely before gel application, as moisture impedes curing. For best results, wipe nails with acetone or nail dehydrator as well.
Apply Nail Primer
The last step is applying a nail primer before your builder gel. This acts as a bonding agent so the gel adheres perfectly to natural nails. Brush a thin layer of primer on each nail and let it dry for 60 seconds. Then you’re ready to apply nail forms and builder gel for stunning, enhanced nails!
Using the right prep techniques leads to long-lasting gel polish with no lifting or damage.
Applying Nail Builder Gel Polish
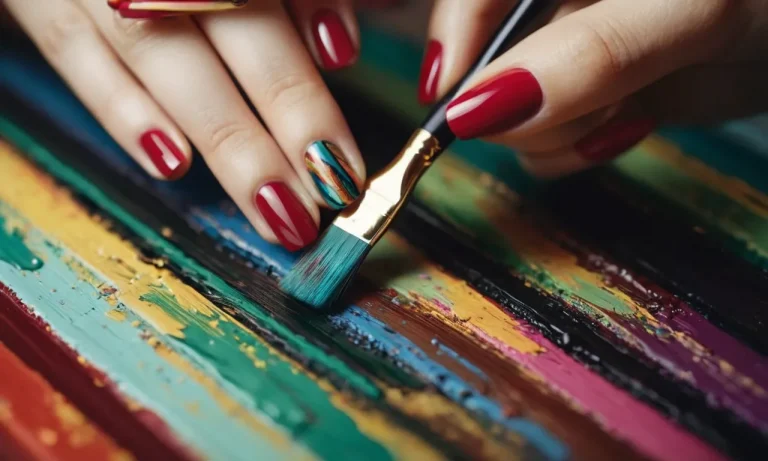
Choose Gel Color
Choosing the perfect gel polish color is the most exciting part of any manicure! With hundreds of trendy and classic shades to pick from, you’ll be spoiled for choice. Consider going for a basic nude, timeless red, or on-trend pastel for a pretty spring look.
Glitter, shimmer, and matte textures are also popular gel options. Choosing a color that complements your skin tone is key. Ask your manicurist for advice if you’re unsure! Just remember – the possibilities are endless when you use nail builder gel polish.
Apply Base Coat
Applying a base coat is a crucial first step when using gel polish. Base coat helps the gel adhere properly to your natural nails. It also prevents staining and protects your nails from damage that UV/LED light exposure may cause during the curing process.
Using nail builder gel’s own base coat is best, as it’s formulated to work with the gel formula. Apply a thin, even layer on each nail, making sure to cap the free edge. Let it dry completely before moving onto the next step for a flawless foundation.
Apply Thin Layers of Gel Polish
When applying the gel polish color, remember that less is more. Work one nail at a time and use thin brush strokes from the cuticle to the tip. Layer the gel polish on lightly; 2-3 slim coats is ideal for an even application and quick drying time. Don’t overload the brush with too much polish.
Allow each thin coat to dry for 5-10 seconds before moving onto the next nail. Build up light layers gradually to avoid heavy globs that won’t cure properly under the LED light.
Cure Each Layer
Here’s a pro-tip: cure each coat of gel polish under the LED light before moving on! This ensures every layer is fully set, allowing you to gauge the color opacity and application accurately. Cure for 30 seconds under LED light after the base coat, color coats, and top coat.
Avoid the temptation to skip curing between layers – this shortcut will come back to bite you with a mess down the road! Properly curing each layer of your nail builder gel polish is the key to long-lasting, chip-free wear.
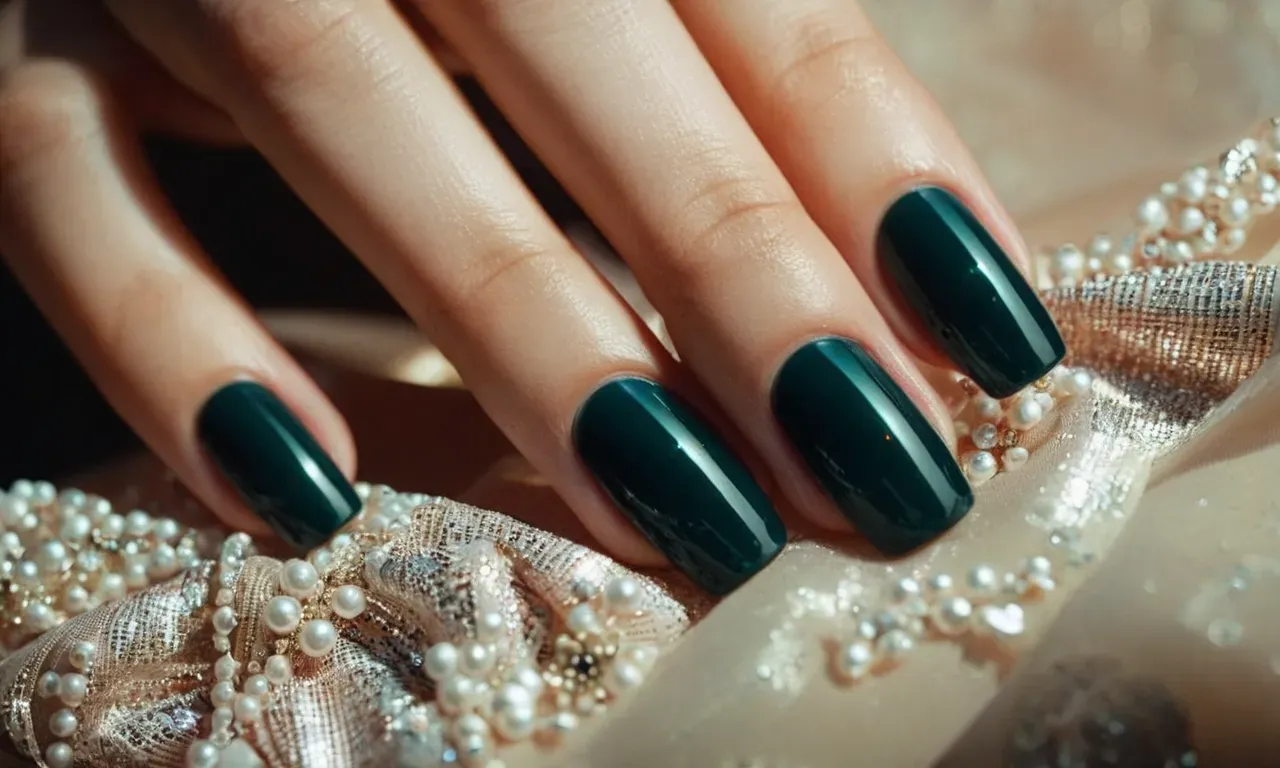
Apply Top Coat
A quality gel top coat is the finishing touch that will keep your manicure looking salon-perfect for 2-3 weeks. Apply a thin layer over cured gel polish, making sure to seal the very tips of your nails. This prevents peeling and chipping.
Top coat adds a gorgeous glossy shine and protects the color underneath from fading over time. It also helps harden and smooth the manicure surface. Allow each layer to dry briefly before curing the finished manicure for a full 30 seconds under LED light. Beautiful, glass-like shine awaits!
Final Cure
As a final step, cure the completed gel manicure under LED light for 2 full minutes. This ensures every layer is fully set for maximum wear. Avoid wiping hands or fingernails against any surfaces after the final cure until the manicure has fully cooled and hardened, about 5 minutes.
The nail builder gel polish should now be dry to the touch. Finish with nail oil around the cuticles if desired. Be sure to avoid harming the gel polish by picking at it. Your gorgeous, resilient gel mani will last 2-3 weeks with proper application and at-home care!
Curing Techniques
LED Lamp
LED lamps have become a popular choice for curing nail builder gel due to their efficiency and convenience. Here are some key points about using an LED lamp:
- LED lamps use LED bulbs that emit UV light in the optimum wavelength range of 365-405 nm to properly cure nail gels. This allows the photoinitiators in the gel formula to react and solidify the gel.
- LED lamps cure nail builder gel extremely fast, usually in 30 seconds or less. This saves considerable time compared to UV lamps.
- LED lamps last up to 50,000 hours, much longer than UV bulbs which need replacing frequently. This makes them very cost effective.
- LED lamps emit very little heat, unlike UV lamps which get very hot. This helps prevent damage to the natural nails.
- LED lamps are lightweight, portable and have a small footprint, making them easy to store and use anywhere.
UV Lamp
UV lamps were the first type of lamps used to cure nail builder gels. Here are some key points about using a UV lamp for gel nails:
- UV lamps use bulbs that emit UV light between 320-400 nm wavelength. This triggers the photoinitiators and cures the gel.
- Typical cure time is 2-3 minutes per coat of builder gel under a UV lamp.
- UV bulbs lose intensity over time and need to be replaced every 2-3 months for proper curing.
- The bulbs get extremely hot, making ventilation a must to avoid overheating hands.
- Higher intensity 48W or 54W UV lamps speed up cure times but produce more damaging heat.
While UV lamps are effective for curing, prolonged exposure can damage natural nails. The longer cure times are also not ideal for busy nail salons. This has led many techs to switch to LED lamps instead.
Curing Times
Proper curing is essential for nail builder gels to get a long lasting, durable finish. Here are some curing guidelines:
- Base gel layer: Cure for 10-15 seconds under LED or 1 minute under UV
- Builder gel layers: Cure each layer for 30 seconds under LED or 2 minutes under UV.
- Top coat: Cure for 60 seconds under LED or 3 minutes under UV.
When using LED, stick closely to the manufacturer’s recommended cure times. Undercuring can lead to a tacky finish while overcuring can cause heat damage and cracking.
For UV lamps, up to 3 minutes per layer may be needed for slower bulbs. Check the gel regularly for a smooth, dry finish.
Use a curing time tracker app or timer to get accurate curing. This helps avoid undercured gel which can lead to lifting and damage.
Removal Process
File Off Shine
The first step is to file off any shiny top layer on the nail builder gel. This allows the acetone to penetrate and break down the layers underneath. Use a coarse nail file in a forwards and backwards motion to gently rough up the surface.
Take care not to file too deeply or damage the natural nail bed.
Soak in Acetone
Next, soak a cotton ball with pure acetone nail polish remover. Place the cotton on top of each nail and allow it to sit for 10-15 minutes. This gives the acetone time to dissolve the layers of builder gel so they can be removed.
According to nail care experts, OPI, acetone works better than non-acetone removers.
Gently Wipe Away Gel Polish
After soaking, gently slide a wooden cuticle pusher or orange stick at the base of the nails to wipe away the gel polish. Apply light pressure and repeat until it is removed. Do not scrape aggressively or pull up on nails as this can cause damage.
The polish should come off fairly easily after soaking if you take it slow.
Cleanse Nails
It’s important to cleanse nails thoroughly after removing builder gel. Any remaining residue can prevent proper adhesion when applying new polish. Use a nail cleanser containing vitamin E, jojoba, and aloe to remove debris. Rinse nails in lukewarm water and pat dry with a clean towel.
According to the 2021 Nail Industry Statistics from NAILS Magazine, 91% of techs say prepping nails is crucial.
Moisturize Cuticles
Lastly, apply cuticle oil or nail and cuticle cream. Pushing back cuticles allows better polish application, but can leave the skin dry and cracked. Moisturize cuticles helps condition this fragile skin and prevents painful hangnails. Massage oil into each nail bed for healthy, beautiful nails. 💅
Aftercare Tips
Use Cuticle Oil
Using cuticle oil is crucial for maintaining the health of your nail beds after getting a builder gel manicure. The removal process can cause drying and irritation around the cuticles. Massage a few drops of nourishing oil like jojoba, vitamin E, or lemon oil into nails and cuticles twice per day.
This hydrates the skin and promotes new nail growth underneath the builder gel.
Moisturize Hands
Frequent hand washing and exposure to chemicals during manicures can lead to dry, cracked skin. Dry hands threaten the adhesion and longevity of your nail enhancements. After washing hands, massage in a rich moisturizer like shea butter or coconut oil-based creams.
At night, wear cotton gloves layered with more cream to deeply condition the skin.
Avoid Picking at Polish
As your manicure grows out, resist the urge to pick at lifting edges of the polish. This can take layers of your natural nails with it. Use an orangewood stick to gently push back cuticles and smooth edges instead.
Get fill-ins every 2-3 weeks to prevent excessive growth that is prone to catching and peeling.
Protect Nails from Damage
While gel polish makes nails harder, they can still crack under pressure. Avoid using nails as tools to open cans, pry things, etc. Wear rubber gloves when cleaning and gardening. Carry a small file to smooth out snags from day-to-day use.
Soak off gel polish instead of roughly scraping it off, which weakens nails.
For extra protection and shine, apply a clear, strengthening topcoat like Seche Vite or Gelous regularly. Their flexible polymers reinforce nails and prevent chips and fractures in the finish.
According to nail care brand OPI, over 90% of consumers said their nails were less prone to breakage after using fortifying nail treatments for 2 weeks.[1] Investing in the continued health of your natural nails ensures they remain a suitable base for builder gel.
Conclusion
With the right supplies and techniques, you can achieve stunning, long-lasting nails at home using nail builder gel. Prepare nails properly, apply thin layers of gel polish and cure each layer, then finish with a glossy top coat. Maintain your manicure by moisturizing and avoiding damage.
With practice and patience, you’ll be able to get salon-worthy nails that turn heads.