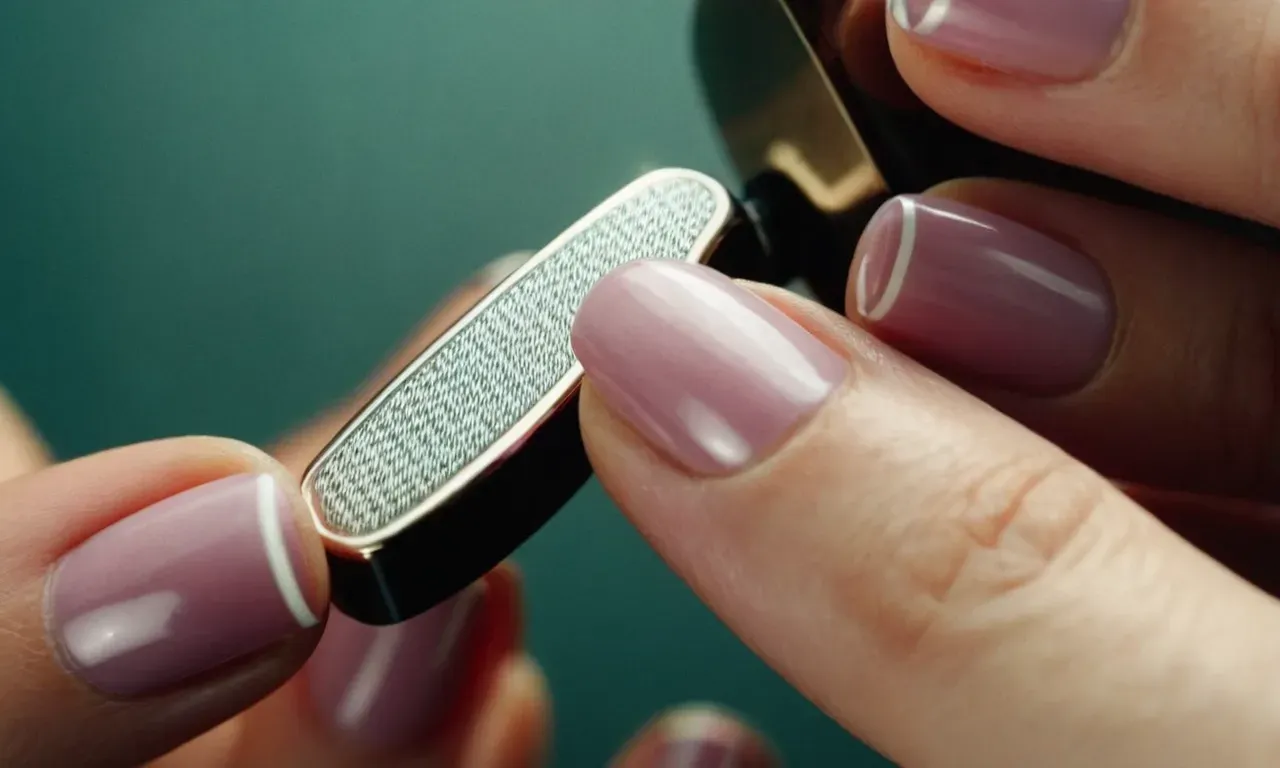
How To Use A Nail Buffer For Flawless Nails
Having beautiful, healthy nails can make you feel confident and put-together. But maintaining a perfect manicure takes work. Using a nail buffer is one of the easiest ways to keep your nails looking fabulous between manicures.
A nail buffer gently sands down rough edges and ridges to create a super smooth surface for polish to adhere to.
If you’re short on time, here’s the quick answer to using a nail buffer: Gently buff each nail with long, even strokes, working from cuticle to tip. Use a coarser buffer first if your nails are very rough or ridged, then refine with a finer grit.
Buff nails to remove shine before applying polish for better adherence. Moisturize cuticles after buffing to prevent dryness.
Pick the Right Buffer for Your Needs
Coarse buffer for damaged nails
If your nails are damaged from too much acrylic or gel polish use, or if they are peeling and cracking, you’ll want to start with a coarse buffer. The rough grit on these buffers helps smooth down cracked edges and ridges on the nail surface.
Using long, even strokes, gently buff away jagged edges and imperfections. Be careful not to over-buff or you could thin the nails. After buffing, apply a nourishing nail oil or thick moisturizing cream to condition the nails.
Medium grit for light buffing
For nails that are in fairly good condition but have some minor flaws or ridges, a medium grit buffer is ideal. The mid-range abrasiveness will smoothly buff away small imperfections without being too harsh on the nails. Use a medium-grit buffer about once a week to maintain nails.
Apply it using gentle, consistent motions from cuticle to tip. Don’t bear down too hard. Afterwards, nourish the nails with cuticle oil or nail strengthener. Medium grit buffers prep nails perfectly for polish application.
Fine buffer for polish prep
Before painting nails, always use a fine buffer to prep the surface. The high grit gently smooths the nail surface so polish glides on smoothly and adheres better. Use light, short strokes to lightly sweep over the nails. Don’t bear down hard as you don’t want to thin the nail plate.
Fine buffers also help polish last longer by removing any oils on the nail bed. For best results, wipe nails with alcohol after buffing to further remove residue. The fine grit also creates micro-abrasions that allow the polish to seep in for superior bonding and longevity.
Most manicures include a fine buff as a standard prep step.
Choosing the right nail buffer for your needs is key to achieving beautiful, healthy looking nails. Keep a variety on hand – coarse, medium and fine grits. Buff gently and avoid over-buffing to prevent nail damage. Always follow with a hydrating nail treatment.
With proper technique, buffers can transform even the most troubled nails. Your nails will look salon-pretty in no time with fabulous buffers!
Technique for Buffing Nails
Work one nail at a time
When buffing your nails, it’s best to focus on one nail at a time. This allows you to pay close attention to each nail and ensure you buff smoothly from cuticle to tip. Rushing through all 10 nails at once can result in uneven buffing.
Use long, even strokes
As you buff each nail, use long, fluid strokes in one direction. Avoid short back-and-forth motions, as this can create excessive friction and heat which can damage the nails. The stroking motion should feel smooth and consistent.
Buff from cuticle to tip
Always direct the buffing motion from your cuticle (the proximal nail fold) towards the tip of your nail. Buffing back and forth can weaken the nail. Buffing from cuticle to tip helps seal and smooth the keratin layers in a neat alignment.
Overlap strokes slightly
As you buff across the nail, slightly overlap each stroke. This ensures you buff the entire surface evenly with no gaps. Be careful not overlap too heavily in one spot as that creates excess friction.
Rotate buffer frequently
Rotate and refresh the surface of the buffing pad often. This prevents concentrating too much friction in one area from a depleted surface. Ideally, each nail should contact a fresh section of the pad for the most even finish.
Rinse nails after buffing
When finished buffing all nails, rinse your hands to remove any nail dust and residue. This cleanses and refreshes the nails, unveiling your smooth flawless shine!
Buffing Tips for the Best Results
Moisturize nails and cuticles after buffing
Buffing removes layers from the nails, which can leave them dry and brittle. It’s crucial to apply cuticle oil or a rich moisturizer after buffing to hydrate the nails and surrounding skin (1). Massage the oil/moisturizer into the nails and cuticles gently.
Top beauty experts recommend formulas with vitamins and oils like vitamin E, jojoba, or argan for maximum nourishing power (2). This helps prevent cracks, peeling, and breakage. Repeat the moisturizing routine daily while giving nails a break from buffing.
Avoid over-buffing
It can be tempting to buff nails vigorously or too often while trying to eradicate flaws. But repeated, harsh buffing thins out the nails, causing weakness, brittleness, and breakage over time. As a general rule, limit buffing to once a week or less.
Gently glide the buffer over nails using minimal pressure rather than grinding forcefully. Switch to a finer grit buffer and focus on problem areas only. Give nails a break from buffing periodically so they can recover strength.
Buff nails before polish for better adherence
For longer-lasting manicures, always buff the surface of nails lightly before polish application. Buffing creates micro-abrasions that allow the polish to grip better, preventing chips and peeling. Use a medium or fine buffer and go over each nail with gentle, even strokes.
Avoid over-buffing at this stage. Then wipe nails to remove buffing dust before painting on your favorite polish. The color will cling to the slightly roughed up surface for maximum wear time. Re-buff every two weeks or so when reapplying color.
Use buffing to fill ridges over time
If nails develop pronounced lengthwise ridges, consistent buffing can help diminish their appearance. Apply ridge-filling base coats before buffing for better results. According to nail care brand ORLY (3), the buffer smooths down the toughened layers of keratin that have built up along the nail plates.
While the ridges won’t disappear immediately, persistent yet gentle buffing helps wear them down gradually. Be patient and avoid over-doing it. Use the finest grit buffer and buff lightly when needed.
Try a brightener block after buffing
Dull, lackluster nails? Whip them into shine with a brightener block post-buffing! This clever tool has a rough yet fine surface that polishes off cloudiness. Gently glide the brightener over each nail using tiny circular motions, similar to buffing. It magically restores a healthy glow and smoothness.
For best outcome, buff nails first to erase surface flaws. Then brighten away discoloration or faded tones. Nails will sport a luminous, light-reflecting finish. Rotate brightener and buffer weekly for flawlessness.
How Often Should You Buff Your Nails?
1-2 times per week for damaged nails
If your nails are damaged from excessive filing, picking, peeling, or biting, you may need to buff them more frequently at first to help smooth and restore them. Buffing 1-2 times per week can help remove snags and rough edges, making your nails look and feel better.
Focus the buffing on the most damaged parts of your nails, like edges or surface ridges. Be gentle and avoid over-buffing, which can thin your nails. Use a fine grit file and buff in one direction. As your nails improve, you may be able to decrease buffing to every 2-4 weeks for maintenance.
Every 2-4 weeks for maintenance
For relatively healthy nails, aim to buff them every 2-4 weeks as part of your regular nail care regimen. This helps keep them smooth and shaped.
When buffing for maintenance, you only need a few light strokes per nail to refresh the surface. Use a medium grit file and go in one direction. Be careful not to over-buff or you could weaken your nails.
Try to pay attention to how your nails feel and look between buffing. If they seem rough or snaggy after 3-4 weeks, buff them again. If they still seem smooth, wait a bit longer. Find the right timeline for your nails.
Before polish application
It’s ideal to buff your nails just before applying polish, especially if it’s been a few weeks since your last buffing session. This removes any shine and roughness from your nails, prepping them for a flawless polish application.
Use a fine grit buffer and go lightly over nails to smooth ridges and edges. Follow with a nail dehydrator and base coat so the polish adheres properly.
Buffing before polish allows for an even application that won’t get “caught” on rough patches. It also helps the manicure last longer without chipping or peeling.
Some additional tips for buffing:
- Avoid metal nail files, which can damage nails. Opt for cushioned files.
- Soak nails in water before buffing to soften them and prevent cracking.
- Always buff in one direction, using short gentle strokes.
- Rinse nails after buffing to remove dust and debris.
- Use a nail strengthener or moisturizer after buffing to condition nails.
With proper technique and care, regular buffing can help you achieve beautiful, healthy-looking nails!
Signs It’s Time to Buff Your Nails
Rough, peeling surface
If your nails feel rough or have an uneven, peeling surface, it’s a sign they need some buffing love. The outer layers of the nail plate can become dry and damaged over time, leading to a rough texture that catches on fabrics and just doesn’t look very pretty.
Buffing sloughs off those outer layers to reveal the smoother nail underneath. Your nails will look and feel SO much better!
Pronounced ridges
Ridges and grooves running vertically down the nail are another giveaway that it’s time to buff. These ridges happen when the nail grows unevenly, with some parts growing faster or thicker than others. Not cute! Buffing evens out the surface of the nail and helps minimize the appearance of ridges.
Your nails will look smoother and feel less snaggy.
Discolored or yellowed nails
If your bare nails have a yellowish, stained appearance, grab that buffer. Buffing removes superficial discoloration and yellowing to reveal a cleaner, whiter nail bed underneath. It’s like giving your nails a mini facial – sloughing off the dull, discolored outer layers so the brighter nail underneath can shine through.
When polish won’t adhere smoothly
If you notice your nail polish applies streaky or bubbles up in certain areas, the likely culprit is roughness or uneven texture on the nail surface. Prepping nails with buffing before polish creates a smooth, even canvas for polish to glide onto seamlessly. No more streaks or bubbles!
Your mani will look flawless and last longer too.
So whip out that buffer and show your nails some TLC if you notice any of these signs. A simple buffing session leaves nails looking healthier and feeling smooth as can be. Your nails will look salon-fab in no time! 💅😊
Conclusion
Using a nail buffer regularly helps you maintain a beautiful, healthy manicure in between salon visits. Look for a 3- or 4-way buffer with coarse, medium and fine grits. Buff each nail using long, even strokes in one direction. Buff damaged nails more frequently for the best results.
Moisturize after buffing and prep nails with a buff before polish application. With the right technique, you can keep your nails looking fabulous!
Buff those nails to perfection with the right tools and techniques. Your nails will look salon-fresh in no time!

