How To Type With Long Nails: A Comprehensive Guide
Typing with long nails can be challenging. The extra length makes it hard to hit the keys with accuracy. But with the right tips and techniques, you can type quickly and comfortably despite your manicure.
If you’re short on time, here’s a quick answer: Use the tips of your fingers, not the nails themselves, keep nails filed into a rounded shape, use key caps if needed, and opt for shorter nails or extensions positioned straight out from the finger.
In this comprehensive guide, we will cover proper hand positioning, filing nail shape, using key caps and finger guards, choosing nail lengths and styles ideal for typing, and more tips and tricks for fast and accurate typing with long nails.
Proper Hand and Finger Positioning
Keep Fingertips Lowered
When typing with long nails, it’s important to keep your fingertips lowered so they don’t get in the way of hitting the keys. Hold your hands slightly above the keyboard and curl your fingertips under, almost hovering over the keys.
This will prevent your nails from clacking loudly on the keys or getting caught under them. Take care not to bend your fingers too far back as that can cause strain. Keep a soft, relaxed hand positioning.
Hover Hands Above Keys
In line with keeping your fingertips lowered, you’ll want to hover your hands just above the keys without fully resting them on the keyboard. This gives your nails enough clearance so they don’t bump into the keys. Imagine your hands floating lightly over the keyboard.
Avoid resting the weight of your hands as that can cause fatigue. Take breaks to stretch and reposition as needed.
Use Light Keystrokes
When you have long nails, you’ll need to employ a very light touch on the keys. Don’t forcefully jam your fingers down or you may break a nail! Use swift, gentle taps on each key instead. Think of your fingers like feathers lightly brushing the keys.
This takes practice so try some typing exercises to train yourself. The lighter your keystrokes, the easier typing will be on your nails.
Sit with Proper Posture
Maintaining good posture as you type can help keep your hands and fingers in better alignment over the keyboard. Sit up straight with your feet flat on the floor in front of you. Pull your chair close enough to reach the keyboard comfortably.
Keep your elbows bent at a 90 degree angle and close to your body, with wrists straight (not bent up or down). This helps reduce tension so you can type smoothly without crunching your hands.
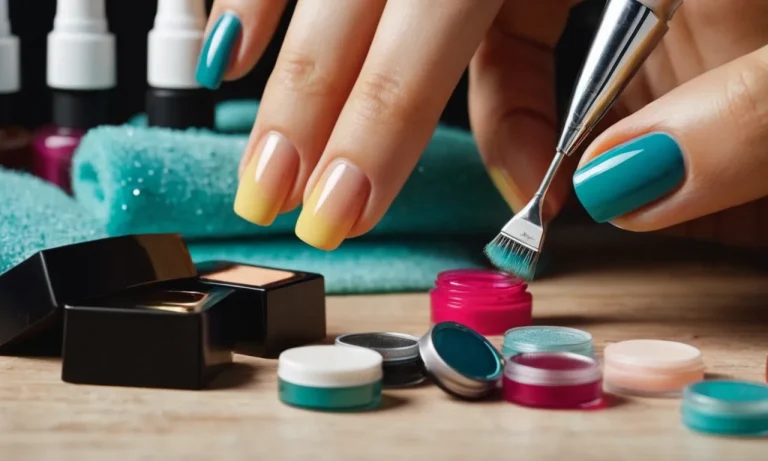
File Nails into Round Shape
When growing out your nails, it’s crucial to file them into a rounded shape rather than leaving them pointed. Here’s why rounding out your nails is the way to go:
Avoid Pointed Tips
Sharp, pointed nails can be dangerous! Not only do they increase the risk of scratching yourself or others, but they are also more prone to breaking and splitting. Blunt, rounded edges help protect your nails from cracks and damage.
Smooth Out Edges
Filing your nails into a rounded shape helps smooth out any jagged edges for a clean look. Once filed into an oval or squoval shape, lightly buff the edges to get rid of any roughness. This helps your manicure appear tidy and put-together.
Don’t Let Nails Overhang Fingertips
When nails overhang the fingertips, they are more likely to catch on things and bend backwards, leading to breaks. Filing them to follow the contour of your fingertips prevents this issue. Stick to a rounded shape that doesn’t extend past the edge of your finger for optimal nail health and functionality.
The key takeaway is that a soft, rounded shape is best for long nails. Avoiding sharp tips and overhang allows you to maximize growth and maintain strength. Just a few minutes of filing and buffing ensures your nails are shaped for success! With some practice, you’ll be filing your nails like a pro.
Use Key Caps or Guards if Needed
Silicone Key Covers
Silicone key covers are stretchy sleeves that slip over each key to create a cushioned surface. They come in fun patterns and colors to accessorize keyboards. Key covers are an affordable and removable option to try before committing to more permanent nail guards.
Popular brands like Koala Keys and Keyboard Kizzas sell packs that fit standard keyboard layouts. The soft silicone gently buffers nails while typing. The covers should not interfere with key presses. Look for tapered sleeves under $10 that reviewers confirm are easy to apply and remove.
Stick-On Guards
Adhesive nail guards provide a smooth surface to strike keys. Apply the thin guards directly onto nail tips for full-time protection. Sticker sets from Guard My Nails, Nail Dr., and other brands include DIY customization like buffing files and cutout tools.
Self-stick guards securely bond for up to a week or two of wear between changes. Carefully select and trim sizes to avoid covering key legends that guide proper finger placement. Watch manufacturer videos to properly prep and apply for the best stick. Expect to pay around $10 per set.
Glue-On Extensions
False nail tip extensions offer sturdy coverage without changing natural nails. They slide over the edge of each nail and affix with professional nail glue or adhesive tabs, adding just 1-2mm of thickness.
Precut stickers like Nail Tek and mineral glass extensions provide smooth, rigid surfaces to prevent crack or chips when typing. Let glue fully cure overnight before use. Avoid very long or thick attachments that impede typing. DIY application kits cost approximately $15.
No matter which guards or caps chosen, read product details to ensure compatibility with keyboard model and nails length. Look for money-back guarantees for unsatisfactory performance. With the right accessories, typing with long nails can be comfortable and even fun!
Optimal Nail Lengths and Shapes
Shorter is Better
When it comes to typing efficiently, shorter nails are ideal. Nails that extend past the fingertips can cause you to hit more keys accidentally and make positioning your hands properly more difficult. A good rule of thumb is to keep your nails trimmed to 1⁄4 inch or less past the tips of your fingers.
This allows you to type quickly and accurately without getting in your own way.
Almond More Typing-Friendly
If you want to grow your nails out a bit, an almond shape tends to be the most typing-friendly option. The tapered point shortens the length that extends past your fingers so you can still type efficiently. An almond shape also helps nails glide between keys better without getting caught.
Avoid Extreme Lengths or Embellishments
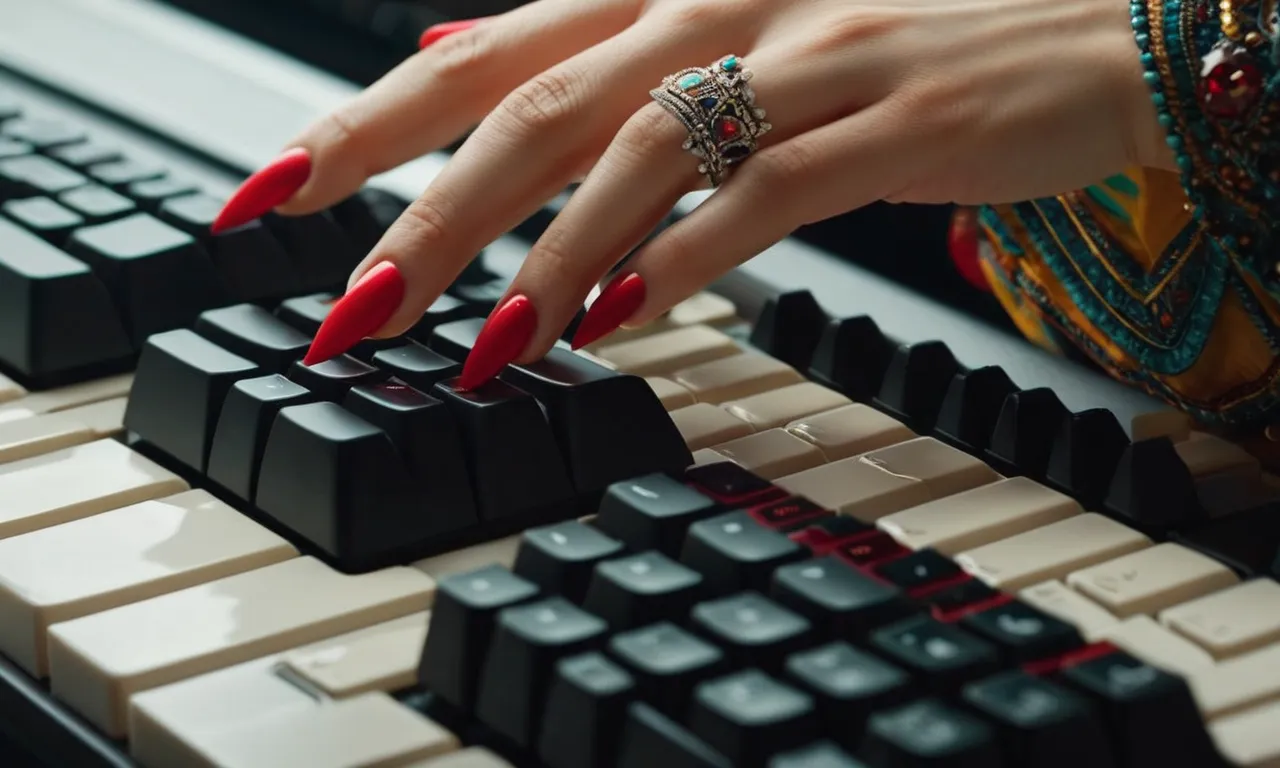
Very long nails or nails with heavy embellishments like jewels or chains should be avoided if typing ease is a priority. Extra long lengths lead to more missed keys and spelling errors. Bulky decorations can physically prevent you from positioning fingers properly and reduce typing accuracy.
If long or decorated nails are your style, voice typing options may be better suited.
More Tips for Typing with Long Nails
Use Light, Short Strokes
When typing with long nails, using light, short keystrokes can help reduce errors. Gently tap each key instead of striking forcefully. This prevents your nails from getting caught under the keys. Take brief pauses between words to reposition your hands, aiming your fingertips at the keys.
Aim with Fingertips
Typing accuracy relies on making contact with your fingertips instead of nails. Curve your fingers slightly and point your fingertips downwards towards the keys. Avoid flat-hand typing, which causes more mistakes. If you notice your nails hitting the keys first, adjust the angle of your hands.
With practice, fingertip typing becomes second nature.
Try Voice Typing Features
Voice typing technology like dictation software can save your manicure. Programs like Windows Speech Recognition or Google Docs Voice Typing allow hands-free data entry. While the accuracy isn’t always perfect, voice commands work for getting ideas down quickly.
You can then use short typing bursts to polish and edit the content.
Take More Breaks
Long periods of typing can lead to fatigue and sloppy technique. Prevent this by taking regular short breaks to rest your hands. Even 1-2 minutes every 20-30 minutes of typing helps. Shake out tension in your hands and ensure proper posture.
Staying alert and mindful of your positioning reduces unwanted nail contacts.
Conclusion
With the right positioning, filing, accessories, nail shapes and lengths, and other adjustments, you can continue to type quickly and accurately even with your long, glamorous nails. It may take some practice, but typing with nails doesn’t have to be a nuisance or slow you down.
Use these comprehensive tips to type like a pro!
We hope this guide gives you all the techniques you need to type comfortably no matter the length of your manicure. Let your nails dazzle without hampering your typing game!