How To Stop Press-On Nails From Hurting
Do your press-on nails hurt after wearing them for a while? Many people love the look of press-on nails but find they start to cause pain and discomfort over time. Luckily, there are steps you can take to help prevent press-on nails from hurting your real nails and fingers.
If you’re short on time, here’s a quick answer: Properly prepare your nails, file down sharp edges, use nail glue instead of adhesive tabs, avoid overly tight fits, and give your nails a break between wears. Read on for more details on making press-ons more comfortable.
In this comprehensive guide, we’ll go over the common reasons press-on nails can hurt and provide tips to help eliminate pain and discomfort. With the right prep and application, you can enjoy fabulous looking fake nails that feel just as good as they look.
Properly Prep Your Nails
Trim and File Your Nails
Before applying press-on nails, it’s crucial to start with a smooth, even nail surface. Use nail clippers to trim your natural nails so they are short and uniform in length. File the edges with a nail file until they are rounded and smooth.
This prevents the press-ons from catching on any rough edges or snagging. Filing away roughness also helps the glue adhere better for a tight, long-lasting hold. Nice, tidy natural nails are the key first step to press-on nail success!
Push Back and Clean Cuticles
Cuticles can get in the way of press-on application, so it’s important to gently push them back before gluing on fake nails. Use a cuticle pusher or orangewood stick to gently press back and tidy up the skin around the nails. Remove any dead cuticle bits with nippers if needed.
It’s also a good idea to scrub nails with a brush and soapy water or use cuticle remover gel to dissolve and wipe away excess cuticle tissue. Clean nails allow maximum surface contact between the natural nail and press-on for dependable wear.
Buff Nail Surface
Lightly buffing the natural nails prior to press-on application removes any residual oil or lotion that could impede strong glue adhesion. Use a fine grit buffer or nail file to gently rough up the nail surface. This helps the glue grip better. Be careful not to over-buff or damage the nail bed.
Just a quick swipe with a buffer is all you need to lightly abrade and de-shine the nail plate for ideal glue bonding. The press-ons will stick like glue….because they are glued on!
Use Dehydrator and Primer
Cleaning oils, lotions and moisture from the nail plate is also key for maximum press-on wear time. A nail dehydrator spray removes traces of oil and water, while a nail primer adds a tacky coating that really helps the glue grab hold.
Apply dehydrator first according to package directions, waving hands to dry. Next, swipe on nail primer and let it get nice and sticky before pressing on fake nails. This extra step really boosts adhesion power for long-lasting nails that won’t lift or pop off unexpectedly.
No more duck-tapping loose press-ons!
Select the Right Size and Shape
Avoid Overly Tight Fits
Choosing press-on nails that fit your natural nails well is key to avoiding pain and discomfort. Nails that are too small can pinch and put pressure on your nail beds. On the other hand, oversized press-ons may not adhere properly and can easily pop off.
When trying on different sizes, look for ones that fit the width and curvature of your nails without squeezing them. Allow for a tiny bit of space around the edges of your nails for a comfortable fit. Stay away from super tight press-ons that dig into your skin or cut off circulation.
Consider More Rounded Shapes
Sharply pointed nail shapes like stilettos and almonds look gorgeous but concentrate force onto a smaller surface area of your nail. This intense pressure on a small point can make them more prone to hurting.
If you’re looking for press-ons that won’t cause pain, try more rounded shapes like squoval, square, or oval designs. Their broader shape distributes pressure over a larger area for greater comfort. Rounded press-on styles may also be less likely to stab or scratch you accidentally.
Size Matters
Pay attention to both the length and width measurements when selecting press-on nails. Extra long nails increase leverage and multiply any forces on your natural nails. Start with shorter to medium length press-ons if you’re new to them. You can always size up later if you want.
Width-wise, press-ons should follow the natural taper of your nail beds without being too wide or narrow. Proper sizing helps decrease the risk of pain from overly tight fits or improper pressure distribution.
When in doubt, opt for a shorter, rounded style close to your natural nail shape until you find your perfect press-on match.
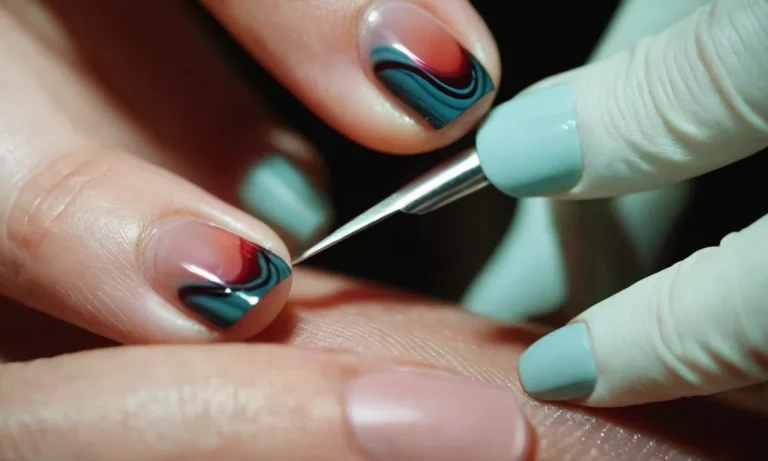
File Sharp Corners and Edges
Press-on nails can be super cute, but their sharp edges and corners can really hurt! Here are some tips to file down those pesky edges and corners so your press-ons are comfortable to wear:
Use a Nail File
The best tool for filing down sharp edges is a normal nail file. Look for one that is 100/180 grit – this is a medium grit that will smooth down corners and edges nicely. Focus the filing motion on the top edges and corners of the nail tips.
File using gentle, straight motions – avoid sawing back and forth as this can tear up the press-on material.
Use a Nail Buffer
After filing, use a soft nail buffer block to further smooth the nail edges. This helps blend the filed edge so there is no harsh line. Gently buff the top of the nail in straight motions to blend and soften any roughness. The buffer will also help seal the edge so it doesn’t peel up.
Be Thorough and Careful
Make sure to check all sides and edges of the nails as you file and buff. It’s easy to miss a spot, so examine each nail tip closely to ensure there are no remaining sharp bits. Be very careful filing – only use light pressure so you don’t accidentally tear the press-on material.
Take your time for the smoothest, most comfortable results.
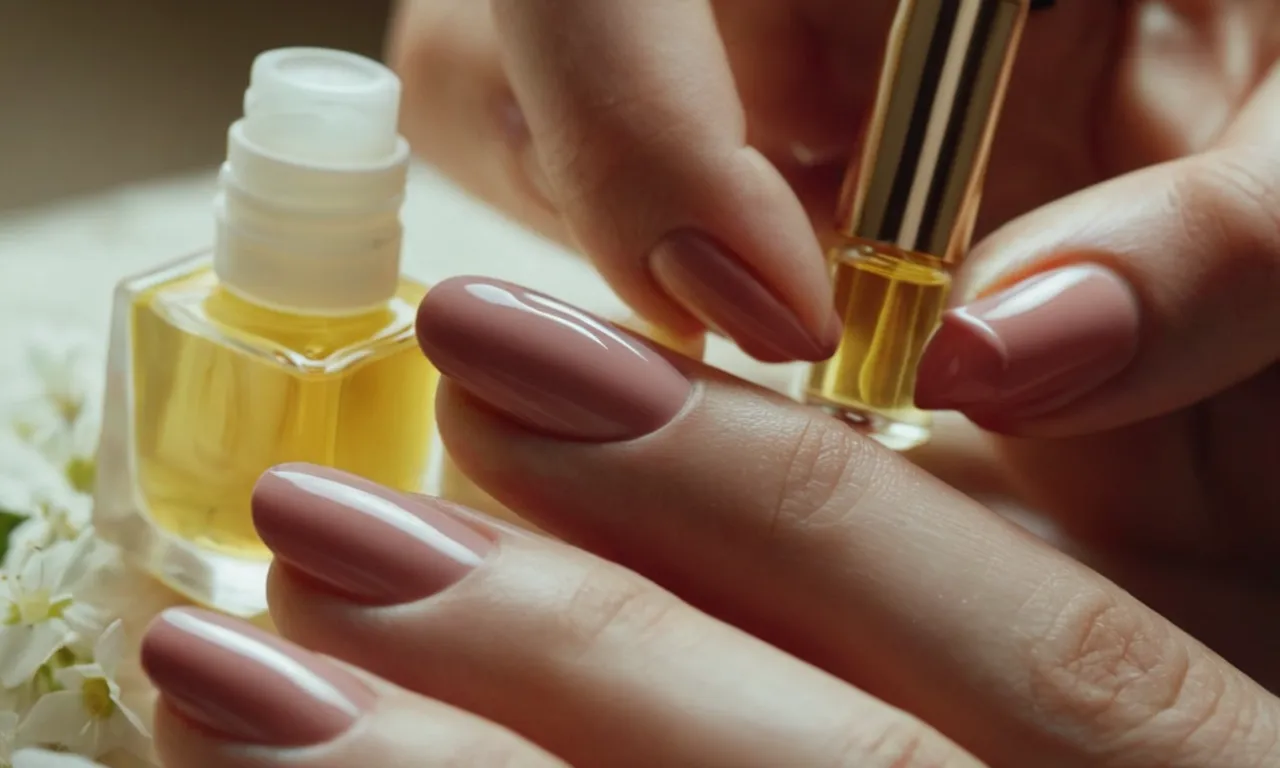
Finish with Oil
Finally, apply a drop of nail oil around the edges of the nails once you are done filing and buffing. The oil helps nourish and condition the nails, while also sealing and smoothing any remaining rough spots. It’s a great finishing touch!
With proper filing and buffing, you can enjoy cute press-on nails without the pain of sharp edges and corners digging into your fingers. Just be patient and thorough for the best, most comfortable manicure.
Use Nail Glue for Application
Glue Provides More Flexibility
Using nail glue to apply press-on nails can provide more flexibility and comfort compared to traditional adhesive tabs. Here’s why glue is a great option:
- Nail glue creates a stronger bond between the false nail and your natural nail. This allows for more movement without the nails popping off as easily.
- You can file and shape the edges of press-ons more with glue. Adhesive tabs can be thick and get in the way of filing into a smooth shape.
- Glue provides a customizable application. You can apply just the right amount needed to the size and shape of your nail bed for a perfect fit.
- The glue bond is adjustable. If you don’t get the alignment right the first try, you can gently remove and reposition the nails.
- Glue allows the nails to flex as your fingers move. This reduces the risk of breakage and damage to your natural nails underneath.
Apply Glue Properly
While glue offers advantages for press-on nails, it’s important to apply it correctly for the best results:
- Use a nail glue formulated for press-ons, like Kiss Nail Glue or Ejiubas Nail Glue. Avoid “super glue” as it can damage nails.
- Apply a thin layer of glue to the underside of the false nail near the edges, avoiding contact with your skin.
- Let the glue become tacky, usually about 10-15 seconds. This helps it adhere better.
- Firmly press the artificial nail onto your natural nail so that the edges line up evenly.
- Hold in place for about 20 seconds for proper bonding. Do one nail at a time to prevent sliding or warping.
- Clean up any excess glue around the edges of your nails with a cuticle pusher or orangewood stick.
- Refrain from getting your nails wet or applying hand products for about 1-2 hours while the glue fully dries and sets.
Properly prepping and gluing press-on nails makes all the difference in getting that perfect, lasting manicure. Take your time and use care when aligning and bonding the artificial nails. Quality nail glue applied correctly allows you to achieve a comfortable, damage-free, and stylish press-on manicure.
Give Your Nails a Break
Allow Nails to Breathe
Press-on nails can feel tight on your natural nails, so it’s important to give them a break periodically. Here are some tips:
- Remove press-ons for 1-2 days each week to allow your natural nails to breathe. This prevents moisture buildup and potential fungal/bacterial infections.
- Every 2-3 wears, skip press-ons for 3-5 days. This extended break gives nails added recovery time.
- If you notice nail damage like peeling or breakage, take a week off. Damaged nails need time to fully heal.
Giving your natural nails a rest allows oxygen to reach the nail bed and improves circulation. This helps strengthen nails so they can better withstand the press-on application and removal process. An occasional press-on vacation promotes long-term nail health.
Moisturize Cuticles and Nails
Daily moisture is key for softening cuticles and conditioning nails between press-on manicures. Here’s how:
- Apply cuticle oil 1-2 times per day, massaging into the nail and cuticle area.
- Use a rich hand cream daily, focusing on cuticles and nails.
- At bedtime, hydrate nails and cuticles with oil or hand cream, then wear cotton gloves overnight.
- Before reapplying press-ons, soak nails in water for 5-10 minutes to rehydrate.
Proper moisture prevents hangnails, brittle nails, and painful cracking around the cuticle. It also maximizes flexibility so press-ons can adhere smoothly without lifting. Consistent TLC reduces press-on discomfort and maintains strong, healthy nails.
Conclusion
Press-on nails can be a fun and convenient way to get a perfect manicure in minutes. However, they can start to cause discomfort if not applied and worn properly. Prepping your nails, filing down any sharp edges, using nail glue, and giving your natural nails a break between wears can all help prevent pain from press-on nails.
With the right tips and tricks, you can wear gorgeous press-on nails without sacrificing comfort. Get ready to show off beautiful nails that look and feel fabulous!