How To Stop Gel Nails From Burning
Getting a fresh gel manicure can make you feel like a million bucks. However, the process of curing the polish with UV or LED light can sometimes leave your fingers feeling uncomfortably hot. If your gel manicures tend to burn your nails, don’t worry – with a few simple adjustments, you can stop the burning and enjoy your mani without any pain or damage to your nails.
If you’re short on time, here’s the quick answer to stopping gel nail burning: apply a base coat first, avoid over-curing the polish, and use gel specifically formulated to be cool to the touch.
Apply a Base Coat First
Applying a nourishing base coat underneath gel polish is crucial to prevent nail damage. The base coat creates a protective barrier between the natural nail plate and the gel polish. Choosing the right base coat is essential for maintaining healthy nails.
Use a nourishing base coat under the gel polish.
Look for a base coat specifically formulated for use with gel manicures. These are enriched with caring ingredients like vitamin E, jojoba oil, and keratin to condition nails. Using a regular polish base coat under gel is not advisable as it can cause the gel to lift and peel off prematurely.
Gel base coats allow proper adhesion and curing under the UV/LED lamp.
Look for base coats with moisturizing ingredients.
Nails can get dry and brittle under repeated gel application and removal. Choosing a hydrating gel base containing nourishing oils and vitamins helps counteract this drying effect. Ingredients like argan oil, vitamin B5, and hydrolyzed wheat protein replenish moisture and improve nail flexibility.
This helps prevent cracks, peeling and breakage.
According to a 2021 Nailpro survey, over 65% of nail techs said using an enriched base coat led to less damage and improved nail health for gel clients.
Avoid cheap base coat products.
While an inexpensive base may seem appealing, these cheaper options often skimp on caring ingredients and do not sufficiently nourish the nails. They may also be too thin, compromising durability. Investing in a quality gel base coat that costs a little more upfront can prevent having to pay to repair damaged nails later.
Here is a comparison of average pricing for cheap vs. premium gel base coats:
| Cheap Gel Base | Premium Gel Base |
| $5 – $10 | $15-$25 |
Spending those extra dollars on an enriched, salon-quality base provides long-term protection and nourishment for a flawless gel manicure.
Avoid Over-Curing the Polish
When it comes to gel manicures, it’s easy to think that more cure time equals a longer-lasting manicure. However, over-curing the polish can actually lead to burning, irritation, and other issues. Here’s what you need to know about proper gel nail curing times.
Don’t cure for longer than the recommended time.
Most gel polish brands recommend curing each coat for 30-60 seconds. Going over that time frame won’t make the polish last longer. In fact, over-curing can cause the polish layers to get too hot, leading to burning, stinging, and discomfort during and after the manicure.
Cure for 30 seconds on each nail.
A good rule of thumb is to cure gel polish for 30 seconds on each nail, whether you’re applying a base coat, color coats, or top coat. Timer tools are helpful to keep track. Just make sure not to hold any finger under the lamp for longer than 30 seconds at a time.
Spreading out the exposure prevents excessive heat from building up on any one nail.
Use the lowest power setting on the lamp.
Most gel lamps have different power settings. Stick to the lowest setting whenever possible, as higher intensities give off more heat. A lower power level still fully cures the gel polish while minimizing the risk of burning the skin around the nails.
You can always ramp up to a higher intensity for the top coat to finish off the manicure.
Additionally, look for gel polish systems that tout being low-heat or “cool-cure.” Major brands like OPI and Essie have launched extensions of their gel lines that don’t require high intensity lights. Going with one of these options can prevent irritation altogether.
Remember, more time under the light doesn’t equate to longer wear. In fact, improper curing can shorten the life of your manicure by weakening the layers of product. Stick within recommended guidelines and monitor nails for signs of overexposure like redness, stinging, or throbbing.
Taking precautions allows enjoying abrasion-resistant, chip-free gel nails without the burn!
Choose a Gel Formula Made for Sensitive Nails
Getting beautiful gel manicures can be a painful experience for those with sensitive nails. The good news is that many nail product companies have created gel polish formulas specifically for sensitive nails. Here’s what to look for when shopping for a gentle gel manicure.
Look for gels labeled “sensitive” or “cool”
The easiest way to find a nail gel that won’t burn or irritate your nails is to look for products labeled “sensitive skin,” “sensitive nails,” or “cool cure.” These gels are specially formulated to cure under lower-heat LED lamps, rather than the hot UV lamps that can damage sensitive nails.
Popular sensitive gel polish brands include Gelish Sensitive, OPI ProSpa Soft Gel, and CND Shellac Luxe. Look for these keywords on gel polish bottles at beauty supply stores or salons.
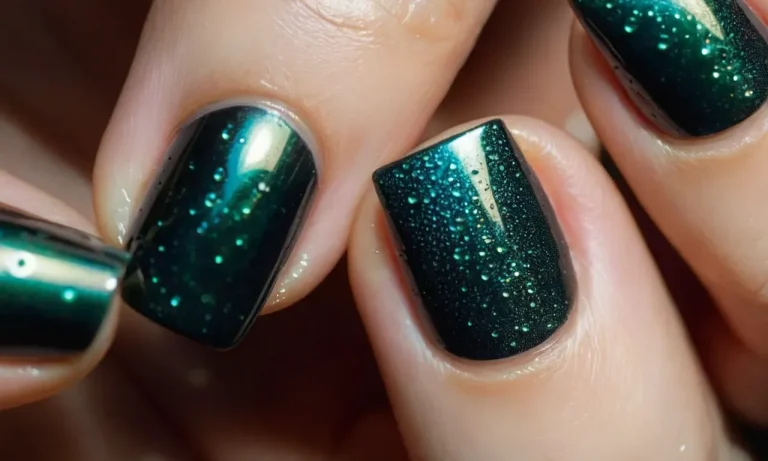
Avoid dark gel colors which get hotter
Darker gel polish colors like blacks, navies, and dark reds tend to cure at higher temperatures under the gel lamp. The heat is caused by the higher pigment content in dark polishes. To keep your manicure comfortable, stick to paler gel colors like nudes, pinks, and corals which stay cooler as they cure.
Adding sheer or glittery topcoats over pale gel bases is another way to create a darker mani without overheating your nails.
Do a patch test first to see if it burns
Before committing to a full set, it’s smart to do a patch test with any new gel formula. Apply a thin layer of gel polish to one nail and cure it under the lamp for 30 seconds. If you feel burning or stinging during curing, wipe off the polish right away.
That’s a sign the formula is too hot for your nails. Keep testing different gels until you find one that you can cure comfortably. Doing a patch test minimizes the risk of getting burned on a full manicure.
Following these simple tips can help you get long-lasting gel manicures without the harsh side effects of burning, stinging, or damaging sensitive nails. With the right gentle formula, anyone can enjoy chip-free nail color for weeks.
Just be sure to do your homework and read labels to find a gel polish that caters to delicate nails. Your perfect mani is out there!
Protect Nails Post-Manicure
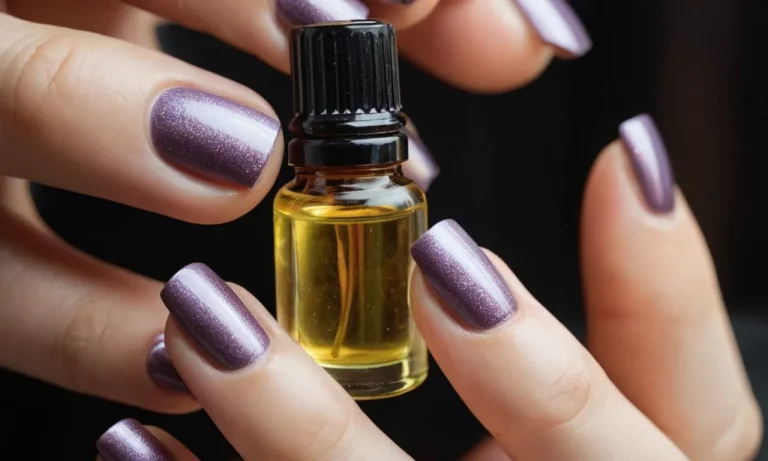
Apply cuticle oil after your manicure.
Applying a nourishing cuticle oil after getting your nails done is crucial for healthy nails and preventing burns. The acetone and other harsh chemicals used during manicures can dry and damage nails and surrounding skin.
Massaging a vitamin-enriched oil like jojoba, olive, or avocado oil into the skin helps rehydrate and prevent cracking or over-exposure (1). Focus on rubbing the oil into the nail beds, cuticles, and fingertips 2-3 times per day.
Consistent hydration keeps your nail enhancement strong and protects your natural nails underneath.
Moisturize nails daily.
In addition to post-manicure oil application, be sure to moisturize the nails and hands thoroughly every day. Look for a hand cream that contains nutrients like shea butter, vitamin E, and essential oils. Apply after washing hands to seal in moisture.
Try wearing cotton gloves overnight after applying a thicker layer of lotion to deeply nourish the skin while you sleep. Keeping the nails and surrounding skin supple prevents brittleness and burning around the sensitive nail beds.
Consider nail vitamins and biotin.
Getting ample internal nutrition can also help grow stronger nails that resist damage. Many doctors recommend taking a daily biotin supplement, as studies show 5000 mcg can significantly improve nail hardness and thickness (2).
Pairing biotin with nail-boosting vitamin batches can further nurture nails and even skin. It may take 3-6 months to see results, but healthy dietary choices combined with other protective nail habits will ultimately grow resilient, burn-resistant nail beds underneath any gel or acrylic manicure!
See a Dermatologist for Severe Burning
Repeated exposure to gel nail products can potentially indicate an underlying skin condition that should be evaluated by a dermatologist. Here are some reasons to make an appointment if you experience frequent burning or irritation from gel manicures:
Frequent gel burn could indicate a skin condition.
If your skin becomes red, inflamed, or irritated every time you get a gel manicure, it likely means you have developed an allergy or sensitivity to some ingredient in the gel polish or UV light used to cure it. Common culprits include methacrylates found in gel polish and UV light itself.
An expert dermatologist can pinpoint exactly what you are reacting to and provide customized treatment options to manage any allergies or sensitivities.
Allergic reactions may require medication.
In some cases, gel manicure allergies can be severe enough to require prescription steroid creams, oral antihistamines, or other medications to control the reaction. Attempting to treat a significant allergy with only over-the-counter products may not be sufficient.
A dermatologist can assess the severity of your reaction and prescribe stronger medicines if warranted to alleviate burning, itching, and inflammation.
A doctor can recommend gel alternatives.
If your reaction to gel polish means you must avoid gel manicures in the future, a dermatologist can suggest safer nail enhancement options for you. There are brands of traditional polish, peel-off gel polish, and gel-like nail hardeners that skip harsh methacrylates and UV light.
With a doctor’s input, you can find products that provide the shine and durability of a gel mani without the skin irritation and burning.
Don’t suffer through burning and discomfort from gel manicures. See a dermatologist promptly if you experience repeated reactions so you can get to the root of what is causing the problem and find solutions. With expert guidance, you can enjoy beautiful nails without pain and inflammation.
Conclusion
With some minor preparation and care, you can enjoy the long-lasting shine of gel nails without the burning sensation. Start by priming nails with a nourishing base coat, avoid over-curing, and choose a gentle gel formula made for sensitive skin.
Give your nails some TLC between manicures, and see a dermatologist if the burning persists. With these simple tricks, you’ll be flaunting a fabulous, pain-free gel mani in no time.