How To Stick Rhinestones On Nails: A Step-By-Step Guide
Gluing rhinestones onto your nails is an easy way to add some sparkle and glam to your manicure. Whether you want to fully bling out your nails or just add a few accents, sticking rhinestones on nails can instantly elevate any basic nail art design.
If you’re short on time, here’s a quick answer to sticking rhinestones on nails: Make sure to prep your nails first by cleaning and buffing them. Then apply a layer of nail glue to the back of the rhinestones and carefully press them onto your nails where desired.
Finish with a clear top coat sealant.
In this comprehensive guide, we’ll go over everything you need to know about applying rhinestones to nails, including:
– Supplies needed
– Prep work
– Gluing techniques
– Design ideas
– Care and upkeep
Nail Prep
Thoroughly clean nails
The first step in preparing your nails for rhinestone application is to make sure they are completely clean. Start by filing off any old nail polish or removing acrylic/gel/dip powders. Use an acetone-free nail polish remover to take off any traces of color without drying out your nails.
Give each nail a good scrub with a nail brush and warm soapy water to remove any oil and debris. Rinse thoroughly. For the ultimate deep clean, give your nails a soak in equal parts warm water and apple cider vinegar for 5-10 minutes. The acetic acid in the vinegar will help break down residue.
After soaking, use a soft buffing block to gently buff the surface of each nail plate. This removes any remaining dead cuticle skin or buildup.
Gently buff nail surface
Once nails are squeaky clean, it’s time to lightly buff the surface. Use a fine grit buffer block or file (180/240 grit) and go over each nail with light, even strokes. Be sure to buff in one direction across the nail to avoid scratching.
Over-buffing can damage and thin the nail plate, so focus on trouble spots only. The purpose here is to create a lightly abraded texture for better rhinestone adhesion. A porous surface helps the glue grip. But don’t buff too much – nails should still have a smooth shine when you’re done.
Finish up with a gentle fingertip massage of cuticle oil to replenish moisture after buffing.
Apply base coat
The last step before rhinestoning is to apply base coat. This gives an extra layer of protection between your nails and the glue. Choose a ridge filling base coat to help smooth out any uneven texture on the nail surface. Apply a thin, even layer to all nails and let it dry completely.
This usually takes 2-3 minutes. A dry base coat ensures the glue will not react with any remaining nail polish or acrylic residue. According to a survey by Nail Care HQ, over 80% of professional nail artists recommend using base coat before any nail art application.
Allowing adequate drying time is key for long lasting results. Once your prep work is done, your nails are ready for dazzling rhinestones!
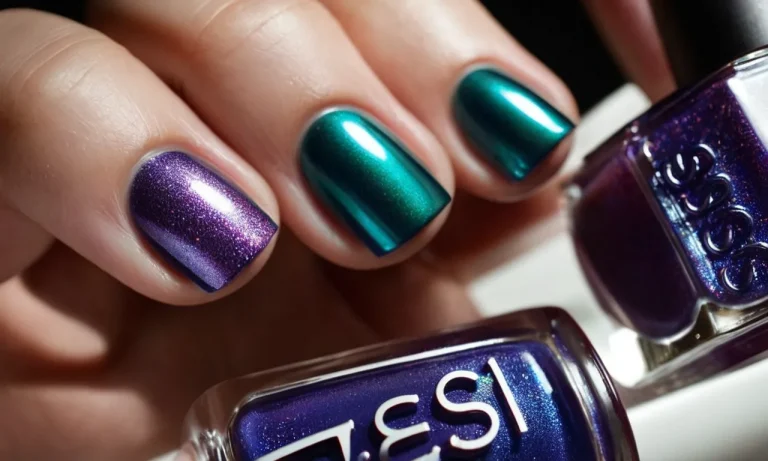
Gather Your Supplies
When embarking on a DIY nail art project using rhinestones, having the right supplies is key. You’ll need several essential products to achieve a sparkly, professional result.
Flat-back rhinestones
The most vital components are the rhinestones themselves. Opt for flat-back rhinestones, which have a flat bottom and adhesive already applied. These gems stick best on the curved surface of nails. Go for smaller sizes like 2mm to 4mm for fingernails since large rhinestones may be too bulky.
Nail glue
While the flat-back rhinestones have a pre-applied adhesive, most nail artists recommend using additional nail glue for maximum staying power. Choose a glue formulated especially for nail applications, like brush-on resin glue. This helps secure the gems firmly on the nails.
Tweezers or wax pencil
Use pointed tweezers or a wax pencil to pick up and place tiny rhinestones during application. These precision tools give you control for accurate positioning.
Clear top coat
Finish by sealing your nail art with a glossy top coat. This helps smooth any texture from the rhinestones and glue while protecting the design. Let each layer dry between applications for best results.
Gluing Techniques
Apply glue directly to rhinestones
One of the most common techniques for attaching rhinestones to nails is to apply a small drop of nail glue directly to each stone before pressing it onto the nail. This gives you the most control over placement. Here are the steps for this technique:
- Prep the nail by cleaning and lightly buffing the surface so the glue adheres well.
- Using a toothpick, dot a tiny bit of nail glue on the flat bottom of each rhinestone you want to apply.
- Use tweezers to pick up the rhinestone and carefully press it onto the nail where desired. Hold for 5-10 seconds.
- Repeat with remaining rhinestones. Let the glue fully dry before applying top coat.
The key with this method is to use just the right amount of glue – too little and the stones may fall off, too much and the glue will be visible or messy. Practice makes perfect!
Use nail glue tabs
Another option is to use pre-glued rhinestone tabs or stickers. These have a small adhesive tab on the bottom of each rhinestone that you peel off and stick to the nail.
Here are some benefits of using the pre-glued tabs:
- Very easy to use – just peel and stick.
- Mess-free – no need to handle wet glue.
- Consistent glue amount.
- Great for beginners.
To apply rhinestones with tabs:
- File and prep the nail.
- Peel the plastic backing off a tabbed rhinestone.
- Press the adhesive firmly onto the nail where desired.
- Continue with remaining rhinestones. Let adhesive fully dry before finishing with top coat.
The downside is you are limited in placement options since the stones are pre-glued. But it’s a great fuss-free method!
Place rhinestones accurately
No matter which gluing technique you use, accuracy in placement is key for a professional, polished look. Here are some tips:
- Work on a clean, clutter-free surface so stones don’t stick where you don’t want them.
- Have all tools and supplies ready before starting.
- Go slowly and carefully. Placement mistakes can be difficult or impossible to fix.
- Use pointed tweezers to pick up and handle small stones.
- Consider using nail guides, stencils or tape to mark the desired design for symmetrical placement.
- Apply stones starting near the cuticle and working outward to avoid bumping already-placed stones.
- Press firmly for 10 seconds once placed to ensure it sticks.
- Finish by sealing stones with a glossy top coat to help hold them in place.
Take your time and don’t rush the application process. Planning your design in advance can also help with neat, accurate placement. With practice, you’ll be blinging out your nails like a pro!
Rhinestone Nail Designs
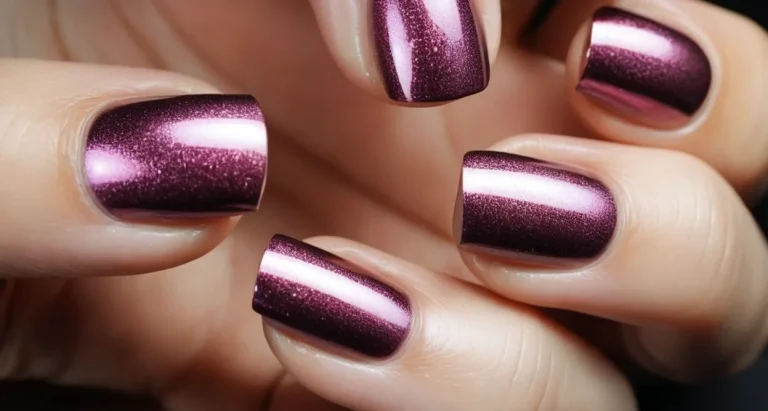
Full Nail Coverage Ideas
Covering the entire nail with rhinestones can create a spectacularly sparkly look. The most popular full coverage designs are:
- Rhinestone French manicure – The tips of the nails are covered in rhinestones while the rest is polished in a neutral or sheer color.
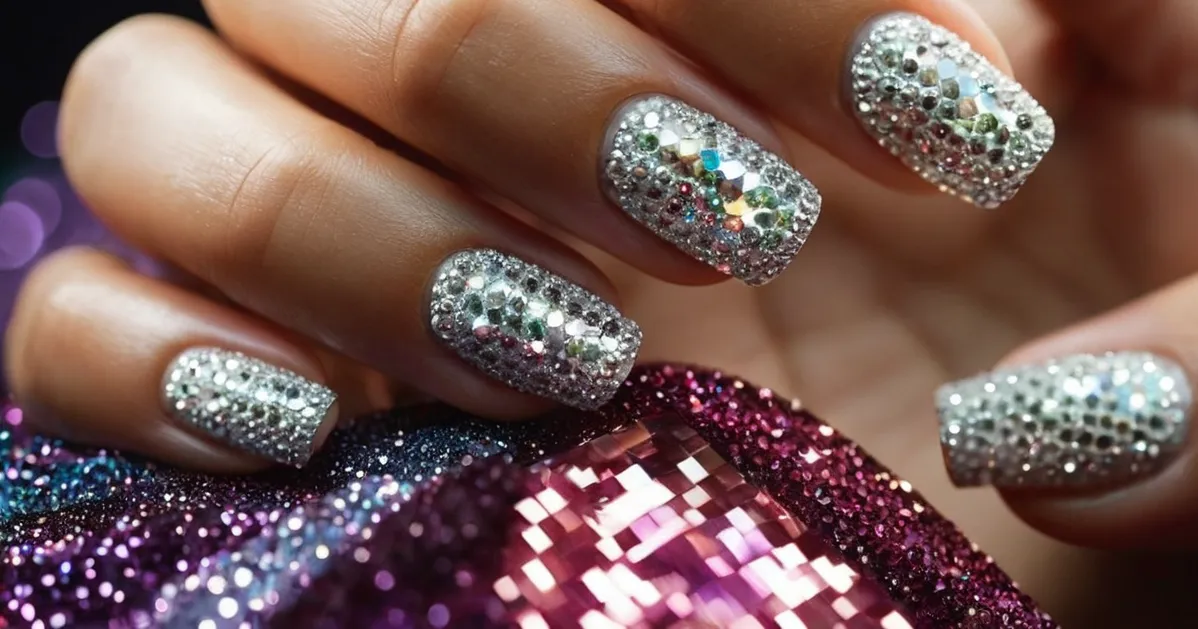
- Full rhinestone nails – Every nail is encrusted in rhinestones from cuticle to tip for maximum bling.
- Ombre rhinestones – Rhinestones fade from dense coverage at the cuticle to sparse at the tip to create an ombre effect.
When doing full nail rhinestone designs, use a strong glue like Gorilla Glue or nail glue like Kiss Maximum Speed Nail Glue so the rhinestones adhere securely. Curved nails and sidewalls also allow for more stone placement.
Accent Nail Ideas
Accent nails with rhinestones involve embellishing one or two nails per hand with stones while the rest are polished as a base color. Fun accent ideas are:
- Single rhinestone – One large marquise or crystal rhinestone is placed centrally on the nail.
- Cluster of stones – Groupings of small- or medium-sized round rhinestones are clustered towards the cuticle area.
- Rhinestone flower – Build a flower nail art with round and marquise stones in the petals and center.
When applying rhinestones as accents, make sure to vary the size, color, and placement for max visual interest. The contrast against the base color makes them really stand out.
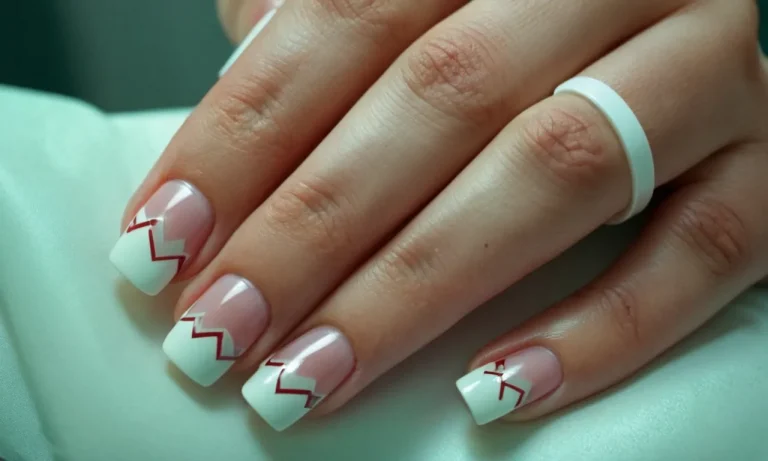
Rhinestone French Tips
Encircling the tips of nails with border of rhinestones puts a glitzy twist on the classic french manicure. Ways to embellish french tips:
- Micro rhinestones – Tiny glass rhinestones fully encircle the tip and seamlessly blend into the base.
- Rhinestone half-moons – Larger marquise rhinestones placed in a half-moon shape at the edges create a dramatic accent.
- Abstract lines – Lines of assorted rhinestone shapes embellish across the french tip in abstract designs.
When designing a rhinestone french manicure, make sure tips are cleanly polished so the glass crystals stand out properly against the background.
Geometric Shapes and Lines
Graphic liner and shape designs with rhinestones add modern edge to nails. Some ideas include:
- Rhinestone triangle – Line up marquise stones to create triangular points facing different directions.
- Pave rectangle – Fill in the shape of a rectangle with micro pave rhinestones using nail guides.
- Rhinestone bar – Place a horizontal bar made of oval stones across the nail for a modern look.
Geometric rhinestone nails are eye catching and on trend right now. Use a stabilizing top coat like Gelish Stay Shiny Top Coat over liners and shapes to secure stones in place, preventing loss or shifting.
Caring for Rhinestone Nails
Apply top coat sealant
Applying a top coat sealant is crucial for protecting your rhinestone nails and making them last longer (source). The sealant creates a barrier over the rhinestones and nail art that prevents chipping, scratching, and stones falling off prematurely.
Use a fast-drying top coat specifically formulated for nail art. Apply 1-2 thin, even layers and let fully dry. Reapply the top coat every 2-3 days to maintain the seal. Pro tip: use a quick-dry spray like Kiss Quick Dry Nail Spray after the top coat to set it even faster.
Filing and reshaping
As your natural nails grow out, filing and shaping your rhinestone nails helps keep them looking neat and tidy. Use a fine grit nail file to gently file away excess length and smooth the edges. File in one direction instead of a sawing motion to avoid pulling off stones.
Reshape and round out the nails, being careful around the placement of rhinestones. Go slowly and avoid filing over the stones directly. If stones do become loose or fall off, use nail glue to re-affix them.
Getting regular infills every 2-3 weeks will allow for minor filing and shaping without having to remove many stones.
Removing rhinestones
To remove rhinestones from your nails, you have a few options:
- Acetone – Soak cotton balls in 100% acetone nail polish remover and hold them against the stones for 5-10 minutes. The acetone will break down the glue and allow you to gently pry off stones using a cuticle pusher tool.
- Dental floss – Slide dental floss under the edge of the stones and saw back and forth to pop them off. The floss cuts through the glue easily.
- Nail file – Use a coarse emery board and gently file over the stones back and forth until they become loose and can be lifted off.
Avoid pulling or picking at stones, which can damage the natural nail underneath. Once all stones are removed, buff over nails to remove any excess glue residue. Finish with nail oil or cuticle cream to hydrate nails after removing glue and stones.
Now your nails are clean and prepped for your next fabulous manicure!
Conclusion
Decking out your nails with beautiful rhinestones is an easy DIY project anyone can tackle at home. With some simple prep work, the right supplies, and following glue application best practices, you can create dazzling nail looks that sparkle.
Enjoy your new blinged-out nails and take proper steps to make your manicure last.
For more nail inspiration and tips, check out our nail art blog.