How To Soak Off Acrylic Nails Without Acetone
Removing acrylic nails can be a hassle, especially if you don’t have acetone on hand. Luckily, there are several effective acetone-free soaking methods you can try at home to painlessly take off your acrylic manicure.
If you need a quick solution, try soaking your nails in pure lemon juice or vinegar for 10-15 minutes to break down the acrylic. You can also make DIY soaking solutions with ingredients like baking soda, salt, olive oil, alcohol, and hot water to slowly dissolve the acrylic.
In this comprehensive guide, we will cover everything you need to know about safely removing stubborn acrylic nails without acetone, from homemade soaking recipes to step-by-step removal instructions.
Understanding Acrylic Nails and How They Bond
What Are Acrylic Nails?
Acrylic nails are artificial nails made from a combination of powdered acrylic polymer and a liquid monomer. The acrylic mixture is applied over your natural nail and shaped to extend the nail bed, creating that long, pointy nail look that many love.
The powder and liquid acrylic mixture chemically bond to the natural nail as it hardens and cures under UV or LED light, creating a durable, chip-resistant nail enhancement that can last 2-4 weeks on average.
How Are Acrylics Applied and Bonded to the Nail?
Getting acrylic nails applied by a professional technician is a multi-step process:
- The natural nail is filed to remove shine and create a rough surface for the acrylic to adhere to.
- The nail is primed with a bonding agent to help the acrylic stick.
- Acrylic powder and liquid monomer are combined and applied over the nail in layers. Each layer is cured under a UV or LED lamp until hardened.
- The acrylic nail is shaped and smoothed into the desired look.
The acrylic mixture undergoes a chemical reaction as it cures under the lamp, fusing to the natural nail. This creates a strong bond that adheres the acrylic artificial nail to the real nail underneath. Acrylic nails are so durable thanks to this chemical bonding process.
Why Acetone Works to Dissolve Acrylic Nails
When it’s time to remove acrylic nails, using pure acetone is the most effective and efficient way. But why does acetone break down those rock-hard acrylics so easily?
It comes down to chemistry. Acetone is an organic solvent with a chemical composition that allows it to break down and dissolve substances like paint, varnish, and acrylic polymers. When you soak acrylic nails in acetone, it penetrates through the layers of acrylic and reverses the polymerization process that hardened the acrylic in the first place.
This causes the acrylic to dissolve away from the natural nail, allowing for easy removal.
The strong bonding agents used to adhere acrylic to the real nail plate also begin to break down with acetone exposure. This releases the acrylic artificial nail from the natural nail. That’s why an acetone soak is so effective for removing acrylics quickly and with minimal filing or stress to the natural nails underneath.
Soaking Solution Ingredients for Removing Acrylic Without Acetone
Lemon Juice or Vinegar
Both lemon juice and vinegar make excellent homemade soaking solutions for gently breaking down the acrylic bonds. The acidic properties help slowly dissolve the nails without drying out the natural nails underneath. Simply mix equal parts lemon juice or white vinegar with warm water.
Soak nails for 10-15 minutes to allow the solution time to work.
Baking Soda
Creating a thick baking soda paste can lift acrylic nails off the natural nails without causing damage. Mix 2-3 tablespoons of baking soda with just enough warm water to form a spreadable paste. Apply the mixture over nails and let it sit for up to 20 minutes before scrubbing off with a small brush.
Table Salt
The grainy texture of plain table salt makes it ideal for filing down artificial nails. Pour salt into a bowl and mix with just enough hot water to dissolve the grains slightly. Submerge nails and scrub back and forth for several minutes until the acrylic begins wearing down.
Rinse and repeat if needed.
Olive, Coconut, or Vegetable Oil
Natural oils can moisturize nails and make the acrylic application expands and lift up from the nail bed for easy removal. Pour a small bowl of oil and submerge nails for 10-15 minutes. Use a toothpick to gently pry up the acrylic from around the edges.
The oil allows the product to slide off without taking layers of natural nails with it.
Rubbing Alcohol
Rubbing alcohol can break down nail glue and acrylic powder within minutes. Saturate a cotton ball and hold it against the nail tip for up to 3 minutes. Slide a nail file underneath to lift the product off bit by bit. Take care not to file too vigorously on the real nail.
Hot Water
One of the quickest ways to remove acrylics is by soaking in very hot water. Heat up a large bowl of water until it’s as hot as hands can stand. Keep nails submerged for 5-10 minutes to allow the warmth to penetrate the artificial nails.
Use metal nail clippers to clip off sections as they loosen, taking care around the cuticles.
| Soaking Solution | Time to Soak | Removal Process |
|---|---|---|
| Lemon juice/vinegar | 10-15 minutes | Soak then gently pry off |
| Baking soda paste | Up to 20 minutes | Apply paste, let sit, then scrub off |
| Table salt | Several minutes | Soak and scrub |
| Oils | 10-15 minutes | Soak then use toothpick to lift edges |
| Rubbing alcohol | Up to 3 minutes | Saturate cotton ball and hold on nail |
| Hot water | 5-10 minutes | Soak then clip off sections as loosened |
Homemade Non-Acetone Soaking Solutions and Recipes
Lemon Juice Soak
A lemon juice soak is a popular homemade solution for removing acrylic nails gently. The acidity in the lemon juice helps break down the nail glue so the nails can be peeled or pried off more easily. To make a lemon soak, simply fill a bowl with equal parts lemon juice and warm water.
Soak your fingernails for 10-15 minutes until the acrylics feel loose. The longer you soak, the easier they will be to remove. Lemon juice may also leave nails looking brighter and healthier after the soak.
Vinegar Soak
Similar to lemon juice, white vinegar is acidic which makes it great for breaking down nail glue. For a vinegar acrylic nail soak, mix equal parts white vinegar and warm water in a bowl. Soak nails for 15-20 minutes until ready to gently pry off with an orangewood stick or towel.
The vinegar helps weaken the nail glue while being gentle on natural nails underneath. It’s also helpful for removing any residue glue left behind.
Baking Soda and Salt Soak
For a more abrasive homemade soak, try mixing baking soda and salt in warm water. Simply stir together until it forms a paste-like consistency then apply to nails. Let sit for 5-10 minutes before scrubbing off acrylics with a buffing block or nail file.
The salt and baking soda will help scour off stubborn enhancement. Be careful not to over-scrub natural nails. Finish by soaking in plain water to remove salt and baking soda residue.
Olive Oil Soak
While not as effective at breaking down nail glue, olive oil makes a nice soothing soak for acrylic removal. The oil will help moisturize and soften both natural and enhanced nails. For extra moisture, mix the olive oil with a few drops of lemon juice.
After soaking for 10-15 minutes, use cuticle pushers and orangewood sticks to gently pry off acrylic nails soaked in oil.
Alcohol Soak
Some people find soaking nails in 70% isopropyl alcohol helps weaken enhancement glue. The alcohol can dry out nails though, so limit soak times to 5-10 minutes. Mixing alcohol with glycerin may help counteract its drying effects. As always, moisturize hands well after removing acrylics.
An alcohol soak likely won’t fully remove nails on its own but can be helpful before gently prying off with tools.
Hot Water Soak
A simple hot water soak will help loosen nail glue too. Heat a large bowl filled with water until very warm but not scalding. You can repeat heating as needed to keep water warm. Soak acrylic nails for at least 15 minutes, using cuticle pushers to try gently prying up enhancement edges in meantime.
The warmth will soften glue bonds for easier removal. Be very careful not to burn fingers during hot water method.
Step-By-Step Instructions for Removing Acrylic Nails
Trim Excess Length
Before starting the removal process, use nail clippers or scissors to trim off any excess length of your acrylic nails. Trimming them down will make them easier to file and soak off in the later steps. Remove length slowly and carefully to avoid cracking or splitting the nails.
Trim them down as short as comfortably possible without exposing your natural nails.
File Surface to Thin Acrylic
Use a coarse nail file to thin out and rough up the surface of your acrylic nails. Filing buffs away some of the acrylic thickness, allowing the removal solution better access underneath. Focus filing on the nail tips and free edges. Avoid over-filing near the cuticles or you may damage the nail bed.
The more thoroughly you file, the faster and easier it will be to dissolve the remaining acrylic later.
Apply Protective Layer Around Skin and Cuticles
Before soaking acrylic nails, protect the skin around your nails and cuticles by applying a thick layer of petroleum jelly or thick hand cream. This creates a barrier to prevent the nail removal solution from irritating the sensitive skin.
Reapply more cream anytime your skin starts feeling dry or raw during the process. You can also wear rubber gloves for an added moisture barrier.
Soak Nails in Chosen Solution for 10-20 Minutes
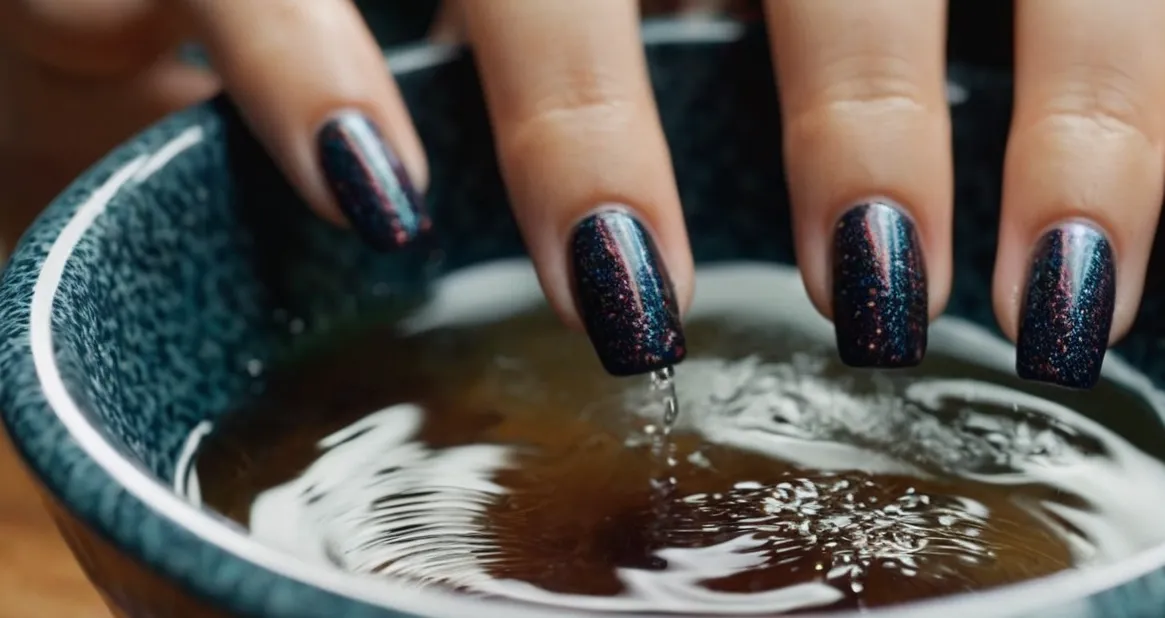
Fill a small bowl or container with your chosen acrylic removal solution – warm soapy water, oil, baking soda paste, etc. Submerge your nails completely in the liquid, wiggling them gently to allow it to penetrate under and around all edges. Soak for 10-20 minutes, adding more solution if needed.
The acrylic will gradually soften and separate from your nails, although thicker or long-worn sets may take longer. If using acetone-containing remover, limit soak times to prevent nail damage.
Gently Push Back Cuticles and Wipe Away Layers
After soaking, use an orangewood stick, cuticle pusher, or washcloth to gently press back your cuticles and wipe off any lifted acrylic residue. Repeatedly dip your nails back into the bowl to re-soften and remove more layers each time. Work slowly and cautiously around the cuticles and nail edges.
Stop if you feel any pinching or pain. The acrylic should start flaking off in thin sheets or chips after a few soak and wipe cycles.
File Away Remaining Acrylic Residue
Once most of the acrylic has dissolved or chipped off, use the nail file to buff away any last bits stuck to your nail surface and tips. Soak and wipe periodically while filing to keep the nails softened. Avoid using metal nail tools as they can damage natural nails.
Pay special attention to filing under and around the edges near your cuticles and sidewalls to remove all traces. This prevents acrylic from growing back under your new nails later.
Clean and Moisturize Nails
Finish by using cuticle oil, vitamin E oil, or thick moisturizing cream to condition your natural nails and cuticles after removing acrylics. This helps strengthen and repair any dryness or damage from repeated filing, soaking, and wiping.
Filing and soaking acrylics off can be drying, so it’s important to nourish nails afterward. Keep cuticles pushed back and nails buffed smooth to prevent lifting or cracking of your new nail growth.
Tips for Avoiding Damage to Natural Nails
Don’t Pull Off Acrylics by Force
Trying to pry off acrylic nails by hand can lift natural nails right off the nail bed, resulting in injury and pain. Acrylic nails have a strong bond with the natural nail, so never try to pull them off with brute force. Doing so risks permanent damage to the nail matrix.
Instead, patiently soak off acrylics to dissolve the bond safely.
Apply Cuticle Oil Before Soaking
Massaging cuticle oil around each nail before soaking helps protect the surrounding skin and eases the removal process by lubricating the bond line. Look for cuticle oils containing moisturizing ingredients like vitamin E, coconut oil, olive oil or jojoba oil.
Gently push back cuticles and rub a few drops into each nail to prime them before starting the removal process.
Use a Nail File, Not Clippers or Scissors
Filing is the safest method for shortening acrylic nails or shaping them before removal. Nail clippers can crack or split natural nails if you try clipping off acrylics at the free edge. The pressure put on the nail plate is too concentrated.
Emery boards gently grind down acrylic material without trauma to the natural nail.
Never try cutting or clipping acrylics near the cuticle area, as this risks digging into skin or cutting the nail plate itself. Filing avoids pinching and breaking of the natural nail.
Soak for Short Intervals to Check Progress
Limit initial soak times to 5-10 minutes when trying to dissolve the acrylic bond, checking often to see if the product will lift or peel away from an edge. Soaking too long initially over-softens the entire nail plate and make it prone to ripping.
Once lifting begins, reapply remover and gently nudge softened acrylic free bit-by-bit, taking care not to tear at skin or remove layers of natural nail in the process. This staged approach prevents overexposure to solvents and retains nail integrity.
Moisturize After to Prevent Brittleness
Once acrylics have been removed, your nails may feel dry and fragile. Rehydrate by massaging in a rich moisturizer containing antioxidants like Vitamin E or aloe vera. This replenishes moisture, nutrients and natural oils stripped away during the removal process.
It also strengthens nails against cracking, peeling or becoming brittle.
Consider a moisturizing nail oil from Ulta or an intensive cuticle cream from Sally Beauty supply to deeply nourish nails post-acrylic removal. Avoid harsh household cleaners that strip oils and keep nails short and filed smooth to prevent snagging or splitting while they recover.
When to See a Professional For Safe Removal
If Natural Nails Become Damaged or Painful
Attempting to remove acrylic nails at home can lead to damage of the natural nails if done improperly. Signs of damage include cracking, peeling, inflammation and tenderness of the cuticles and nail beds.
If you experience any discomfort, pain, or visible damage, it’s best to book an appointment with your local nail salon right away.
Professionals have specialized tools and techniques to gently file off acrylic nails with minimal impact to natural nails. They also can treat any resulting damage by clipping away dead nail tissue, applying cuticle cream and recommending products to promote healthy nail growth.According to Healthline, seeing a technician can help avoid infection risk and ensure thorough, safe removal especially if nails are already compromised.
For Problematic Lifts or Frequent Fills
Getting frequent acrylic nail fills can weaken the bond between the product and natural nail over time. This causes lifts, gaps, cracking or loosening that create an inviting environment for dirt, debris and bacteria.
Rather than struggling with lifting acrylics yourself, professionals have specialized electric files to gently loosen them. They can then use acetone or soak-off gels to dissolve the remaining product and prepare nails for a fresh set.
This helps avoid uneven breaks or stress on natural nails which could increase chances of them becoming brittle and thin long-term.
If You Have Sensitive Skin or Allergies
Acrylic nails and glue often contain chemicals and fumes that can irritate skin or trigger allergic reactions for sensitive individuals. Reactions may include redness, bumps, swelling and itchiness around the nail and cuticles.
In severe cases, removing acrylics at home can spread chemicals causing increased inflammation or further reaction.
Seeing a professional is highly recommended if you have reactive skin or allergies. Nail techs can expertly protect the surrounding skin while removing product. According to WebMD, they also have access to hypoallergenic glues and products better suited for sensitive clients during future applications.
Conclusion
With the right non-acetone soaking solution and removal method, taking off stubborn acrylic nails at home doesn’t have to be a painful ordeal. Relief for your natural nails is only 10-20 minutes away!
Remember to never pick or peel off acrylics, as this can take layers of your nail plate with it. Instead, be patient and allow homemade soaks to gently break the acrylic bonds for easy, damage-free removal. Your nails will thank you!


