How To Seal Acrylic Paint On Nails For Long Lasting Manicures
If you love getting creative with nail art and acrylic paint but find it doesn’t last more than a day or two, sealing the paint is the solution. Sealing acrylic paint on nails creates a protective barrier that prevents chipping, scratching, and fading.
If you’re short on time, here’s a quick answer to your question: Apply 1-2 thin coats of a fast drying top coat specifically designed for acrylic paint after the manicure is completely dry. Avoid quick dry top coats, which can cause cracking or peeling.
In this comprehensive guide, we’ll cover everything you need to know about sealing acrylic paint on natural or artificial nails for maximum wear time. You’ll learn about the different types of sealants, how to prep nails before painting, application techniques, drying times, and tips for making your manicure last.
Why Seal Acrylic Paint on Nails
Prevents Chipping and Scratching
Sealing acrylic nail paint is crucial for preventing chips and scratches. The sealant acts as a protective barrier that hardens and reinforces the painted acrylic surface. This prevents the color from flaking or peeling off as your nails grow out.
No more worrying about ruining your perfect manicure every time you open a door or accidentally bump your hand on something!
Locks in Color and Sheen
A sealant is amazing for locking in the vibrant color and glossy sheen of acrylic nail polishes. Without a sealant, the acrylic paint can become dull and faded looking within a few days as the colors oxidize. The sealant blocks out air and moisture to prevent this oxidation process.
Your dazzling neon pink or sparkly topcoat will stay eye-catching for as long as you want when properly sealed.
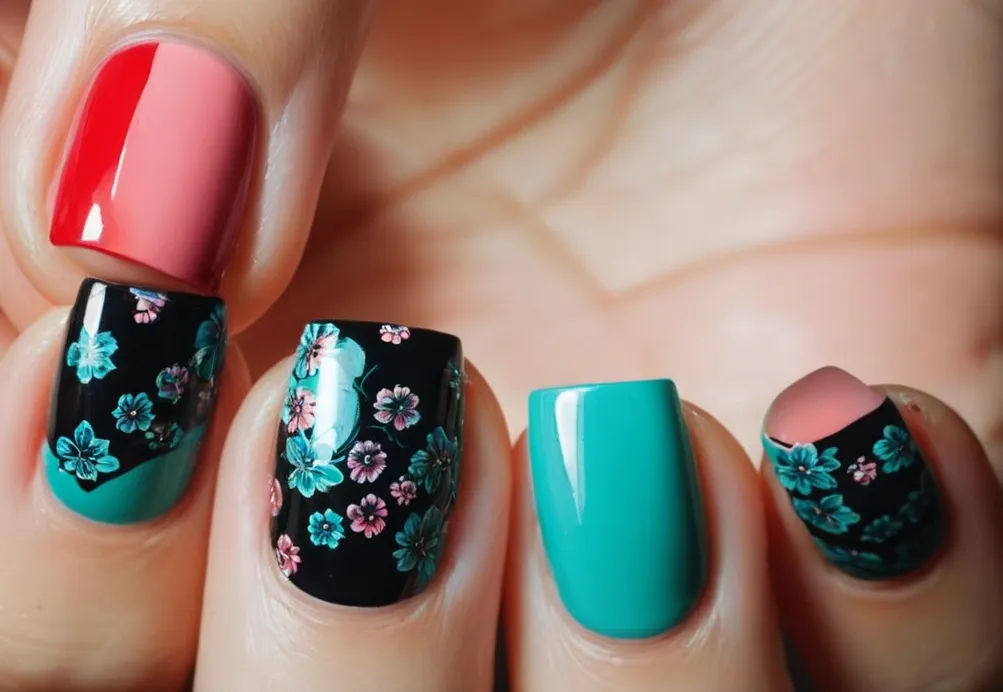
Allows Designs to Last Longer
Nail art fanatics can rejoice – sealing acrylic paint allows intricate nail designs to last! Detailed artwork like stripes, flowers, or marbleizing requires patience and talent to create. A sealant makes sure all of that hard work doesn’t peel or chip away after just a few days.
Even temporary nail art like magnetic effects or ombre gradients can be preserved by sealing the finished design.
Acrylic paint sealants are a nail polish lover’s secret weapon! Just one quick additional step ensures your flawless manicure stays pristine and dazzling for weeks, not days. Protecting your nails from chips, fading, and smudges is easy with a quality sealant.
Don’t you want your nails to stay Insta-worthy for as long as possible?
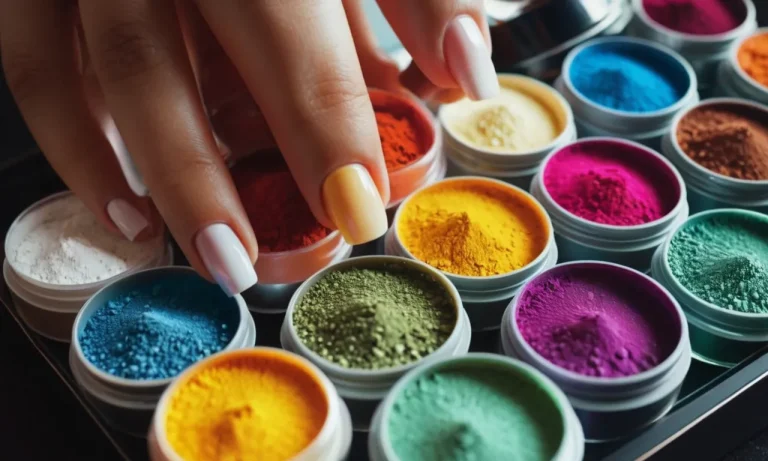
Choosing a Sealant for Acrylic Paint
Matte Finish Top Coats
Matte top coats are a popular choice for sealing acrylic nail art because they provide a smooth, velvety finish. The flat surface helps make painted details really stand out. Matte sealants also disguise small imperfections in the acrylic underneath.
Some great matte top coat options include Seche Clear Matte Top Coat and Essie Matte About You.
Glossy Top Coats
If you prefer a bright, shiny nail look, go for a glossy top coat instead. These make colors seem richer and more vibrant. Glossy sealants also tend to be quite durable. The OPI Top Coat and Sally Hansen Insta-Dri Top Coat are two glossy favorites that help lock in color.
Quick Dry vs Regular Top Coats
You can find top coats formulated for either quick drying or extended wear. Quick dry varieties like Seche Vite Dry Fast Top Coat can be handy when you’re short on time. They set acrylic paint in just minutes.
For longer-lasting manicures, choose a regular top coat that needs slightly more time to cure but provides maximum protection, like Orly Sec ‘N Dry.
Top Coats Designed for Nail Art
Specialty top coats exist for sealing intricate or dimensional acrylic nail designs. For example, nail art top coats like Gelish Structure Gel Top Coat and Born Pretty 3D Top Coat for Nail Art are thick with a gel-like consistency. This allows them to fully cover textured designs.
They help prevent cracking or smudging of delicate polish artwork.
Preparing Nails Before Painting
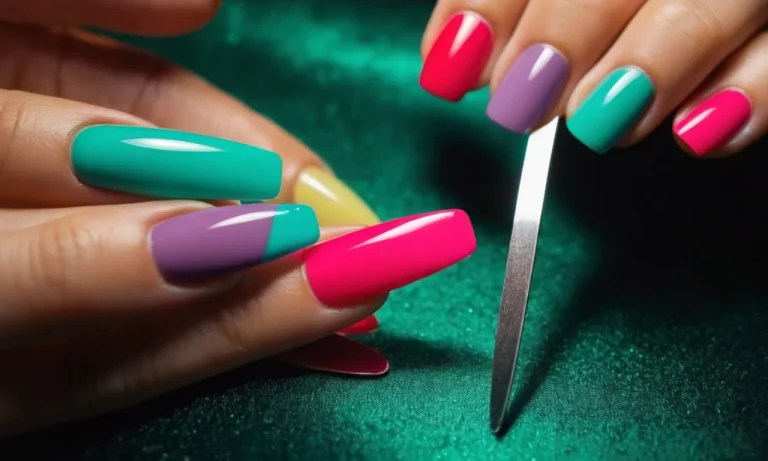
Trim and File Nails
Trimming and filing your nails is a crucial first step before painting them. Start by trimming your nails to your desired length using nail clippers. Make sure to trim them straight across to create an even edge. Next, use a nail file to gently smooth out any jagged edges and shape your nails.
File in one direction starting from the outside corners down towards the center of the nail. This helps prevent any weak spots or peeling. Filing your nails will also help the nail polish adhere better and last longer. Take your time filing for a professional looking manicure.
Clean Nails
Having clean nails is key for a long lasting manicure. Start by scrubbing your nails with soap and warm water to remove any dirt, oils or nail polish residue. Use a small brush to gently clean under and around each nail. This lifts away any debris that may prevent proper adhesion.
You can also use nail polish remover, rubbing alcohol or an acetone-free nail prep solution to fully dehydrate the nails. Allow your nails to air dry completely before painting. Clean nails provide the perfect blank canvas for your nail polish.
Use a Base Coat
Applying a base coat is one of the most important steps for making your manicure last. Base coats provide a smooth, even surface for nail polish to adhere to. They help prevent staining of the natural nail.
Base coats also add a protective barrier against chipping and peeling by filling in any ridges on the nail. Using a base coat can double the wear time of your manicure! Let the base coat dry completely before adding color.
Some great base coat options are OPI Natural Nail Base Coat, Essie Here to Stay Base Coat, and Orly Bonder Rubberized Basecoat. Investing in a good quality base coat will help your nail polish look freshly painted for many days.
Applying and Sealing the Acrylic Paint
Work in Thin Layers
When applying acrylic paint to nails, it’s crucial to use very thin layers. Thick blobs of polish likely won’t adhere properly and may peel off quickly. For the best results, dip just the tip of the brush into the paint and then lightly brush it onto the nail.
Going slowly with multiple sheer layers creates a smooth, even coat that dries properly.
Let Each Layer Dry
Acrylic works best when applied in thin increments with drying time between coats. This allows each delicate layer to dry completely before adding the next. Rushing through the process by glopping on thick polish or adding more layers too quickly can ruin the manicure.
Be patient and let each application dry for at least 10-15 minutes before continuing.
Apply Top Coat in Thin Layers
After the color layers have dried adequately, finish up by applying 1-2 thin top coats to seal everything in. Adding top coat helps create an extra moisture barrier and also makes the manicure shine. Like the color, apply the top coat sparingly and avoid over-brushing as too thick of a layer may bubble or streak.
Cap Free Edges
Exposed nail tips often chip fastest, so it’s important to seal the very edges of the nails properly. Accomplish this by continuing each layer of color and topcoat just slightly over the tips. However, take care not to over-paint the skin around the nails.
Going overboard with polish on the cuticles can make removal more difficult later on.
Drying Time
When sealing acrylic paint on nails, allowing adequate drying time between coats is crucial for achieving a smooth, durable manicure. Here’s what you need to know about drying times when using acrylic paint:
Thin Layers Dry Faster
Acrylic paint dries by evaporation, so thinner layers will dry faster than thick globs of paint. For best results, apply paint in thin, even coats and avoid over-brushing.
Allow Paint to Dry Between Coats
It’s important to let each layer of acrylic paint dry completely before adding another coat. Drying times vary depending on humidity, ventilation, paint thickness, and brand, but generally you’ll want to wait at least 30-60 minutes between coats.
Use Quick-Dry Drops or Sprays
You can shorten drying times by using a quick-dry spray or drops formulated for nail polish. These products work by allowing the solvents in the paint to evaporate faster. Quick-dry sprays can cut drying times in half.
Dry Underneath a Fan or Lamp
Positioning your nails under a fan or lamp after painting can drastically reduce drying time. The airflow helps evaporate solvents, while the heat from a lamp can set acrylic paint in just a few minutes. This prevents smudging between coats.
Let Final Coat Cure Overnight
While individual coats of paint may dry within the hour, it’s best to allow the finished manicure to cure overnight before exposing nails to water or wear and tear. This allows ample time for the acrylic paint to set completely.
Following these tips will help acrylic paint on nails dry thoroughly for a long-lasting, resilient manicure. Allowing enough drying time is essential for avoiding chips, smudges, and premature peeling.
Tips for Making It Last
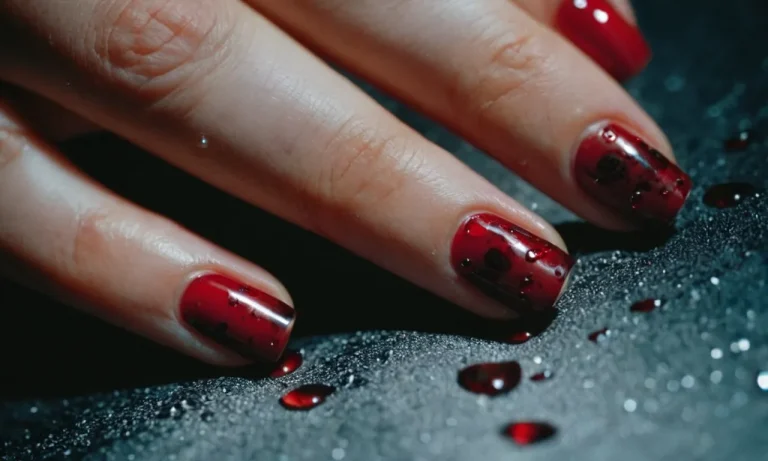
Avoid Water Exposure
Water is the enemy when it comes to preserving your acrylic nail manicure. Too much water exposure can cause the acrylic to become soft and lift from the natural nail. Here are some tips to avoid water damage:
- Wear gloves when washing dishes or cleaning
- Avoid long baths and swimming
- When washing hands, try to keep water away from your nail tips
Limiting water contact will help the acrylic bond stay strong and intact. An occasional splash won’t ruin your manicure, but repeated, prolonged water exposure can shorten its lifespan.
Use Cuticle Oil
Using cuticle oil around the nail edges is a great way to hydrate and moisturize, preventing cracking and lifting of the acrylic. The best time to apply oil is after washing hands or after a manicure. Gently rub a few drops into the skin around nails a couple times per day.
Good cuticle oils contain nourishing ingredients like vitamin E, jojoba, and coconut oil. This helps seal in moisture and improves the adhesion between the natural nail and acrylic. Stronger bonding means the acrylic lasts longer. Quality cuticle oils can be found at beauty supply stores or online.
Don’t Pick at Your Nails
Avoid the temptation to pick at your nail polish or acrylic. Peeling or scratching at the edges damages the seal of the acrylic and opens up cracks for moisture, dirt, and bacteria to get in. This can quickly lead to lifting, discoloration, and increased risk of infection.
It’s best to get a fill or rebalance done by your nail tech rather than trying to adjust shape or polish yourself. Salons use professional sanitization practices to keep your nails looking great. Don’t risk undoing all the hard work – leave the manicuring to the professionals!
Conclusion
By properly sealing acrylic paint on your nails using a fast-drying, flexible top coat designed for nail art, you can extend the life of your creative manicures for up to 7-10 days or even 2 weeks. While sealing does require some patience during the painting and drying process, it allows you to have fun with nail art and designs without worrying about chips the very next day.
Follow these tips on choosing a top coat, prepping nails, and applying thin layers of sealant to lock in your hand-painted works of art.