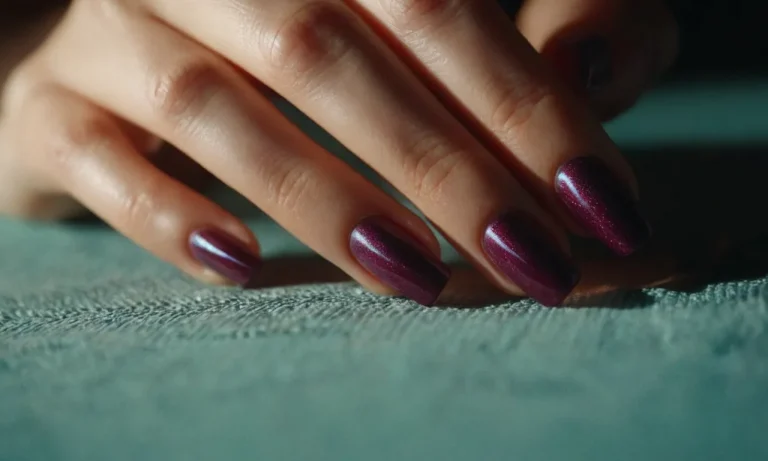
How To Remove Nail Wraps: A Step-By-Step Guide
Nail wraps have become a popular nail art trend, allowing you to quickly and easily apply designs to your nails. But while applying wraps is a breeze, removing them can be tricky if you don’t know the proper technique.
If you’re short on time, here’s a quick answer to your question: soak nails in acetone or nail polish remover for 5-10 minutes, then gently roll back the wrap from cuticle to tip using an orange stick or tweezers. Avoid ripping wraps off.
In this comprehensive guide, we’ll walk through the entire nail wrap removal process step-by-step, from soaking to gently peeling off the wraps. We’ll also cover tips and tricks for painless removal, how to avoid damage to your nails, removing wrap residue, and aftercare.
Gather Your Nail Wrap Removal Supplies
Removing nail wraps doesn’t require many supplies, but having the right tools on hand will make the process quick and easy. Here are the recommended items to gather before starting the removal process:
Acetone or Nail Polish Remover
Acetone-based nail polish remover is the number one product needed for removing wraps. Make sure to use 100% pure acetone, as this works best to break down the strong nail glue underneath the wraps. You’ll need enough remover to fully saturate the wraps and cotton balls during the removal process.
Aluminum Foil
Small squares of aluminum foil come in handy during the nail wrap removal process. The foil is used to wrap the acetone-soaked cotton balls around your fingers to help the acetone penetrate the wraps. Make sure you have a few small foil squares on hand before getting started.
Cotton Balls or Pads
Cotton balls or pads provide the surface needed to apply the acetone remover to the nail wraps. Make sure the cotton is 100% cotton and not synthetic, as natural fibers work best for nail wrap removal. You’ll need around 5-10 cotton balls for the complete removal process.
Orange Sticks or Tweezers
An orange stick or a pair of precision tweezers allow you to gently scrape off and remove the wraps once the glue has been dissolved. This helps remove any remaining wrap residue without damaging the natural nail underneath.
Opt for a high-quality stainless steel cuticle pusher or pair of slanted tweezers.
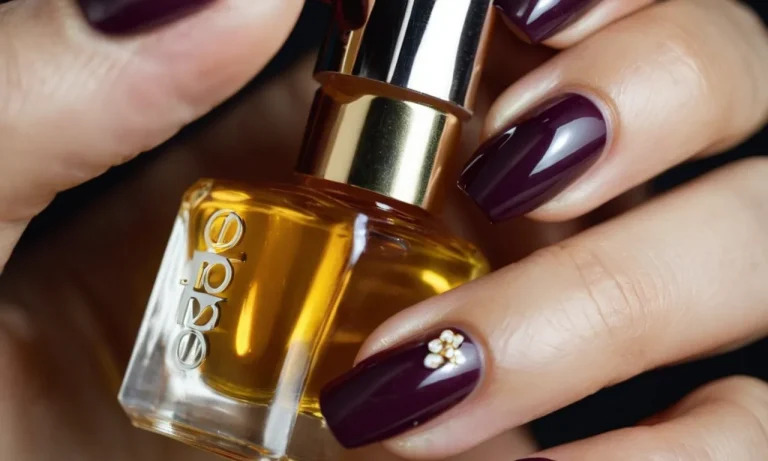
Cuticle Oil
Once the wraps have been removed, applying a nourishing cuticle oil helps rehydrate the nails and cuticles. Look for a vitamin-enriched, antimicrobial formula to favor nail health after the drying effects of acetone removal. Having this on hand helps complete the nail wrap removal process.
With these five essential items on hand, you’ll be fully equipped and ready to safely take off nail wraps. The removal process requires patience but these supplies help speed things along and protect the natural nails. Now it’s time to get started removing those wraps!
Soak Nails in Remover
Pour remover into a small bowl and cover with foil
The first step in removing your nail wraps is to pour some nail polish remover into a small bowl. Make sure to use pure acetone remover, as this will work best for dissolving the adhesive on the wraps. Once you’ve poured a few ounces into the bowl, cover it tightly with foil or a lid.
This helps prevent the acetone from evaporating too quickly.
Soak each nail for 5-10 minutes
Now it’s time to soak! Take each nail wrap-covered finger and submerge it in the bowl, one by one. Let each nail soak for 5-10 minutes, which gives the acetone time to break down the glue. Be patient during this process and don’t try to rush it.
Rushing can cause the wraps to tear rather than slide off intact.
As you soak, you’ll see the wraps start to wrinkle and loosen around the edges. That’s a good sign the adhesive is breaking down! Gently wiggle and slide the wraps off. Don’t pull too hard or you could tear the nail underneath.
Re-soak as needed for stubborn wraps
If you have a stubborn wrap that doesn’t want to budge, simply re-soak for a few more minutes. Older wraps in particular can be very adhesive and need some extra soaking time. You can help things along by gently rolling or rubbing the soaked nail against the bowl, which helps slough off the glue.
If there is excessive glue residue left behind on the nail, use a small amount of fresh acetone on a cotton round to remove it. Don’t scrape at residue with tools as this could damage the nail bed. With some patience, the wraps will slide right off, leaving you with clean, beautiful nails!
Gently Roll Off the Wraps
Start at cuticle and gently push back wrap
When it’s time to remove your nail wraps, start by gently pushing the wrap back from the cuticle area. Use an orange stick or tweezers to get underneath the edge of the wrap near the cuticle and slowly peel it back bit by bit. Taking your time here prevents ripping or tearing of the wrap.
Slowly roll wrap off from cuticle to tip
As you peel the wrap back, continue pushing it off the nail in a rolling motion from cuticle to tip. Roll slowly and gently, again to avoid any rips or tears. If the wrap starts to get stuck, stop and reapply a drop of nail polish remover to help dissolve the adhesive before continuing.
Use orange stick or tweezers for precision
Using tools like an orange stick or tweezers allows you to grip, lift and precisely guide the wrap off. The pointed tip lets you target the edge of the wrap and peel it back in a controlled manner. Tweezers also give you a good grip. Take advantage of these handy tools!
Take your time and avoid ripping
Patience is key when taking off wraps! Allow sufficient time so you can work slowly and methodically. Rushing increases the chance of aggressively pulling and damaging the wrap. According to nail care experts, properly removing wraps without ripping can take 15-20 minutes per hand. So put on some nice music, get cozy and take it easy.
Your nails will thank you!
Remove any Remaining Residue
Use cotton ball and remover to rub off residue
After removing the nail wraps, there will likely be some adhesive residue left on your nails. This needs to be completely removed to avoid damaging your natural nails. The best way to remove the residue is by using a cotton ball or pad soaked in pure acetone nail polish remover.
Gently rub the cotton over each nail, focusing on the areas with leftover glue. The acetone will help dissolve the adhesive. Be patient during this step and keep rubbing until all traces of residue are gone. Removing it properly will leave your nails smooth and ready for your next manicure!
Rinse nails with water and dry thoroughly
Once the nail wrap adhesive is removed with acetone, the next step is to rinse your nails with water. This helps get rid of any remaining acetone or adhesive residue. Run your nails under lukewarm water for 30-60 seconds per nail. Make sure to rinse both the underside and tops of your nails.
You can use a small brush or washcloth to gently scrub as you rinse. Getting your nails wet will cause the remaining residue to ball up, allowing you to wipe it away. After thoroughly rinsing, be sure to completely dry your nails. Use a clean towel and carefully pat dry each nail.
Get in the crevices and trim any excess cuticle if needed. Proper drying will prevent new polish from lifting or peeling off too soon. Your nails are now prepped for the next step!
Buff nails gently with nail file if needed
The last step in removing nail wraps is to gently buff the surface of your nails with a nail file. Start with a fine grit emery board and use light, even strokes. Buffing will smooth out any remaining roughness or uneven texture left from the wraps.
Only focus on problem areas rather than filing the entire nail. Be very gentle during this step, as over-filing can damage or thin your nails. If your nails feel smooth already, you can skip this step. But buffing 2-3 swipes over each nail can ensure they are perfectly prepped for a fresh manicure.
Always buff in one direction, moving from cuticle to tip. Finish with a quick shine using a buffing block. Your nails will now have a clean slate and silky feel. Proper removal and aftercare allows your natural nails to grow in healthy and strong!
Moisturize and Care for Nails
Apply cuticle oil to condition nails
Applying cuticle oil is one of the best ways to moisturize and care for your nails after removing nail wraps. The oil penetrates the nail beds and cuticles, leaving them soft and conditioned. Look for a cuticle oil that contains nourishing ingredients like vitamin E, jojoba oil, and essential oils.
Gently massage a few drops into each nail and cuticle twice per day. This helps counteract any drying or damage from the nail wrap removal process.
Use a nail strengthener if nails feel weak or damaged
If your nails feel a little weak or damaged after taking off wraps, using a nail strengthening treatment can help. An effective nail hardener typically contains ingredients like calcium, herbs, and proteins to reinforce thin, peeling, or brittle nails.
Apply a coat daily as the manufacturer directs until your nails regain their strength. Just be careful not to overuse strengtheners as this can lead to excessive hardness and brittleness over time.
Allow nails to breath before reapplying polish or wraps
It’s best to give your nails a chance to breathe in between polish, gel manicures, or wraps. Going for at least a few days with bare nails allows moisture to penetrate so your nails recover. You can apply a hydrating oil daily while they are polish-free.
Then when you do opt for nail color again, your nails will be prepped for success. Taking breaks allows your nails to grow out and renew themselves, reducing the risk of excessive thinning or brittleness sometimes caused by continuous polish wear.
Conclusion
Removing nail wraps doesn’t have to be a painful or damaging process if you take the proper steps. With some acetone or remover, foil, orange sticks, and patience, you can gently roll off your wraps without ripping or leaving residue behind.
Just be sure to moisturize nails after to keep them healthy and strong. With this removal technique, you can change up your nail art as often as you like!
Now that you know how to safely remove wraps at home, you can experiment with all kinds of fun and bold nail art designs. Soak off those old wraps and get ready to apply your next gorgeous manicure!