How To Remove Dip Powder Nails: A Step-By-Step Guide
If you’re short on time, here’s a quick answer to your question: to remove dip powder nails, you’ll need to file off the top layer of powder, soak cotton pads in pure acetone and wrap your nails, then gently scrub off the remainder of the powder once it has lifted from the nail.
Removing dip powder nails, the durable yet stylish manicure option made of powder and liquid, at home can seem tricky. But following a few simple steps, you can safely take them off without damaging your nails.
What Are Dip Powder Nails?
Dip powder nails defined
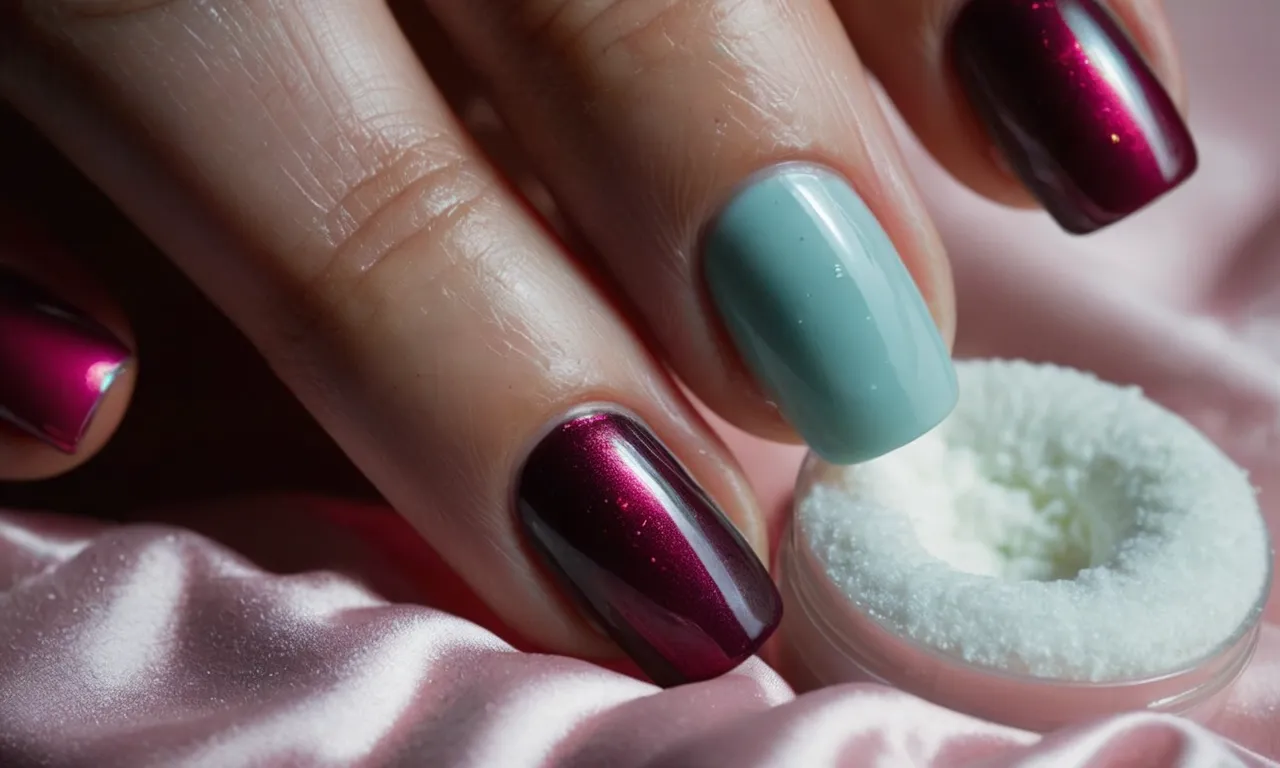
Dip powder nails, also known as SNS or sculptured nail systems, are a popular alternative to acrylic or gel manicures. The process involves dipping the natural nail into colored powder formulations to build an acrylic nail on the natural nail surface.
This creates a durable, long-lasting manicure that can last up to 3 weeks with proper care and maintenance.
How dip powder manicures are done
Here are the basic steps for a dip powder manicure:
- File and shape the natural nails – The nails are filed to remove shine and shaped into the desired length and shape.
- Apply nail primer – A bonding primer is applied to prep the nails.
- Dip into colored powder – The nails are dipped into a colored acrylic powder. Clear powders are also used as a base and top coat.
- Activate with liquid activator – A liquid activator is brushed on to harden the powder into a solid coat.
- File and shape – After several rounds of dipping, the nails are filed and shaped again.
- Apply activator and top coat – Activator is applied followed by a top coat for shine.
This process creates a durable, acrylic nail that is directly bonded to the natural nail. The finished manicure is strong, long-lasting, and resists chipping and scratching.
Benefits of dip powder nails
Here are some of the benefits that make dip powder manicures so popular:
- Durable and long-lasting – Dip powder manicures can last up to 3 weeks with less chipping, cracking or breakage.
- Quick application – The dipping method is often faster than getting acrylics or gels.
- Less damage to nails – There’s no harsh acrylic smell and less filing/drilling needed.
- Thick and strong nails – Dip powders create a sturdy, acrylic nail that resists breaks.
- Natural looking – With a clear base, the powders blend beautifully with the natural nails.
- Wide range of colors and glitter – From nudes to bright colors, glitters and effects are available.
With benefits like these, it’s easy to see why dip powder manicures are becoming so popular in nail salons! The finished manicure is stylish, durable, and economical.
Gather the Proper Removal Supplies
Removing dip powder nails requires having the right supplies on hand. Here are the main items you’ll need:
100% pure acetone
Acetone is the key ingredient for safely dissolving the dip powder off your nails. Be sure to use 100% pure acetone, as diluted versions will not work as effectively. Many nail salons use professional grade acetone, but drugstore acetone is fine for DIY removal.
Aluminum foil
You’ll need small squares of aluminum foil to wrap around the fingertips during the removal process. The foil helps the acetone soak into the powder quicker.
Cotton balls or pads
Cotton balls or rectangular cotton pads give you something to soak in the acetone and apply to your nails. Use balls or pads that are thick and plush to get the best results.
Nail file
A coarse nail file lets you gently file away the top layer of dip powder before soaking in acetone. This helps speed up the process. Look for a 100/180 grit file.
Cuticle pusher
A cuticle pusher tool is useful for gently nudging back your cuticles before starting the removal process. This prevents the acetone from irritating the tender skin around your nails.
Nail brush
An old nail brush is helpful for scrubbing off any last flecks of dip powder once it’s dissolved. Opt for a brush with firm, nylon bristles.
Gather these supplies ahead of time so you have everything on hand before tackling the removal process. The right tools make removing dip powder nails much easier and faster. Now you’re ready to get started!
File Off the Top Layer
Once you have soaked your nails and the dip powder layers have softened, it’s time to start filing off the top layer. This process will take some elbow grease and patience. Here are some tips for effectively filing off dip powder nails:
- Use a coarse nail file. You’ll need a 100/180 grit nail file to efficiently file off the top layers of hardened dip powder. Don’t use a fine file as it will take much longer.
- Hold the file flat against the nail at a 45 degree angle and file back and forth. Use smooth, consistent strokes. Filing straight across the nail can cause unwanted scratches and damage.
- Apply firm pressure as you file, but not too much. You want to remove the layers without thinning your natural nails too much.
- Work from the sides of the nail towards the center. Start filing from one side, then the other, meeting in the middle.
- File the top of the nail from cuticle to tip. Once you’ve filed off the sides, file the center of the nail from cuticle to tip to smooth it out.
- Focus on one nail at a time. Filing off dip powder can take 10-20 minutes per hand, so be patient. Rushing through the process can damage nails.
As you file, you’ll start to see the top layers of colored powder come off. Keep filing until you reach your natural nail underneath. The dip powder should file off fairly easily if you soaked for long enough.
Pay extra attention to filing around the cuticles, as dip powder often gets stuck in cracks or lifts in this area.
Avoid filing so aggressively that you thin out your natural nails. The goal is to remove the acrylic and powder layers only. If you start to feel discomfort or sensitivity, use a lighter hand or switch to a less coarse file.
Once the powders are filed down, use a buffing block to smooth out your natural nails.
Filing off hard dip powder is the most tedious and time-consuming part of the removal process. Put on some music or a podcast, get comfortable, and expect it to take up to an hour for both hands. The filing process is essential for successfully removing dip nails safely.
Be patient and do not rush this important step!
Soak Nails in Acetone-Soaked Pads
Saturate cotton balls/pads with acetone
The first step to removing your dip powder manicure is to thoroughly saturate cotton balls or pads with pure acetone, which will help break down the layers of powder on your nails. Make sure to use cotton that is thick and plush so it can hold plenty of acetone.
Pour or squeeze enough acetone onto each cotton pad so that it is completely saturated and dripping wet. This will ensure maximum nail coverage and allow the acetone to really penetrate and dissolve the product.
Having saturated acetone pads is crucial for effectively removing every last bit of stubborn dip powder.
Wrap each finger securely
Once your cotton pads are ready, take one and place it directly on top of each fingernail. Wrap each finger securely with foil or a small piece of tin foil to hold the acetone-soaked cotton firmly in place. Make sure each nail is completely covered and that the cotton pads stay saturated.
Securely wrapping each finger will prevent the pads from sliding around and drying out. It helps press the cotton against the nail and keeps it saturated so the acetone can work its magic. According to nail care experts, you should leave the foil and cotton ball wraps on for 15-20 minutes to fully dissolve the dip powder on your nails.
After this time, the products should wipe or peel off easily without damaging your natural nails underneath.
Some tips for wrapping your fingers properly include:
- Use a square piece of foil or tin foil and wrap it around your finger starting from the cuticle down to fully cover the nail.
- Make sure the cotton pad stays in place over the nail and that the foil is wrapped snugly.
- Wrap foil on diagonally across the pad for extra hold.
- Check pads during the soak time and re-saturate with acetone if they start to dry out.
Properly wrapping each finger with saturated acetone pads is an essential step to removing dip powder nails painlessly and safely. The pads must be saturated at all times and pressed firmly against each nail for the full recommended soak time.
Following this step properly softens the products for easy, damage-free removal.
Gently Scrub Off the Dip Powder Residue
After soaking the nails in acetone and scraping off the bulk of the dip powder, there will likely still be some stubborn residue left on the nails. Here are the next steps to gently remove the rest:
Use a Nail File
Start by gently filing the nails to remove the top layer of residue. Be careful not to file too aggressively or you could damage the natural nails underneath. Use a medium grit emery board and file in one direction, avoiding a back-and-forth motion.
Scrub With a Soft Brush
Next, use a soft-bristled nail brush (an old toothbrush works too!) to gently scrub away the rest of the powder. You can use straight acetone for this step or mix a bit of dish soap with the acetone to help lift the residue. Gently scrub the nails and cuticles in a circular motion.
Rinse Thoroughly
Once the nails are free of residue, be sure to thoroughly rinse them under running water. Rinsing removes all traces of acetone and powder debris to reveal the clean, natural nails underneath. This also preps them for the next step – moisturizing!
Apply Cuticle Oil or Moisturizer
End the removal process by massaging your favorite cuticle oil, jojoba oil, vitamin E oil or hand moisturizer into the nails and cuticles. The acetone can be very drying, so this step helps replenish moisture and condition the nails.
Massaging the products in stimulates blood circulation to aid the natural nail healing process.
There you have it – with some soaking, scraping, scrubbing and TLC, you can successfully remove stubborn dip powder residue. Your nails will look and feel so much better afterward! Be patient and take your time to avoid damage. 😊 With the right technique, you’ve got this! 💅
Clean Up Your Nails
Use cuticle pusher to clean cuticles
After soaking off and filing down your dip powder nails, the next step is to tidy up your cuticles. This helps give your nails a neat and finished look. Start by gently pushing back your cuticles with a cuticle pusher tool. This will reveal more of the nail bed for a cleaner appearance.
Be careful not to push too hard or cut the cuticles, as this can lead to infection. Just a gentle push back is all you need.
Brush away remaining residue with nail brush
Chances are there will still be some dip powder residue left on your nails even after filing them down. Grab a stiff nail brush and give each nail a good scrubbing to brush away the remaining dust and debris. Really work the brush around the edges and underside of nails to remove any leftover grit.
You may need to use a cotton swab dipped in acetone for any stubborn bits. Take your time and be thorough to avoid leaving any trace of the powder behind before moving onto the next step.
Rinse nails in water; dry thoroughly
Now it’s time to wash away all that dust and residue from cleaning your nails. Run your hands under warm water and give your nails a good rinse. The water will help remove any last traces of filing dust or acetone. Be sure to rinse well and wipe nails clean.
Follow up by drying hands and nails thoroughly with a lint-free towel. Get into all the crevices around and under the nails. Having completely clean and dry nails will prep them for the next manicure steps like cuticle oil or nail strengthening treatments.
Moisturize Your Nails and Cuticles
After removing dip powder nails, it’s crucial to moisturize and nourish your natural nails and cuticles. Here are some tips:
Apply Cuticle Oil
Cuticle oil is a must for hydrating the nail bed and cuticles. The removal process can cause dryness, so massage in a few drops of oil 2-3 times per day. Jojoba, vitamin E, and coconut oils are great options. This helps rehydrate and prevent hangnails or cracking.
Use a Rich Hand Cream
A thick, hydrating hand cream is key for moisturizing hands and nails post-dip removal. Look for creams containing shea butter, glycerin, and dimethicone to nourish and protect the nails and skin. Massage the cream into your hands and nails morning and night.
Try a Nail and Cuticle Treatment
For even more hydration, use a nail and cuticle treatment 1-2 times per week. These treatments contain oils, butters, and waxes to intensively nourish the nails and cuticles. Apply to bare nails and gently push back cuticles. Let sit for 10 minutes before rinsing.
Exfoliate Regularly
Use a buffing block or gentle scrub once a week to slough off dead skin around the nails. This reveals smoother, softer skin and allows moisturizers to better penetrate. Be gentle and avoid over-exfoliating, which can thin the nail beds.
Properly moisturizing and nourishing the nails and cuticles after dip powder removal helps them heal. Consistent hydration prevents brittleness and cracking for healthy, beautiful natural nails. Take a little time each day to massage in oils and creams to rejuvenate your hands and nails.
Conclusion
Removing dip powder nails is easy to do at home with some acetone, cotton pads, foil, a nail file, and a little elbow grease. Just file off the top layer, let acetone-soaked pads sit on your nails about 10-15 minutes until the product lifts, then gently scrub away the remainder.
Finish up by tidying cuticles, brushing away debris, and moisturizing nails.
With the right supplies and techniques, you can soak off your manicure without weakening your nails. Your fingers will feel fresh and ready for a bright new polish or powder for your next nails adventure!


