How To Remove Apres Nails
Many women love to get Apres gel nails because of how long-lasting, natural-looking, and durable they are. But what happens when you are ready to remove them at home? Getting Apres nails off can be a challenge without the right tips and tricks.
If you’re short on time, here’s a quick answer to your question: Soak cotton balls in 100% acetone nail polish remover and place them on each nail. Seal fingers in foil and leave on for 15-20 minutes before gently scraping off the gel with a cuticle pusher. File nails to remove residue.
In this comprehensive guide, we will go through the entire Apres nail removal process step-by-step, from items you’ll need to prepping your nails all the way to final clean up and care.
What Are Apres Nails?
Apres nails, sometimes called gel-x nails, are a popular nail enhancement option that lasts up to 3 weeks. They are lightweight, durable, and easy to apply and remove compared to acrylics. So what exactly are apres nails and what should you know before getting them?
Gel-X Nails
Apres nails go by the names gel-x nails or extension gel nails. They use a gel resin to adhere nail tip extensions on natural nails for instantly longer, shapely nails. The gel formula creates a flexible, chip-resistant nail overlay that receives high praise for longevity and strength compared to other enhancement options.
Lasts Up To 3 Weeks
With proper application and home care, a fresh set of apres nail extensions can last 2-3 weeks on most people. The durable gel polish provides a protective layer shielding the natural nail underneath from chipping and peeling.
Most users can go 2+ weeks before requiring maintenance like an infill or soak-off removal.
Lasting nearly a month between appointments is a major perk over acrylics or basic manicures which require more frequent touchups. If you lead a busy lifestyle or don’t have the time or money for weekly nail upkeep, apres are a great lower maintenance option.
Durable & Lightweight
The gel resin used for apres nail extensions is flexible yet strong. This gives a lightweight, comfortable feel many users compare to their natural nails. The durable formula also resists cracks, chips, and breaks better than acrylic or hard gels.
Plus, the gel polish coating the sculpted nail tip overlay provides an extra layer of protection and color payoff that lasts. Having long-lasting nails that still feel natural and avoid too much extra weight on nails and cuticles is the best of both worlds.
Some key benefits you can expect from apres nail extensions include:
- Adds length and shape without damaging your natural nails
- Durable for daily activities and less prone to breaks
- Gel polish for 2-3 weeks of chip-free wear
- Soak off gently in acetone for easy removal
- Maintain/infill every 2-3 weeks
- Lightweight and comfortable enhanced feel
With a well-trained nail tech application and proper at-home care, apres nails deliver stunning, functional nail looks that can outlast basic polish by weeks. Their versatility for both short natural styles or dramatic lengths and shapes makes them a favorite nail extension option.
| Apres Nails | Acrylics |
|---|---|
| Lightweight material feels like natural nail | Heavier material can feel unnatural |
| Gel polish provides 2+ weeks of wear | Polish chips within days |
| Less harsh on nails than acrylics or hard gels | Can damage the nail plate and cuticles over time |
| Easy 20-30 soak-off removal | Must be filed off to avoid nail damage |
Compared to acrylic nail enhancements, apres nails tend to be lower maintenance and have less long term impacts on nail health when properly done.
Ready to get your own durable apres nails? Check out guides on TheHoneycomb.com for the best application and removal techniques to make them last.
Items Needed for Removing Apres Nails
100% Acetone Polish Remover
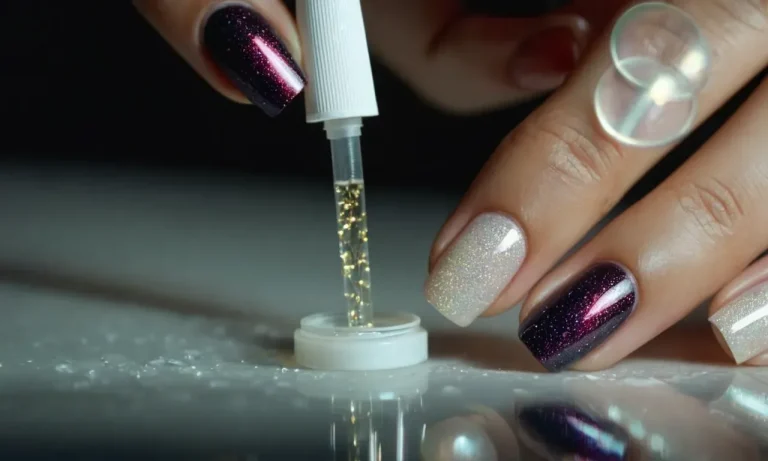
Acetone-based nail polish remover is crucial for removing Apres nails. Choose a 100% acetone formula instead of a diluted version to ensure it’s strong enough to break down the nail glue (the key to easy removal).
Gently soak cotton balls in the acetone and place them directly on the nails to dissolve the bond. Let it sit for at least 10-15 minutes before attempting to peel off the nails. This helps loosen them safely without damage. Popular and effective acetone removers include brands like Zoya Remove+.
Aluminum Foil
Aluminum foil helps trap acetone fumes around the nails to accelerate the dissolving process. Simply wrap each acetone-soaked cotton ball with a small piece of foil before placing on the nail. The foil creates a mini chamber, allowing the acetone to penetrate the bond faster typically in 5-7 minutes (less than half the normal removal time!).
The nails should then slide right off without tugging or prying. Alternatively, you can wrap entire fingers in foil after applying soaked cotton to really concentrate the vapor effect.
Cotton Balls or Pads
Cotton is perfect for applying and holding nail polish remover on the Apres tips during the removal process. The cotton soaks up the acetone so it can penetrate the nail bond once placed on top. Cotton pads give you a larger surface area to work with, while balls allow you to target just the nail.
Choose organic unbleached cotton if possible, as bleached versions may contain trace chemicals that could irritate skin. You’ll need about 5-10 balls/pads per hand for the entire removal.
Cuticle Pusher and Nail File
A cuticle pusher gently lifts the nails from around the edges once the glue dissolves from the acetone without damaging your natural nails or skin. File the top surface lightly if needed to smooth down any remaining glue residue after removal.
The pusher and file help ensure a clean, even separation for minimal cleanup afterwards. Having these tools on hand makes the removal process much faster and safer overall. Look for professional stainless steel tools for longevity.
Nail Clippers
Standard nail clippers allow you to safely trim Apres nails to a manageable length or shape before attempting removal. Clipping them down reduces the surface area connected by glue for easier prying off.
Salons often use specialized nail clippers, but regular ones from any beauty supply store will suffice. The key is ensuring a straight, even cut to prevent cracking or peeling. Clippers with a safety catch help prevent hurting skin accidentally.
Cuticle Oil
Massaging in cuticle oil after removing Apres nails helps rehydrate the skin and nails, preventing damage or irritation from the acetone exposure. Look for nourishing formulas containing jojoba, vitamin E, shea butter and essential oils.
Apply a few drops around each nail and cuticle area and massage thoroughly. This replenishes moisture and protects newly exposed nails, keeping them healthy and beautiful. Having oil on hand is a smart finishing touch for the removal process before moving on with your day!
Prepping Nails for Apres Removal
Trim Nails Short
Trimming nails short before removing Apres nails is a crucial first step. Use nail clippers to trim nails down to just above the free edge. Very short nails help prevent damage and breakage when prying off the artificial nails (1).
Leaving nails long makes removal more difficult and increases the risk of ripping natural nails. Aim for nails that barely extend past the fingertips. File rough edges smooth with an emery board. Eliminating sharp edges also protects the natural nails underneath.
Push Back Cuticles
Pushing back cuticles allows better access underneath the artificial nail edge. Soak hands in a bowl of warm water for 5-10 minutes to soften cuticles. Then, gently push back cuticles with a cuticle pusher tool or orange stick. Avoid cutting cuticles, as this can lead to infection.
Just push them back enough to expose the nail plate. Failing to push back cuticles means you may rip living skin when removing nails. Ouch! Moisturize cuticles after pushing them back to keep them healthy.
Clean Under Nails
Cleaning underneath Apres nails is important before removal. Use a wooden cuticle pusher dipped in rubbing alcohol to gently clean under the free edge of the artificial nails (2). Slide the pusher along the underside of each nail to remove any debris or old adhesive residue.
Leftover adhesive or polish can interfere with getting a grip on the nails during removal. A clean surface allows for easier lifting and prying. Avoid using metal tools as these can scratch or file the natural nails if slipped underneath.
Following these key prepping steps sets you up for safe, easy removal of Apres gel or acrylic nails at home. Well-trimmed, pushed back nails that are cleaned underneath minimize the chances of damage. Now the nails are prepped and ready for the removal process!
With a few simple preparation steps, those nails will pop right off.
References:
(1) Celebrity nail artist Tom Bachik demonstrates how to remove acrylics: https://www.youtube.com/watch?v=y2sjEIR6fY0
(2) WikiHow to remove acrylic nails: https://www.wikihow.com/Remove-Acrylic-Nails
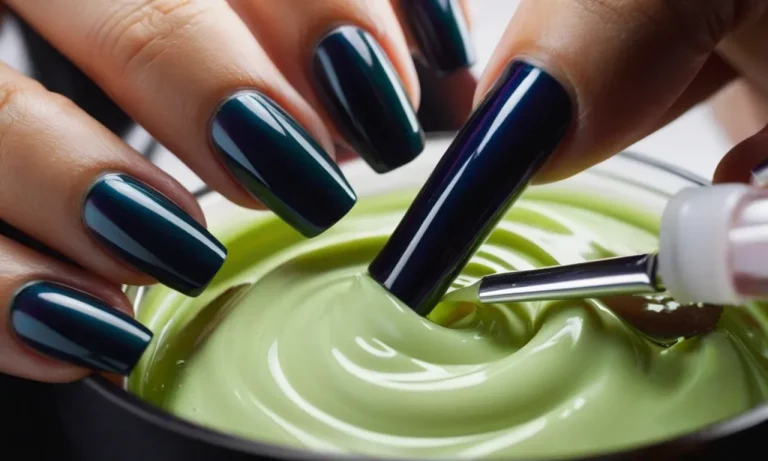
Soaking Off Apres Nails
Saturate Cotton Pads with Acetone
The first step in removing Apres nails is to saturate cotton pads or cotton balls with pure acetone. Make sure to use 100% acetone, as lower concentrations may not be strong enough to break down the adhesive.
You’ll want the acetone-soaked cotton to be dripping wet – this will help soften the nail tips and adhesive quickly and efficiently. Choose a cotton pad or ball that is thick and durable enough to withstand being soaked through.
Wrap Each Nail in Foil
After soaking the cotton pads in acetone, take each finger and tightly wrap the nail in aluminum foil, with the acetone-soaked cotton pressed firmly against the nail tip. The foil helps trap the acetone against the nail, allowing it to penetrate and break down the adhesive.
Make sure the foil wrap is tight and secure so the cotton stays in constant contact with the nail. Change out the cotton as needed if it starts to dry out. The foil method is highly effective for saturating the nail tips compared to just soaking fingers in a bowl.
Leave on for 15-20 Minutes
Once all nails are wrapped in foil and acetone-soaked cotton, let them sit for 15-20 minutes. This gives the acetone enough time to dissolve the nail glue and weaken the adhesive. Check after 15 minutes – the nails should slide off easily at this point.
If they still feel stuck, re-soak the cotton in acetone and leave wrapped for another 5 minutes. Don’t leave the foil wraps on for more than 25 minutes as overly long exposure can cause nail plate damage. Most salon professionals recommend 15-20 minutes for best results.
Be sure to remove any remaining glue residue after taking the wraps off. Then apply cuticle oil to condition the nails and skin after acetone exposure. Removing Apres nails properly with foil wrapping, 100% acetone, and 15-20 minutes soak time will allow for easy, damage-free removal.
Just be patient during the process and the nail tips will slide right off!
Gently Removing the Gel Residue
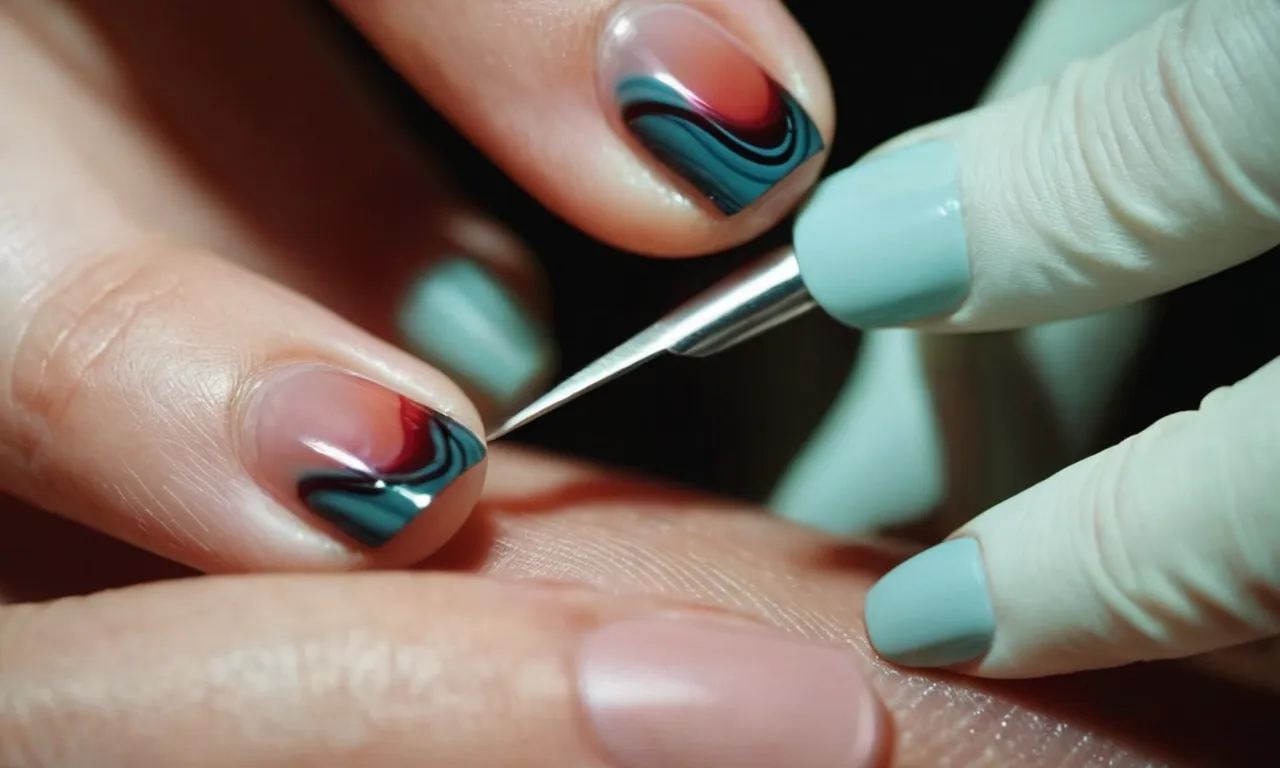
Slide Gel Off with Cuticle Pusher
After soaking off as much of the Gelish gel polish as you can, there will likely still be some stubborn gel residue left on the nail plate. At this point, resist the urge to pick or peel it off! Aggressively removing the residue can damage the nail.
Instead, take a metal cuticle pusher tool and gently slide it along the nail plate to scrape off the remaining sticky gel (just don’t scrape too hard!) The cuticle pusher allows you to remove the gel in a controlled manner without pulling up layers of the nail.
Avoid Pulling Off Chunks
If there are still some thick, rubbery chunks of gel stuck to the nail plate, avoid pulling them off with your fingers. That risks tearing layers of the natural nail off too. Instead, use the cuticle pusher to gently lift the gel off bit by bit.
Have patience and work slowly to avoid ripping off pieces of your real nail by accident. This may take a little time, but it’s worth being careful!
File Away Remaining Glue
After using the cuticle pusher, there will likely still be a thin, sticky film on the nail. Take a 100/180 grit nail file and gently buff the nail plate to remove the last of the residue. Apply light pressure and work in one direction. Don’t scrub back and forth aggressively.
Once the nail plate feels smooth, any remaining gel should be removed. Be very careful not to over-file or you could thin out the nails.
Use Cuticle Oil for Hydration
After removing all traces of the gel manicure, the nails and surrounding skin will be dried out. Apply a nourishing cuticle oil containing jojoba or vitamin E. Gently massage it into the nail and cuticles. This hydrates the nail bed and cuticles after the drying effects of the acetone remover.
It also gives your nails a healthy glow! Continue massaging oil into the nails and cuticles regularly to condition them after gel removal. With proper TLC, your nails will recover quickly.
Caring for Nails Post-Removal
Trim and File Nails
After removing acrylic or gel nails, it’s important to gently trim and file the natural nails. The nails will likely have some roughness and uneven edges from the removal process. Use a high-quality nail file and gently smooth the edges and shape the nails.
Don’t file too aggressively, as the nails will be a bit weak and vulnerable immediately after removal. Filing and trimming will help the nails regain their health and grow out smoothly.
Moisturize Nails and Cuticles
The removal process can leave nails and cuticles dry and damaged. It’s essential to moisturize them. Massage a nourishing cuticle oil into the nails and cuticles 1-2 times per day. Jojoba, vitamin E, and coconut oils are great natural options.
This helps rehydrate the nails and stimulates healthy new growth. You can also apply a thick, hydrating moisturizer onto the nails and massage it in. Here are some of the best cuticle oils.
Another moisturizing trick is to soak the bare nails in olive oil for 10 minutes a day. The oils will sink in and deeply condition the nails.
Avoid Re-Application for 1-2 Weeks
It’s crucial to give the natural nails a break after removing acrylics or gels. Re-application too soon can cause damage, peeling, and cracking. Allow 1-2 weeks for the nails to fully heal and recover their strength before considering new extensions or polish.
This recovery time lets moisture sink in and the nails rebuild layers. The nails may feel thin and fragile immediately after removal. Resting them will do wonders.
Conclusion
Removing your Apres nails properly at home allows you to change up your manicure on your own schedule. While the removal process takes some time and patience, you can soak Apres gel nails off safely without damaging your natural nails in the process.
Be gentle as you work off the gel, file away residue, and take time to moisturize your nails afterwards so they stay healthy for your next fab manicure!