How To Remove A Nail: A Step-By-Step Guide
Getting a nail stuck in your foot can be extremely painful. If you want quick relief, here’s the fastest way to remove a nail: use pliers to grip the nail firmly and pull it out in one swift motion. But while this may provide immediate pain relief, you risk infection or further injury if the nail is removed incorrectly.
In this comprehensive guide, we’ll walk through the safest, most effective ways to remove various types of embedded nails. With the right tools and techniques, you can successfully extract nails from wood, drywall, and even your skin.
Assess the Type and Location of the Nail
Identify what material the nail is stuck in
The first step in removing a nail is to identify what material it is stuck in. This will determine the tools and techniques needed for removal. Nails can be embedded in wood, drywall, concrete, or other materials.
Examine the area around the nail and note the texture, hardness, and composition of the surface. For example, drywall is composed of gypsum between paper facings and will have a chalky, brittle texture around the nail.
Check how deeply embedded the nail is
Next, check how far the nail has penetrated the material. Gently try wiggling the nail to get a sense of how securely it is lodged in place. Partial nails that have not gone in very deep will be easier to remove than long nails embedded deep in a surface. Also, look to see if the nail head is protruding enough to grip with pliers or if the head is bent or broken off.
Determine if the nail punctured a sensitive area like a joint or foot
If the nail has punctured skin, especially in a sensitive area like a hand, foot, or joint, extra care should be taken during removal to avoid causing further injury. Nails embedded in the foot have the potential to introduce bacteria deep into the tissue or damage bones, tendons, or nerves if not properly treated. It’s best to have a doctor assess an embedded nail in sensitive areas before attempting removal at home.
Proper wound care and antibiotics may be needed to prevent infection.
Gather the Proper Tools
Pliers or nail puller for nails in wood or drywall
Removing nails embedded in wood or drywall often requires a specialized tool like pliers or a nail puller to grip and extract the nail without damaging the surrounding material. Standard pliers can work, but nail pulling pliers provide better grip and leverage for removing stubborn nails.
According to Home Depot, some of the top-rated nail pulling pliers include the Crescent 10 in. Nail Puller Pliers and the Estwing Nail Puller. These provide strong gripping power to securely clamp onto nail heads for removal.
Nail pullers are also handy for hard-to-reach areas. Pullers use a sliding mechanism with a gripping jaw at the end to latch onto nails. Brands like Crescent and Dasco make nail pullers designed for everything from flooring to siding applications.
Sterilized tweezers for splinters or nails puncturing skin
Using sterilized, high-quality tweezers is critical for safely removing splinters or nails puncturing skin to avoid infection. Rubbing alcohol can disinfect the tweezers before use. Pointed tweezer tips help securely grip the embedded item for quick, smooth removal.
Choose tweezers with precision non-slip tips like the Tweezerman Splinter Tweezers.
According to Cleveland Clinic, antiseptic wash and antibiotic ointment should be applied after tweezer removal to prevent infection. Keep the wound site covered until fully healed. Seek medical care if you can’t fully remove the object, the wound becomes infected, or you haven’t had a tetanus shot in the past 10 years.
Antiseptic wash and antibiotic ointment for puncture wounds
The CDC recommends using antiseptic wash and antibiotic ointment on any nail puncture wounds after removal to prevent bacterial infection. Antiseptic washes containing benzalkonium chloride, like Bactine, help kill microbes and pathogens before they enter the wound.
Apply a small dab of antibiotic ointment like Neosporin afterward to keep the site moist and fight infection.
Cover all nail puncture wounds with sterile gauze or a bandage that allows air flow. Change the dressing at least daily while monitoring for signs of infection like redness, swelling, oozing, or fever.
Seek prompt medical treatment if infection occurs, as nail puncture wounds can introduce dangerous bacteria like Pseudomonas deep into tissue.
According to the latest CDC antibiotic resistance data, around 3 million antibiotic-resistant infections occur annually in the U.S., highlighting the vital role proper wound care plays in prevention.
Carefully Loosen and Extract the Nail
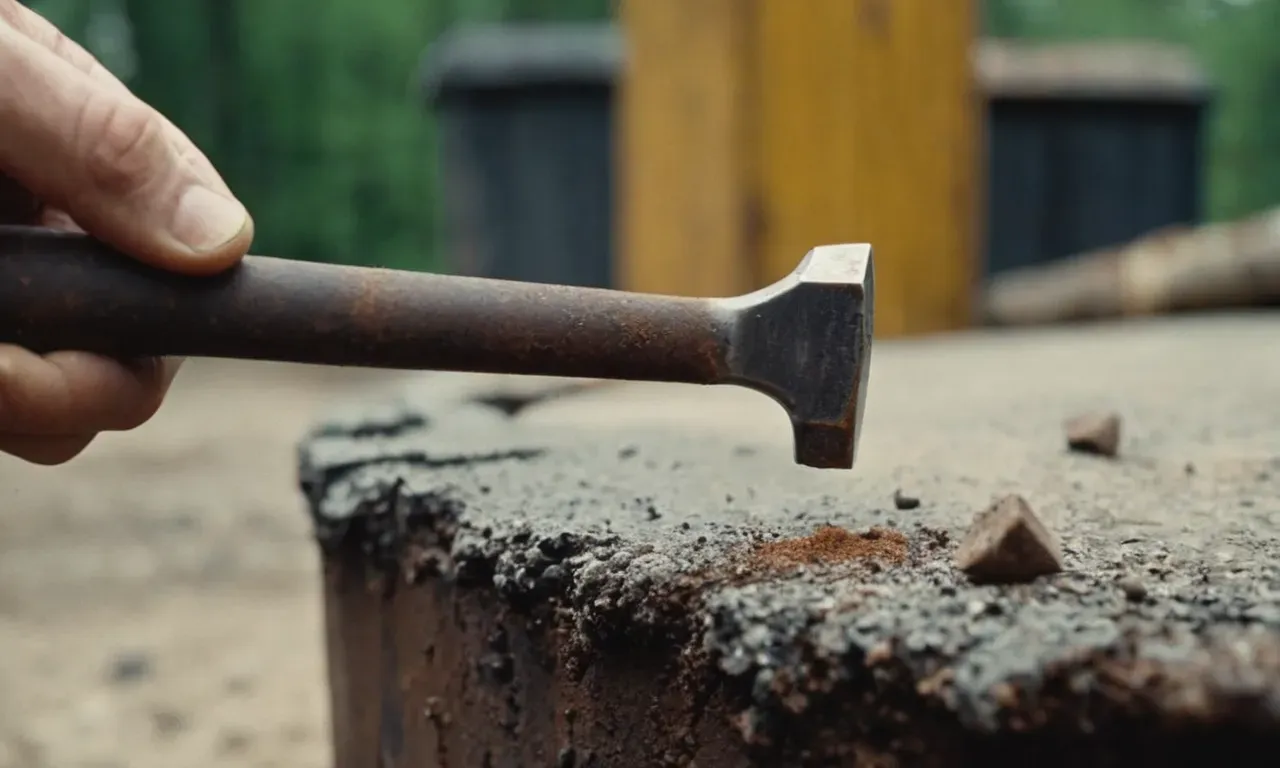
Wood: Grip nail with pliers and wiggle back and forth to loosen
When attempting to remove a nail embedded in wood, it’s crucial to loosen it first before pulling it out. This prevents further splintering or cracking of the wood surface. The safest method is to grip the nail head securely with a set of pliers or locking pliers, then gently rock it back and forth to slowly ease it up.
Wiggling a nail loosens it from the wood fibers it has likely started embedding into. A few twists left and right can help break any rust or grime holding it in place. Take care not to bend the nail while loosening, as this can make it harder to extract.
Applying lubricant around the nailhead like WD-40 also helps it release more smoothly.
Drywall: Use flat pry bar or cat’s paw tool to lift nailhead
For nails in drywall, avoid pulling directly out with pliers, as this often tears a large hole. Instead, use specialty drywall tools like a flat pry bar or cat’s paw to lift under the nail head and pull it through the entry hole.
Slip the thin nail slot on these tools around the nail shaft under the head, carefully pry upwards to lift the head, then grab and pull it through while avoiding contact with the drywall face around it. Take care not to scratch or gouge drywall sheets while prying nails up.
Applying lubricant around the nailhead first can help smoothly release it.
Skin: Sterilize area and use tweezers to gently ease out nail
For a nail piercing skin, avoid pulling it out haphazardly as this can cause further injury and infection. The safest method is to:
After removal, clean the wound again thoroughly with antiseptic and apply antibiotic ointment and a sterile bandage. Signs of infection like redness, swelling, oozing, or fever warrant seeing a doctor promptly.
With proper sterilization and gentle technique, you can remove nails piercing skin safely at home.
Clean and Treat the Affected Area
Wood: Fill hole with wood filler
After removing the nail from wood, it’s crucial to fill the resulting hole to avoid further damage. According to home improvement sites like Better Homes & Gardens, top choices for DIY wood fillers include vinyl spackling compound, 2-part wood filler epoxies, and cellulose wood filler putties.
Make sure to choose a filler that matches the color of your wood.
First, use a vacuum attachment to clear any loose wood particles or debris from the hole. Cut away any splintered or loose wood edges with a sharp utility knife to create clean surfaces for the wood filler to adhere to.
Stir the wood filler compound thoroughly before applying it directly into the hole using a putty knife. Push the filler deep into the hole to eliminate any air pockets.
Drywall: Patch hole with drywall compound
For drywall holes left by nail removal, using drywall joint compound to patch them is an effective DIY solution. According to The Family Handyman, drywall repair is an easy project for minor wall holes less than 6 inches wide.
Their step-by-step instructions recommend applying three coats of compound with sanding in between to create a smooth patch.
Start by securing any loose drywall edges around the hole with drywall joint tape. Use a 5-inch drywall knife to apply a thin coat that extends 2 inches beyond the hole edges. Let it dry completely, then sand it smooth and wipe away the dust.
Apply a second, slightly thicker coat of joint compound, extending slightly beyond the first coat. Sand again once dry before applying the final skim coat to make the patched area flush with the wall surface. Sand once more when dry for an imperceptible repair.
Skin: Wash thoroughly, apply antibiotic ointment and bandage
Nail puncture wounds on skin carry risks of infection, so it’s vital to properly clean and treat them. As advised by health sites like the Mayo Clinic, you should first wash the affected area with mild soap and warm water. Be sure to remove any dirt, debris, or rust from the wound.
Pat it dry with clean towel.
After cleaning, apply an antibiotic ointment like Bacitracin or Neosporin. Place a sterile bandage or adhesive bandage over the ointment. Keeping the wound covered prevents contamination and additional damage as it heals.
Depending on the location, size, and severity of the puncture, stitches might be needed if the bleeding doesn’t stop or the edges gape open after bandaging. Seek medical treatment right away if any signs of infection occur like increasing pain, redness, fever or pus drainage.
Conclusion
Attempting to rip out a nail without the proper tools and technique can cause more harm than good. But armed with this step-by-step guide, you can safely remove nails from various materials without complications. Just be sure to thoroughly clean and treat the area afterwards to prevent infection.
And if the nail is deeply embedded, causes significant bleeding, or punctures a sensitive body part, don’t hesitate to seek professional medical care.