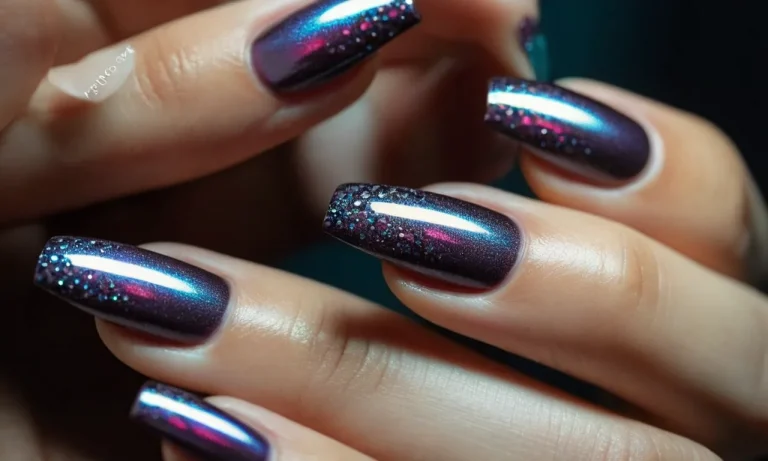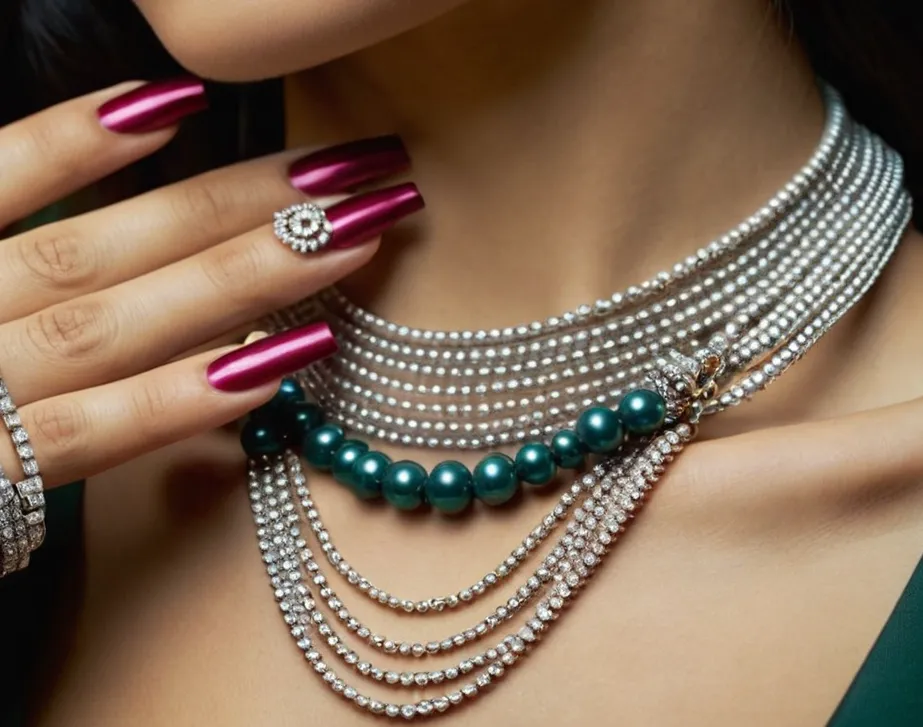
How To Put On A Necklace With Long Nails: A Step-By-Step Guide
Putting on necklaces can be tricky when you have long nails. The chains and clasps can snag on nails, making it frustrating and time-consuming to get your jewelry on. But with the right technique and tools, you can easily put on necklaces without breaking a nail.
If you’re short on time, here’s a quick answer to your question: Use nail guards or gloves to protect your nails. Open clasps fully and hold chains taut. Loop chains over your head if possible. Use a necklace hook if needed.
Protect Your Nails
Use nail guards
Putting on necklaces can be tricky with long nails. Those sharp tips can easily get caught on chains and delicate pendants. Ouch! To avoid breaking or cracking your fabulous nails, using nail guards is a great solution.
These clear plastic coverings fit neatly over the tip of your nail, protecting it from potential damage. You can find nail guards at most drugstores or beauty supply shops for an affordable price.
Nail guards come in various sizes, so make sure to get ones that properly fit your nail length and width. Apply them carefully before working with any jewelry to shield your manicure. As you fiddle with clasps and lift chains over your head, you’ll be glad to have that extra barrier guarding your nails.
No more worrying about chips or cracks! Many brands like Sally Hansen offer guards made of durable yet flexible plastic that feels comfortable once in place.
You can keep the nail guards on for up to a week in most cases. Over time, the adhesive may wear out or collect dirt around the edges. Check yours every few days and replace any that become loose or damaged. With regular use, you’ll be amazed at how long your manicure lasts.
Those long, fierce nails will be scratch-free and ready to flaunt!
Wear gloves
Slipping on gloves is another clever approach for shielding nails when working with jewelry. The fabric creates a protective barrier so nothing snags as you handle necklaces. Gloves also give you a better grip, making fiddly clasps much easier to maneuver.
It may seem silly to wear gloves for a quick accessorizing session, but it beats having to repair a broken nail!
Opt for snug-fitting gloves without any embellishments that could also catch on the jewelry. Smooth, stretchy options work best. Try soft microfiber or even latex/rubber gloves to get the right dexterity. You’ll still be able to finesse clasps without the fabric bunching up.
Make sure to buy gloves that are long enough to cover over your nail tips with a little extra wiggle room.
The glove method may take some getting used to at first. It can feel awkward trying to do delicate work with fabric barrier. But after some practice, you’ll be surprised at how easy threading necklaces becomes. No more fear of jagged edges or links scraping your nails!
For added protection, use gloves along with nail guards. The double shield truly minimizes any risk of cracks or breaks. You’ll have peace of mind knowing those lengthy, ornate nails are safe.
Prep The Necklace
Fully open clasps
When you have long nails, fully opening necklace clasps before putting them on is crucial. Trying to finagle a partially opened clasp around your neck without catching your nails or hair is nearly impossible.
Take a few extra seconds to use both hands to gently pull the two sides of the clasp away from each other until the hinge is completely extended. This gives you the space needed to place the necklace around your neck smoothly.
Hold chains taut
After unfastening necklace chains, hold both sides of the chain taut while prepping to put on the necklace. Letting the delicate chains dangle increases the likelihood of tangling or catching on rough edges and long nails.
Gently pulling the chains straight prevents knots and gives you better control over placing the necklace in the correct position around your neck on the first try.
For particularly thin or knot-prone necklaces like chains, try hanging the necklace on a towel hook or doorknob first to let gravity straighten out any kinks. Then you can easily lift the straightened necklace off the hook and smoothly clip it around your neck without catching or tugging.
Put Necklace Over Your Head
Putting a necklace over your head can be tricky when you have long nails. Here is a step-by-step guide to make it easier:
Step 1: Tilt Your Head Back
Start by tilting your head backwards so you are looking up towards the ceiling. This helps create more space between your chin and chest to slide the necklace over your head.
Step 2: Hold the Necklace Properly
Use both hands to pick up the necklace. Spread the necklace chain apart between your thumbs and forefingers to open it up. Make sure not to let go of the clasp so it doesn’t come undone.
Step 3: Guide the Necklace Over Your Head
Slowly guide the necklace over the top of your head while keeping your head tilted back. Be careful not to snag your hair or catch your long nails on the chain or clasp.
Step 4: Fasten the Clasp
Once the necklace is sitting around your neck, tilt your head forward again to fasten the clasp. This may take some maneuvering to avoid catching your nails. Use your fingertips rather than nails to do up the clasp.
Tips for Long Nails
Here are some extra tips for putting on necklaces smoothly with long nails:
- File nails to round off sharp edges that could catch
- Choose necklaces with larger clasps that are easier to fasten
- Ask someone to help put it on to avoid nail breaks
- Practice maneuvering chains and clasps to get the motions down
With some care and finesse, you can put necklaces on without hassle, even with long, glamorous nails. Tilt your head back, hold the chain open, slip it over your head, and carefully do up the clasp. Feel beautiful and confident wearing your necklace!
Use a Necklace Hook If Needed
Hook through one end
If your long nails make it tricky to clasp necklaces, using a necklace hook can be a nifty solution. These small hooks allow you to draw one end of the necklace around your neck and secure it without needing to fumble with any clasps.
To use a necklace hook, take one end of the necklace chain and thread it through the opening on the hook. The hook should be hanging loosely on the end of the chain now.
Draw necklace around neck
With the hook secured to one end, stand in front of a mirror and bring your hands behind your neck, carefully holding both sides of the open necklace. Drape the necklace around the back of your neck, allowing the hook end to hang down over your chest on one side.
Use the hand on the non-hooked side to grasp that chain end once the necklace is positioned how you want it.
Unhook and clasp
Next comes connecting the two sides. Tilt your head forward slightly and use your free hand to grab the hooked end of the chain. Unhook it from the clasp and bring both chain ends behind your neck. From there, simply connect the clasp while the necklace is still around your neck, taking care not to catch any hair.
Once it’s securely clasped, situate the necklace how you want it and check the final look in the mirror!
Using necklace hooks requires a little maneuvering but takes the hassle out of tricky clasps. They can make putting on statement necklaces much easier for those with long nails or dexterity issues. Some hooks even have rubber tips to help grab slippery chain links.
Look for hooks at jewelry shops or online at retailers like Amazon.
Clasp With Care
Keep nails clear of clasp
Putting on a necklace with long nails can be tricky, but with some care and patience, it’s very doable. The key is to keep your nails clear of the clasp as you work to avoid breaking or scratching them. Here are some tips:
- examine the clasp closely and determine where it will open before placing it around your neck. This allows you to strategically position your hands to avoid your nails.
- Use the pads of your fingers rather than the tips when handling the clasp. This keeps your nails safely out of the way.
- Consider using a clasp hook or other tool to help you guide the clasp together while keeping nails away.
- If you have very long nails, hold the chain gently and have someone else do the clasp for you.
Taking things slowly and carefully is key. Rushing increases the chances of snagging a nail, so patience pays off. With some strategic fingering and gentle handling, you can keep nails pristine while fastening necklaces.
Close clasp gently
Once you have the ends of the necklace or chain positioned within the clasp, it’s time to close it. This requires delicacy and care when you have long nails. Here are some tips for a smooth, nail-safe closure:
- Use just enough pressure to click the clasp closed, don’t force it.
- Avoid using the tips of nails to press the clasp together. Instead, use the pads of fingers or knuckles for a gentler touch.
- Consider using a tool like tweezers or clasp hooks to bring the ends together rather than fingertips.
- For especially stubborn clasps, see if someone can help you click it securely closed.
- Go slowly and carefully, never rush the closure even if it’s being difficult.
With some finesse and light handling, you can get that clasp secured without risking broken nails. The satisfaction of seeing your necklace finally on with nails still flawless is worth taking those extra seconds. Don’t let tricky clasps get the best of you and your manicure!
Conclusion
With the right precautions like nail guards and necklace hooks, you can put on necklaces easily without risking broken nails. Prep necklaces properly by opening clasps fully and holding chains taut as you drape them over your head or use a hook.
Finally, clasp necklaces gently while keeping nails out of the way. With practice, you’ll be able to accessorize your long nail looks with beautiful necklaces.