How To Prep Nails For Acrylic Application: A Step-By-Step Guide
Having beautiful, long-lasting acrylic nails requires proper nail prep. Failing to properly prepare the natural nails can lead to lifting, poor adhesion, and other problems with your acrylic manicure. If you’re wondering how to get your nails ready for acrylics, this comprehensive guide will walk you through every step of the prepping process.
If you’re short on time, here’s the quick answer: To prep nails for acrylics, start by trimming and filing into the desired shape. Then use a nail dehydrator and gently push back and trim the cuticles. Next, use a nail tip primer or bonder on the natural nails.
Gently buff the nails to remove shine and oils. Wipe nails with isopropyl alcohol before acrylic application.
Trim and Shape the Nails
Cut nails to desired length
When prepping nails for acrylic application, the first step is to trim and shape the natural nails. Start by trimming each nail to your desired length using nail clippers. Most experts recommend trimming nails to a shorter length before acrylic application, as this helps the artificial nails adhere better and last longer.
A good rule of thumb is to trim nails just slightly longer than the fingertip. Keep the nail shape square or oval – avoid pointed or very rounded edges, as these can increase chances of breaking and lifting.
Be sure to trim nails straight across to establish the foundation length. Avoid cutting nails too short, as this can lead to discomfort and potential damage of the nail bed. Take your time and trim carefully to get each nail to the optimal length for acrylics.
Having nails that are all the same length will help later when applying the acrylic and shaping. Smooth any rough edges after clipping using a fine grit nail file. Gently file in one direction starting from the outside of the nail, moving towards the center.
Filing will leave nails with clean, even edges ready for the next steps.
File into uniform shape
After trimming nails to the desired length, the next step is to file them into a uniform shape. Use a 100/180 grit file and gently shape each nail from sidewall to sidewall and center to tip. Apply light pressure and use smooth, consistent strokes as you file.
Filing nails into a uniform shape is key for achieving an even and professional-looking acrylic application.
Filing the nails will remove any surface shine and create texture for acrylic product adhesion. It also allows you to refine the shape and even out any uneven areas on the nails. Aim for a uniform square, rounded square or squoval shape on all nails.
Avoid overfiling or filing too aggressively, as this can thin and weaken the natural nails. For best results, focus filing efforts on the sidewalls and free edge to perfect the shape. The goal is to achieve a smooth, balanced shape on each nail before applying acrylic.
Taking the time to properly file and shape the natural nails is an essential prep step. Not only does it allow for an even acrylic application, but starting with nails in uniform length and shape makes it easier to maintain a consistent look as the acrylics grow out.
This helps prolong the sculpture and design. Proper filing and shaping creates the perfect foundation to build beautiful, durable acrylic nails.
Push Back and Trim Cuticles
Pushing back and trimming the cuticles is an essential preparatory step before applying acrylic nails. The cuticles are the thin skin around the base of the nail, and keeping them tidy allows the acrylic to adhere properly for a seamless and visually appealing enhancement.
Tools Needed
You’ll need a few basic tools:
- Cuticle pusher
- Cuticle trimmer or nipper
- Cuticle remover liquid or cream
- Cuticle oil or moisturizer
It’s also a good idea to have an orange wood stick, towel, nail brush, and bowl of soapy water on hand.
Step-by-Step Process
First, cuticles should be thoroughly softened. Apply cuticle remover, gently massaging into each nail bed and allow to sit for 1-2 minutes. Then:
- Gently push back the cuticles with the cuticle pusher, taking care not to tear the skin. This exposes the new nail growth needed for acrylic application.
- Use the nipper to carefully trim off any loose, dead cuticle skin. It’s important not to cut into healthy tissue, which can lead to infection.
- With a towel, wipe away any soften cuticle remnants and applied oil or moisturizer.
Voila, nails are ready for acrylic application! Pushing the skin back and trimming off dead tissue is crucial for strong enhancement adhesion and a flawless finished look. Always take care not to cut live tissue.
Some experts advise gently scrubbing the nail plate with a file or buffer for extra bonding power. Then apply cuticle oil or moisturizer and continue with acrylic application. Well-groomed cuticles that won’t grow back too quickly lead to a better result.
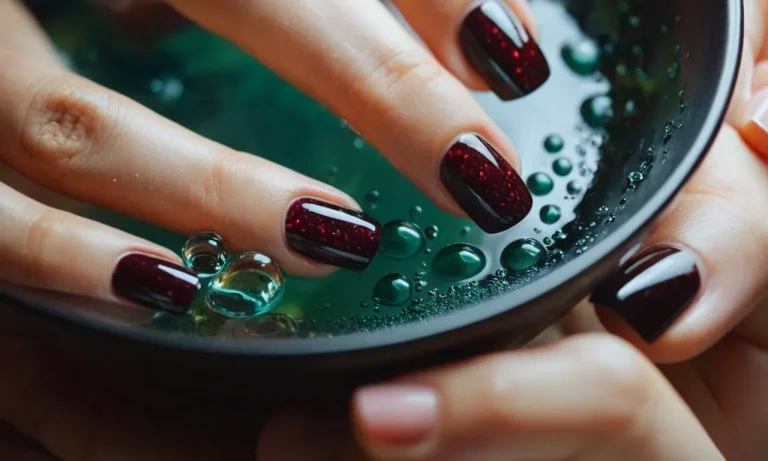
Apply Nail Dehydrator
Applying nail dehydrator is an essential step in prepping nails for acrylic application. Here is a step-by-step guide on how to properly apply nail dehydrator:
1. Clean the Nails
Before applying nail dehydrator, make sure to thoroughly clean the natural nails first. Use a nail cleanser or acetone remover to remove any oil, dirt, or old nail polish from the nails. Getting rid of debris allows the dehydrator to work optimally.
2. Push Back and Shape Cuticles
After cleaning, gently push back and shape the cuticles. Do not cut or remove them completely. Trimming and shaping them creates a clean surface for acrylic application. Avoid leaving any cuticle residue on the nails.
3. Buff the Nails
Use a fine-grit nail file or buffer to lightly buff the surface of the nails. This removes any remaining shine and debris while creating microscopic ridges for the acrylic to adhere to. Be careful not to over-file as that can damage the nails.
4. Wipe Nails with Cleanser
Before dehydrator, wipe the nails with a nail cleanser containing isopropyl alcohol. This further cleans and removes any oil on the nails for maximum dehydrator effectiveness.
5. Apply Dehydrator
Saturate a lint-free wipe or cotton pad with nail dehydrator liquid. Thoroughly wipe over the entire nail plate from base to tip, making sure to coat the undersides and sides as well. Let the dehydrator dry completely until the nails look matte, about 30-60 seconds.
The dehydrator removes moisture, allowing acrylic to properly bond.
6. Avoid Touching Nails
After application, be careful not to touch the nails as this can transfer oil and moisture back onto the nails. Contaminating the nails with moisture or oil after dehydrator can impede proper acrylic bonding and application.
Properly prepping nails with dehydrator is crucial for successful, long-lasting acrylic nails. Following these steps allows acrylic to adhere properly for a durable, flawless look. With the right prep, your acrylic manicure can last for weeks of wear and beauty.
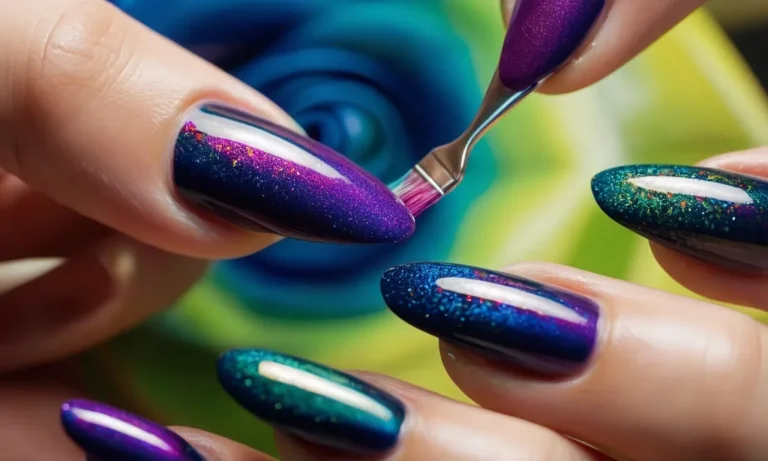
Use Primer or Bonder
Prepping the natural nails properly before acrylic application is crucial for getting the acrylics to adhere correctly and last. An important step in prepping the nails is using either a primer or bonder on the natural nails first.
What is Primer?
Nail primer is a fast-drying solution that is brushed onto the natural nails before acrylic application. Primers are designed to penetrate deep into the nail plate and act as a bonding agent so the acrylic powder adheres properly.
Primers help the acrylic bond to the nail by:
- Removing any oils or moisturizers on the nail surface
- Roughening up the nail plate for better acrylic adhesion
- Providing a tacky surface for the acrylic to grab onto
Some of the key benefits of using an acrylic primer include:
- Enhances acrylic adhesion and longevity
- Prevents lifting and cracking of acrylics
- Allows sculpting product to apply smoothly
- Dries quickly in 30 seconds or less
Popular primer brands used by nail techs include Young Nails Protein Bond, Cuccio Naturalé Milk Prime, and NSI’s Nail Primer. Follow the primer directions for best results.
What is Bonder?
Acrylic bonder (or bonder) is a longer-lasting alternative to primer. Using an acrylic bonder helps acrylics and other enhancements adhere strongly.
Bonders are designed to:
- Adhere to the nail plate to provide a tacky surface
- Create a strong, long-lasting foundation for enhancements
- Prevent chipping, cracking and lifting
Many nail techs prefer using bonders rather than primers because they offer more durable adhesion. However, bonders take longer to dry than primers – usually 60 seconds or more.
Popular bonder choices include Young Nails Superbond, OPI BondEx, and NSI Ultra Bond. Use a clean bonder brush and thin even coats for best results.
Key Differences
While primers and bonders serve a similar purpose, there are some key differences between the two:
| Primer | Bonder |
|---|---|
| Thin, fast-drying consistency | Thicker, slower-drying formulation |
| Penetrates into nail | Coats surface of nail |
| Requires 1 coat | May require 2 coats |
| Dries in about 30 seconds | Takes 60+ seconds to dry |
| Provides short-term adhesion | Creates more durable, long-lasting bond |
Whether you choose primer or bonder depends on your preferences as a nail tech. Many pros recommend bonder for problem nails that are oily or weak. Using both a primer and bonder can also help lengthen wear.
Always remember to prep nails properly with either option before acrylic application for best results.
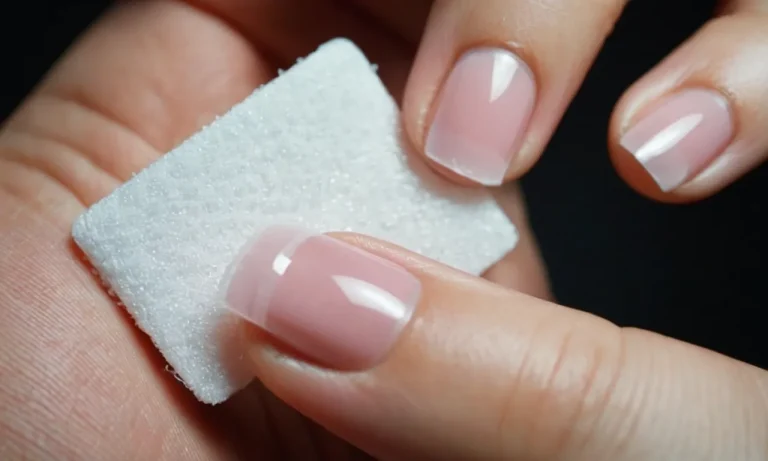
Gently Buff Nails
Use fine-grit buffing block
Before applying acrylic nails, it’s important to gently buff the natural nails to create a rough surface for the acrylic to adhere to. Using a fine-grit buffing block (180/240 grit), apply light pressure and buff in one direction.
Be sure not to over-buff or create too much friction which can thin the nails. Buffing removes the shine from the nail’s top layer and exposes microscopic ridges for acrylic products to grab onto.
Focus buffing efforts on the actual nail plate itself and avoid the surrounding skin. Tidy up uneven edges or hangnails around the sides of nails so the acrylic application looks smooth and even. The best practice is to buff in the direction of nail growth.
Give extra attention to buffing the free edge since that’s where lifting most commonly occurs. Experts recommend using no rougher than a 240-grit buffer.
Avoid over-buffing
While it’s necessary to create microscopic grooves, resist the urge to over-buff natural nails as that can lead to thinning and damage. Nail plates that become too thin over time compromise strength and flexibility.
According to dermatologists, only do one to two quick, light passes with the buffing block. Let the fine grit do the work rather than applying excess pressure.
If natural nails ever become cracked, split, peel or show other signs of damage from overzealous buffing, it’s best to allow them to heal before attempting any enhancements. Damaged nails compromise the acrylic application and longevity.
Give nails a break from any chemical exposures during the recovery period. Using a nourishing cuticle oil daily can help condition them back to health.
Inspect each nail after buffing and make sure the shine is dulled without over-thinning the plate. The prepared nail bed should have a matte appearance, indicating an ideal etched texture. Take precautions like wearing a dust mask and work in a well-ventilated area since nail dust debris released in buffing can be harmful over time with repeated exposure.
Wipe Nails with Isopropyl Alcohol
Prepping the natural nails properly before acrylic application is a crucial step to ensure long-lasting, beautiful acrylics. One key prep step is wiping the natural nails with isopropyl alcohol, commonly known as rubbing alcohol.
Here’s a closer look at why this step matters and how to do it correctly.
Removes Oil and Debris
Rubbing nails with an alcohol prep pad helps remove any oil, lotion, soap or debris that may be present on the natural nails. Acrylic powder and liquid will have trouble properly adhering to nails that are oily or dirty.
Wiping with alcohol helps remove these barriers so the acrylic can fully bond to the natural nail.
Sanitizes Nails
Isopropyl alcohol can kill up to 99.9% of germs and bacteria when used properly. Wiping nails with an alcohol prep pad right before acrylic application helps sanitize the nails, removing many microbes.
This helps prevent potential infection or contamination when puncturing the natural nails with acrylic brushes and tools. Sanitized nails support a healthier acrylic fill.
Promotes Dryness
For acrylics to set and harden properly, the natural nails need to be dry before application. Isopropyl alcohol quickly evaporates, drying out the nails in seconds. This allows the acrylic powder and liquid to fully solidify on the nails rather than remaining tacky or taking too long to set.
How to Wipe Nails Before Acrylics
Here is a simple step-by-step for correctly wiping nails with isopropyl alcohol before acrylic application:
- Purchase 70% isopropyl alcohol and cotton balls or prep pads
- Pour a small amount of alcohol onto a cotton ball until damp but not soaked
- Thoroughly wipe down each natural nail to remove oils, germs and moisture
- Allow 30 seconds for alcohol to fully evaporate before beginning acrylic application
- Dispose of used cotton balls and wash hands thoroughly
Be very careful not to touch nails after wiping to avoid transferring oils and bacteria back onto the clean nails. It’s also imperative not to wipe skins or cuticles with isopropyl alcohol to avoid irritation or inflammation.
Following this quick, simple step goes a long way towards supporting a flawless, long-lasting acrylic manicure. Beautiful nails start with proper prep – so remember to wipe down natural nails with rubbing alcohol before each fill!
Conclusion
Properly prepping the natural nails is a vital first step before acrylic application. Following these steps will help the acrylic adhere properly and last. Be sure to avoid over-filing, over-buffing, and over-drying the nails during prep.
With the right preparation, your acrylic manicure will look beautiful and last for weeks.