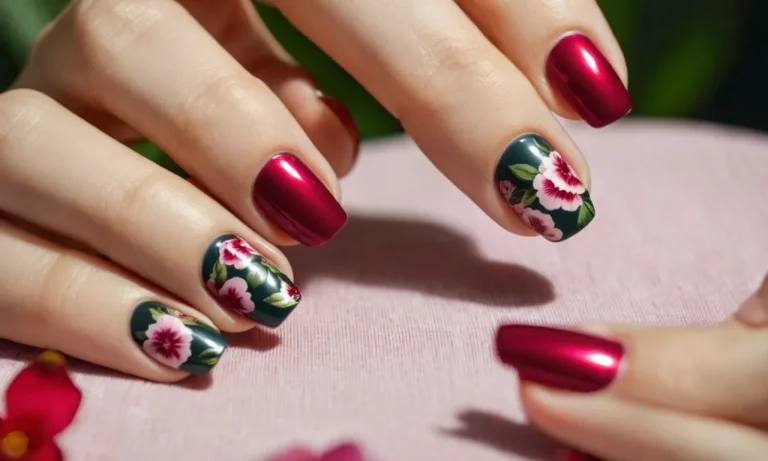
How To Measure Nail Size: A Complete Guide
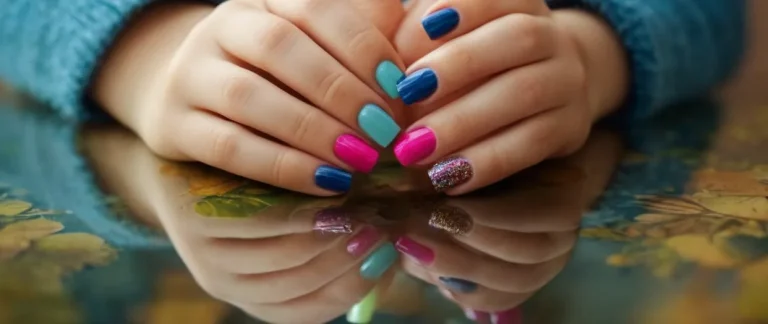
Getting nails that perfectly fit your fingers and toes can make a world of difference. Ill-fitting artificial nails lead to lifting, cracking, and even damage to the natural nail. Measuring your nails correctly ensures you get a precise fit every time.
If you’re short on time, here’s a quick answer to your question: Use a nail gauge, ruler, or piece of paper to measure from cuticle to tip on several fingers. Note the measurement that fits your longest nail for the best overall fit.
In this comprehensive guide, we will cover everything you need to know about measuring nail size for artificial nails, tips, and more. You’ll learn several techniques using common household items so you can find your perfect nail size whether at home or in the salon.
Why Proper Nail Measurement Matters
More Comfortable Fit
Knowing your accurate nail size allows you to find the perfect fit when shopping for false nails, press-ons, tips, forms, and more. Ill-fitting enhancements can lead to discomfort, lifting, and even damage to your natural nails over time.
Measuring first prevents the hassle and discomfort of returns and allows you to enjoy a seamless application and comfortable wear.
Longer Wear Time
A proper nail measurement ensures you select the right size for your nail bed. With the perfect fit, your nail enhancements stay secured longer without lifting or popping off. This means more convenience, less maintenance, and better value for your money.
Precise sizing is key for long-lasting wear you can truly rely on.
Healthier Natural Nails
Choosing nail products in your exact size prevents damage from overly tight or loose applications. The right fit helps maintain natural nail health instead of causing trauma, cracking, or peeling. Allowing your nails to breathe underneath enhancements is also essential for strength and growth.
Knowing accurate sizing and following best practices keeps your natural nails in top condition.
According to nail care statistics from the American Academy of Dermatology, over 50% of consumers experience nail damage from improperly fitted nail enhancements. Getting your measurements right is clearly critical for nail health and optimal wear time.
Follow our guide below on the best practices for measuring your nails.
Nail Measurement Techniques and Tools
Nail Gauge
A nail gauge is a simple and handy tool used to accurately measure nail sizes. It typically consists of a card with holes of varying diameters. To use a nail gauge, place your nail into different holes until you find the closest fit. The hole size indicates your nail size.
Nail gauges allow quick and easy nail measurements, and are commonly available at beauty supply stores or online retailers for only a few dollars. They come in metric and imperial units.
Ruler
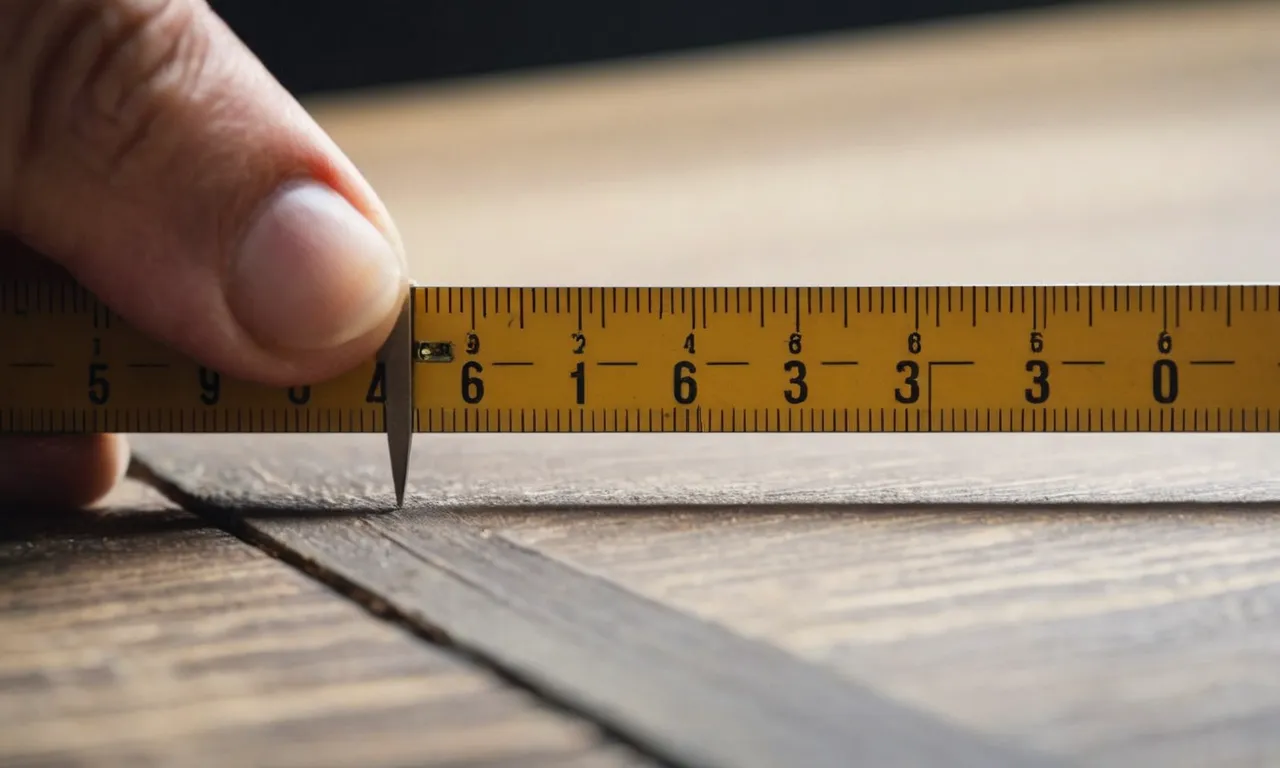
A standard ruler can also be used to measure nail size. Simply place the nail face down on the ruler and measure across the widest point from sidewall to sidewall. Make sure the nail is pressed flat against the ruler for an accurate reading. Rulers are readily available and inexpensive.
However, they may not provide as precise of a nail measurement compared to a nail gauge.
Piece of Paper
You can get a rough estimate of your nail size using just a piece of paper. Cut or fold a piece of paper into a strip slightly wider than your nail. Hold the nail perpendicular against the paper strip and mark where the sidewalls touch.
Measure the distance between the markings to determine the approximate nail width. This simple technique gives you a quick nail measurement using just paper, but it is not as accurate as other methods.
Nail Tip Chart
Some nail salons display a nail tip size chart on the wall. These charts have drawings of nails in different sizes, categorized into numbers starting from 0 (smallest) to 10 (largest). To use a nail tip chart, compare your natural nail width against the different sizes on the chart and select the closest match.
Nail tip charts provide a quick visual reference for determining nail size when getting artificial nails applied in salons.
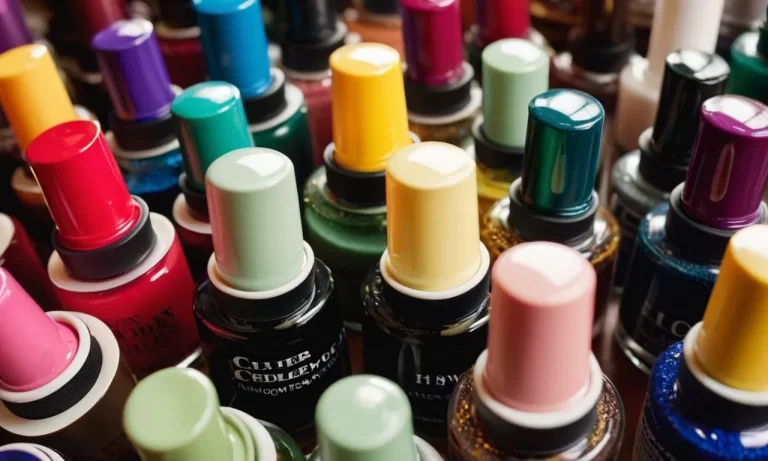
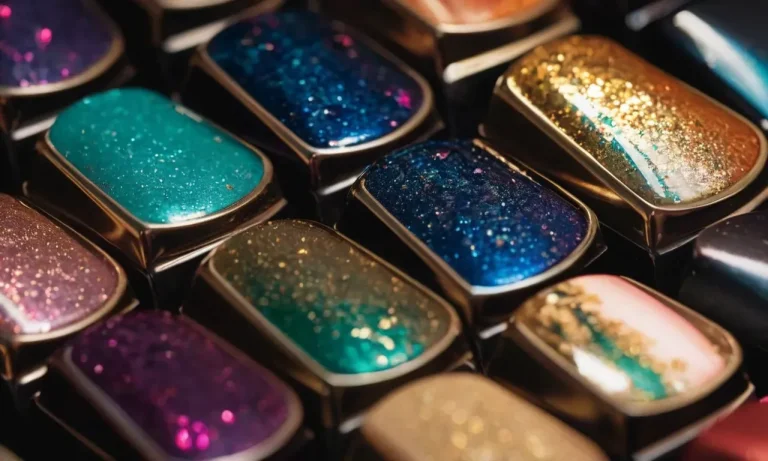
Nail Wheel Color Chart
Nail polish brands like OPI and Essie use nail wheels or rings to display their color selections. These typically have 10 nails of increasing sizes labeled from 1 to 10. Although not their primary purpose, these color charts can also be used as a handy nail measurement tool by matching your natural nails to the different sizes.
Just be aware that sizing may vary slightly across different brand’s charts.
Measuring Tips Based on Nail Type
Natural Nails
When measuring your natural nails, it’s important to use a flexible tape measure that can wrap cleanly around the curve of your nail beds (like this one from Sally Beauty). Metal tape measures may not flex enough to get an accurate read.
Before wrapping the tape around your nail, make sure there is no polish or debris on the nail surface. Wrap the tape snugly (but not too tight) around the widest part of your nail, excluding any overhang. Record the measurement in millimeters and compare to nail tip sizing charts to find your match.
You can also trace your natural nails on paper to create a template. Use the tracings as a guide when shopping for properly fitted nail tips, gels, acrylics, press on nails, and more. This helps ensure your enhancements don’t end up too wide or long.
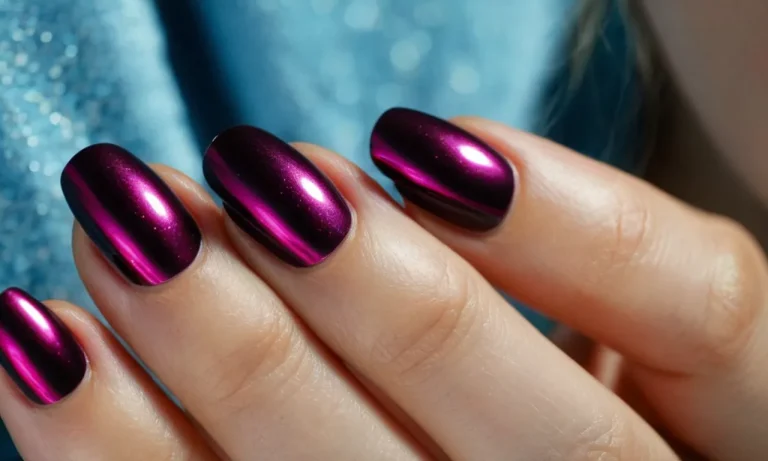
Acrylic or Gel Overlays
Getting the right fit is crucial with acrylic and gel overlays to prevent lifting or damage to the natural nail underneath. Measure across the nail bed, excluding any overhang, to determine proper width. For length, consider your lifestyle and preferences.
Longer options (up to your fingertip) work well for special events, while shorter lengths allow more functionality for daily tasks.
It’s also important to maintain balance. Experts recommend transitioning the length gradually, starting shorter and increasing by only 1-2mm per session. This allows the natural nail to adjust and strengthen over time, reducing the risk of breaks.
Artificial Tips
Artificial nail tips come in a wide range of sizes, making it easy to find the right fit:
- Measure across your natural nails as described above to determine proper width.
- For length, consider balancing aesthetics with your lifestyle. Longer options up to the fingertip tend to be reserved for special occasions.
- Pay attention to the shape and curve, ensuring it matches your natural nails for a seamless, natural look.
It can take some trial and error to determine the ideal artificial nail measurements. Don’t be afraid to try various sizes during applications to ensure the perfect fit! Record what works to streamline future enhancement sessions.
Measuring Nails at Home vs. Salon
At Home Tips
Measuring your nails at home can be a great way to keep track of nail growth and pick the perfect nail shapes and sizes for your hands (source). Here are some useful tips:
- Use a dedicated nail measurement tool – These often include measurement markings along the tool so you can easily track growth over time.
- Try a simple ruler – Place the ruler across your nail horizontally to measure nail width, or vertically to measure length.
- Mark growth with nail polish – Paint a stripe near the cuticle, then measure from that stripe each week to track growth.
- Note measurement details – Jot down the measurement date, nail number, and dimensions to compare over time.
Measuring at home lets you gauge growth between salon visits and determine if any adjustments need to be made to shape or length before your next appointment. It also helps you learn your own ideal nail proportions. However, home measurements won’t be as precise as a salon’s professional tools.
Salon Best Practices
Visiting a salon takes the guesswork out of figuring out your perfect nail shapes and sizes. Nail techs have access to precision measurement tools for accurate readings. Here are some best practices salons follow:
- Use professional guages – Specialized measurement tools like ring guages wrap around the finger to measure exact nail curvature and overhang.
- Consult nail anatomy charts – Reference guides account for factors like optimal stress point and fingertip clearance.
- Consider nail plates and beds – Measure both the visible nail plate and the underlying nail bed to pick shapes and lengths to suit your anatomy.
- Recommend based on lifestyle – Nail techs will suggest appropriate lengths and shapes based on clients’ activities and occupations.
| At Home Tips | Salon Best Practices |
| Basic tools like rulers | Precision professional measurement guages |
| Self-guided tracking over time | Expert analysis based on anatomy |
| Trial and error testing | Personalized recommendations |
Visiting a nail salon can take some guesswork out of determining the optimal nail sizes and shapes for your unique hands. With precision tools and expertise, techs can accurately gauge and recommend the best fits for your lifestyle and activities.
Achieving the Perfect Nail Fit
Allowing Extra Room
When measuring your nails to find the perfect nail size, it’s important to leave a little extra room at the tip and sides. Most experts recommend leaving a 1-2 mm gap between the tip of your nail bed and the end of the artificial nail.
This extra space allows your natural nails to grow comfortably without causing pressure or pain. It also helps prevent ingrown nails, which can be quite painful and lead to infection. Leaving that tiny bit of breathing room is an easy way to achieve much happier and healthier nails!
Considering Cuticle to Free Edge
Another key measurement is from your cuticle to the free edge. The free edge is the part of your nail that extends just beyond the fingertip. When getting professionally done nails, your technician will likely measure from the cuticle, where your natural nail begins, to where you want the artificial tip to end.
Most professionals recommend leaving 2-3 mm of free edge for strength and integrity. This allows your natural nail to grow underneath the enhancement for a seamless fill. Measuring cuticle to desired free edge length ensures your nails have the right proportions and support.
Getting this measurement right is crucial for long-lasting, natural looking nail enhancements.
Accounting for Nail Shape
Nail shape is also an important factor when finding the perfect nail size. Nails come in diverse shapes – oval, square, almond, coffin, and more. The width of your natural nails must be considered when applying any nail tip or extension.
Applying a narrow, coffin-shaped tip to a naturally wide, fan-shaped nail will look very unnatural. Similarly, long square extensions on short, rounded natural nails won’t blend well. Working with your natural nail shape and choosing the right shape extension ensures the finished look is balanced and aesthetically pleasing.
Don’t be afraid to file or customize the shape of pre-made tips and extensions to match your unique nails. Taking the time to tailor the shape will help you achieve a seamless, flawless enhancement.
Conclusion
Measuring nail size precisely is an important first step for artificial nail application. With the right techniques and tools, you can get a comfortable, long-lasting fit every time. Focus on your longest nail, allow a small amount of extra room, and work closely with your nail tech for the best results.
Beautiful, natural-looking nails start with proper measurement.