How To Make Your Nails Into Claws: A Step-By-Step Guide
Long, sharp claws are a fun and edgy way to accessorize your nails. Whether you’re looking to channel your inner catwoman for cosplay or just want to add some fierce flair to your fingertips, turning your nails into claws is easier than you think.
If you’re short on time, here’s a quick answer to your question: File your nails into sharp pointy shapes, glue on fake nail tips for length if desired, and use acrylic powder to extend and reinforce your nails. Finish with a dark nail polish color for dramatic effect.
In this comprehensive guide, we’ll walk through all the steps and tools you need to turn your natural nails into realistic-looking claws. We’ll cover shaping and filing your nails, adding length and strength with acrylic powder, finishing with polish, and even attaching press-on nail tips for extra length.
With the right supplies and techniques, you can unleash your inner beast in no time.
Shape and File Your Natural Nails
Trim your nails to your desired claw length
When transforming your nails into claws, the first step is deciding how long you want them. Longer claws can look fabulous, but keep in mind that very long nails may not be practical for daily activities. Most people opt for a claw length between 1/4 inch to 1/2 inch past the fingertip.
Here are some tips for getting the perfect claw length:
- Start by trimming your nails square across to remove any ragged or broken edges.
- Soften your nails by soaking them in warm water mixed with a touch of olive oil. This makes nails less prone to cracking or splitting when cut.
- Trim your nails a little shorter than your desired final length. It’s better to take them down in stages, as you can always trim more, but you can’t add length back!
- Use sharp nail clippers or scissors meant for trimming nails. Trim straight across for an even look.
- File the edges smooth (more filing tips in the next section).
- Repeat clipping and filing until you’ve reached your ideal claw length.
Aim for a length you feel comfortable with and that suits your lifestyle. Shorter claws around 1/4 inch long may be better if you use your hands frequently in your job or to play sports. Longer 1/2 inch lengths make more of a style statement but can get in the way of daily tasks.
Take your time perfecting the length and remember you can always trim more later if you want to scale back the claws!
File into a pointed shape
Once your nails are trimmed to the desired length, it’s time to shape them into points. Filing them into a rounded or squared shape simply won’t look like fierce claws. Here are some tips for filing into the perfect sharp points:
- Use a coarse nail file to taper the tip of each nail into a point. File the center of the nail tip thinner than the edges.
- Avoid filing too thin at the tip or your nails may be prone to cracking and breaking. Leave some thickness especially at the edges.
- Use a finer grit nail file to smooth the pointed edges. File from the side to blend the point evenly from base to tip.
- Filing just a few strokes every couple of days helps control the length and shaping. Frequent gentle filing prevents cracks or peeling.
- Always file nails from the outside edge in toward the center. Filing back and forth can weaken nails.
- Finish with a buffing block or nail shine buffer to smooth ridges and create a glossy claw finish.
Point filing requires some practice to master the technique. Take your time and don’t rush the process. Well-shaped claws are worth the effort for that fierce yet feminine look!
Smooth rough edges
The finishing touch for sleek and strong claws is smoothing away any rough edges or ridges. Follow these final filing and buffing steps:
- Use a fine grit file or buffer block to gently smooth side edges. Avoid filing too heavily at the sides as this can increase chances of cracking.
- Run a nail buffer lightly over surface ridges to smooth and create shine. Buffers help close the cuticle as well to prevent snagging.
- Use a nail oil or hydrating lotion to condition the nails and cuticles after filing. Jojoba, olive, or vitamin E oil keep claws flexible and prevent brittleness.
- Always file or buff nails in one direction, not back and forth. This prevents weakening which could lead to peeling or splitting.
- Finish by massaging cuticle oil into the nail bed and surrounding skin. Keeping cuticles soft prevents hangnails and painful snagging.
Well-shaped and smoothed claws polish off your fierce nail look. Proper nail care also prevents cracks, chips, and other damage that ruins the claw effect. With the right filing techniques and hydration, your nails will stay strong and sharp-looking as the ultimate style statement!
Add Length and Strength with Acrylic Powder
Apply nail glue to your nail bed
The first step in using acrylic powder to extend your natural nails is to apply a thin layer of nail glue or primer to the surface of your natural nail bed. This helps the acrylic adhere properly. Use the brush in the glue bottle to paint on an even, thin layer across your whole nail.
Let the glue get tacky for about 60 seconds before moving on to the next step. Applying glue is crucial for getting the acrylic to bond tightly to your real nail.
Dip nails in acrylic powder
Once your nail glue is tacky, you can start dipping your nails into the acrylic powder. Tap your finger into the powder container so the powder sticks to the tacky nail glue. Make sure your whole nail is covered evenly with a thick layer of powder.
This powder will harden into the extension for your nail bed. Repeat dipping your nail 2-3 times to build up the acrylic extension to your desired thickness. Be patient and take your time with this step for best results.
Shape with file
After several dips into the acrylic powder, your nails should have a lengthy extension built up. At this point, you can use a nail file to shape the acrylic into a point or slope, according to your preference.
File the underside of your tip to create a nice arch that follows the curve of your natural nail shape. Filing the acrylic smooth will help it look like a natural extension of your nail bed.
Repeat until desired length is achieved
To achieve super long claw-like acrylics, repeat the dipping and filing process until your nails reach the desired length. Most people need at least 5-10 dips to build an acrylic extension 1-3 inches long. Don’t forget to apply a fresh layer of glue before each dip into the acrylic powder.
With patience and precision, you can sculpt extremely long, durable acrylic nail extensions. Just be careful not to make them so long that they become cumbersome for daily activities.
Following these simple steps for applying acrylic powder allows you to add strength and dramatic length to your natural nails. Acrylics bond securely and can last 2-3 weeks with proper application and care.
While salon acrylics are always an option, it’s fun and affordable to try the dip powder system at home. With a little practice, you can become your own nail extension artist. Just dip, shape, and repeat for custom lengthy claws!
Attach Press-On Nail Tips (Optional)
Choose nail tips in your desired claw shape
Press-on nail tips allow you to achieve the perfect claw shape without having to manually file and shape your natural nails. Nail tip sets come in a variety of styles – from subtly pointed oval shapes to dramatic stiletto designs. Consider the length you want for your claws as well.
Longer styles make more of a statement!
When selecting the claw shape for your nail tips, it’s fun to get creative. For a fierce yet feminine look, an almond or ballerina shape with a sharp point works nicely. Or go for an edgy, bold style with an extreme stiletto or coffin design. Companies like KISS and Impress offer many stylish options to suit any taste.
File down underside of tips to rough up
Before gluing on your nail tips, use a nail file or gentle sandpaper to rough up the inside curve area that will adhere to your natural nail. This removes the factory coating and exposes the porous material underneath so the glue can bond properly.
Be very careful not to file all the way through the tip!
You only need to roughen up a small section in the center where the tip will overlay your nail. Just a light scuffing to scratch the surface is sufficient for the glue to grab onto. Going overboard can weaken the integrity of the nail tip.
Apply glue to tips and press onto natural nails
After prepping the nail tips, apply a nail glue sparingly along the roughened inner curve of each one. Use a glue formulated for press-ons rather than liquid nail glue. Let the glue set and get sticky for about 30 seconds before pressing the tips onto your nails.
Get the positioning right the first time, since the nail tips will instantly adhere! Gently press from cuticle to free edge, holding for 30 seconds with a bit of pressure to ensure a tight bond. Finish by filing the tip edges to blend seamlessly with your natural nails.
With quality glue like KISS Salon Acrylic Nail Glue, your decorative nail tips should stay on securely for over a week of stylish claw-bearing fun!
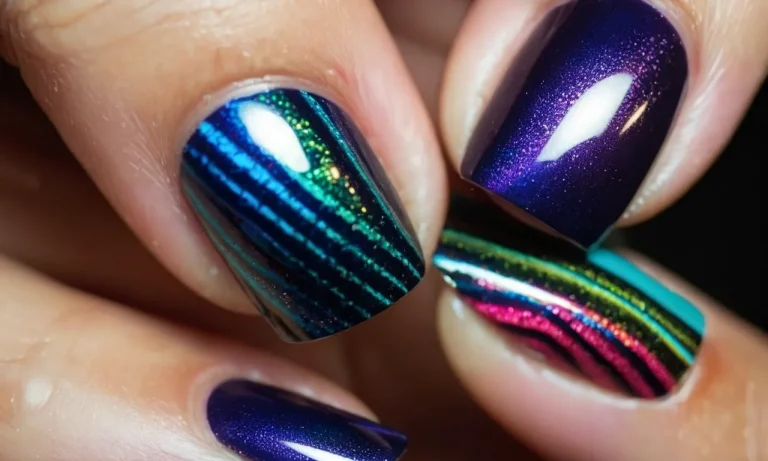
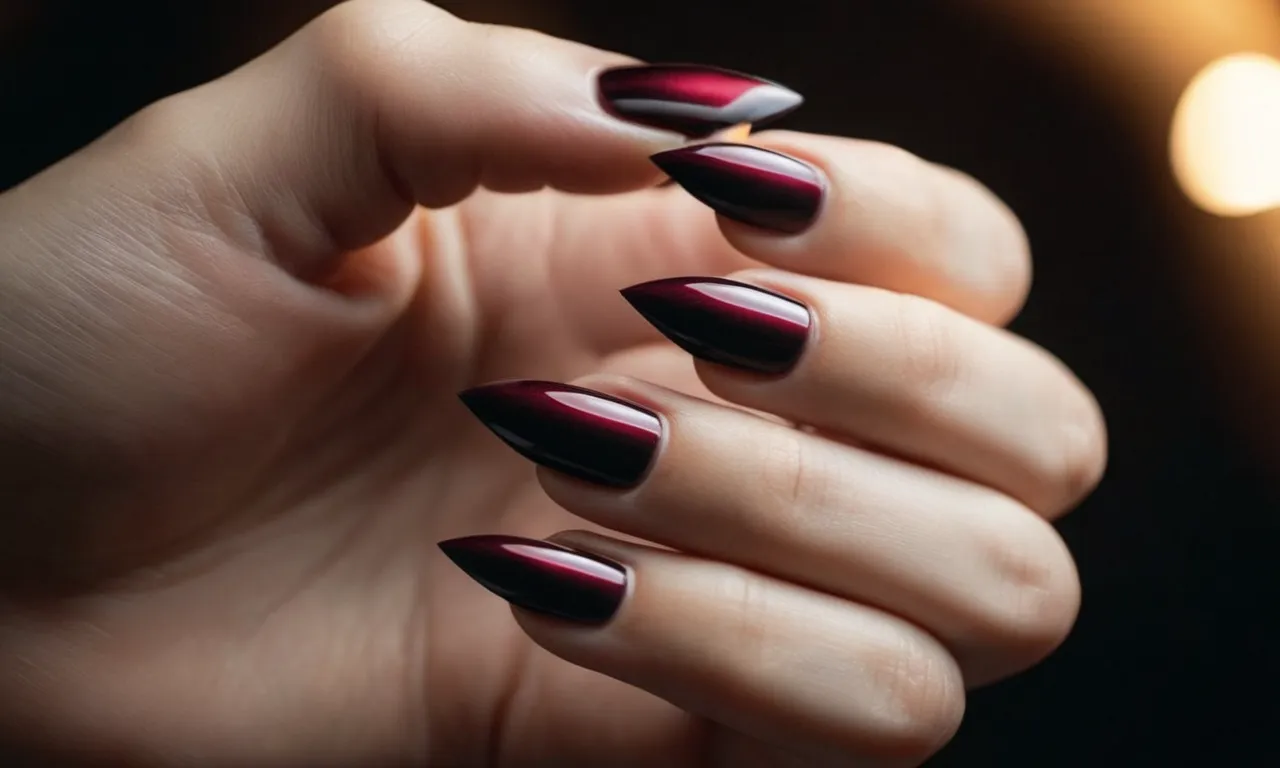
Finish with Dark Nail Polish
Paint nails in a black, dark grey or burgundy polish
When finishing your DIY claw nails, go for a dark and edgy polish shade like black, dark grey, or burgundy. These deeper tones will make your nails appear longer and more claw-like. Here are some great dark polish options:
- OPI Nail Lacquer in Lincoln Park After Dark – a nearly black dark grey polish with a subtle shimmer.
- Essie Nail Polish in Wicked – a classic black creme.
- China Glaze Nail Lacquer in Raven – a shimmery black with purple undertones.
- Sally Hansen Miracle Gel Nail Color in Nightowl – a deep eggplant purple creme.
Make sure to apply two thin coats of your chosen polish and allow it to dry completely. The dark color will accentuate the pointed shape of your nails for a fierce claw effect. Going with a darker color also makes any imperfections less noticeable, which is ideal for beginners.
Apply a matte top coat for an authentic claw look
While dark polish shades are key, you’ll also want to finish off your claw tips with a matte top coat rather than a shiny one. This takes away the manicured glossiness for a more natural, claw-like appearance. Matte top coats come in clear and can be found at any drugstore or beauty supply retailer.
Brands like OPI, Essie, and Sally Hansen make popular matte top coat options.
Simply apply one coat of the matte top coat as the last step after your colored polish has dried. Make sure to cover the entire nail, going up over the tip. The matte effect diffuses light reflection to make your nails look more like real claws or nails.
Reapply the matte top coat every 2-3 days to maintain the look.
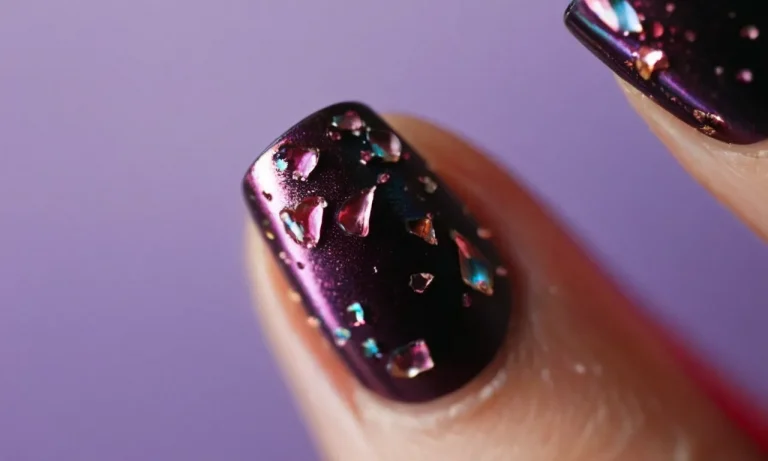
Consider embellishments like glitter, sequins or metallic details
While a basic dark color with matte top coat is foolproof, you can also jazz up your nail claws with embellishments for extra flair. Here are some easy ways to accessorize your talon tips:
- Add a coat of black glitter polish over dark lacquer for sparkling claws.
- Brush on sequins or caviar beads to just the nail tips for an ombre glitter effect.
- Paint on metallic chrome powder or use foil adhesives just on the pointiest part of the nails.
- Stamp on simple designs like dots, stripes, or shapes with a nail art brush and black or metallic polish.
The embellishment options are endless – let your imagination run wild! Just take care not to overdo it or make the nails look too busy. A touch of glitter or other details can make your nails more dynamic without going overboard into costume territory.
Maintenance Tips
Use cuticle oil daily to condition nails
Keeping your natural nails and cuticles moisturized is key for avoiding cracks and breaks in your acrylic claws. Apply a nourishing cuticle oil like Essie Apricot Cuticle Oil or Bliss Kiss Simply Pure Cuticle & Nail Oil daily.
Gently massage the oil into your cuticles and nails – this will condition the nail plates and soften the cuticles to prevent painful cracking and peeling.
You can also do a weekly cuticle treatment by applying cuticle remover gel to gently push back and dissolve dead cuticle skin. Follow with a hydrating cuticle balm for added moisture. Keeping nails properly hydrated prevents lifting and peeling of the acrylic.
File down growth at nail line
As your natural nails grow out underneath the acrylic, you may notice a raised edge along the nail line. Use a fine grit nail file to gently buff away this new growth every few days, blending the acrylic into your natural nail. This prevents the acrylic from lifting and gives a smoother look.
Be very gentle and do not overfile, as this can damage the natural nail. Only buff along the outer edges where new growth occurs. Filing the surface of the acrylic too often will weaken it and cause chips and cracks to form.
Fill in chips and cracks with more acrylic powder
Acrylic claws can start showing wear after 2-3 weeks, with small chips and cracks appearing along the free edge or sidewalls. You can easily patch these flaws at home with acrylic powder and liquid. Identify any small gaps in the acrylic surface and use a nail file to rough up and open the area slightly.
Then use a small brush to apply fresh acrylic paste into the crack, smoothing it flush with the surrounding acrylic. Finish by gently filing and buffing to blend the repair area. This fills gaps and strengthens the nail surface, preventing further cracking.
Avoid picking at cracks as this can worsen the damage.
Conclusion
Unleashing your inner wild side has never been so easy. With the right supplies and techniques, you can sculpt the sharp claws of your dreams right at home. File into fierce points, build length and strength with acrylic, and finish with an edgy dark polish.
Your inner beast will be more than satisfied strutting those dangerous claws. Just be careful not to scratch the furniture!