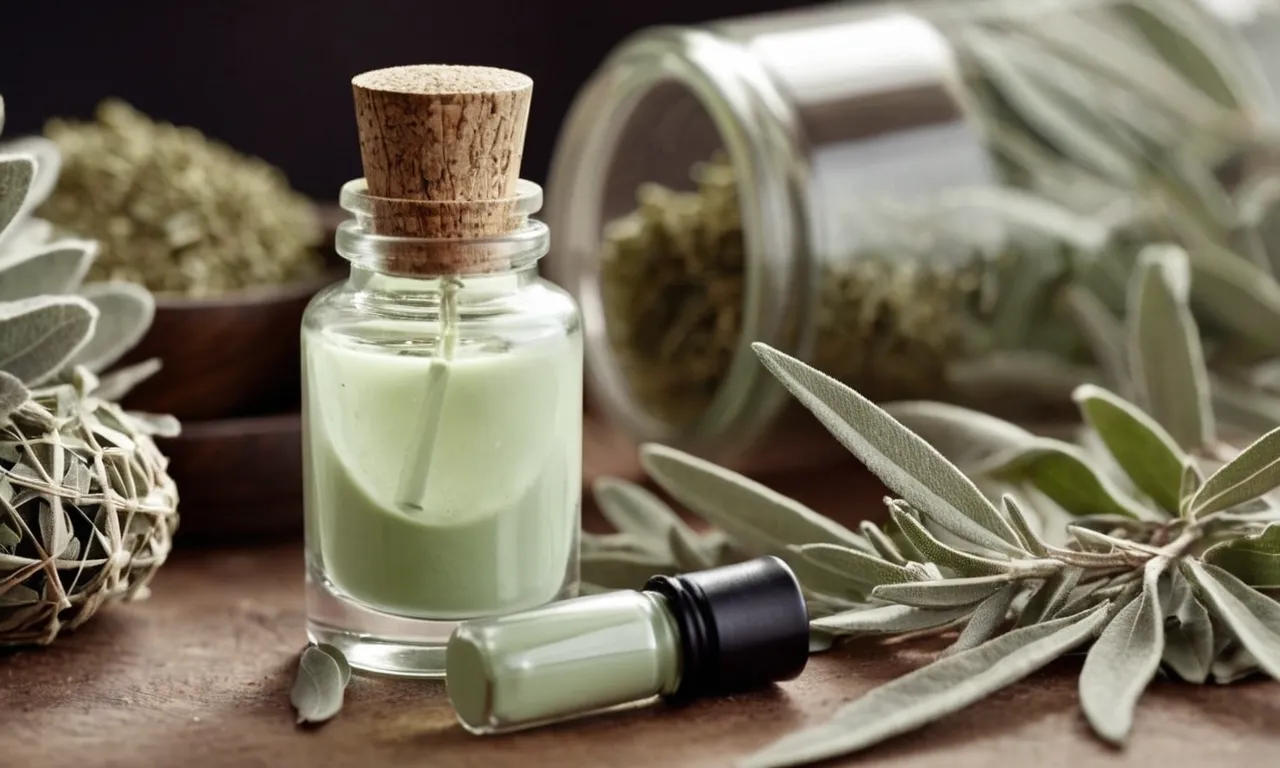
How To Make Sage Green Nail Polish
Sage green nail polish is the perfect earthy tone for spring and summer manicures. If you’ve been searching for the right light green polish to complement your skin tone, learning how to mix your own custom sage green color at home is easy and affordable.
With just a few supplies, you’ll have a gorgeous DIY sage polish ready in no time.
If you’re short on time, here’s a quick answer to your question: Mix a few drops of yellow nail polish into a base of light green polish until you reach your desired sage green shade.
Pick Your Base Green Polish
When creating a custom sage green nail polish, the first step is to pick a base green shade to build upon. There are a few key green shades that work well for achieving a sage green coloring:
Mint Green
A light pastel mint green is a great starting point. While often brighter than the muted natural tones of sage, adding darker shades on top can tone down the mint to achieve more of a sage look. Some popular mint green polish options include:
– Essie Mint Candy Apple
– OPI Do You Have This Color in Stockholm?
– Orly Gumdrop
Seafoam Green
Seafoam green polishes also make an excellent base for sage nails. They tend to be a pale green with hints of blue – cooler in tone than mint greens. The blue undertones help give more of a natural, earthy look when blended with creams or taupe polishes. Some seafoam green favorites are:
– OPI Get Your Number
– China Glaze Re-Fresh Mint
– Zoya Marley
Pistachio Green
Warmer pistachio greens are also perfect for mixing into more natural sage shades. Often bordering on light yellow greens, pistachio polishes look bright and springy on their own. When toned down with mushroom or brown creams, they take on an earthier, more complex sage look.
Some great pistachio green starter shades include:
– OPI Swimsuit…Nailed It!
– Essie Very Structured
– RGB Pistachio
No matter if you select a cooler mint green or warmer pistachio green, you can customize the polish by layering in creams, shimmers, or glitters. Adding taupe, light brown, or even pale purple can transform basic greens into unique sage nail polish shades.
Choose a Yellow Polish
Bright yellow
When choosing a bright yellow nail polish for your sage green nail art, go for a vibrant, sunny yellow that will really make the green pop. Some great options include:
- OPI Nail Lacquer in Sunsea Your Life – This is a perfect sunny yellow shade that is bright but not neon. It has a smooth formula and good coverage.
- Essie Nail Polish in Yellow Packets – A beautiful bright lemony yellow. Essie polishes apply like a dream.
- Sally Hansen Miracle Gel in Mellow Yellow – The Miracle Gel formula gives a gorgeous glossy look that lasts. This shade is a true bright yellow.
When pairing a vibrant yellow with sage green, be sure to use it sparingly as an accent. Paint just the tips of the nails or add a stripe of yellow across the green base. This prevents the mani from looking too loud.
Gold yellow
For a more subtle and elegant look, choose a metallic gold yellow polish to accent your sage green mani. Here are some great options:
- Zoya Nail Polish in Rue – A stunning rose gold that shifts from yellow to pink. Its metallic sheen is perfect for accenting sage green.
- Deborah Lippmann Gel Lab Pro in Walking on Sunshine – This is a true gold yellow polish with a luxurious gel-like finish.
- KL Polish in Casino Night – A shimmering metallic gold. KL Polish is a cruelty-free brand with a cult following.
Metallic yellows pair beautifully with sage greens. Paint them as an accent nail or use them to create abstract nail art like chevrons over the green base.
Mustard yellow
For a more earthy and muted accent yellow, go for a mustard or olive yellow tone. Great options include:
- China Glaze Nail Lacquer in Mustard the Courage – A rich mustard creme polish that complements earthy greens perfectly.
- OPI Nature Strong in This Glove’s For You – A warm olive yellow packed with nourishing ingredients. Part of OPI’s vegan line.
- Essie Nail Polish in Tart Deco – A chic muted yellow with a hint of grey. Pairs well with sage greens.
Mustard yellows give sage green nails an organic, botanical look. Use them to paint half-moon tips or swipe them across the center of the nail over the green base.
Add Your Yellow Polish to the Base
Adding yellow nail polish is the key to achieving that perfect sage green color. Here are some tips for getting the right yellow shade:
Choose a Bright or Pastel Yellow
The yellow nail polish you choose will impact the final sage green shade. A bright, lemon yellow will mix into a brighter green, while a muted pastel yellow will create a softer, more subtle green.
Test Your Mix on a Nail Wheel
Before painting your nails, test out shades on a nail wheel. Add a few drops of yellow to a base coat of white polish to preview the green color it will produce. Adjust the yellow polish amount until you achieve the ideal sage green hue.
Start with a Small Amount of Yellow
It’s best to add your chosen yellow polish gradually when mixing. Start by dipping a thin nail art brush into the yellow bottle and adding a tiny drop to your base color. Mix thoroughly and check the shade. You can always add more yellow for a deeper green.
Aim for an Olive-Green Undertone
The hallmark sage green has subtle warm, olive undertones rather than cooler blue-greens. Adding the right balance of yellow introduces this olive tone into the polish mixture. Adjust until your custom color has earthy depth.
Take your time finding that perfect sage shade. Varying the amount of bright or pastel yellow offers lots of options for customizing a unique green that suits your style.
Thin With Nail Polish Thinner If Needed
When working with darker nail polish shades like sage green, you may find the polish becomes too thick or gloopy to apply nicely after a while. Using a nail polish thinner is a great way to restore the fluidity of gloopy polishes.
Here are some tips for using nail polish thinner with your sage green polish:
- Only use nail polish thinner specifically formulated for nail polish. Don’t use remover or acetone as these can ruin the formula.
- Start by adding just 1-2 drops of thinner into the bottle and rolling it between your hands. See if that restores a nice consistency before adding more.
- Aim for the polish to be fluid but not watery. You want it to glide smoothly onto the nail without being overly drippy.
- Always secure the brush back in the bottle tightly and store upside down after adding thinner. This prevents the brush from getting dried out.
- If the polish still seems too thick after multiple thinner applications, it may be time to replace it with a fresh bottle.
Nail polish thinner is a handy product that can extend the life of gloopy polishes. When used correctly, it can turn a thick, lumpy sage green shade back into a smooth, easy-to-apply lacquer. Be sure not to over-thin polishes as too much thinner can break down the formula over time.
Some popular nail polish thinner options include:
- Sally Beauty Nail Polish Thinner
- ULTA Restore Nail Thinner
- Essie Apricot Nail Polish Thinner
- Orly Nail Rescue
With some strategic thinning, that sage green polish will be back to a flawless application in no time! 💅
Store Properly
Properly storing your homemade sage green nail polish is key to maintaining its quality and longevity. Here are some great tips for keeping your DIY nail lacquer in top condition:
Use Air-Tight Containers
It’s important to store nail polish in airtight containers to prevent the formula from being exposed to air, which can cause it to thicken over time. Great options include:
- Cleaned, repurposed glass jars or bottles with tight-fitting lids
- Small metal tins
- Plastic containers designed for cosmetics
Make sure the container is thoroughly cleaned and dried before pouring in your homemade polish.
Store in a Cool, Dry Place
Fluctuating temperatures can negatively impact nail lacquer, causing separation or formula changes. Find a place out of direct sunlight and away from heat sources to store your sage green polish. Good spots include:
- A cupboard or closet
- Under the bathroom or kitchen sink
- A basement, garage or cellar (if temperature controlled)
Consider Refrigeration
While not strictly necessary, refrigeration can help homemade nail lacquer stay fresh even longer. The cool environment helps prevent formula degradation. If you decide to refrigerate, allow the polish to come fully to room temperature before using to avoid thickening.
With proper storage methods like airtight containers and temperature regulation, your homemade sage green nail polish can stay vibrant and smooth for up to a year! Just be sure to give it a good shake now and then, and it will be ready to help you achieve a perfect manicure.
Conclusion
Mixing your own custom sage green nail polish is simple with the right polish supplies and color combinations. Start with a base light green and add drops of yellow for a warmer, earthy sage tone. Adjust the ratios until you reach your perfect shade.
With a little practice, you’ll be able to whip up salon-worthy sage polish in no time.