How To Make Red Nail Polish From Scratch
If you want to jazz up your nails with a custom red that matches your style, learning how to whip up some red nail polish at home is easier than you may think. With a few simple ingredients and tools, you can create a salon-worthy lacquer in your own kitchen.
If you’re short on time, here’s the quick answer to making red nail polish: Mix red pigment into a clear base containing nitrocellulose. Then add plasticizers, resins, and solvents like ethyl acetate or butyl acetate to get the right consistency. Finish it off with some shine.
Gather the Essential Ingredients
Nitrocellulose
Nitrocellulose acts as the base for nail polish. It provides adhesion to the nail surface and flexibility to the polish. The most common type used is RS nitrocellulose, which allows for easy application without clumping or running.
High quality nitrocellulose leads to a durable and long-lasting manicure.
Pigments
Pigments give nail polish its vibrant color. Common pigments include titanium dioxide for whites, iron oxides for reds and yellows, ultramarines for blues, and chromium oxide for greens. The more pigment used, the more opaque and intense the color. Going for a sheer or jelly finish? Use less pigment.
For the brightest reds, combine a red and yellow pigment.
Solvents
Solvents thin out the nail polish mixture so it can be brushed onto nails easily without clumping. The most common solvents are butyl acetate, ethyl acetate, and isopropyl alcohol. The ratio of solvents impacts the viscosity and drying time.
Too much solvent leads to runny polish, while too little makes application difficult.
Resins
Resins are binding agents that hold the polish together and make it glossy. Common choices include tosylamide-formaldehyde resin, sucrose benzoate, rosin, and Santolite MHP. The resin mixture impacts the end texture and shine level.
Aim for 20-50% resin content for best consistency. According to industry reports, newer “10-free” formulas avoid harsh chemicals in resins and other ingredients.
Plasticizers
Plasticizers allow polish layers flexibility to avoid cracking as nails grow. Dibutyl phthalate is the most common, allowing polish to bend without breaking. Other options like dimethyl phthalate or camphor are used as well. Plasticizers typically make up 5-10% of a DIY polish recipe.
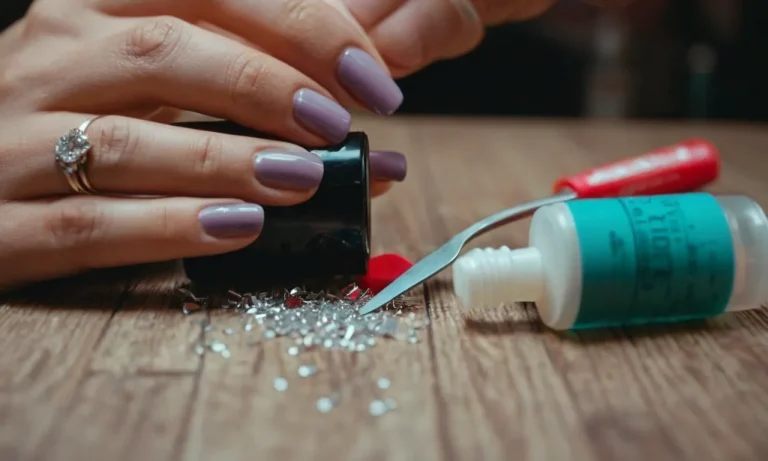
Glitter or Effects (Optional)
Add some punch with glitter flakes or shimmer pigments. These provide eye-catching effects. Choose fine glitters for smooth application or hex glitters for chunky accents. Pearl pigments create an iridescent sheen. Mix and match for your desired style – the options are endless!
A 2021 industry report found sales for textured and effects polishes rose by 16% over classic cream polishes.
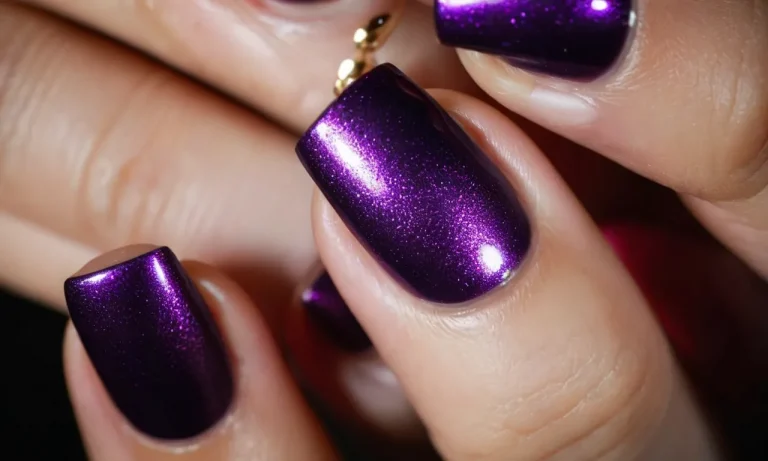
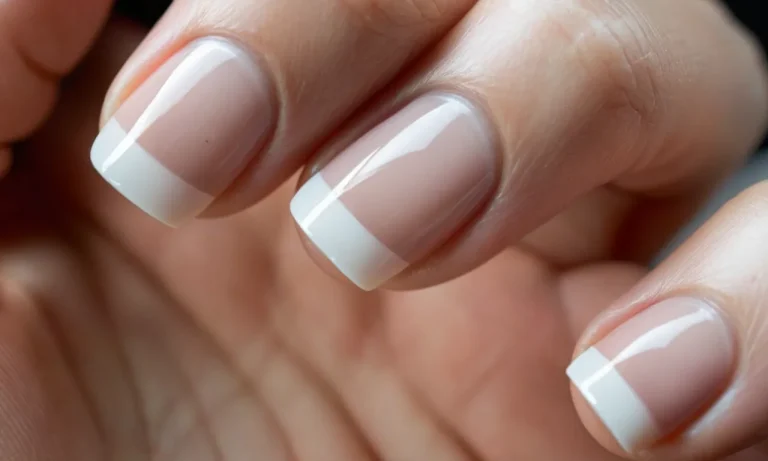
Choose Your Shade of Red
Choosing the perfect shade of red nail polish can be an exciting yet daunting task. With so many options to choose from, it’s important to consider your skin tone, style, and the overall look you’re going for. Here are some tips to help you find your perfect red:
Consider Your Skin Tone
The shade of red that looks stunning on someone else may look off on you if you don’t consider your skin tone. Those with fair or porcelain skin tend to look best in blue-based reds, while olive and darker skin tones shine in orangey-reds with warm undertones.
If you’re not sure, try swatching a few shades on your skin before deciding.
Choose Based on Your Style
Your personal style should also inform your red polish choice. For an everyday look, try a cream finish in a muted cherry red. Feeling bold? Go for a bright crimson matte. If you prefer something romantic, look for red polishes with a subtle shimmer. And metallics work for an edgy vibe.
Consider the Overall Look
The rest of your makeup also impacts which red will work best. Reds with blue undertones complement neutral or cool-toned makeup looks. Warm reds pair better with bronzed, peach-toned looks. You’ll also want to make sure your red doesn’t clash with your lip color.
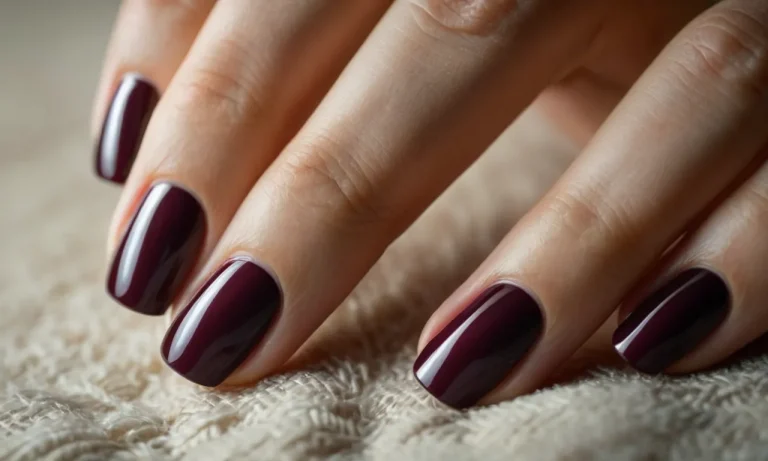
Some Reds to Try
Here are some popular red nail polish shades to help you start your search:
- OPI Big Apple Red – A coveted blue-based cherry red
- Essie Size Matters – A bright, warm red-orange
- Sally Hansen Mellow Wine – A deep burgundy-red cream
- Revlon Cherries in the Snow – A cool-toned red with pink undertones
Choosing that perfect red polish may take some trial and error. But with the right shade for you, red nails can be classy, elegant, and bold. So have fun trying different reds until you find your signature shade!
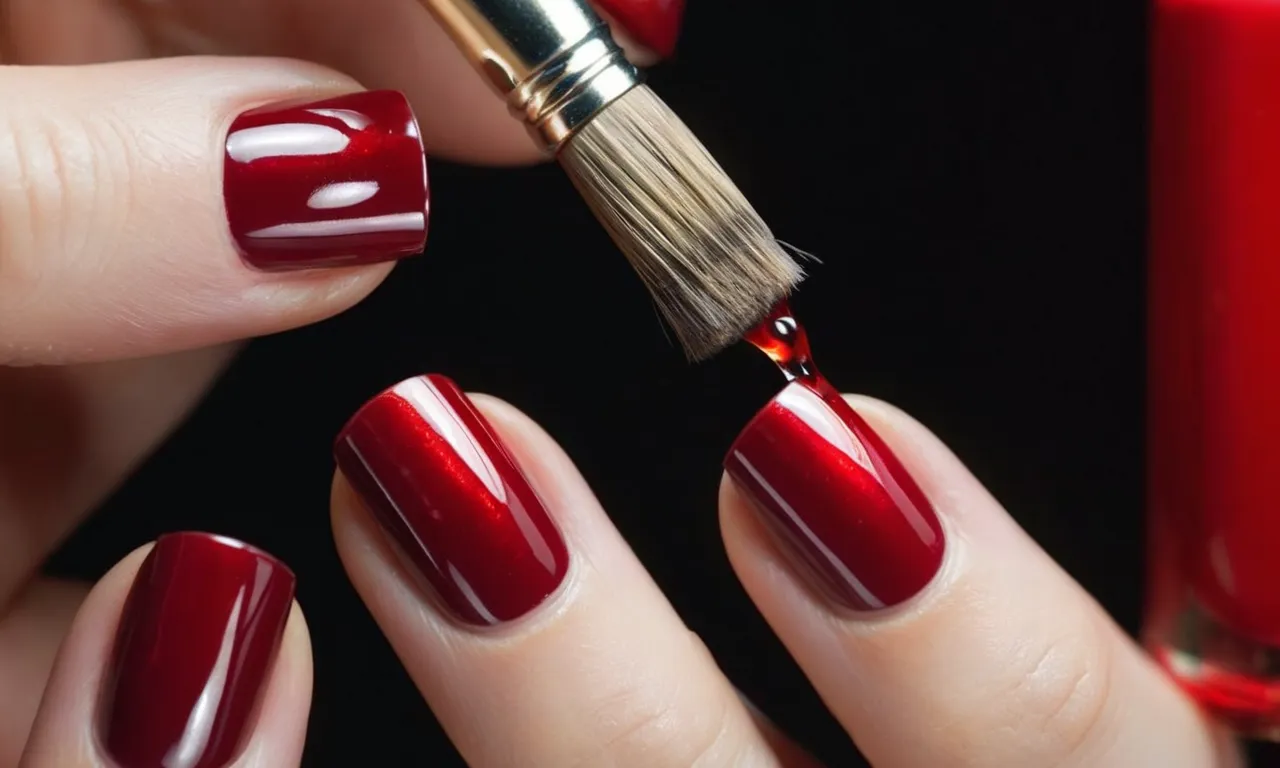
Mix the Nail Polish
Mixing your own nail polish from scratch may seem daunting, but with the right ingredients and techniques, you can make a custom polish that rivals store-bought brands. Here are some tips for mixing up a flawless nail lacquer:
Choose Your Base
The base for nail polish provides coverage and allows the polish to adhere to the nail. Popular bases include:
- Nitrocellulose lacquer – Provides a durable, glossy finish
- Ethyl acetate – A fast-drying solvent
- Butyl acetate – Slower drying than ethyl acetate
- Toluene – Helps evenly distribute color pigments
A typical recipe combines nitrocellulose lacquer with ethyl acetate and toluene for a balanced base.
Add Color Pigments
Color pigments give the polish its vibrant hue. You can find cosmetic-grade pigments online or at specialty stores. Typical options include:
- Titanium dioxide – Provides opacity and whitening
- Iron oxides – Create earthy reds, yellows, browns
- Ultramarine blue – For classic blue shades
- Carmine – Vivid reds and pinks
Start with just a pinch of pigment and add more as needed to achieve your ideal shade.
Consider Specialty Ingredients
You can customize your homemade polish by adding ingredients like:
- Plasticizers – Improve flexibility and prevent chipping
- UV filters – Reduce yellowing and fading
- Silica – Give a glossy, smooth finish
- Glitter or shimmer – For sparkly effects
Add just a small amount of these to enhance your polish without altering the formula too much.
Mix and Test Consistency
Once you’ve combined all ingredients, mix thoroughly to evenly distribute the pigments. Test the consistency by painting a swatch on plastic or glass. The polish should glide on smoothly without being too thick or runny.
Make small adjustments as needed – thin with more solvent for a sheer polish or thicken with cellulose lacquer for more coverage. Take notes so you can replicate your custom color!
With the right mix of ingredients and lots of testing, you can create your own signature nail lacquer in any shade. For best results, use cosmetic-grade supplies and mix in a well-ventilated area. With practice, you’ll be able to whip up salon-worthy polishes!
Add Special Effects (Optional)
Adding special effects to your homemade red nail polish can take it to the next level. Here are some fun ideas for getting creative with textures, glitters, and more:
Glitters
Glitters add a festive and eye-catching touch to nail polish. They come in different shapes and sizes, from fine microglitters to large hexagonal glitters. Some popular options include:
- Holographic glitters – Reflect rainbow colors
- Iridescent glitters – Shift colors depending on lighting
- Chunky square or hexagon glitters – Create a textured look
- Gold, silver, or colored metallic glitters – Add some shine
Start by adding 1 teaspoon of glitters per 2-3 ounces of clear nail polish base. Mix well before applying over your red nail polish.
Mica Powder
Mica powder lends a shimmery, pearlescent sheen. Use cosmetic-grade mica for the best results. Silver, gold, and colored mica powders pop beautifully over red. Mix 1⁄2 to 1 teaspoon mica powder into 2-3 ounces clear polish.
Crushed Shells or Stones
For an organic look, try adding crushed seashells, mica stones, or dried flowers. Use a mortar and pestle to finely crush shells or stones so they distribute well in the polish. Mix in up to 1⁄2 teaspoon per 2 ounces of clear base coat. Apply over your red polish for a textured, beachy finish.
Matte Top Coat
A matte top coat transforms shiny nail polish into a more muted, velvety look. For rich red nails with an edgy twist, simply apply a layer of matte top coat over your freshly painted red manicure. This Estee Lauder top coat dries quickly without dulling the underlying color.
Caviar Beads
Inspired by the manicures worn by Kardashian celebrities, caviar nails feature tiny glass beads clustered on the tips or over the entire nail. Add an accent of caviar beads over your red polish for instant runway style. Use a drop of clear top coat and gently press beads into it before it dries.
Have fun getting creative with special textures and embellishments over your homemade red nail polish! The possibilities are endless for customizing stunning nails.
Store and Use Your Creation
After putting in all that effort to make your own custom red nail polish, you’ll want to make sure it lasts as long as possible. Here are some great tips for storing and using your homemade polish so you can enjoy the fruits of your labor for a long time to come:
Storage Tips
Proper storage is key for extending the shelf life of your homemade nail polish. Here are some things to keep in mind:
- Store your polish in an airtight container, like a glass jar with a tight-fitting lid. This prevents exposure to air and slows down drying out.
- Keep your nail polish somewhere dark and cool – heat and sunlight can cause it to thicken and get gummy over time.
- If you added glitters or shimmer particles, let the bottle settle before using so they distribute evenly when applying.
- Write the date you made it on the bottle so you know when it was made.
Following these simple storage guidelines can help your homemade polish last upwards of 12 months or longer!
Application Tips
Applying DIY nail polish requires some special care to get great results. Follow these expert tips:
- Always start by applying a base coat first. This helps the polish adhere better and protects your nails.
- Apply thin coats and let them dry thoroughly between each layer for best durability.
- Use about 2-3 thin layers for good color coverage. Too many thick coats can lead to bubbling or peeling.
- Finish off with a top coat for ultimate shine and chip resistance.
- Cap the tips of your nails – seal each layer over the edges for extra protection.
It may take some trial and error to get your application method perfected. But take your time and follow these guidelines for salon-worthy, long-lasting manicures.
Removal and Clean Up
Taking off homemade polish and tidying up afterwards does require some extra attention compared to commercial formulas. Here are a few helpful pointers:
- Use pure acetone nail polish remover and cotton balls to take off homemade polish.
- Soak nails for 10-15 minutes if the formula is especially thick to allow easy removal.
- Scrub gently with a soft brush to remove glitters after soaking.
- Clean nail polish residue from skin using makeup remover wipes.
- Use an old toothbrush and soap and water to thoroughly clean your nail polish bottle before making a fresh batch.
Putting in that extra bit of elbow grease makes clean up a breeze and allows you to reuse containers and tools as needed.
Conclusion
While buying nail polish at the store is easy enough, concocting your own luxurious lacquer at home lets you customize the color and consistency exactly how you like. Experiment with different red pigments and textures in your homemade polish until you invent the perfect crimson for your nails.