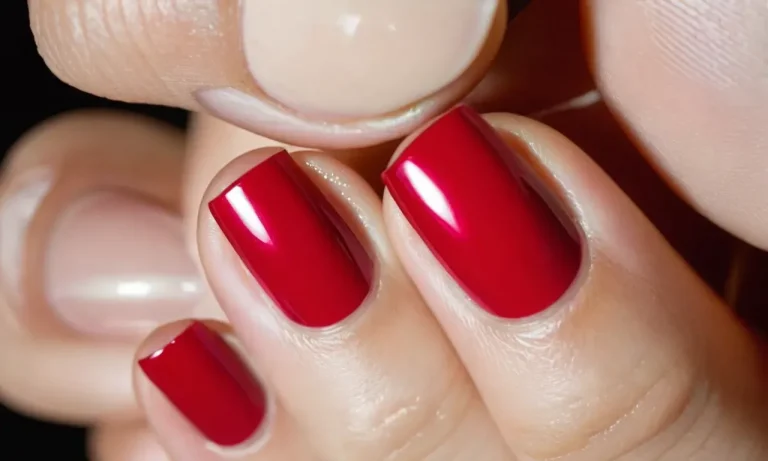
How To Make Your Nails Look Nice Without Polish
Having beautiful looking nails can make you feel more put together and confident, but constantly painting them can be time-consuming and damaging. Luckily, there are plenty of simple tips and tricks to help your bare nails look healthy, neat, and pretty without needing a single swipe of polish.
If you don’t have time for a manicure, buffing your nails and using cuticle oil can make them look cared for. You can also file them into flattering shapes, push back and trim your cuticles, and try out nail art with decals instead of polish.
Keep Your Nails Neatly Filed
File jagged edges
Filing your nails is a critical part of nail care. Jagged edges not only look unpleasant, they can snag and tear, causing pain or injury. Use a high-quality emery board or nail file to gently smooth rough edges every few days.
Apply light pressure and file in one direction to prevent weakening your nails. Focus on rounding the nails’ corners which are prone to cracking and peeling. Well-filed nails feel smooth and have a tidy, rounded appearance.
Use a glass file
Consider using a glass nail file for filing. Glass files tend to be more gentle on nails than traditional emery boards. Their fine grit smooths the surface while preventing over-filing. The risks of thinning, peeling or cracking nails are lower with glass files.
According to nail care brand GERmanikure, glass nail files seal the nail’s keratin layers with every stroke, creating smoother edges that won’t catch or tear.[1] Glass files also stay sharper for longer than regular files and can last over a year with proper care.
Try out different shapes
Experiment with different nail shapes when filing to find what is most flattering for your hands. Oval or squoval shapes tend to be universally flattering. Almond nails elongate the fingers for a slimming effect. Square nails have a bold, retro vibe. Rounded nails are the most natural looking.
Avoid shaping nails too sharply as the corners become prone to cracking and breaking.
No matter what shape you choose, symmetry is key. Use nail guides if needed to ensure each nail is uniform in size and shape. Well-shaped nails give a put together, professional impression.
| Nail Shape | Description |
|---|---|
| Oval | Graceful and timeless, oval nails have rounded edges and tips |
| Squoval | A hybrid of square and oval shapes with structured yet soft corners |
| Almond | Sleek with a refined point, almond nails are elegant and elongating |
| Square | Striking nails with straight sides meeting at right angles |
| Round | Natural, soft short nails with curved edges |
Achieving a flawless nail shape takes practice. Invest in quality nail files and guides. Shape and buff nails every few days, maintaining symmetry. With some patience and precision, you can show off stunning, professional-looking nails without a speck of polish.
Moisturize Your Nails and Cuticles
Massage in cuticle oil
Keeping cuticles hydrated is key for healthy, attractive nails. Massaging in a nourishing cuticle oil once or twice a day helps soften the skin around the nails and prevents painful cracking and peeling (source).
Choose a rich formula containing beneficial ingredients like vitamin E, coconut oil, shea butter, or olive oil. Take a few drops and gently massage into the skin around each nail, encouraging blood flow to stimulate growth.
Consistent oil application creates the ideal base for maximum nail polish shine!
Use a thick moisturizing cream before bed
Slathering hands in an indulgent emollient hand cream before bed allows the formula’s nourishing botanicals to sink in overnight while you sleep. Opt for a deeply hydrating cream with protective ceramides, glycerin, shea butter, or cocoa butter.
Apply all over hands and concentrate extra cream around nails and cuticles. For added nutrition, look for ingredients like soy milk, silk amino acids, vitamin E, and essential oils like lavender or jasmine, which not only smells amazing but also soothes skin.
According to the American Academy of Dermatology, nightly moisturizing can improve skin softness by over 70% (stats). Awake to smooth, healthy cuticles ready for polish application!
Gently Push Back and Trim Your Cuticles
Having beautiful, healthy nails without using nail polish is totally possible! An important step is taking care of your cuticles. Here’s a step-by-step guide on how to gently push back and trim your cuticles for a polished look.
Soak nails in warm water before pushing back cuticles
Start by soaking your nails in warm water for 5-10 minutes. This softens the cuticles and makes them easier to gently push back. You can add a tablespoon of olive oil or softening bath salts to the water for extra moisturizing power.
Pro tip: soaking your nails regularly (like once a week) keeps the cuticles looking tidy between trims!
Use a cuticle pusher and trimmer
After soaking, gently push back your cuticles with a cuticle pusher tool. Don’t force them or dig into the nail bed. Then use a cuticle trimmer to safely remove any excess or hanging bits of dead skin. Make sure the trimmer is fresh and sharp.
Trimming is key for that super clean, polished look we love.
Apply cuticle remover gel
For stubborn cuticles, apply a cuticle remover gel like Sally Hansen Instant Cuticle Remover to help dissolve and loosen them, making it easier to push back gently. Let it sit for about 30 seconds before rinsing.
This extra dissolving step helps avoid picking or tearing, which can damage the nail bed. Don’t forget your cuticle pusher!
There you have it – a simple, step-by-step routine for keeping cuticles looking neat and tidy between manicures. Proper cuticle care helps nails look clean, healthy and oh so pretty, with or without color. Just a few minutes a week makes a big difference. Go rock those natural nails, girl! 💅
Buff Your Nails to a Natural Shine
Having beautiful, healthy looking nails without using nail polish is achievable with some simple buffing techniques. Buffing your nails can give them a gorgeous natural shine that shows off their natural beauty. Here are some tips for buffing your nails to perfection.
Use a three or four-step buffer
Look for a buffer that has three or four grits, ranging from coarse to extra fine. The coarse grit removes ridges and shapes the nails. The medium grit smooths and evens out the surface, while the fine and extra fine grits refine the nail and give it a beautiful shine.
Using all the steps ensures perfectly smooth and polished looking nails.
Buff in only one direction
Always buff your nails in one direction, using long, even strokes from the cuticle to the tip of the nail. Going back and forth can cause the layers of the nail to peel or weaken. Sticking to one direction, preferably with vertical strokes, maintains strength and enhances shine.
Buff gently to avoid damage
While buffing is gentler than filing nails, you still need to take care to avoid excessive pressure or over-buffing. Using too much force can thin out nails, cause nails to peel, or lead to other damage. Gently glide the buffer over nails using light pressure.
Let the buffing tools do the work for you.
Buffing nails is an easy DIY technique that can give your nails a salon-quality finish without the use of polish. Invest in a high-quality multi-step buffer and buff gently in one direction for naturally beautiful, healthy-looking nails that shine.
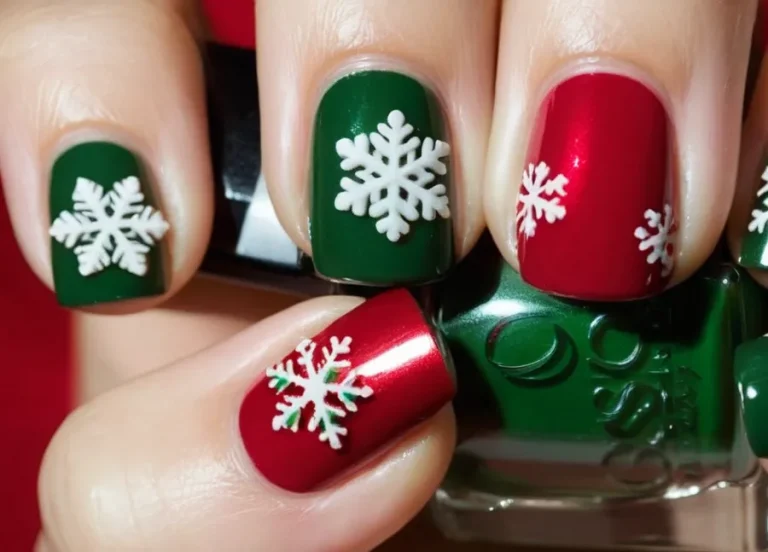
Experiment with Nail Decals and Stickers
Paint a sheer, neutral base if nails are discolored
If your natural nails have any discoloration or ridges, it’s a good idea to start with a neutral sheer polish as a base coat before applying decals. This will help make the base color more uniform and allow the decals to really pop.
Choose a light, ballet slipper pink or a pale, milky nude – something that will let the decal be the star of the show. Stay away from darker or brighter polishes underneath your decals, as this can make them look dull or less vibrant by comparison.
Use tweezers when applying decals
The best tool for applying nail decals and stickers is a good pair of sharp, slanted tweezers. Regular straight tweezers can work too, but the angled tip on slanted tweezers gives you more precision when picking up small decals. Here’s a great step-by-step technique:
- Cut or file your nails into the desired shape before applying decals.
- Paint your base color and let it dry fully.
- Use the tweezers to gently peel the decal off its backing.
- Hold the decal with tweezers and position it where desired on the nail.
- Once placed, slowly pull the tweezers away while gently pressing down on the decal with your other hand to adhere it.
Going slowly and carefully is key – don’t rush the application! Take your time to ensure proper placement.
Seal decals with a glossy topcoat
The final step is to seal in your decals and stickers with a clear, high-shine topcoat. This serves two purposes: it helps smooth over the edges of the decals for a flawless look, and it locks in the decals so they don’t peel or pop off. Two coats of topcoat are ideal to really seal them in place.
Choose a quick-drying topcoat formula so you can apply the second coat quickly. Let the topcoat fully dry before doing any activity with your hands. Your stylish manicure will last for up to a week if you avoid picking at or peeling the decals. Reapply topcoat every 2-3 days to keep them fresh!
Conclusion
While a bright, glossy manicure can look amazing, it isn’t always practical or healthy for your nails. Luckily, there are many easy and inexpensive ways to make bare nails look clean, neat, and beautifully naturally.
Pay attention to shaping and filing them smoothly, push back and trim your cuticles, buff them shiny, and experiment with nail art decals instead of polish. Your nails will look gorgeous on their own with just a little TLC.