How To Make Nail Polish Last Longer In The Bottle
If you love painting your nails but hate when your favorite polishes go bad before you can use them up, you’re not alone. Nail polish turning thick and gloppy well before the bottle is empty is a common problem that leads to wasted product and money.
The good news is there are several easy tricks you can use to extend the shelf life of your nail polishes and keep them smooth and usable for longer. If you’re short on time, here’s a quick answer to your question: Store nail polish upside down in a cool, dark place and consider adding nail polish thinner or drops of acetone if polishes become too thick.
In this comprehensive guide, we’ll cover everything you need to know to get the most use out of every bottle of nail polish you own. Read on to learn pro tips for proper nail polish storage, how to revive thickened polishes, the ingredients that can shorten wear time, and much more.
Proper Nail Polish Storage
Keep Bottles Upside Down
Storing nail polish bottles upside down helps prevent the color, shimmer or glitter particles from settling on the brush or along the sides and bottom of the bottle. Gravity pulls these particles down to the lid, ensuring they are mixed back into the polish each time you open the bottle.
So for maximum wearability over the life of a nail polish, flipping those bottles upside down in storage is key.
Store in a Cool, Dark Place
Exposure to light, heat and humidity can cause nail polish formulas to react, thicken and get gloopy or lumpy over time. For best results, nail experts recommend storing polishes in a cool, dark place like a closet or cupboard.
Temperatures between 50-65°F are ideal for extending the wearable life of your lacquers.
You’ll also want to avoid places with temperature fluctuations like near windows, vents or in the bathroom. Large swings in climate cause condensation inside polish bottles which ruins the formula.
Ensure Bottles Have a Tight Seal
A nail polish’s worst enemy is air – it causes lacquers to oxidize, thicken and get sticky. Making sure each polish bottle has an airtight seal prevents oxygen from getting in and keeps the paint flowing smoothly for application.
Look for bottles with secure, well-fitting caps. If you have older or well-loved polishes with loose lids, you can reinforce the seal with a layer of plastic wrap secured under the lid. This protects those beautiful colors for many more perfect manicures.
| Proper Storage Tips | Benefits |
| Store upside down | Prevents settling and keeps color consistent |
| Choose a cool, dark place | Prevents formula degradation from light and temperature swings |
| Ensure a tight seal | Prevents oxygen exposure which thickens and dries out polish |
Follow these simple polishing storing rules, and you can keep those precious bottles of color, shimmer and shine intact for years. Your perfect manicure depends on it! 💅
Reviving Thickened Nail Polish
Add Nail Polish Thinner
One of the best ways to revive thickened nail polish is by adding a bit of nail polish thinner into the bottle. Nail polish thinner contains solvents that help break down the polymers in nail polish that have cross-linked over time, causing it to thicken.
Start by adding just a few drops of thinner, then roll the bottle between your hands to mix it. Test the consistency by painting a bit on your nail. If it’s still too thick, add a few more drops of thinner until you achieve the desired consistency.
The great thing about nail polish thinner is that you don’t have to worry about it damaging or changing the color of your polish like other solvents can.
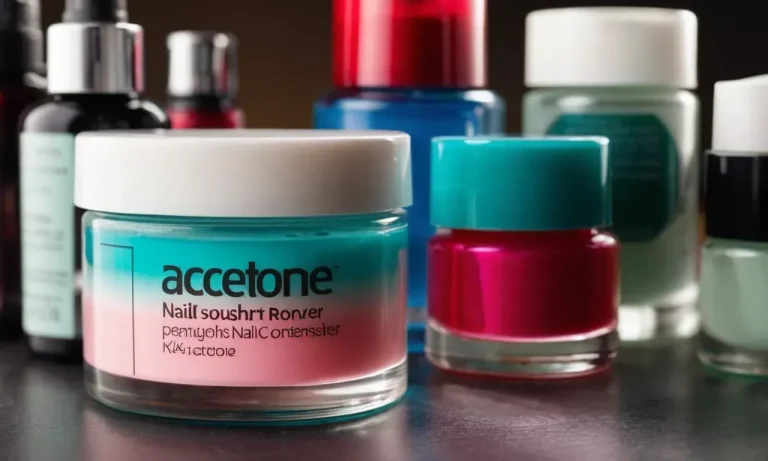
Try Drops of Acetone
If you don’t have nail polish thinner on hand, you can try using a small amount of 100% pure acetone instead. Acetone is found in most nail polish removers and can also break down the polymers that cause nail lacquer to thicken over time.
Be very careful with acetone though, as too much can break down the nail polish completely and alter the color. Start with just 1-2 drops per bottle, roll between hands to mix, and test the consistency. Add another drop or two if needed. The key is to use acetone sparingly to avoid ruining the polish.
Make sure the acetone you use is pure without additives, as additives can contaminate and discolor the polish.
Roll Bottle Between Hands to Mix
Whether you add nail polish thinner or a few drops of acetone, make sure to roll the nail polish bottle between your palms after adding the reviving agent and before testing the consistency. This helps properly mix the ingredients and evenly distribute the thinner/acetone throughout the polish.
Continue rolling for 30 seconds or so until the polish feels smooth when you gently shake the bottle. Mixing it well prevents you from adding too much thinner or acetone. Proper mixing helps gauge how much you really need to add to return the nail lacquer to its original flowing consistency.
Just be careful when rolling the bottle not to shake it too vigorously, as this can cause bubbles.
Ingredients That Shorten Wear Time
Nitrocellulose
Nitrocellulose is one of the key ingredients that gives nail polish its hard, glossy finish. However, over time it can become brittle and chip more easily. Nitrocellulose has a tendency to shrink as it dries out, which causes it to pull away from the sides of the nail polish bottle.
This allows more air to interact with the polish, causing it to thicken faster.
Acetyl Tributyl Citrate (ATBC)
ATBC is a common nail polish ingredient used as a plasticizer to make the polish more flexible and less prone to cracking or peeling. However, ATBC can also act as a drying agent that accelerates evaporation of the solvents in nail polish over time.
This makes the polish thicken and become gloopy in the bottle more quickly. One study found that nail polishes containing ATBC showed a 38% increase in viscosity after 6 months while polishes without it remained relatively unchanged.
Camphor
Camphor is added to some nail polishes to make application easier by slowing down the drying time. But when present in too high of levels in prolonged storage, camphor can contribute to plasticizer migration over time.
This is when the nail polish ingredients start to separate and the texture becomes compromised. One trick is to store nail polishes containing camphor upside down to help prevent issues with settling and separation of ingredients.
Formaldehyde Resin
Formaldehyde resin such as tosylamide-formaldehyde resin (TSFR) is common in nail polishes to help bind ingredients together for better adhesion and durability. But this type of resin can lose stability and cause shrinkage or precipitation over time, leading to thicker texture and reduced flow.
Interestingly, one analysis found that nail polishes stored at lower temperatures tended to have better viscosity retention when formaldehyde resin was present.
| Ingredient | How It Shortens Wear Time | Tips to Prolong Life |
|---|---|---|
| Nitrocellulose | Becomes brittle and prone to cracking/chipping over time | Store upside down to prevent settling issues |
| ATBC | Acts as drying agent, increases thickness and viscosity | Avoid polishes with high ATBC content |
| Camphor | Can cause ingredient separation at high levels | Store upside down to minimize settling |
| Formaldehyde Resin | Loses stability over time, leads to thickness issues | Store polishes with resin at cooler temps |
As the ingredients analysis shows, many common components of nail polish can unfortunately work against having the colour remain smooth and usable over the long term. But with some savvy shopping and proper storage methods, you can pick polishes formulated to maintain that just-painted perfection and extend the wear time far beyond the bottle’s expiry date.
Choosing Long-Lasting Nail Polish Formulas
Look for ‘Long-Wear’ on the Label
When shopping for nail polish, keep an eye out for formulas labeled as ‘long-wearing,’ ‘no chip,’ or ‘high shine.’ These descriptors indicate that the polish contains ingredients that help it adhere better to nails and resist chipping for an extended period.
Many mainstream brands like OPI, Essie, and Sally Hansen offer long-wear collections.
Consider Gel and Dip Powder Polishes
Gel and dip powder polishes are specially formulated to deliver up to 2-3 weeks of chip-free wear. Gel polish contains polymers that set under an LED or UV light, while dip powders use a powder-and-liquid system to create a stronger bond. Both options are more durable than traditional lacquers.
Popular gel brands include Gelish, Shellac, and OPI GelColor. For dip powders, look for kits from SNS, Revel, or DipWell.
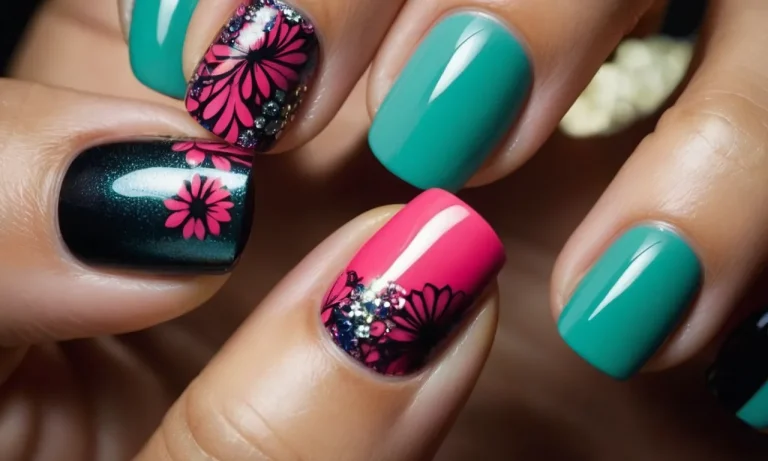
Avoid Frosted and Sheer Finishes
Nail polishes with frosted, shimmery, or sheer finishes tend to wear off faster than creams or shimmers. The small flecks of glitter and thinly pigmented colors expose more of the natural nail underneath, making them more prone to tip wear and chips.
For maximum longevity, choose opaque creams or evenly distributed micro-shimmers instead.
Applying Nail Polish for Maximum Wear
Prep Nails Properly
Proper nail prep is crucial for getting your manicure to last. Start by filing and shaping your nails into a uniform length and shape. Use a nail buffer to gently smooth the surface of each nail. This removes any ridges or imperfections that could cause polish to chip.
Give your nails a quick wipe down with nail polish remover or alcohol to remove any oils. This helps the polish adhere better. You can also use a dehydrator like Nailtiques After Artificial Treatment to further remove moisture and prep nails.
Apply Base and Top Coats
Base and top coats act like primers and sealers for your nail polish. Apply a base coat first to fill in any remaining ridges and help polish stick to the nail. Once your color coats are dry, finish with a top coat.
Top coats create a smooth, hard layer over polish that resists chipping and scratching. Popular top coat options like Seche Vite Dry Fast Top Coat and Sally Hansen Insta-Dri Anti-Chip Top Coat can extend manicure wear by several days or more.
Using both a base and top coat is key for maximum polish longevity.
Use Thin Layers of Color
Applying polish in multiple thin coats will help it last longer compared to using thick coats. Thick layers tend to dry slower and end up more prone to chips and dents. For the most even, long-lasting color, aim for 2-3 thin coats of polish. Make sure to let each coat dry fully before adding another.
Thin coats that dry completely between layers create layers that are more flexible yet tightly bonded together.
Let Polish Dry Fully Between Coats
It’s tempting to rush through your manicure, but patience pays off when it comes to longevity! Fully drying between coats allows solvents to evaporate so each layer adheres tightly together. If you add another coat too soon, the polish underneath won’t be fully hardened, leading to weak spots that can crack and peel.
Let each layer dry for at least 5 minutes before adding the next. Extend this to 10-15 minutes if you used a thick layer. Quick dry top coats like Seche Vite can shorten the waiting time between layers.
Conclusion
With some simple storage solutions and application techniques, you can enjoy every drop of your favorite nail polishes. Storing bottles upside down and in a cool environment will keep polish from thickening prematurely.
Adding thinner or acetone can rehydrate dried out polishes so you don’t have to throw them out before they’re empty. Choosing long-wear formulas, prepping nails properly, and using thin, dry layers of polish will also extend wear time and prevent chipping and peeling.
Knowing what ingredients to avoid when shopping for new polishes can help your manicures last. With this comprehensive guide, you have all the tips and tricks to get every last drop out of your nail polish bottles.
So go ahead and stock up on shades – you’ll be set to enjoy long-lasting, chip-free manicures for weeks!