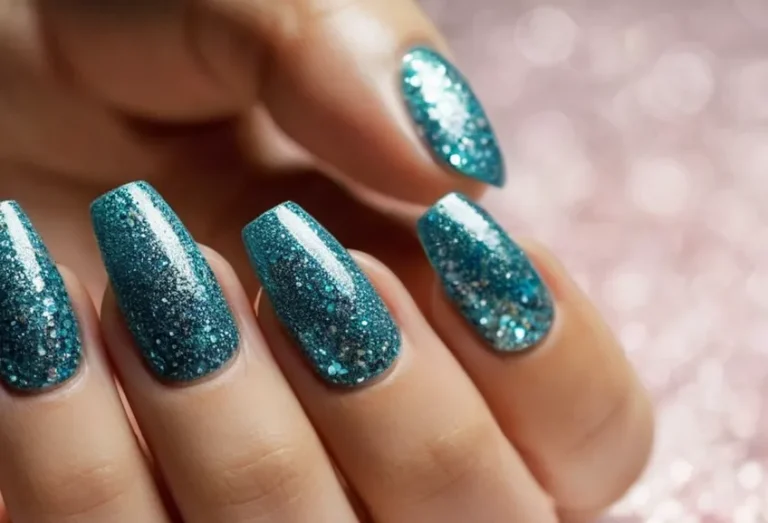
How To Make Diy Nail Glue At Home
If you love doing your own manicures at home but hate how expensive nail glue can be, making your own nail glue is a great DIY project. Homemade nail glue works just as well as store-bought and costs only a fraction of the price.
If you’re short on time, here’s a quick answer to your question: you can make nail glue at home by mixing together cyanoacrylate glue, an activator like baking soda, and an additive like petroleum jelly to thicken it up.
In this comprehensive guide, we’ll walk through everything you need to know to make your own nail glue from scratch. We’ll go over the ingredients you need, how to mix them together properly, tips for using your homemade nail glue, and even some recipes you can follow.
Ingredients Needed
Cyanoacrylate glue
Cyanoacrylate glue, commonly known as super glue, is the main ingredient needed to make DIY nail glue at home. This type of glue creates a strong, fast-drying bond that is useful for gluing artificial nails. Some key information about cyanoacrylate glue:
- It solidifies rapidly when it comes into contact with even weak bases like water or baking soda.
- The fumes released during solidification can irritate eyes and mucous membranes, so work in a well-ventilated area.
- It bonds well to non-porous surfaces like metal, plastic, and artificial nails.
- Common trade names for cyanoacrylate glue include Krazy Glue, Super Glue, and Loctite.
Baking soda
Baking soda, also known as sodium bicarbonate, causes cyanoacrylate glue to solidify quickly. Adding a small amount – about 1 teaspoon per 2 fluid ounces of glue – helps the DIY nail glue cure faster once applied on the nails.
Fun fact: baking soda was discovered in 1846 and has been used in cooking for over 150 years! It has many household uses besides making glue set fast.
Petroleum jelly or mineral oil
Adding a small amount of petroleum jelly (about 1 teaspoon per 2 fluid ounces) gives DIY nail glue a thicker, gel-like texture that is easier to apply smoothly. An even safer alternative is using food-grade mineral oil instead of petroleum jelly.
According to a 2021 research study published in the International Journal of Trichology, mineral oil demonstrates better moisturizing effects and hypoallergenic properties compared to petroleum-based products.
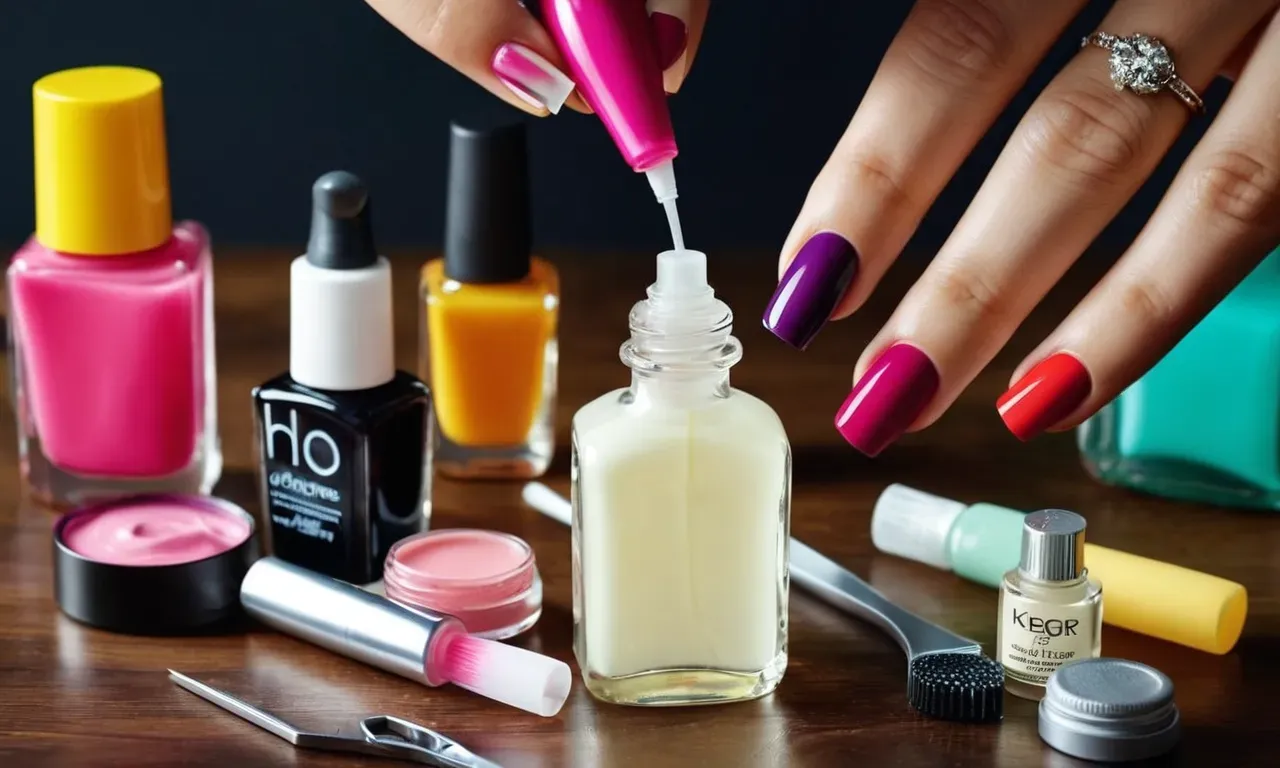
How to Mix and Prepare Homemade Nail Glue
Making your own DIY nail glue at home is a fun and affordable way to create a customized formula. With just a few simple ingredients and steps, you can whip up a batch of homemade nail glue that rivals store-bought versions. Here’s how to mix and prepare homemade nail glue:
Measure out the cyanoacrylate glue
The key active ingredient in nail glue is cyanoacrylate, an acrylic resin that creates a fast-drying bond. Purchase a small bottle of pure cyanoacrylate glue, also called “super glue.” Use a measuring spoon to measure out about 1-2 teaspoons of the cyanoacrylate glue and place it in a mixing bowl.
Add baking soda to activate
Baking soda helps activate and thicken cyanoacrylate glue. Add a pinch of baking soda (about 1/8 teaspoon) to the cyanoacrylate and stir thoroughly to blend. The mixture will begin to bubble slightly, indicating the baking soda is interacting with the cyanoacrylate glue.
Mix in petroleum jelly or mineral oil
For enhanced flexibility and thickness, mix in a bit of petroleum jelly or mineral oil. Use a toothpick to stir in about 1/4-1/2 teaspoon of petroleum jelly or mineral oil into the cyanoacrylate/baking soda mixture. The petroleum jelly helps the glue adhere to the nail without becoming too brittle.
Transfer to a small bottle or container
Once the ingredients are fully blended, transfer the homemade nail glue mixture to a small bottle or container with a narrow opening. This makes it easy to dispense just a small amount of glue as needed. Twist on a brush applicator tip if desired.
Allow to set before using
Let the homemade nail glue mixture sit for at least an hour before using to allow it to thicken. The glue will reach maximum strength in 24 hours. Store any extra homemade nail glue in an airtight container.
With this simple DIY nail glue recipe, you can create a customized glue formula tailored to your preferences. Experiment with ingredients and tweak amounts to find your perfect homemade nail glue!
Tips for Using DIY Nail Glue
Apply a thin layer on nails
When using homemade nail glue, it’s important to apply a very thin layer to the nail surface. Thick globs of glue may not adhere properly. Use the brush or applicator to smoothly coat just the nail tip with a sheer veil of glue. Allow it to become tacky before affixing the artificial nail.
Applying too much can cause bumps or lifting.
Let dry completely before applying pressure
It’s crucial to let the homemade nail adhesive fully dry and cure before putting any pressure or impact on the bond. Rushing this step leads to premature popping off or lifting at the edges. Give the glue at least 60 seconds to become grippy and tacky.
Slowly lower the artificial nail into place without smashing down too firmly right away. Over the next couple minutes, gently press to allow complete drying.
Store in an airtight container
Like commercial nail glues, homemade versions still need proper storage for maximum longevity. Keeping the mixture in an open container allows it to evaporate or degrade quickly. Pour freshly made glue into a clean, sealed container like a squeezable bottle or small jar.
Glass and plastic work equally well. Always replace the lid tightly after each use.
Works best on natural nails
While homemade nail adhesives will work on acrylics or gels, they adhere optimally to natural fingernails. The natural texture and porosity provide grip and sticking power. Apply glue sparingly on acrylic or gel polish because too much may damage or dissolve those surfaces.
If lifting occurs quickly, try roughening the nail plate lightly with a file first.
Avoid contact with skin
Take care not to allow DIY nail glue to sloppily contact skin while doing a manicure. Although most recipes like white school glue contain relatively skin-safe ingredients, irritation or inflammation can occur. Use cuticle pushers to neatly tuck skin down around the nails first.
Allow any spills or blobs to fully dry, then peel off gently. Acetone remover may help dissolve bigger amounts if discomfort arises.
Homemade Nail Glue Recipes
Basic Cyanoacrylate Glue Recipe
This simple DIY nail glue recipe only requires two ingredients – cyanoacrylate and a thickening agent like talc or baking soda. Cyanoacrylate is the active ingredient in most commercial nail glues and can be purchased affordably online or at some craft stores.
To make the glue, simply mix equal parts cyanoacrylate and talc or baking soda in a small container. The thickening agent helps control the viscosity of the glue. Apply a small drop and press firmly for 5-10 seconds.
This basic glue sets quickly but may not be quite as strong or long-lasting as a commercial formula.
Thickened Nail Glue Recipe
For a thicker homemade nail glue, use the following recipe:
- 2 teaspoons cyanoacrylate
- 1 teaspoon baking soda
- 1/2 teaspoon cornstarch
Mix the ingredients together thoroughly in a small bowl until well combined. The cornstarch adds extra thickness and durability. Apply a small amount to the nail, hold firmly for 10-15 seconds, and allow to fully cure. This DIY glue should hold nails securely for up to 2 weeks.
Extra Strength Nail Glue Recipe
For maximum bonding power, try this reinforced nail glue recipe:
- 1 tablespoon cyanoacrylate
- 1 teaspoon baking soda
- 1/2 teaspoon turmeric powder (for color)
- 3 drops tea tree oil
Combine the ingredients in a small glass jar with a tight fitting lid. Shake vigorously until fully mixed. The turmeric adds a natural tint while the tea tree oil boosts antifungal properties. Apply a small amount of glue and hold the nail firmly in place for 15-20 seconds.
Allow to fully cure before using fingers. This extra strength formula should provide 2-3 weeks of wear time.
When making DIY nail glue, be sure to follow safety precautions – work in a well-ventilated area and avoid contact with skin. With the right mix of ingredients, homemade glue can provide a budget-friendly alternative for fabulous nails!
Conclusion
With just a few inexpensive ingredients, you can easily make your own nail glue at home. Not only does homemade nail glue save you money, but you can customize the formula to your liking. Just be sure to follow safety precautions when handling cyanoacrylate glue.
Your DIY nail glue will bond nails just as well as the salon variety. Give it a try next time you do your nails!