How To Make Your Nail Polish Last Longer: 10 Tips For Long-Lasting Manicures
If you’ve just painted your nails only to have the color chip off after a day or two, you’re not alone. Nail polish longevity is a common struggle among manicure lovers everywhere. The good news is there are several easy tips and tricks you can use to extend the life of a manicure and keep your nails looking freshly polished for up to 7-10 days.
If you’re short on time, here’s a quick answer to keeping your manicure intact for longer: Start with a base coat, apply thin layers of polish, and finish with a top coat. Avoid water exposure and nail polish remover, and replenish the top coat every other day.
Properly Prep Your Nails
Remove old nail polish and buff away ridges
The first step in prepping your nails is removing any old nail polish. Use a non-acetone nail polish remover to avoid excess dryness. After removing old polish, use a nail file or buffer to gently smooth away any ridges on your nails.
This creates an even surface that will help the base coat and polish adhere better.
Apply cuticle oil before pushing them back
Apply a drop of cuticle oil around each nail and cuticle before pushing them back. The oil softens cuticles and prevents painful tearing or damage when pushing them back. Gently push back cuticles using a cuticle pusher or orange wood stick. Avoid cutting cuticles, as this can lead to infection.
Use a dehydrator/primer
After prepping nails, apply a dehydrator or primer. These help remove traces of oil and moisture for better polish adhesion. Popular options include CND Stickey and Orly Bonder. Apply a thin layer to each nail and let it dry.
Using a primer can help even inexpensive polishes last for 7-10 days without chipping!
Finish prepping with a base coat
The final prep step is applying a base coat to nails. Base coats fill in ridges, prevent staining from polish, and help polish adhere to the nail. They are a must for long-lasting manicures! Choose a base coat like OPI Natural Nail Base Coat or Essie Here to Stay.
Apply a layer over each nail and wrap tips to prevent chipping.
Proper nail prep sets the stage for an enduring manicure. Taking the time to remove polish, buff away ridges, use primer, and apply base coat helps your polish stick around for 1-2 weeks instead of just a few days. Don’t skip these essential steps before painting your nails!
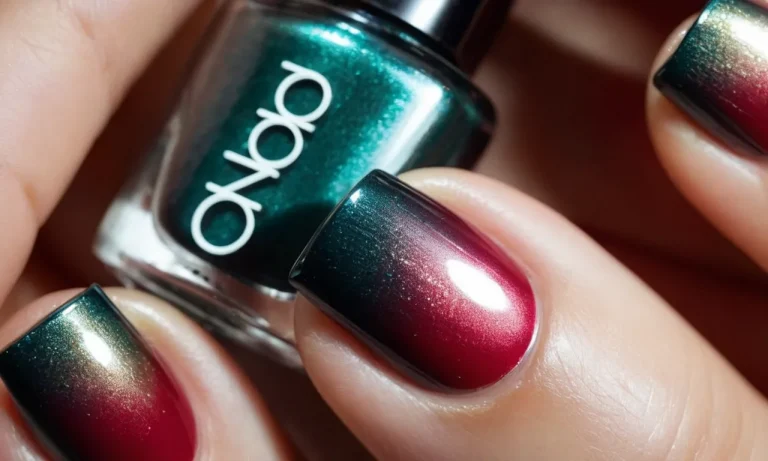
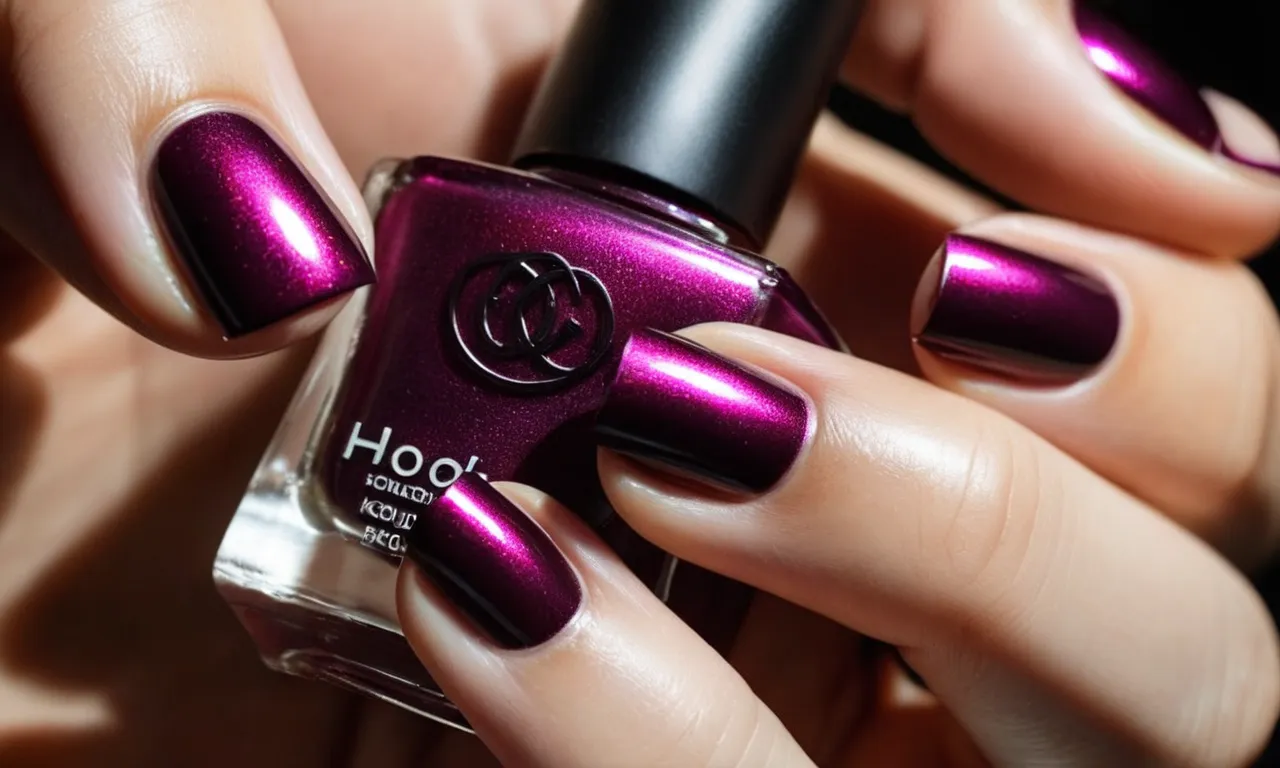
Use Quality Nail Polish
Look for long-wearing formulas
When browsing the nail polish aisle, be sure to check the labels for key phrases like “long-lasting,” “durable,” or “up to 14 days of wear” to ensure you select polishes designed to provide extended manicure longevity (Source).
Many major nail polish brands now offer specialized chip-resistant, fade-resistant formulas incorporating polymers, minerals, and resins to help active women maintain a freshly painted manicure.
Avoid old or thickened polishes
Nail polish can lose its smooth application properties and lasting power as it ages on your shelf. According to nail care experts, you’ll get the most mileage out of each manicure by using polishes less than one year from their purchase date.
If you notice your polish is getting gloopy or requires vigorous shaking before use, it may be past its prime.
Stick to reputable salon brand polishes
Well-known nail polish lines used in professional nail salons, like OPI, Essie, and Sally Hansen, undergo extensive wear and duration testing. Explore top-rated polishes from these trusted, quality brands if you want your manicure handiwork to last.
Consumer testing websites like Beautypedia provide unbiased insight into nail polish reviews.
Store polishes correctly to maximize shelf life
| Safe polish storage tips: |
|
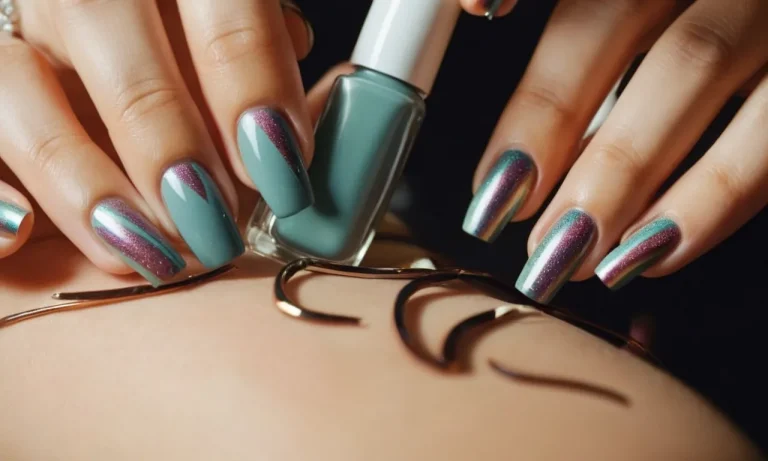
Apply Thin, Even Layers
When it comes to achieving a long-lasting manicure, applying nail polish in thin, even layers is key. Here are some tips for getting the perfect application:
Use thin coats and avoid flooding cuticles
Resist the urge to apply thick, gloopy layers of polish. Thin coats dry faster and create a smoother finish. Thick layers take longer to dry and are more prone to chips and smudges. Aim for 2-3 thin coats rather than 1-2 thick coats for best results.
Also be careful not to flood the cuticles when painting nails. Getting polish on the cuticles can make it peel off faster. Use the brush to apply polish just to the nail plate itself.
Allow proper drying time between coats
It’s tempting to rush through your manicure, but don’t skip drying time between coats! Each layer of polish needs 2-3 minutes to dry before adding another layer. Insufficient drying leads to bubbling, denting, and peeling.
Finish with 2-3 thin layers for best durability
In general, 2-3 thin layers of nail polish provide the longest-lasting manicure. Less than 2 coats doesn’t provide enough coverage and color intensity. More than 3 coats is often excessive and can make the polish feel thick.
Wrap tips to seal in color
Here’s a pro tip: use the brush to paint over the tips of your nails too. This “wraps” the tips in polish and seals in color to prevent chipping along the very edge of your nails. Wrapping your tips makes any manicure much more durable!
Always Use a Top Coat
Top coats protect color and add gloss
Using a top coat is one of the most important steps for making your nail polish last longer. Top coats create a protective barrier over your polish that prevents chipping, scratching, and fading. They also add a beautiful glossy finish to make the color pop.
Some key benefits of using a top coat include:
- Prevents chips and cracks – The top coat seals the polish underneath and helps it adhere better to your nails.
- Reduces fading – It blocks out environmental factors like sun, water, and chemicals that can cause polish to fade.
- Smooths ridges – It helps fill in ridges in your nails for a flawless finish.
- Adds shine – Top coats contain ingredients that add extra gloss and sheen.
So don’t skip the top coat if you want your manicure to stay perfect for as long as possible! It takes just an extra minute but makes a huge difference in extending the life of your polish.
Look for quick-dry and long-lasting formulas
When shopping for a top coat, look for ones that are formulated to dry quickly and last a long time. Here are the key features to look for:
- Quick-dry – Look for top coats labeled “fast-drying” or “speed dry.” These will dry in 60 seconds or less so you can get on with your day.
- Long-lasting – Seek out top coats specifically made to extend the wear time of polish, such as “chip-resistant” or “7-day” formulas.
- Durable – Ingredients like acrylic polymers provide an extra hardy finish.
- Glossy – Silicones give an ultra-shiny, light-reflecting finish.
Some popular long-lasting top coat brands include Seche Vite Gel Effect Top Coat, Essie Gel Couture Top Coat, and OPI Infinite Shine. Applying one of these top coats over your polish can double or triple the wear time!
Apply a fresh layer every 2-3 days
While a good top coat can last up to a week, it’s a good idea to apply a fresh layer every 2-3 days. Here’s why:
- Prevents possible chips – Reapplying helps seal any tiny gaps that may have formed as your polish ages.
- Maintains shine – The glossy effect tends to fade over time; a new coat keeps it looking freshly-painted.
- Easy refresh – It only takes a minute! Much easier than completely re-doing your manicure.
Aim to simply swipe on another thin layer of top coat every few days right until you’re ready to change your polish color. This helps maintain a flawless, chip-free manicure for as long as possible. Just be sure each layer is completely dry before applying the next.
Avoid Nail Polish Removers
Using removers around the nails causes chipping
Excessive use of nail polish removers, especially acetone-based ones, can lead to brittle and dry nails that chip easily (American Academy of Dermatology Association). The harsh chemicals damage the nail beds and plates, causing weakness and cracks in the keratin layers that allow chunks of polish and even layers of the nail itself to break off.
This effect is worsened by roughly scrubbing at polish with remover-soaked cotton balls or rubbing the remover into the skin around the nails. The acetone and friction strip away natural oils that protect nail health.
If removing polish, avoid cuticles and tips
When using remover is necessary, take care to avoid the nail tips and surrounding cuticles, which are most vulnerable to chemical damage and moisture loss. Apply remover to a cotton pad and gently press and roll the pad over nail polish only, avoiding scrubbing motions.
Rinse thoroughly with water afterward, and apply cuticle oil or moisturizing cream to protect the nail matrix and eponychium from dryness.
Alternate remover-free nail prep methods
The best way to preserve your manicure and nail integrity is to avoid removers entirely whenever possible. If wearing dark polishes, apply a base coat first to prevent staining that may require remover to correct.
When changing polish colors, try painting similar shades over the previous coat instead of removing it. Regularly trim nails to remove chips rather than using remover on the nails. An oil soak can gently loosen and lift old polish off intact after several minutes.
And for a deeper refresh, buff down the shine of an old manicure before applying the next one. This avoids remover damage while allowing extended wear between full polish changes.
By limiting use of nail polish removers, especially harsh acetone formulas, you can achieve longer-lasting manicures and reduce nail damage. Handle any remover applications gently, avoiding cuticles and nail tips, and nourish nails afterward with moisturizing oils and creams.
With some preparatory and protective measures in your nail care routine, your perfectly polished fingers and toes can stay flawless and healthy.
Limit Water Exposure
Water weakens and dehydrates nails
Water can have a damaging effect on nails. When nails are exposed to water for extended periods of time, the keratin fibers become saturated and expand. This causes the bonds between the fibers to weaken over time, leading to peeling, cracking and breakage (source).
Additionally, water strips nails of their natural oils and moisture, leaving them dry and brittle.
Wear gloves for dishes, cleaning, swimming
To protect your manicure, wear rubber gloves when doing household chores involving water. Dishes, laundry, cleaning – these daily tasks can wreck havoc on your nails if done repeatedly without gloves. The hot water only exacerbates the drying effect.
Gardening is another chore that necessitates gloves. Dirt, fertilizers and moisture quickly deteriorate nail polish and nail health.
When going for a swim, be sure to wear vinyl gloves. Chlorine and salt water can dry out and discolor nails. The Centers for Disease Control and Prevention also recommends wearing gloves to avoid transmission of recreational water illnesses from contaminated pools or hot tubs (source).
Thoroughly dry hands after washing
When water gets trapped underneath polish, it creates the ideal damp environment for bacterial and fungal growth underneath the nails. This can lead to infections. To prevent this, carefully dry hands and nails after washing them. Use a clean towel and dry well around nail edges.
You can also apply a fast-drying nail polish top coat like Seche Vite. The acrylic polymers in these specialty top coats form a solid, water-resistant shield of protection over the manicure underneath (source). Reapply top coat every other day.
Replenish Moisture and Nutrients
Hydrate with cuticle oils and creams daily
Keeping your cuticles moisturized is key for healthy, long-lasting nails. Massaging cuticle oil or cream into the nail beds and cuticles once or twice per day will prevent cracking and peeling that can lead to chipping and breakage down the road.
Opt for cuticle products enriched with moisturizing oils like jojoba, vitamin E, and essential oils. Massage the oil gently into the skin and nails for 30 seconds before wiping away any excess. Consistency is important here – set a daily reminder if needed.
Use a nourishing hand cream frequently
What you put on your nails is important, but so is the skin surrounding them. Dry hands and knuckles emphasise flaws in your manicure, so keep the whole area hydrated with a rich hand cream. Shea butter and glycerin are great ingredients that seal in moisture.
Apply cream multiple times per day, especially after washing hands. The American Academy of Dermatology Association recommends using moisturizers within 3 minutes of drying hands for optimal absorption.
Consider biotin supplements for strength
While topical moisturizers target surface-level hydration, supplements like biotin (vitamin B7) work from the inside out. Studies show biotin can aid keratin infrastructure for healthier hair, skin, and nails over time.
Most people get adequate biotin from food (meats, eggs, nuts, seeds), but those with deficiencies may benefit from an oral supplement. Check with your doctor before starting any new vitamin routine. Typical daily biotin doses for nail care range from 2500-5000 mcg capsules.
Give the supplement about 3 months for best results.
| Hydration Type | Benefits |
|---|---|
| Topical oils and creams | Softens cuticles, prevents cracking and peeling |
| Hand moisturizers | Maintains health of skin around nails |
| Biotin supplements | Supports nail keratin infrastructure over time |
Following a consistent nail care routine with moisture, nutrients, and protection is key for a long-lasting, chip-free manicure. Don’t forget your biweekly trims and always prep nails properly before polish too. With some TLC for your tips, you’ll be rocking that manicure for weeks!
Avoid Picking and Peeling
Resist urge to pick at or bite nails
We all know how tempting it can be to pick at or bite your nails when you have chipped nail polish. However, this can lead to even more chipping and peeling. Instead, try to resist the urge. When you feel like picking or biting, make fists with your hands or sit on them.
You can also keep a small toy or stress ball in your pocket or purse to fidget with instead. The key is to break the habit of messing with your manicure.
Use remover instead of peeling polish off
Peeling off chipped nail polish can remove layers of your actual nail, leading to thin and weak nails over time. It’s much better to use acetone nail polish remover and cotton balls to gently take off chipped polish. You’ll be less likely to cause damage.
Only target the chipped parts instead of removing all the polish. Then you can easily reapply polish just on the bare spots.
File away peeling layers smoothly
If you do have some peeling or chipping, use a nail file to gently smooth away the lifted edges. File in one direction across the nail to prevent further cracking or peeling. Don’t aggressively scrape off polish as that can thin your nails. Follow up by buffing nails to blend the new edge.
Then apply a base coat before adding new polish to fill in gaps and help it adhere better. Filing prevents snagging that leads to more peeling.
Get Regular Manicures
Salon manicures last longer than DIY
Getting your nails done by a professional manicurist at a salon can help extend the life of your manicure significantly compared to doing it yourself at home. Salon manicures use high-quality polish, tools, and techniques that lead to a more durable finish.
The polish adheres better and dries harder when applied by a pro. The specialized lamps at salons also cure the polish more effectively. With DIY manicures, it’s easier to make mistakes that lead to chipping and peeling. Going to a salon every 2-3 weeks can keep your mani looking fab for longer.
Technicians can remove polish without damage
Attempting to remove your old manicure at home risks damaging your nails. Salon techs are trained on safe, proper removal techniques that get your nails ready for a fresh mani without causing harm. They have access to professional grade acetone-free removers and can thoroughly take off every trace of color.
Removing all the previous layers helps the new polish adhere properly for extended wear. Any mistakes you make trying to remove polish yourself like picking or peeling can lead to thinning and peeling.
Ask for a long-wear polish
When booking your manicure, ask your technician to use a long-lasting polish known for durability. Many salons offer specialized polishes that are formulated to be more chip-resistant. These polishes are more flexible and have added polymers and resins to create a stronger bond to the nail plate.
Popular long-wear polish brands used at salons include OPI Infinite Shine, Essie Gel Couture, CND Vinylux, and more. Tell your tech your lifestyle needs like frequent hand washing so they can select the right polish to withstand your daily activities.
Getting professional manicures every 2-3 weeks has multiple benefits for making your polish last longer compared to DIY. The expertise of the nail techs, quality products used, and techniques like proper polish removal and application lead to a hardier manicure that maintains its just-done look for up to 3 weeks or more.
Give your nails some TLC with regular salon visits.
Consider Gel Polish
Gel manicures can last up to 2 weeks chip-free
Gel nail polish has become increasingly popular due to its durability and long-lasting finish. Unlike regular nail polish, gel polish is cured under an LED or UV light, allowing it to harden on the nail. This means the color can last up to 2 weeks without chipping or fading.
No more frustrating touch-ups or quick reapplications needed!
Gel manis require applying a base coat first to protect the natural nails, followed by colored gel polish layers that are cured under the light between coats. The process seals in the color, creating what they call a “high-shine, chip-free manicure” that resists scratches and dents.
Even as the nail grows out, the gel polish attached to the nail remains smooth and intact.
The polish is cured with UV/LED light
The curing process is what sets gel nail polish apart. Each layer of gel color needs to be set under either an LED or UV nail lamp for 30 seconds to 2 minutes. This allows the gel to dry completely to a hardened finish. Without this essential curing, the gel would never set fully on the nails.
Most modern salons use LED lights which emit less potentially damaging UV rays.
Curing gel polish on your own at home is easy with an affordable at-home gel manicure kit. Most kits come with everything you need including a mini LED lamp, gel nail colors, a base and top coat, nail cleanser, and cuticle remover.
Watch a few online video tutorials and with a little practice, you’ll have gorgeous, lasting gel nails from the comfort of your home.
Be aware of potential damage with frequent use
While gel manicures allow polished perfection to last longer compared to traditional lacquer polish, there are some downsides to be aware of. The removal process can damage the nail bed if not done properly. Filing off hard gel can thin out the nails over time.
For safe removal, most manicurists recommend soaking cotton balls in 100% acetone nail polish remover, applying them right on the gel nails, sealing fingers with foil, then gently pushing off the gels after 10 minutes. Reapply as needed until all residue is gone.
There are also some studies showing that frequent exposure to UV lamp rays may cause skin cancer or age spots on hands over time. Choosing an LED light and applying sunscreen pre-manicure can help reduce this risk.
It’s smart to give nails a break periodically after several back-to-back gel manicures by getting traditional polish or taking a nail hiatus altogether.
| Gel Polish | Regular Polish |
|---|---|
| Lasts up to 2 weeks chip-free | Lasts only 2-5 days before chipping |
| Requires UV/LED light to cure/harden | Air dries naturally |
| More difficult removal process | Easily removed with regular polish remover |
| Higher cost for initial manicure | Lower initial cost |
Conclusion
Following these handy tips and best practices for nail care, manicure techniques, and lacquer formulas will help you extend the life of your perfect manicure. With the right polish prep, application steps, and maintenance routine, you can keep your nails looking fabulously polished for up to 10 days or more.
No more frustrating chips and peels – just long-lasting, salon-quality nails!
Remember to start with properly groomed and primed nails, use quality polish applied in thin layers, generously apply a top coat, and limit water exposure and polish picking. Treat your nails well and your manicure will thank you! What’s your go-to trick for making your manicure last?