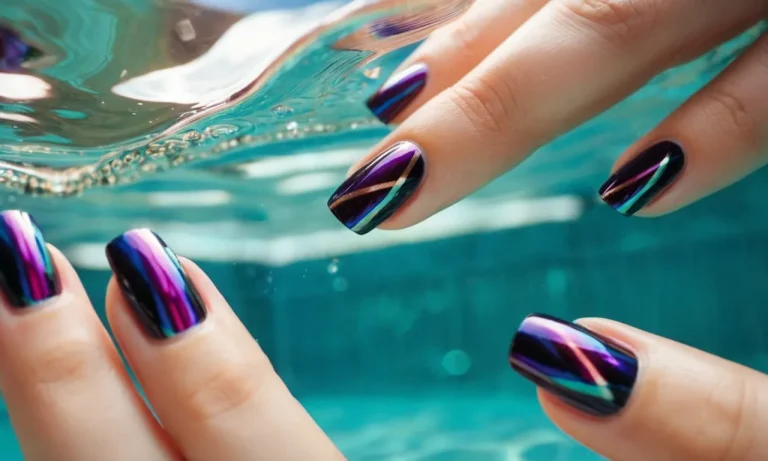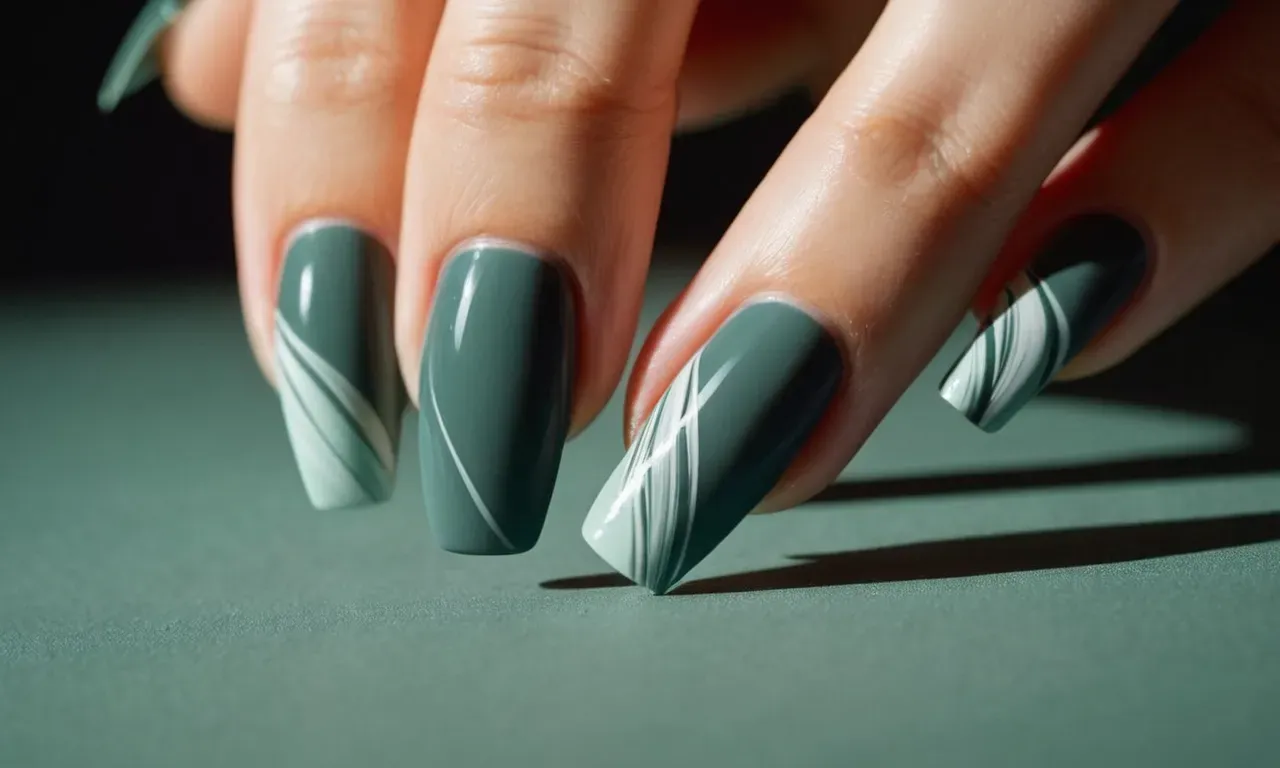
How To Make Matte Nail Polish: A Step-By-Step Guide
If you love the understated elegance of matte nail polish but don’t want to keep buying new bottles, learning to make your own at home is a great option. With just a few simple ingredients and supplies, you can whip up custom matte nail polishes in any shade your heart desires.
If you’re short on time, here’s the quick answer to your question: To make your own matte nail polish, all you need is regular nail polish, mica powder, cornstarch, alcohol, and an empty nail polish bottle or small jar.
Simply mix together nail polish, mica powder, and cornstarch, then thin it out with alcohol. Voila – matte nail polish on a budget!
In this comprehensive guide, we’ll go over everything you need to know to make your own long-lasting matte lacquers at home. You’ll learn all about picking ingredients, essential tools and supplies, mixing techniques, special tips for getting an ultra-matte finish, fun add-ins you can experiment with, and more.
Let’s dive in!
Gather the Necessary Ingredients
When formulating a custom matte nail polish, you’ll need a few basic ingredients. Having these materials on hand before starting will make the process smooth and efficient.
Nail polish (clear or colored)
The base for the matte polish can be either a clear nail lacquer or an existing colored polish. Using a clear polish allows you to control the exact pigment shade. Alternatively, an old bottle of colored polish works as well. Just ensure it’s free of glitter or shimmer particles.
You’ll need about 1-2 oz of lacquer for a single batch.
Mica powder
Mica powder is crucial for giving the matte effect. The tiny mineral particles defuse light reflection, cutting down on shine. Mica comes in a spectrum of natural colors like silver, gold, black, red, and bronze. But a white or off-white works best as it won’t alter the polish hue.
You’ll require approximately 1 teaspoon per mixture.
Cornstarch
A pinch of cornstarch also aids the dull matte finish. The fine powder absorbs excess moisture and oils from the nail lacquer. This further reduces any luminous or glossy appearance. About 1/2 teaspoon is ample for a single nail polish batch.
Rubbing alcohol
Finally, a small amount of rubbing alcohol serves as a suspension agent between the mica and polish. It allows the ingredients to blend smoothly into a unified liquid. Add several drops or about 1 teaspoon per mixture. Ensure the type you select has at least 90% isopropyl alcohol content.
Once you gather these basic components, the matte nail lacquer comes together quickly. DIY websites like The Spruce Crafts provide measurements and details for customizing the ratios as desired. And various mica colors permit experimenting with an array of trendy matte polish shades.
Get the Right Supplies
Making your own custom matte nail polish at home is easy with just a few basic supplies. Here’s a look at what you’ll need to get started:
Small mixing containers
You’ll need small plastic containers, like sample cups or jars, to mix up the nail polish. Avoid anything made of metal, as this can react with the polish ingredients. Clear containers make it easy to see the color as you mix.
Empty nail polish bottles or small jars
Once your polish is mixed, you’ll need something to put it in. Empty nail polish bottles with brush wands are ideal, or you can use small jars. Make sure containers have leakproof lids.
Mini funnels
A small plastic funnel will help you easily transfer the mixed nail polish into the bottles or jars without spilling.
Mixing sticks or toothpicks
You’ll need something to stir up the nail polish ingredients as you blend them. Mini stir sticks, toothpicks, or thin wooden skewers all work well.
Gloves and mask (optional)
If you want to protect your skin and avoid inhaling fumes, wear disposable gloves and a dust mask as you work with the nail polish ingredients. This is especially helpful if you have sensitive skin.
With these basic supplies, you’ll have everything you need to start experimenting with making your own beautiful matte nail lacquers. Be sure to work in a well-ventilated area. Now let’s go over the key ingredients you’ll need.
Prepare and Combine the Base Mixture
Making your own matte nail polish at home is easy and fun! Here are the steps to prepare and combine the base mixture:
Pour nail polish into mixing container
Start by pouring about 2/3 cup of clear nail polish into a glass or plastic mixing container. Use a nail polish that is good quality and applies smoothly. Avoid polishes that are thick or cheap quality, as this will affect the final matte polish result.
Add mica powder and cornstarch
Next, add about 1 teaspoon of mica powder. Mica powder helps give the polish a nice matte finish. Be sure to use cosmetic-grade mica powder, not craft mica powder.
After that, add 1-2 teaspoons of cornstarch. The cornstarch will help absorb light, giving the polish a matte look once dry. Add more or less cornstarch depending on how matte you want the final polish to be.
Stir thoroughly until fully blended
Now comes the fun part – mixing everything together! Use a plastic spoon or spatula to thoroughly combine the nail polish, mica powder and cornstarch. Make sure to stir very well so there are no clumps or dry powder left.
Stirring for a couple minutes ensures the ingredients bind together into a smooth, blended polish.
Once finished stirring, the base mixture is ready to go! You can proceed to the next step of adding color pigments. Making DIY matte polish is so quick and easy. In no time you’ll have stunning matte nail colors to paint your nails with. Let your creativity run wild with unique color combinations!
Thin the Mixture with Alcohol
Once the nail polish ingredients have been thoroughly combined, it’s time to thin out the solution to reach the ideal viscous consistency. This is achieved by integrating small amounts of alcohol in stages. The end result should be a mixture that flows slowly like honey.
Add small amounts of alcohol
Start by adding 1⁄2 teaspoon of ethyl alcohol or isopropyl alcohol (rubbing alcohol), or roughly 2.5 ml. Using an eye dropper allows you to control the amount precisely. Pour the alcohol along the inner sides of the container, then use a popsicle stick or toothpick to stir thoroughly and fully incorporate it.
Stir again until desired consistency is reached
The nail polish mixture will still appear very thick after adding a small dose of alcohol. Continue stirring for 2-3 minutes to fully blend. Check consistency by drizzling a single drop along the inner wall of the container.
If it still moves too slowly, add another 1⁄4 tsp (1 ml) alcohol and keep mixing. Repeat as needed in increments until the drizzled drop travels down at a viscous, honey-like pace. Most DIY recipes call for 1 to 11⁄2 teaspoons total alcohol.
Mixture should flow slowly like honey
When thinned properly with alcohol, the nail polish will steadily drip down vertical surfaces. The ideal finished texture resembles warmed honey pouring from a jar. It should also coat a brush evenly.
If the mixture seems too thin and spreads quickly like water, you’ve added too much alcohol. In this case, create a new batch with more pigment and pearl powder to thicken it up again. Getting the viscosity right is crucial for an even application.
Here’s a helpful comparison of finished matte polish consistency across various household liquids:
| Liquid | Consistency |
|---|---|
| Water | Too thin, spreads rapidly |
| Whole milk | Little thick, not viscous enough |
| Honey | Perfect thickness, flows slowly |
| Molasses | Too thick, requires excessive effort to stir and apply |
Getting the nail polish mixture to roughly a honey-like viscosity ensures it will apply smoothly and offer full matte coverage. Test on paper before painting nails if concerned about thickness.
For more tips, check out this helpful DIY nail polish guide from Harper’s BAZAAR.
Transfer to Bottles and Let Dry
Use funnel to pour mixture into empty bottles
After the nail polish mixture is fully blended and has reached the desired consistency, it’s time to transfer it into bottles for storage. Use a clean funnel to carefully pour the matte polish into empty nail polish bottles. Glass bottles with brush wands attached make the best containers.
Make sure bottles are completely clean and dry before filling. Fill bottles 3/4 full to leave room for the polish wand. If any bubbles appear, let the bottles sit for a few minutes to allow the air bubbles to rise to the top before securing the caps.
Allow 24 hours for complete drying time
It’s crucial to let homemade matte nail polish fully dry and cure for at least 24 hours after bottling before using it. This allows all of the ingredients to set up properly. Be patient – it’s worth the wait to allow your DIY polish to reach its maximum durability.
Rushing this drying time often results in polish that stays tacky or chips easily. Set bottles in a cool, dry place as the polish cures. Avoid exposure to sunlight which can alter the color. After a full day, give bottles a gentle turn or roll periodically to help distribution as it sets up.
Now your nail polish is ready for a test drive!
Store in cool, dry place
Once completely dry, matte nail polish will stay good for up to a year when stored properly. Keep homemade polish in a cool, dry location away from heat and sunlight which can cause formulas to deteriorate over time. Ideal storage temperature is around 70°F.
Refrigeration is not necessary but can help extend shelf life. Make sure caps are secured tightly and bottles are wiped clean before putting away. Continually topping off evaporated solvents by adding more nitrocellulose lacquer thinner every few months will also help homemade polish remain smooth and useable.
With proper care, your custom blended matte manicure supplies will stay fresh!
Tips for an Ultra-Matte Finish
Use more mica powder
Adding more mica powder to your homemade matte polish is key for absorbing light and oil to create a flawless matte look. Use up to triple the amount called for in basic recipes. The extra mica soaks up shine and gives your polish a soft, velvety finish.
Just be careful not to add too much mica or the polish may get too thick.
You can find mica powder on Amazon or craft stores fairly cheaply. Make sure to get cosmetic-grade mica that is safe for use on nails. Try mixing in different colors like white, black, or silver mica for a unique matte effect.
Try a velvet matte topcoat
Using a dedicated velvet matte topcoat over any polish creates a smooth ultra-matte look. The matte topcoat has a mica-rich formula that instantly transforms standard glossy polishes. It also helps the underlying color last longer without chipping.
Some of the best velvet matte topcoats include OPI Matte Top Coat and Essie Matte About You. Apply two thin layers and let dry completely between coats. Be patient though – matte topcoats take longer to dry than regular topcoats.
Apply multiple thin layers
Applying too thick of a layer of matte polish sometimes causes it to look slightly shiny. Multiple super thin coats dry to an incredibly flat, light-absorbing finish. So take your time with 4-5 thin passes rather than 2-3 thick coats.
Make sure to let each layer dry for a few minutes before adding the next. And don’t glob on too much or you may flood the nail and cause bubbles. Carefully painting on sheer amounts creates even texture and opacity.
Finish with a matte topcoat like above for extra smoothness and smudge defense. Voila – sandpaper-like nails ready to flaunt!
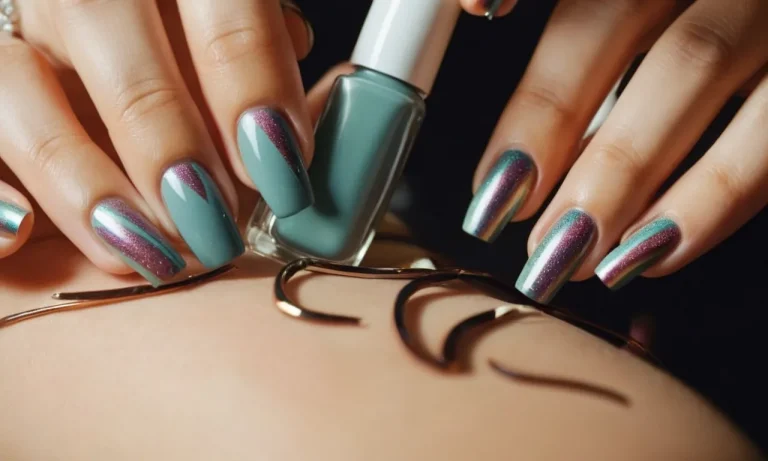
Fun Add-Ins to Personalize Your Polish
Glitter, shimmer, or iridescent powders
Adding sparkling elements like glitter, shimmer, or iridescent powders takes matte nail polish from dull to dazzling in seconds. Choose fine or coarse glitter in any color to match or contrast your polish. Add up to 1 teaspoon per bottle depending on desired concentration. Mix well before use.
Popular online stores like Etsy sell dazzling add-ins like holographic flakes, chameleon pigments, neon glitters and more to make your shade magical.
Essential oils for fragrance
Essential oils not only provide pleasant scents, but some have added benefits for nails and skin. Lavender, chamomile, lemon and tea tree oils offer antifungal and antimicrobial properties to help keep nails healthy. Measure carefully when adding oils as too much can thin your polish.
Start with 5-10 drops per bottle. Shake vigorously before each use to disperse scent through the blend. You can find affordable, high quality essential oils from reputable brands like Plant Therapy and Rocky Mountain Oils.
Dried flowers or herbs
Dried botanicals like flowers, leaves and herbs add delightful textures and soothing properties to homemade matte polish. Not to mention, the visual impact floating through your bottle is gorgeous! Some top options are:
- Chamomile flowers – Anti-inflammatory
- Calendula petals – Healing
- Rose petals – Antiseptic
- Lavender buds – Calming
Add 1-2 teaspoons dried particles per 2 oz bottle. Be sure to seal bottles tightly between uses so moisture doesn’t rehydrate petals. You can buy single ingredients or blended mixes perfect for nail polish from sellers on Etsy.
Conclusion
Creating your own custom matte nail polishes at home is an easy, fun DIY project for nail art enthusiasts. With the ability to control the formula and shade, you can make mattes suited for your personal taste and style.
Just be sure to use high quality ingredients and follow the proper mixing techniques for smooth, long-lasting results. Once you get the basic recipe down, feel free to experiment with unique add-ins too. Your matte manicure options will be endless!