How To Make Black Nail Polish From Scratch
If you love painting your nails black but hate the chemicals in store-bought polishes, you’re in luck. Making your own black nail polish at home is easy, inexpensive, and customizable to your preferences.
In this comprehensive DIY guide, you’ll learn everything you need to know to create the perfect black polish.
If you’re short on time, here’s a quick answer to your question: To make black nail polish, you’ll need basic ingredients like black acrylic paint, clear nail polish, acetone, and glycerin. Simply mix them together in the right proportions and voila! You’ve got healthy, homemade black nail polish.
Gather the Necessary Ingredients and Supplies
Black acrylic paint
The key ingredient for making black nail polish is black acrylic paint. Look for acrylic paint that is designed specifically for nails. It will say “nail art paint” on the bottle. Make sure to get black instead of another dark color like dark grey.
You’ll need at least 1 fluid ounce of black acrylic nail paint. More is better to allow for some error and experimentation in getting the right homemade polish consistency.
Clear nail polish
Clear nail polish acts as the base and helps the black acrylic paint to adhere to nails. You need at least 1 fluid ounce of a fast-drying clear nail polish. Avoidusing top coats or base coats at this stage – just regular clear nail polish works best.
Acetone nail polish remover
Acetone nail polish remover is utilized to thin the homemade nail polish and get the right consistency. You’ll need 1-2 ounces of 100% acetone nail polish remover with no additives or colors.
Glycerin
Glycerin helps add shine and smoothness to the homemade black polish. Pick up a small 4 ounce bottle of glycerin at any drugstore.
Small glass jar with lid
You’ll need a small glass jar or bottle that can hold at least 4 fluid ounces to mix up the homemade nail polish. Make sure it has an airtight lid. Clear jars allow you to see the color as you mix.
Mini funnels
Mini funnels make it easy to pour the homemade nail polish into the bottle without spilling. The narrow end fits into the nail polish bottle opening.
Toothpicks for mixing
Toothpicks are perfect disposable stir sticks for mixing up the homemade nail polish ingredients. Wooden ones work best.
With the key ingredients and supplies gathered, you’ll be ready to start mixing up a custom black nail polish. Be sure to work in a well-ventilated area since the acetone nail polish remover has strong fumes. Follow the steps carefully and you’ll have stunning salon-worthy jet black nail color.
Make the Polish
Fill the jar 1/3 with black acrylic paint
Start by pouring about 1/3 cup of black acrylic craft paint into a small glass jar or bottle. Acrylic paint works great as a base for homemade nail polish since it already contains pigments and dries quickly. Choosing black acrylic paint will result in an intense, opaque black polish.
Be sure to use paint specifically intended for crafting rather than house paint or acrylic artist paints, as those may contain chemicals unsafe for use on nails.
Top up the rest with clear nail polish
Next, fill the remaining 2/3 of the jar with clear nail polish. The clear polish helps thin out the acrylic paint so it applies smoothly onto nails. It also contains chemicals like nitrocellulose that help the polish dry hard and glossy.
For best results, use a fast-drying clear nail polish as your base.
Add 1 tsp of acetone and 1/2 tsp glycerin
To get your black polish to the perfect consistency, add some acetone nail polish remover and glycerin. Measure out:
- 1 teaspoon acetone nail polish remover
- 1/2 teaspoon glycerin
The acetone thins the polish further so it glides onto nails, while the glycerin helps prevent chipping and cracking by keeping nails flexible. Both ingredients also work to keep the polish flowing smoothly and prevent clumping.
Mix thoroughly with a toothpick
Once all the ingredients are added to the jar, seal it tightly and shake vigorously for about 30 seconds to start blending. Next, stir thoroughly with a wooden toothpick, ensuring all pigments are fully dissolved.
Scrape the sides and bottom of the jar as you mix to incorporate all ingredients together into a smooth, uniform polish.
Let sit overnight before using
Finally, set your homemade polish aside and allow it to rest for 12-24 hours before painting nails. This waiting period allows bubbles that formed while mixing to dissipate and also lets the ingredients fuse properly.
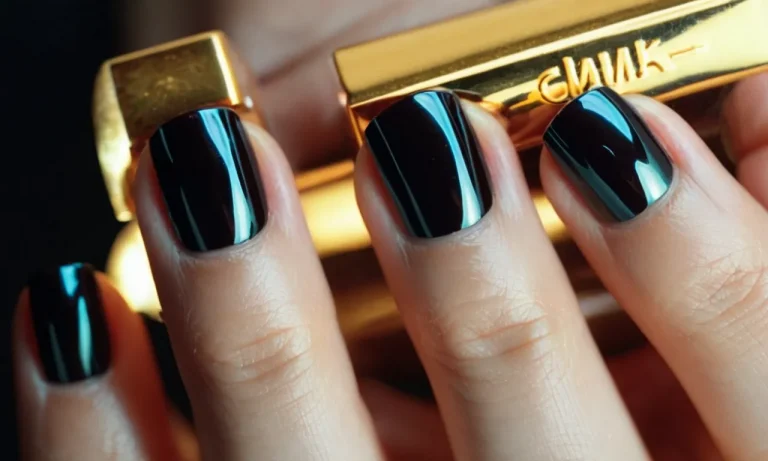
Once rested, the polish will be ready to sweep onto nails for an intense, glossy black manicure that lasts over a week without chipping!👍
Apply and Maintain the Polish
Apply polish to clean, dry nails
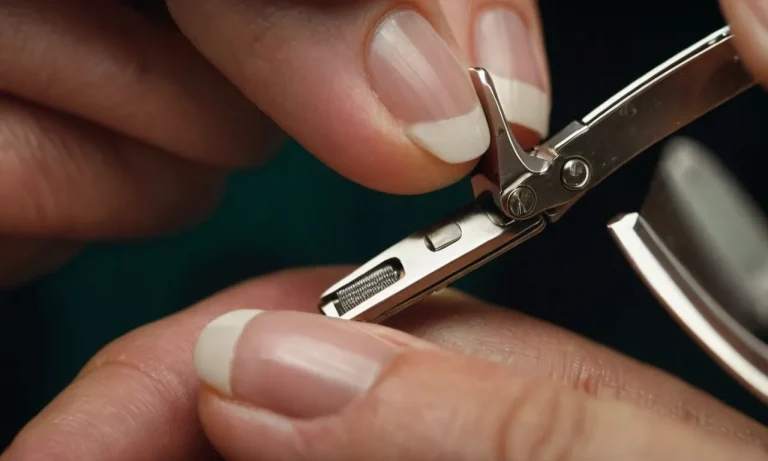
Before painting your nails, it’s important to properly prep them. Start by trimming and filing your nails into your desired shape. Use a nail file to gently buff away any ridges on the surface of your nails. This will create a smooth canvas for the polish.
Wash your hands with soap and water, then thoroughly dry them. Oils and moisture can prevent polish from adhering properly. For best results, wipe nails with a bit of acetone or nail polish remover right before polish application. This helps remove any residual oils.
Let dry completely between coats
Patience is key for a flawless DIY manicure. Be sure to let each layer of polish dry completely before adding another coat. Darker polishes may require longer drying time between coats. Try to avoid doing too many coats at once, as this can cause bubbling.
If you’re in a rush, you can gently blow on nails to speed up drying time. Just be very careful not to smudge the wet polish. Another trick is to dip fingers in a bowl of ice water for a minute or two – this can help polish set faster.
Apply 2-3 thin coats for best results
When applying your homemade black nail polish, opt for multiple thin coats rather than one thick coat. Thick coats tend to be prone to chips and smudges. Start with a single, thin base coat focused at the base of your nail.
Let it dry, then follow with 2-3 additional thin coats to build up rich, even color. Make sure to cap the free edge of your nail on each coat to seal in color. Carefully apply polish to edges without getting it on your skin.
Seal with a layer of clear top coat
No manicure is complete without a shiny top coat! Once your colored polish is fully dry, finish off your nails with a layer of clear top coat. This helps lock in color and provides an ultra-glossy finish. Top coats also add a protective barrier against chips and scratches.
Make sure you cover the entire nail, wrapping over edges and tips too. Popular top coat options include regular clear polish, quick-drying sealers, or more durable gel-like top coats. Reapply every 2-3 days to maintain shine.
Reapply every 3-5 days
To keep your DIY black polish looking freshly-painted, plan to reapply it every 3-5 days. With regular wear, chips and fading do occur. But with such a simple recipe, redoing your manicure is quick and easy. Be sure to remove old polish thoroughly before reapplying.
If needed, give yourself a mini-manicure by pushing back cuticles, shaping nails, and buffing away ridges. Then simply follow the polish steps again. Consistent reapplication is the best way to maintain beautifully dark, dramatic nails.
Troubleshooting Tips
Add more acrylic paint for a darker color
If your homemade black nail polish is looking more gray than black, an easy fix is to add a bit more acrylic paint. Start by adding 1/4 teaspoon at a time, mixing thoroughly between each addition. The more acrylic paint you add, the darker and more opaque the polish will become.
For an intense black color, you may need to add up to 1 full teaspoon of paint per 2 tablespoons of clear nail polish. Be careful not to add too much or the polish may become too thick.
Add more nail polish for better shine
Homemade nail polish can sometimes dry to more of a matte finish versus having a glossy shine. To increase the shine factor, try adding a bit more clear nail polish to the mixture. Start with 1/4 teaspoon at a time, mixing thoroughly.
The more clear polish you add, the shinier your homemade color will become. Just take care not to thin out the color too much in the process.
Store in a cool, dark place to maximize shelf life
For best results, store your homemade nail polish in a cool area away from light. Light and heat can cause the ingredients to break down more quickly. Keep the polish in an interior cupboard or closed drawer.
The refrigerator is also an option if you have space, as the cool environment will extend the polish’s shelf life. Properly stored, homemade nail polish will usually last 2-3 months before needing to be remade.
Remix if polish separates or gets too thick
Over time, homemade nail polish can start to separate, getting thin and watery with the color pigment sinking to the bottom. An easy fix is to remix it thoroughly with a toothpick or mini whisk. You can also add a drop or two of clear polish to help bind it back together.
If the polish gets too thick or goopy, add a few drops of nail polish thinner or clear acetone to loosen it up. Be patient and keep remixing until the consistency returns to normal.
DIY Black Nail Polish Recipes and Variations
Looking for an inexpensive way to get that trendy black nail polish look? With a few simple ingredients and techniques, you can easily make your own custom black nail polish right at home. Not only is homemade nail polish gentle on your nails and wallet, you can also get creative and customize the formula to suit your style.
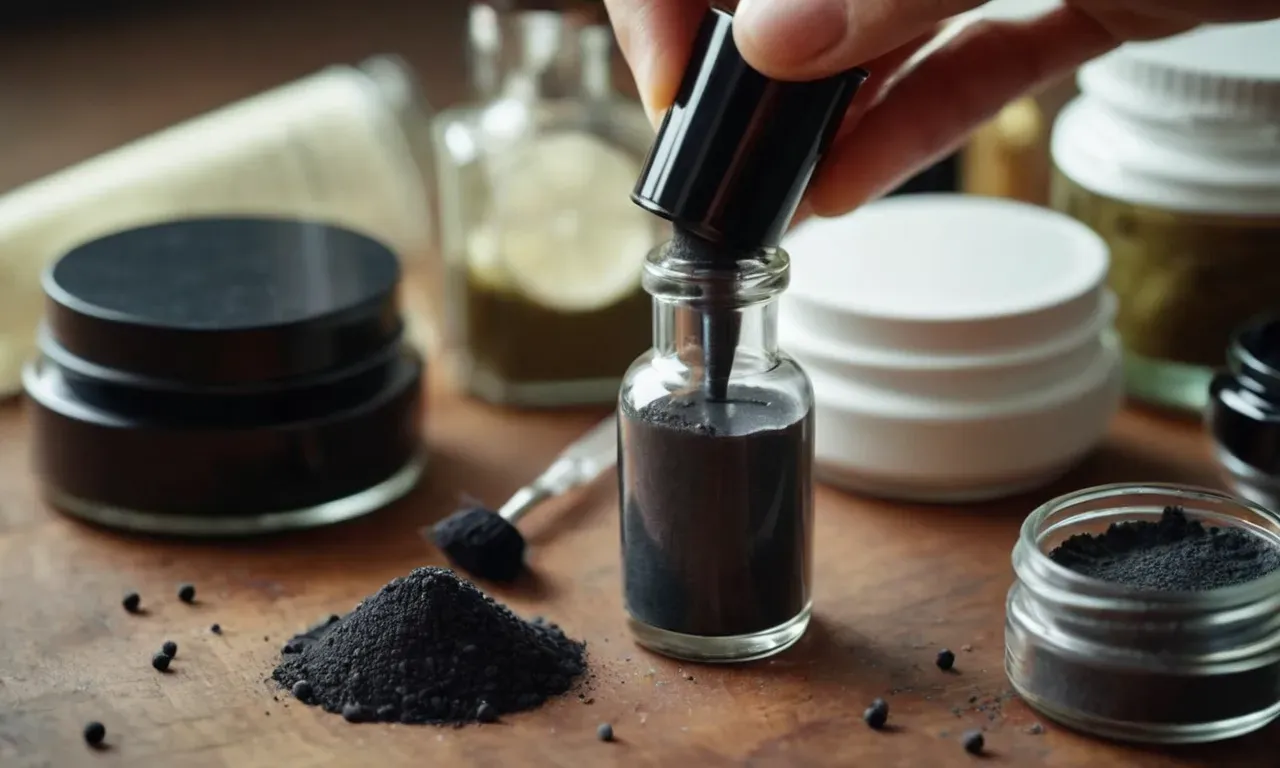
Substitute acrylic paint with charcoal powder
The key ingredient for creating black nail polish is black acrylic paint. But if you want to go a more natural route, try using activated charcoal powder instead. Charcoal has cleansing properties and will give you a deep, velvety black color.
Simply mix about 1 teaspoon of charcoal powder with clear nail polish until you achieve the desired pigmentation.
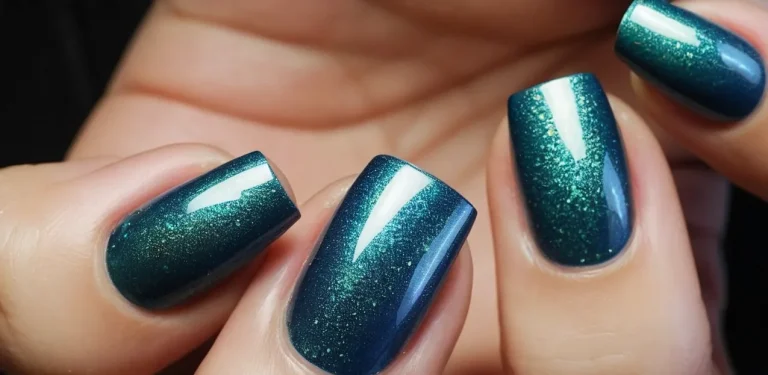
Add mica powder for shimmer
For a glittery, shimmery black polish, stir in a pinch of black mica powder. The small flakes of mica will reflect light, adding a hint of sparkle. You can find black mica powder at craft stores or online. Start with 1/4 teaspoon mica powder per 2 ounces of nail polish and adjust as needed.
The mica powder will settle at the bottom over time, so be sure to shake the bottle before each use.
Infuse with coconut oil for added nourishment
Coconut oil is renowned for its ability to strengthen nails and cuticles. For a nourishing black polish, melt 1 teaspoon of coconut oil and mix it into your homemade polish. The coconut oil will give your nails a smooth, hydrated feel. It also lends the polish a pleasant tropical scent.
Other oils like vitamin E and olive oil work too.
Scent with essential oils like lavender or vanilla
Essential oils not only add fragrance, but also provide additional benefits for your nails. Lavender oil has antiseptic properties to keep nails clean, while also promoting relaxation. For a sweet vanilla scent, add a few drops of vanilla essential oil.
Peppermint, rose, and citrus oils also make refreshing additions. Use toothpicks to add oils drop-by-drop until you reach the desired aroma.
With a little creativity, you can whip up the perfect customized black nail polish. Making it yourself allows you to control the ingredients and quality. For best results, store your homemade polish in a cool, dark place and shake well before each use.
Give these nourishing black nail polish recipes a try for beautiful nails that will turn heads.
Conclusion
With the simple instructions in this guide, you can easily make salon-quality black nail polish in your own kitchen. Not only is homemade polish gentler on your wallet and nails, you can customize it to your preferences.
So grab your ingredients and get ready to DIY the perfect shade of healthy, glossy black polish!
The next time you need a black nail polish fix, remember this easy recipe. Happy homemade polishing!