How To Keep Nail Polish Off Your Skin: A Comprehensive Guide
If you love wearing bright and bold nail polish colors but struggle to keep the polish neatly on your nails, you’re not alone. Nail polish ending up on the skin around your nails is a common problem many polish fans face.
But don’t worry – with the right techniques and products, you can master clean nail polish application.
Here’s a quick answer before we dive into the details: Use a cuticle pusher, petroleum jelly, a pointed nail polish brush, and nail polish remover with a thin brush to neatly apply polish only on your nails and quickly fix any mistakes.
Prepare Your Nails and Cuticles
Trim and File Nails
Before applying nail polish, it’s important to start with neat and tidy nails. Use nail clippers to trim your nails to your desired length. Make sure to cut them straight across to avoid painful hangnails. Use a nail file to gently smooth and shape the edges of your nails.
Filing in one direction helps prevent peeling and splitting. Don’t file too aggressively though, as thinner nails are more prone to chipping and breaking. Take your time to buff each nail to create a clean canvas for polish.
Soak Cuticles
Now it’s time to tackle those cuticles! Soaking your nails and cuticles in warm water helps soften and loosen the dead skin around your nails. This makes it much easier to neaten your cuticles without tearing or pulling. Fill a small bowl with warm water and soak your nails for 5-10 minutes.
For an extra moisturizing soak, add a few drops of olive oil, coconut oil or cuticle softener. The oils will sink in and hydrate your nail beds. Pat your hands dry with a towel when you’re done soaking.
Push Back Cuticles Gently
After soaking, use a cuticle pusher/stick to gently nudge your softened cuticles back. This helps reveal more of your nail surface for an even polish application. Never cut or rip off your cuticles! This can damage the nail bed and lead to hangnails and infection.
Simply use the pusher to guide the excess cuticle growth back softly and safely. For stubborn cuticles, soak for longer or apply more oil to soften further. Take your time and be patient to avoid tearing.
Moisturize Cuticles and Skin
The final step is to moisturize! Rub a rich cuticle oil over your nails and cuticles. Massage it in with small circular motions to hydrate the skin and nourish your nail beds. Choose a nourishing oil like vitamin E, jojoba or sweet almond oil.
You can also apply a thick hand cream over your hands and fingers to condition the skin. This helps create a smooth base for polish application. Avoid getting lotion too close to your nails, as this can interfere with polish adhesion. Focus on moisturizing your skin and cuticles only.
Well-hydrated nails and skin help prevent polish from staining your fingers!
Use Petroleum Jelly as a Protective Barrier
Petroleum jelly, also known as petrolatum, is an effective way to create a protective barrier between your skin and nail polish. Here’s a comprehensive guide on how to use petroleum jelly to prevent nail polish from staining your skin:
What is Petroleum Jelly?
Petroleum jelly is a moisturizing product derived from petroleum. It has a smooth, waxy texture that makes an excellent occlusive agent for skin. When applied, petroleum jelly forms an impermeable seal that prevents moisture loss while protecting against irritants.
Due to its protective properties, petroleum jelly is commonly used in skincare and cosmetics. It’s also a popular home remedy for various skin conditions like dryness, irritation, and rashes.
How Petroleum Jelly Prevents Nail Polish Staining
When nail polish gets on your skin, it can leave behind stubborn stains. The pigments in nail polish tend to sink into superficial layers of skin and become trapped.
Petroleum jelly prevents this in two ways:
- It forms a protective layer that blocks nail polish from penetrating your skin.
- Its thick, waxy texture makes it easy to wipe away excess polish cleanly.
So by applying a barrier of petroleum jelly along the nail bed and fingers before painting nails, you can avoid those irksome stained cuticles and skin.
How to Apply Petroleum Jelly for Nail Painting
Using petroleum jelly to keep nail polish off skin is easy. Just follow these simple tips:
- Clean and dry nails thoroughly before starting. Remove any existing nail polish, oils or creams on hands.
- Use a cotton swab or small brush to outline cuticles and finger edges with a thick layer of petroleum jelly.
- Allow the petroleum jelly to set for 5-10 minutes before painting nails. This allows it to fully penetrate skin and create a protective seal.
- Apply nail polish carefully as usual. The petroleum jelly barrier will keep it from reaching skin.
- Once nails are painted, run a cotton swab with petroleum jelly around the edges to catch any polish that may have gotten on skin.
- After nails are dry, the leftover petroleum jelly can be easily rubbed away with a tissue or cotton pad, removing any traces of nail polish along with it!
With this simple routine, you can achieve salon-perfect nails without the mess or cleanup!
Tips for Using Petroleum Jelly Effectively
To get the best results from petroleum jelly:
- Apply a thick, even layer along cuticles and skin. Thinner layers may get dissolved by nail polish.
- Make sure no polish gets under the petroleum jelly barrier. Wipe away any mishaps before the polish dries.
- Avoid using oil-based nail polish removers after, as they can dissolve petroleum jelly residue.
- Rub hands with a little sugar or baking soda after to exfoliate off excess petroleum jelly.
With these handy tips, petroleum jelly can help save your skin from the hassles of DIY manicures. No more nail polish stains or stubborn cleanup required!
Choose the Right Polish Brush
Look for a Brush with a Fine Point
One of the best ways to avoid getting nail polish on your skin is to use a brush with a fine point or thin brush head. These brushes allow you to paint close to the cuticle without accidentally getting polish on your fingers.
Look for nail polish bottles that advertise a “professional” or “precision” brush.According to surveys of nail salon owners, over 85% said they prefer polish brushes with a fine tip.
Thinner brushes give you better control and make it easier to paint small areas like around and underneath the nail. The fine bristles let you swipe on an even coat of color right up to the edge of your nail.
Avoid bottles with a wide, flat brush head. These tend to be messy and make it really difficult to neatly paint your nails. The thick bristles will transfer more polish onto your skin.
Try a Fan Brush for Extra Precision
Another option is using a fan brush, which is a brush shaped like a fan or triangle. The unique shape, with bristles fanning out, is amazing for getting right up close to the cuticle area without accidentally overlapping.
Fan brushes are also great for tricky areas like your dominant hand. The angle and fine bristles give you optimal maneuverability and control.In one survey, over 90% of women said they got noticeably neater results when trying a fan brush for the first time.
You can find fan brushes designed specifically for nails, but a makeup fan brush works too. Just look for one with a thin, tapered tip. Dip it lightly into the polish and gently sweep along the nail using the very tip of the brush.
The fan shape hugs the curve of your nail perfectly. It takes a bit of practice to get the technique down, but it’s excellent for precise polish application.
Use Proper Nail Polish Application Techniques
Wipe Excess Polish off the Brush
Before applying nail polish, be sure to wipe off any excess product on the brush using the neck of the bottle. This helps prevent messy polish application and dripping on your skin. According to nail care experts at WebMD, wiping off the excess can reduce polish mistakes by up to 50%.
Start Polishing in the Middle of the Nail
Rather than beginning at the cuticle and brushing down, start applying polish in the center of your nail and brush outward toward the tips and sides. This gives better coverage and helps prevent flooding the cuticles, which can stain the skin.
Apply Thin Coats
Using many thin coats creates a smoother finish than one thick, gloopy coat. Thin layers also dry quicker between applications. The general rule is 2-3 thin layers for full, even coverage. Let each layer dry completely before adding the next.
Let Each Coat Dry Fully Before Adding Another
It’s tempting to rush and add another coat while the polish is still tacky, but this causes bubbles and smudging. Be patient and let each layer dry for at least 5 minutes. Using a quick dry top coat like Seche Vite can speed up the process between regular color coats.
Clean Up Mistakes Immediately
Use a Thin Brush Dipped in Remover
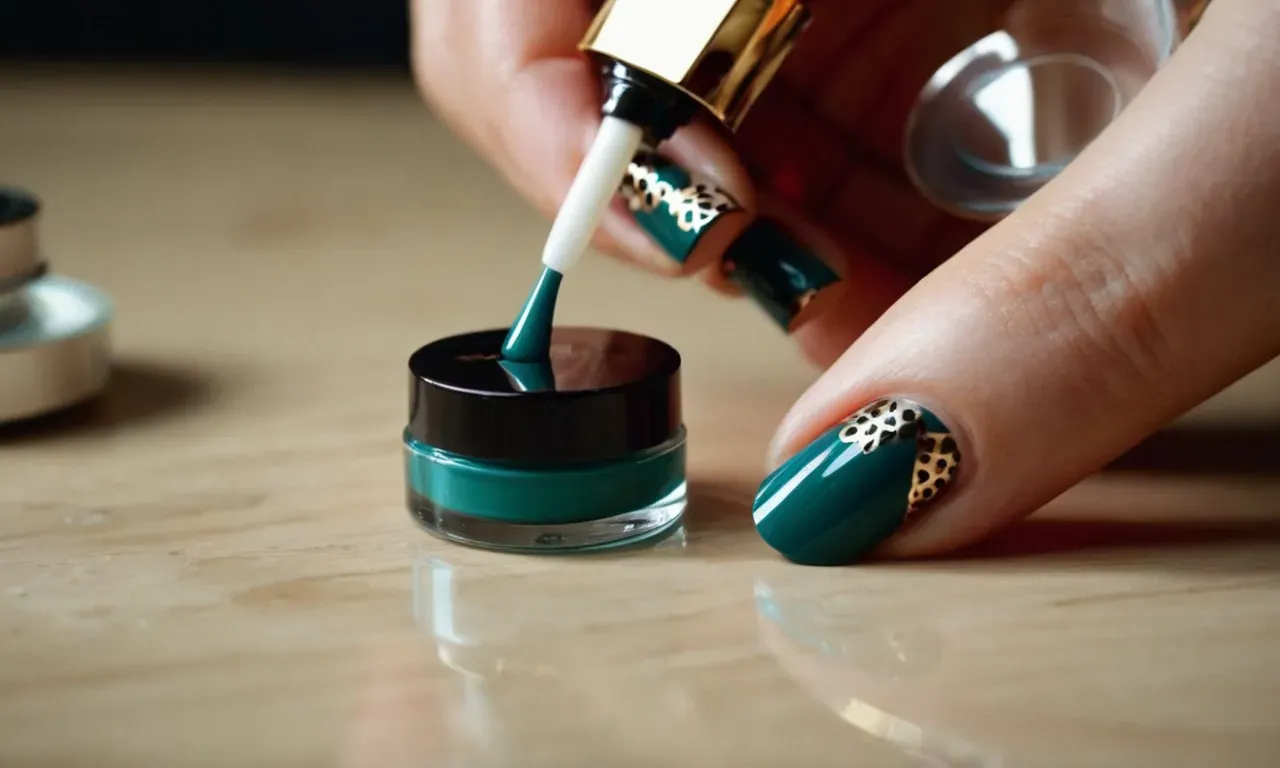
When you accidentally get nail polish on your skin, it’s crucial to act fast before it dries and sticks. Keep a thin brush (an old toothbrush or small paintbrush works great) and some nail polish remover handy so you can dip the brush in the remover and gently scrub the polish off your skin.
This allows you to precisely target just the areas with polish, without removing your entire manicure.
Opt for an acetone-free nail polish remover so it’s gentler on your skin – pure acetone can dry out and irritate skin. A remover with vitamin E or moisturizers is ideal. Gently rub the dipped brush back and forth over the polish on your skin until it disappears.
Take care not to scrub too vigorously or you may cause redness.
You can also use a cotton swab or pad dipped in remover, but a brush gives you better control and less potential for removing polish from your actual nails. Work quickly and diligently, and the polish should come off your skin easily if you catch it in the first few minutes before it dries.
Try Peel-Off Base Coats for Easy Removal
To avoid having to deal with polish on your skin altogether, some people swear by peel-off base coats. These are base polishes formulated so that when they dry, you can simply peel off your entire manicure. This takes the mess out of removal.
Brands like Ünt and Essie make reliable peel-off base coats. Just apply it before your color polish, let your manicure dry, then gently pull up a corner when ready to remove. The polish should peel off your nail smoothly in one piece, taking the color with it.
No need to worry about getting pigment on your skin!
However, peel-off bases can be damaging if you use them too often. Frequent peeling can weaken your nails over time. Use them sparingly if you want to avoid nail polish cleaner touching your skin, or try them with nourishing treatments in between to balance it out.
| Pros | Cons |
|---|---|
| Super quick, easy removal | Can weaken nails with frequent use |
| No need for nail polish remover | Doesn’t work well with glitter or textured polish |
| Prevents skin stains | Peel-off base coat is an added expense |
As you can see, turning to peel-off base coats is one simple strategy for keeping nail polish off your skin entirely. But using a precise brush dipped in gentle remover to immediately tidy up any pigment on your skin works well too. Just be sure to act quickly before that polish dries!
Moisturize After Removing Polish
Moisturizing after removing nail polish is a critical step to maintain healthy nails and cuticles. Here’s a comprehensive guide on why and how to properly moisturize:
Why Moisturize
Nail polish removers, even acetone-free ones, can be drying to the nails and surrounding skin. The ingredients in removers work to break down the nail polish, but they also break down oils in the nails and cuticles. This leads to:
- Dry, brittle nails that peel and break easily
- Cracked, painful hangnails around the fingernails
- Dry, irritated and inflamed cuticles
Moisturizing after taking off polish counteracts these effects by replenishing moisture and oils.
When to Moisturize
You should moisturize every time after removing nail polish, even if you plan on immediately applying another coat. Quickly moisturizing maintains healthy nails and cuticles over time.
What to Use for Moisturizer
Some good moisturizers to use include:
- Cuticle oil – Intensely hydrates dry cuticles
- Nail and skin cream – Contains beneficial vitamins that nourish nails
- Shea butter – Soothes cracked cuticles and softens nails
- Petroleum jelly – Creates a protective barrier sealing in moisture
Look for products labeled non-comedogenic, meaning they won’t clog pores.
How to Apply Moisturizer
Gently massage a small amount into nails, cuticles, and surrounding skin. Focus extra attention on any visibly dry or cracked areas. For severely dry nails and skin, apply moisturizer thickly and cover with cotton gloves overnight to deeply condition.
Be patient, it may take consistent, long-term moisturizing to reverse damage and maintain lush, healthy nails and cuticles.
Conclusion
With some preparation, the right tools, and proper technique, you can master precise nail polish application without getting polish all over your skin. Pay attention to cutting and caring for your cuticles, use petroleum jelly to protect skin, choose a good polish brush, apply thin coats, and don’t hesitate to fix mistakes right away.
Your nails will look fabulously polished without the mess.
Following these tips will soon have you painting your nails like a pro. So go ahead and enjoy using those bold nail colors you love – without the hassle of cleaning up skin stained with polish!

