How To Get Rid Of Yellow Tint On Acrylic Nails
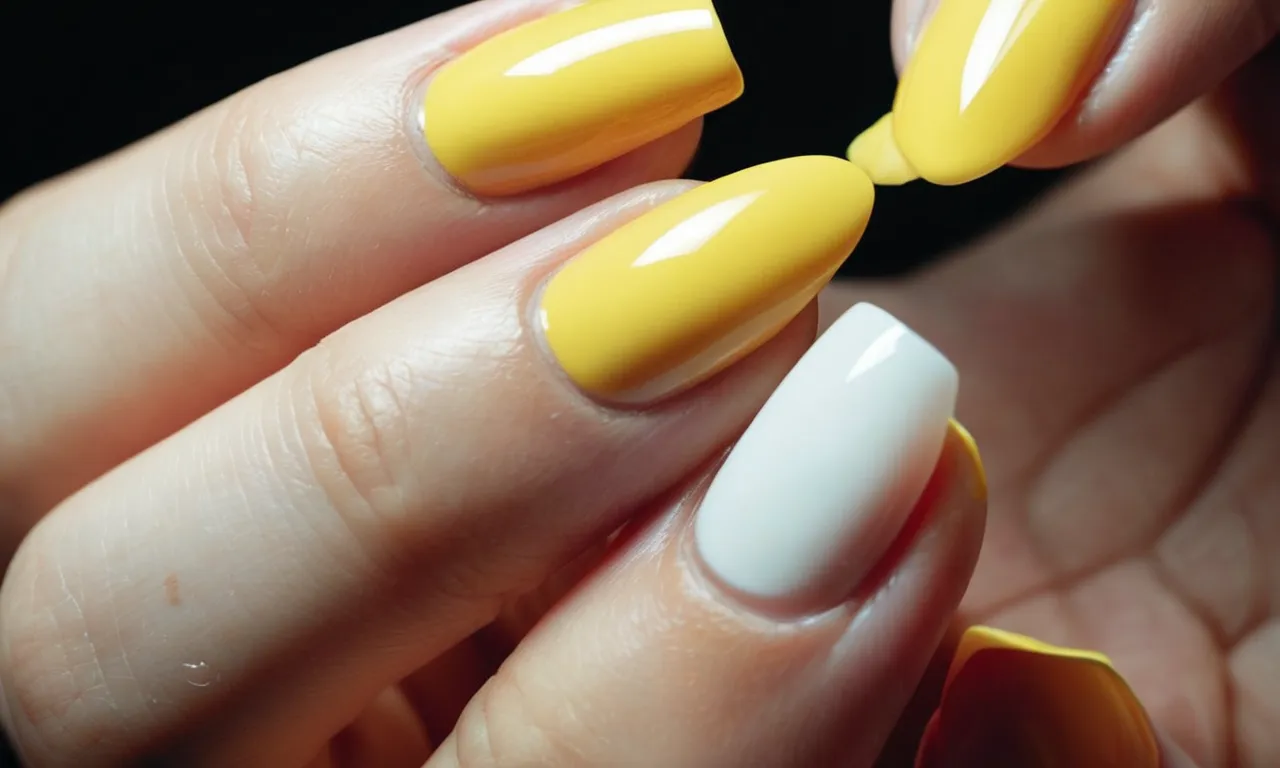
Yellowing acrylic nails is a common issue that can make your manicure look dull and dingy. If you’ve noticed your acrylics developing an unsightly yellowish tinge, don’t worry – bringing back their natural color is easier than you think.
If you need a quick fix, try using an at-home whitening paste or filing off the discolored top layer to reveal the acrylic underneath. For the best results though, see your nail technician for a fill or new set.
In this comprehensive guide, we’ll walk through all the possible causes of yellow acrylic nails and recommend the most effective solutions for removing stubborn stains and preventing future discoloration.
What Causes Yellowing on Acrylic Nails
Smoking
Smoking can lead to yellowing of acrylic nails over time. The nicotine and tar in cigarette smoke can stain the acrylic and make it appear dull and discolored. Frequent smokers tend to struggle with keeping their acrylics looking clean and bright. Quitting smoking is the best way to avoid this issue.
Using Dark Nail Polish
Using very dark or vibrant nail polishes, especially reds, blues and purples, can stain the acrylic nails underneath. Even with a base coat, these bold pigments can seep into the acrylic and cause yellow discoloration.
Sticking to neutral or pastel nail polish colors is better if you want to keep the acrylics from yellowing.
Product Buildup
Letting products like nail polish, oil, lotion or soap build up on the nails can also cause yellowing. The acrylic is porous, so it will absorb these products over time and become stained. Be sure to thoroughly cleanse the nails before each fill or reapplication to prevent product residue from affecting the color.
Sun Exposure
Just like our hair and skin, too much unprotected sun exposure can alter the color of acrylic nails. The UV rays will cause the acrylic to become oxidized and take on a yellow/orange tint. Wearing SPF on your hands or gloves can help prevent this type of damage.
Poor Application and Curing
Improper application or curing of the acrylic can lead to a dull, yellowed appearance. Using low-quality products, applying the acrylic too thick, or not allowing enough time for curing under the UV or LED lamp can all negatively impact the color.
Going to an experienced, reputable nail tech is key for avoiding these mistakes.
Age of the Acrylics
Over time, regular wear and tear will cause acrylic nails to start yellowing. Typically, fills should be done every 2-3 weeks to maintain a fresh, clean look. The longer you go between fills, the more yellowing you’ll notice.
Keep up with consistent maintenance appointments to combat yellowing from the acrylic aging.
Removing Existing Yellow Stains from Acrylic Nails
Use a Whitening Paste or Solution
Whitening pastes and solutions designed specifically for acrylic nails can help lift those stubborn yellow stains. Look for products containing ingredients like hydrogen peroxide or carbamide peroxide, which break down and remove discoloration.
Gently buff the stained areas with a nail file, apply the whitener, let it sit for the directed time, and rinse. Using whitening solutions once a week will prevent future yellowing.
Gently File or Buff Away Stained Layers
Filing and buffing your nails can also remove layers of acrylic containing yellow stains. Use a fine grit nail file or buffer to gently file off the stained top layer in thin passes, taking care not to thin the whole nail or expose your natural nail underneath. This works best for minor yellowing.
Be patient and persistent and you’ll sand those stains away. But don’t overdo it, or you risk weakening the nail.
Get a Fill or New Set
If whitening pastes don’t do the trick or filing removes too much length, it may be time for a fresh start. Book an appointment with your nail technician to remove the yellowed acrylics and apply a new set.
A nail fill can also cover stubborn stains by adding additional layers of clean, clear acrylic. Getting fills every 2-3 weeks will keep your nails looking their best. And be sure to care for your nails properly between appointments with regular buffing and nourishment.
By using whitening solutions, gently removing stained layers, and replacing yellowed acrylics, you can easily get your nails looking bright and beautiful again. Contact a professional nail technician if you have any concerns removing or applying acrylics.
With a little TLC, you’ll have pretty, shining nails in no time!
Preventing Future Yellowing of Acrylic Nails
Wear Gloves for Chores
Wearing gloves while doing household chores like washing dishes, cleaning, or gardening can help prevent yellowing of acrylic nails. The gloves form a protective barrier that keeps nail enhancements away from harsh soaps, chemicals, and dirt that can stain them yellow over time.
Consider wearing rubber gloves or cotton gloves with nitrile coating for the best protection.
Apply Base and Top Coats
Using a quality base coat and top coat helps seal in color and prevent yellowing. The base coat creates a smooth foundation for polish and top coat. Meanwhile, the top coat acts like a shield against chips, scratches, and UV rays that cause discoloration.
Be sure to apply them freshly with each new manicure. Products like OPI Natural Nail Base Coat and Seche Vite Dry Fast Top Coat work great.
Avoid Dark Polishes
Dark nail polish shades like black, navy, plum, and chocolate brown tend to yellow more obviously on light acrylics over time. The contrast makes it more visible. Go for lighter pinks, nudes, pastels, and reds to help disguise eventual fading. Still, always use base and top coat to maximize wear.
Use Oil to Remove Nail Polish
Using pure acetone or acrylic remover too often can dry out nail enhancements and cause early yellowing. For regular polish changes, try removing it first with oil like coconut oil, olive oil, or almond oil. The oil helps break down polish so it wipes away easily without harsh chemicals.
Follow with gentle soap and water. Acetone should be used sparingly.
| Product | Benefits |
|---|---|
| Coconut oil | Antifungal, moisturizing |
| Olive oil | Smoothing, hydrating |
| Almond oil | Softening, conditioning |
Store Nail Products Properly
Improperly stored nail products are more likely to expire and interact with enhancements to cause yellowing or other damage. Keep polishes, removers, glues, gels, powders, and liquids in a cool, dark place away from sunlight. Check that lids are tight after use. Don’t keep them in humid bathrooms.
Follow each product’s storage recommendations.
Get Frequent Fills
Getting fills every 2-3 weeks helps keep enhancements looking freshly applied. As nails grow out, the contrast between new and old acrylic is obvious. Frequent fills prevent a long regrowth band where yellowing is most likely.
They also allow your nail tech to buff away any staining and re-seal the nails with each appointment.
When to See Your Nail Technician About Yellow Acrylics
Yellowing acrylic nails can be an annoying issue that takes away from your fabulous manicure. While some yellowing is normal over time, excessive yellowing or early discoloration may indicate problems with application or care.
Consulting your nail technician can help get your nails back to their original beauty.
1. When Yellowing Happens Soon After Application
If your acrylic nails turn yellow within a couple weeks of getting them done, that’s a red flag. Properly applied and cared for acrylics should retain their color for at least 3-4 weeks. Early yellowing likely means there was an issue with preparation, application, or products used.
See your nail tech to have them examine the situation and redo them.
2. If Yellowing is Uneven or Splotchy
While overall yellowing happens eventually, uneven discoloration could signal problems. If some nails are more yellow than others, or you have random splotchy areas, contamination or a poor application job may be the culprit.
Have your nail technician inspect each nail and remedy the situation with repairs, targeted treatments, or a redo.
3. When Yellowing is Accompanied by Other Issues
If the yellow tint comes along with other worrying signs like cracked, peeling, or thick acrylic; lifting from the nail bed; or changes in texture or shape, it likely indicates poor application or damage.
Schedule an appointment with your nail professional to troubleshoot and correct any flaws in the application that could be contributing to yellowing.
4. If Home Treatments Don’t Resolve Yellowing
Using at-home whitening treatments can sometimes resolve mild yellow discoloration. But if you treat consistently for 2+ weeks without improvement, more aggressive salon interventions may be needed. Book an appointment with your nail tech to explore professional whitening or repair options.
Yellow acrylics don’t have to be permanent! Consulting your nail professional at the first sign of discoloration can help pinpoint the cause and remedy it quickly. With a few expert touch-ups or redo’s, you can get your fabulous manicure back.
The Takeaway: Keeping Your Acrylics White and Bright
Getting and maintaining a beautiful set of white acrylic nails can be a challenge. Over time, acrylic nails can start to take on a yellowish tint that can dull and darken their appearance. However, with the right care and maintenance, you can keep your white acrylics looking pristine and bright for their entire cycle.
Use a Primer and Base Coat
Start with a clean nail bed. Gently push back and trim your cuticles, then scrub the nail plate with an acetone-free nail prep solution. This will remove any oils and debris so the acrylic can adhere properly.
Next, apply a primer specifically formulated for use with acrylics – this will help the product bond to the natural nail. Follow with a thin layer of acrylic base coat to further prep the nail.
Choose a Blue-Based White Acrylic
Not all white acrylic powders are created equal. Acrylic powders range from warm whites to bright whites. For the whitest look, choose an acrylic powder that has blue undertones as these counteract yellowing. Stay away from warm tinted whites, as these will impart a yellow/beige cast.
Apply Thin, Even Layers
Resist the urge to apply acrylic heavily or in thick chunks. This can lead to cracking and premature lifting. Instead, apply numerous thin, even coats. Allow each layer to fully dry between applications. This will help the acrylic self-level for a smooth, flawless finish.
Thinner applications also help prevent yellowing and keep the color crisp.
Avoid Over-Filing
Be gentle when shaping and filing the nails after application. Aggressive filing can cause excess friction heat, which can lead to yellowing. Use a light touch with a fine grit file. Avoid filing back and forth in a sawing motion.
Make sure to wipe dust away between steps so discoloration doesn’t set in.
Use a pH-Balanced Nail Cleanser
Cleanse nails regularly with a product designed specifically for acrylics. Avoid soaps, lotions, sanitizers, etc. as these can be too alkaline and cause yellowing over time. A pH-balanced nail cleanser will remove oils and debris without disturbing the acrylic bond or altering the color.
Apply a Whitening Top Coat
Using a whitening top coat over your finished set can help keep the color crisp between fills. Look for a UV-activated formula containing optical brighteners that help reflect light away from yellow tones. Apply a fresh top coat every 1-2 weeks.
Don’t Skimp on Maintenance
Stay diligent with your appointment schedule. Trying to go longer between fills can lead to regrowth and staining near the cuticle area. Aim for a fill every 2-3 weeks to maintain a pristine enhancement edge. Schedule a full set removal and replacement every 2-3 months for the best results.
With the right products, technique and care, you can rock gorgeous white acrylics that stay white. Pay attention to the details and don’t be afraid to ask your nail tech for tips and tricks to keep your manicure looking salon-fresh.
Conclusion
While stained or yellowed acrylics may seem like an inevitable side effect of wearing extensions long-term, there are plenty of ways to restore their clarity on your own or with professional help. By identifying and avoiding potential causes, employing quick-fix solutions as needed, and caring for your manicure properly between appointments, you can keep your acrylic nails looking pristine, natural and beautiful.
With the right preventative habits and maintenance regimen, yellow tint doesn’t have to derail your nail goals or diminish your manicure. Arm yourself with the techniques in this guide for acrylics that stay wipe-clean white from fill to fill.


