How To Get Rid Of Nail Polish Bubbles: A Comprehensive Guide
Nail polish bubbles can ruin an otherwise perfect manicure. But with a few simple tips and tricks, you can banish bubbles for good and achieve a smooth, flawless finish every time you paint your nails.
If you’re short on time, here’s a quick answer to your question: Use a base coat, apply thin layers of polish, and wrap the tips of your nails to prevent bubbles from forming and ruining your manicure.
In this comprehensive guide, we’ll walk through all the steps you need to take – from proper nail prep to polish application techniques – to get rid of pesky bubbles once and for all.
Properly Prep Your Nails
Remove Old Nail Polish and Buff Nails
The first step to avoiding nail polish bubbles is to start with a clean nail surface. Remove any old nail polish with nail polish remover and cotton balls. Once the old polish is gone, use a nail file or buffer to gently smooth and buff the surface of each nail.
This removes any ridges or rough spots where bubbles could potentially form.
Use a Dehydrator or Alcohol Wipe
After buffing, wipe each nail with isopropyl alcohol or a nail dehydrator pad. This removes any dirt, oil, or moisture from the nail surface. An alkaline nail surface can cause bubbling, so removing excess moisture is a key prep step. Let the nails dry completely before moving onto the next step.
This usually takes 30-60 seconds.
Apply a Base Coat
A quality base coat is crucial for preventing bubbles. The base coat fills in microscopic ridges and evens out the nail surface. It also allows the polish to adhere properly. Apply a thin, even layer of base coat to each nail and let it dry fully. Most base coats require 60 seconds of drying time.
Going straight from buffing to polish can lead to trapped air and bubbles, so don’t skip this step!
Use Proper Polish Application Techniques
Apply Thin Layers
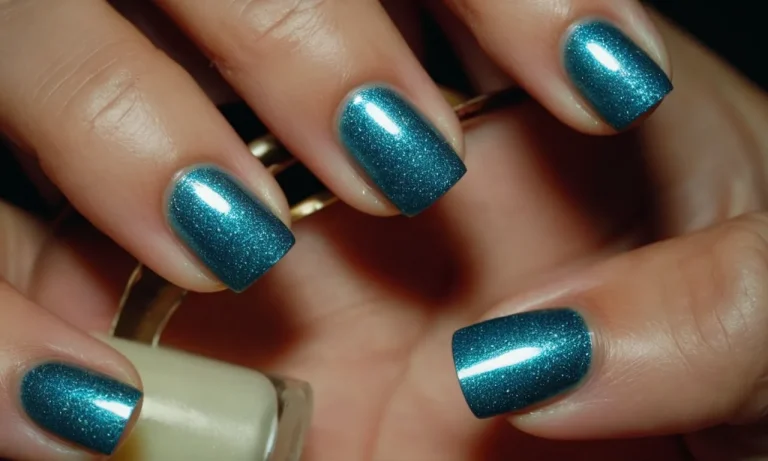
Applying nail polish in thin, even layers is key to avoiding bubbles. Thick globs of polish tend to trap air underneath as they dry, resulting in bubbles. Instead, use light, smooth strokes and apply just enough polish to thinly cover the nail. Allow each layer to dry before adding another.
Slowing down and taking your time leads to flawless, bubble-free nails.
Let Each Layer Dry Completely
Patience is essential when applying nail polish. Rushing the process by adding another layer too soon can ruin an otherwise perfect manicure by causing bubbles. Be sure each layer of color, top coat, quick dry spray, etc. is 100% dry before moving on.
This may take a few minutes but is well worth avoiding blemished polish.
Wrap Nail Tips
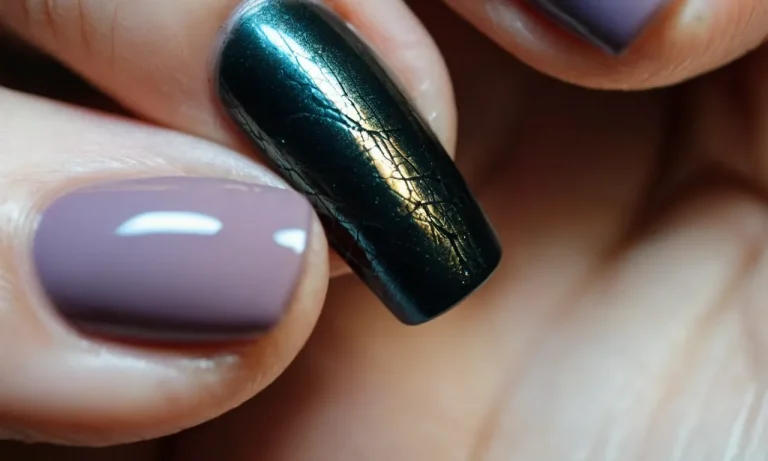
Wrapping the tips, meaning brushing a thin layer of polish over the edges of your nails, seals in the layers underneath for a smooth finish. Skipping this step often results in chipping and bubbles appearing along the tips as the exposed edges begin to lift.
Take those extra seconds to neatly wrap polish around the nails for maximum shine and durability.
Cap the Free Edge
Similar to wrapping tips, sealing the underside free edge of nails with polish helps prevent bubbling as well. Brush a thin layer over the underside edge, connecting it to the polish on top for complete coverage.
This “caps” the nail layers together for extra adhesion and prevents air pockets from forming under the tips.
Use a Fast-Drying Top Coat
A fast-drying top coat like Seche Vite or Sally Hansen Insta-Dri works wonders for avoiding bubbles by quickly sealing nail polish before air bubbles have a chance to surface. Apply it as the last step, after colored polish layers have dried, for smooth, glossy nails sans bubbles.
Let the top coat dry thoroughly afterward before exposing nails to water. This locks in your handiwork.
Fix Bubbles in Already-Polished Nails
Use a Toothpick or Dotting Tool
If you notice small bubbles or imperfections after applying nail polish, reach for a toothpick or dotting tool to help flatten them out. Gently run the point of the toothpick or dotting tool over the bubble to pop it and smooth it into the surrounding polish.
This takes a delicate touch, so work slowly and carefully. Going over the same spot multiple times with light pressure tends to work better than applying a lot of pressure all at once.
Apply Another Coat of Polish
Sometimes applying an additional thin coat of polish is all you need to get rid of those pesky bubbles. Make sure to let the initial polish coat dry first, then dip the brush back into the bottle and gently sweep it over the nails.
The fresh layer of polish will help smooth and fill in any imperfections. Let the second coat dry fully before judging if you need another pass. Multiple thin coats are better than one thick, gloopy coat when it comes to avoiding bubbles.
Use Nail Polish Thinner
If you have some nail polish thinner on hand, you can also use it to fix bubbles. Nail polish thinner contains solvents that will help liquify the polish and smooth the surface. Dip the brush into the thinner, then lightly brush over any bubbles.
The thinner will melt the polish and cause the bubbles to disappear. Be very gentle, as too much thinner could make the polish runny and thin. You only need a touch for it to work its magic.
Bubbles in nail polish can be annoying, but thankfully they are easy to remedy. A toothpick, extra coat of polish, or thinner are simple, effective ways to get perfectly smooth, bubble-free nails. With the right technique, you can outsmart those bubbles and get a flawless manicure every time.
Don’t be afraid to experiment with what works best for your particular polishes. And remember – patience and a light touch are key for nail polish perfection!
Prevent Bubbles with Product Selection
Choose Quick-Drying Formulas
One of the most common causes of nail polish bubbles is applying coats too quickly before the previous layer has fully dried. That’s why it’s important to choose a nail polish formula that dries quickly. Look for formulas described as “fast-drying” or “quick-drying” on the bottle.
These types of polishes usually contain solvents that help speed up the drying time.
Popular quick-dry top coat options include Seche Vite Dry Fast Top Coat and Essie Speed Setter Top Coat. Using a fast-drying base coat underneath your color can also help prevent bubbles. Try Orly Bonder Rubberized Basecoat or OPI Natural Nail Base Coat.
Use a Thick, Viscous Base Coat
Applying a thick base coat helps even out the nail surface, filling in ridges and imperfections. This provides a smooth foundation for the color polish to adhere to. Thicker polish formulas are also less likely to drip down the nail edges or pool at the cuticles, which can cause bubbles.
Some great thick base coat options are CND Stickey Base Coat and Essie Here to Stay Base Coat. You can also search for base coats specifically marketed as “ridge filling.” Just make sure to apply it sparingly to avoid overly thick coats.
Avoid Old or Thickened Polish
When nail polish starts to thicken and get gloopy with age, it becomes more likely to bubble up. The thickened formula doesn’t flow as smoothly onto the nails. Check your polishes regularly and toss ones that are getting clumpy or need aggressive shaking before use.
Nail polish can last from one to three years, depending on the ingredients. Signs it may be expiring are separation, thinning, thickening, and changes in color or odor. Replacing old polishes with fresh ones helps avoid bubbling issues.
Create Optimal Nail Painting Conditions
Work in a Warm, Dry Room
Paint your nails in a room that is warm and dry, with a temperature around 68-77°F (20-25°C). Cool, damp rooms can cause the nail polish to dry too slowly or unevenly, which leads to bubbles forming. Having a comfortable environment helps you take your time to precisely apply each coat of polish.
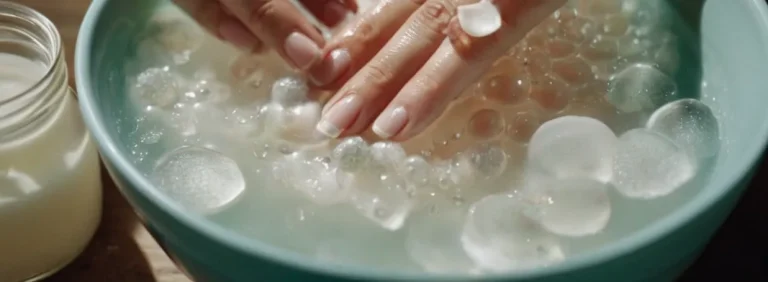
Avoid Cold Hands and Nails
Before starting your manicure, wash your hands with warm water to warm them up. Cold hands and nails prevent the lacquer from evenly adhering to the nail surface. You can also soak nails in a small bowl of warm water for a few minutes.
The heat allows the lacquer to smoothly spread when painted onto the nails.
Don’t Shake the Polish Bottle
Aggressively shaking nail polish introduces air bubbles into the formula, which then get transferred onto the brush and painted onto the nails. This a common cause of bubbles ruining an otherwise perfect manicure!
Instead, gently roll the bottle between your palms to mix the ingredients, which prevents air getting in.
Following these simple tips when prepping to paint your nails helps prevent those pesky polish bubbles. Take your time pampering yourself in a relaxing environment, gently mix your lacquers, and keep hands warm for a salon-worthy manicure with flawlessly smooth color.
Conclusion
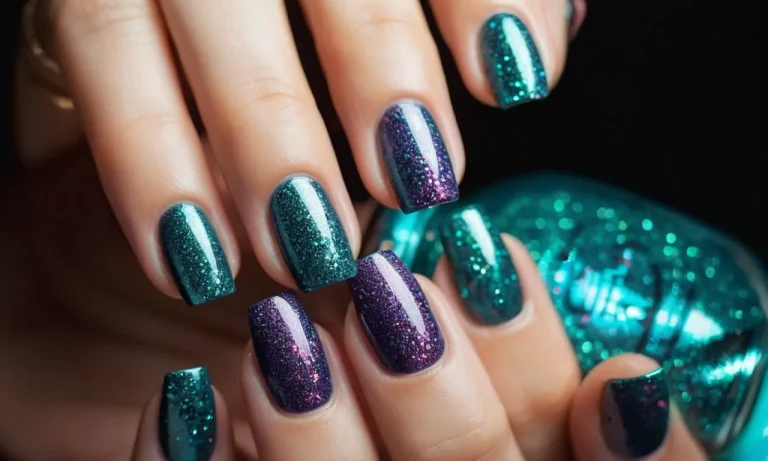
With some careful prep and polish application techniques, you can finally achieve smooth, bubble-free nails every time. Properly dehydrate nails, use base and top coats, apply thin layers, and wrap tips to prevent bubbles from forming.
If you do end up with bubbles, use a toothpick or dotting tool to pop them or apply another thin coat to smooth them out. With practice and patience, flawless, bubble-free manicures can be yours!
Remember the key steps: Prep, prime with base coat, use quick-dry polish, seal with top coat, and wrap those tips! With this comprehensive guide, you now have all the techniques you need to get salon-perfect nails minus the bubbles every time you DIY at home. Happy polishing!