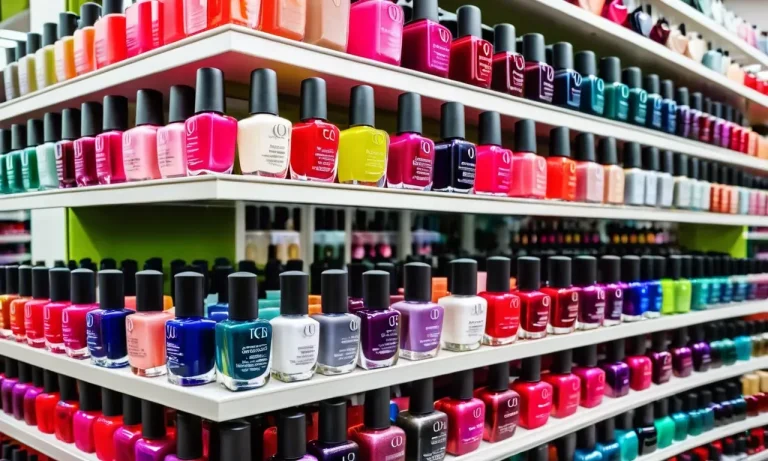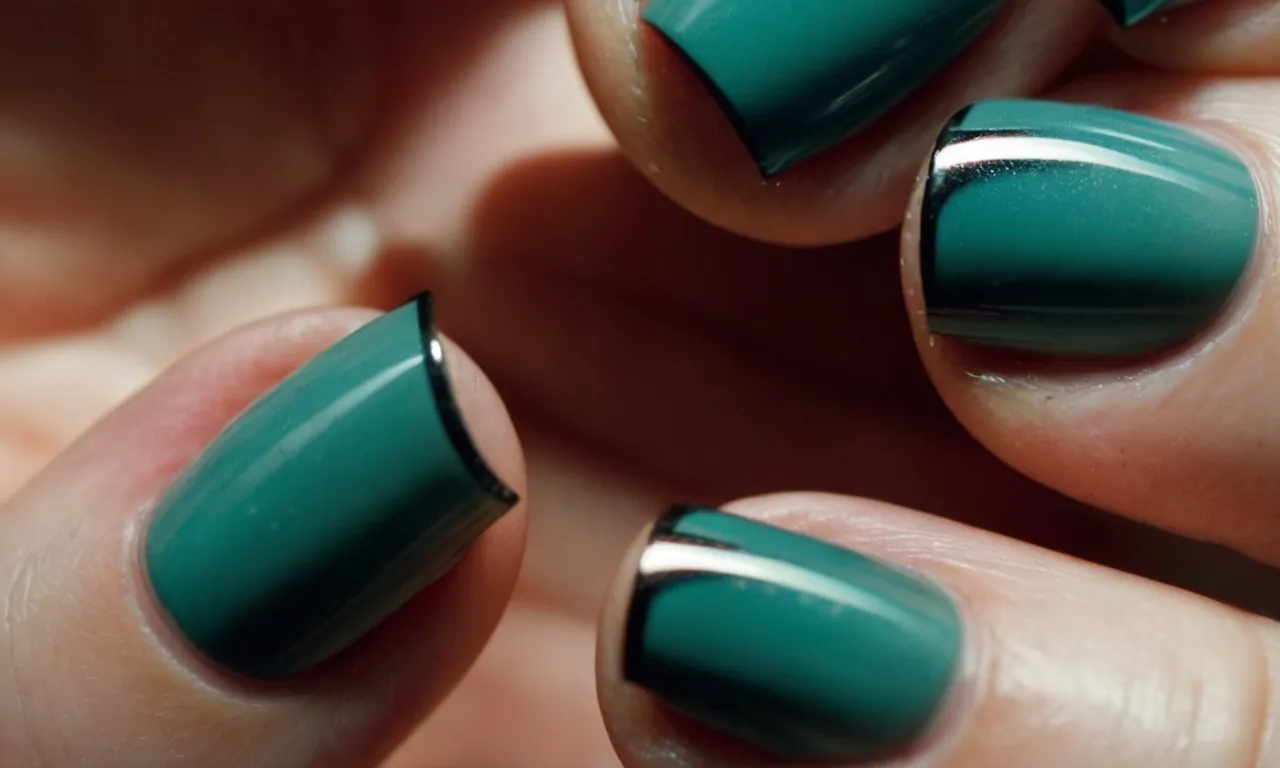
How To Get Rid Of Nail Growth Under Acrylics
If you get regular acrylic nail treatments, you may have noticed some unwanted nail growth occurring under the artificial nails. This can cause the acrylics to lift or look uneven. While you can always go back to the salon to have them fixed, there are some DIY methods you can try at home to get rid of the nail growth under acrylics.
If you’re short on time, here’s a quick answer to your question: Soak cotton balls in acetone nail polish remover and place them under the lifted acrylic to help dissolve the nail growth. Gently scrape it away with an orangewood stick.
Finish by applying nail primer and acrylic powder to smooth and re-adhere the lifted nail.
Why You Get Nail Growth Under Acrylics
Normal nail growth process
Our nails are always growing from the nail matrix under the cuticle. The average growth rate is 0.1 mm per day, which means our nails grow about 3-4 mm per month. This continual growth pushes the nail plate forward, while the acrylic remains fixed to the nail plate.
Over time, a gap forms between the cuticle area and the acrylic as the natural nail grows forward. This allows dust, debris and water to get trapped underneath the enhancement, creating an unsightly and unhygienic environment for bacterial and fungal growth.
Improper application and filling
Acrylic nails should be applied and filled properly near the cuticle area to prevent gaps from forming as the natural nail grows. However, many technicians do not take proper care with product placement and filing, leaving small gaps and ridges near the cuticle and proximal nail fold.
These gaps allow space for the natural nail to grow underneath the enhancement. Using low-quality acrylic products or sloppy application techniques can exacerbate this issue.
Failure to routinely maintain the acrylics
Getting routine fill-ins every 2-3 weeks is crucial for preventing excessive nail growth under enhancements. During fill appointments, the technician will file off lifted product and apply a fresh layer of acrylic to re-adhere the artificial nail to the new natural nail growth.
Skipping these vital maintenance visits allows more space for the nail to grow before getting filled. Letting enhancements go 4 weeks or longer without a fill can create a significant gap of natural nail growth under the acrylic or gel polish.
Tips to Prevent Excess Nail Growth
Get fills every 2-3 weeks
Getting regular fills every 2-3 weeks is crucial for preventing the natural nail from growing out too much under the acrylic overlay. As your natural nails grow, a gap forms between the acrylic and natural nail tip. This lifts the acrylic off the nail bed, allowing debris and bacteria to accumulate.
Getting timely fills every 14-21 days will minimize excess growth and risks like lifting, cracking, and fungal infections.
Use primer before application
Using a nail primer before acrylic application creates a tacky surface that allows the acrylic to bond tightly to the natural nail. This adhesion prevents excess nail growth from causing early lifting or cracking.
Most professionals recommend using a non-acid nail primer that contains ingredients like methacrylic acid. Avoid skipping this step even if you are in a rush.
Avoid overfilling the cuticle area
Having acrylic overlays extend over the nail cuticle allows debris and moisture to be trapped against the nail growth plate. This can lead to fungal and bacterial infections, inflammation, and excess nail expansion.
Every fill appointment should involve cautious filing to expose the cuticle area completely. Your nail technician should never allow product to be in contact with the skin or cuticles. This avoids risks and discomfort associated with rapid nail growth.
By getting timely fills, properly preparing the nail plate, and preventing overextension, clients can avoid undesirable nail growth under acrylics or other nail enhancements. Keeping the enhancement tight to the natural nail surface is key for longevity and health.
How to Remove Nail Growth Under Acrylics
Getting acrylic nails can make your nails look fabulous, but over time nail growth under the acrylic can start to lift the false nails up and make them look messy. Luckily, removing the excess nail growth is pretty easy to do at home. Here’s a step-by-step guide to tidying up lifting acrylics.
Soak a cotton ball in acetone
Start by soaking a cotton ball or pad in pure acetone (nail polish remover). Make sure the cotton is fully saturated. This will help soften the acrylic and bond between your natural nail and the acrylic. Let it sit for a few minutes.
Gently scrape away the lifted acrylic
After letting it soak, very gently scrape away the acrylic that has lifted using an orangewood stick or something similar. Be very careful not to scrape or damage your actual nail. Just lightly lift off the acrylic that is not attached anymore. Scraping too hard can weaken your nails.
Reapply primer and acrylic powder
Once you’ve removed the lifted bits, wipe your nail clean with a cotton ball. Then use acrylic primer or dehydrator on the exposed nail and let it dry. Mix more acrylic powder and liquid monomer to reapply acrylic over the grown out nail according to package directions.
This seals down the lifted edges.
An easier option is using a professional acrylic nail glue instead of mixing powder and liquid. Brush a thin layer of glue on the lifted area and cure under an LED or UV nail lamp.
Use a nail file to smooth uneven areas
After reapplying acrylic over the grown out nail, use a fine grit nail file to smooth and shape the new acrylic application. File gently and be careful around your cuticles and skin. This will make your nail edges look tidy and even again.
Doing this can buy you some extra time before needing a full acrylic fill. But don’t go too long between fills or it can lead to excessive lifting and nail damage. Aim to get fills every 2-3 weeks for the healthiest nails.
When to See a Professional
Extensive lifting over multiple nails
If you notice extensive lifting and peeling on multiple acrylic nails, it’s best to see your nail tech. They can properly remove the lifted acrylic and assess if your natural nails need recovery time before a new set. Trying to rip off lifted acrylic at home can cause additional damage.
Your nail professional has the proper tools and training to remove acrylic safely and minimize harm to the natural nail.
Damaged natural nails
Over time, repeated acrylic use can weaken the natural nail plate. Signs of damage include peeling, cracking, breakage, and thinning. If you notice any of these issues, take a break and give your natural nails some TLC. See your manicurist to have the acrylics safely removed.
They can recommend moisturizing creams and oils to nourish your nails back to health. Once your nails recover strength and thickness, you can try acrylics again if desired.
Skin or cuticles are irritated
Acrylic nails can sometimes irritate the skin around the nails or damage the cuticles if not applied properly. Signs of irritation include redness, swelling, itching, burning, and pain around the nail edges.
This may indicate an allergic reaction to the acrylics or infection from lifting and trapped moisture. See your manicurist or dermatologist if you have any of these symptoms, and discontinue acrylic use until the skin heals.
Proper application and maintenance of acrylics should not cause skin irritation. Your nail tech can examine the situation and recommend any needed treatment.
Aftercare Tips
Moisturize Cuticles and Nails Daily
Keeping the cuticles and nails properly hydrated after removing acrylics is crucial to avoid further damage and promote healthy new nail growth (source). Apply cuticle oil or hydrating creams containing ingredients like vitamin E, jojoba, or shea butter to the nail beds and surrounding skin at least twice per day.
Gently push back cuticles after softening them in a warm water soak. These measures prevent painful cracking and peeling around the nails.
Avoid Excessive Water Exposure
It’s vital to minimize contact with water when recovering from acrylic removal, as the nails are extremely fragile during this period. Wear waterproof gloves for tasks like washing dishes, laundry, or cleaning. Limit showers to 5 minutes max and avoid long soaks.
Water overexposure causes breakdown of keratin in the nails, resulting in white spots, splintering, and splits (source).
Be Gentle on Your Nails
While nails recover post-acrylics, handle them gently and avoid trauma. Don’t pick, bite, rip, or aggressively file them. Use glass files only when absolutely necessary and buff lightly. Apply a strengthening basecoat and let nails grow out naturally without enhancements.
Even small insults can worsen existing damage. Follow the “less is more” motto and nurture the renewal process through TLC.
Adhering to these simple aftercare guidelines reduces the risk of lasting acrylic damage. With patience and diligent care, natural nails regain their health, shine and strength over time.
Conclusion
Dealing with nail growth under your acrylic manicure can be annoying. But with the right techniques, you can easily remove the lifted acrylic and smooth it out at home. Just be sure to get routine fills and maintenance from your nail technician to help prevent excessive lifting and growth under the artificial nails.
With proper care and upkeep, you can keep your acrylics looking fabulous.