How To Get Impress Nails To Stay On
Having beautiful nails can instantly boost your confidence and complete any outfit. Impress nails provide an easy and affordable way to get salon-quality manicures at home. But like any press-on nails, keeping them securely attached can be tricky.
If you’re short on time, here’s a quick answer to your question: Properly prepare your nails, fit the impress nails accurately, and securely adhere them with strong nail glue. Applying a gel topcoat helps seal the edges. Avoid water exposure and gently remove them when needed.
In this comprehensive guide, we’ll cover everything you need to know to help your impress nails stay on for their full duration.
Properly Prepare Your Natural Nails
Preparing your natural nails correctly before impress nail application is crucial for getting the false nails to adhere properly and last. Follow these key steps:
Trim and File
First, neatly trim your nails to your desired length using nail clippers or scissors. Make sure to cut them straight across to create an even foundation for the press on nails. Then use a nail file to gently smooth the edges and remove any ragged areas or hangnails.
Filing in one direction helps seal the keratin layers of the nails. Smooth, even nails allow maximum surface area for impress nail adhesive contact.
Remove Oil and Moisture
Nails naturally collect oil, lotion, soap residue, and moisture throughout the day which can impede proper adhesive bonding. Use a nail dehydrator solution or 70% isopropyl alcohol on a cotton pad to thoroughly cleanse and dehydrate the nail surface.
This helps remove debris and prep the nails for falsie application. Allow your nails to fully air dry afterward so no moisture remains.
Lightly Buff Nail Surface
After cleaning, lightly buffing the surface of your natural nails creates micro-abrasions that allow the glue to grip better. Use a fine grit nail file or buffer pad in one direction. Do not over-buff too aggressively as that can damage nails.
According to nailcarehq.com, light buffing improves bond strength by up to 25% compared to completely smooth nails.
Avoid Using Hand Creams or Lotions Before Application
Moisturizing creams and lotions leave an oily film on the skin and nails that prevents proper adhesive bonding. It is best to avoid applying these to your hands and nails for at least an hour before applying false nails.
Washing hands thoroughly with soap and water also helps eliminate surface oils for better glue contact.
Proper natural nail preparation takes a bit of time and effort up front, but it is necessary for long-lasting impressive nails. Removing debris, dehydrating, gently buffing, and avoiding lotions allows for maximum adhesive grip and stylish press on nails that stay put!
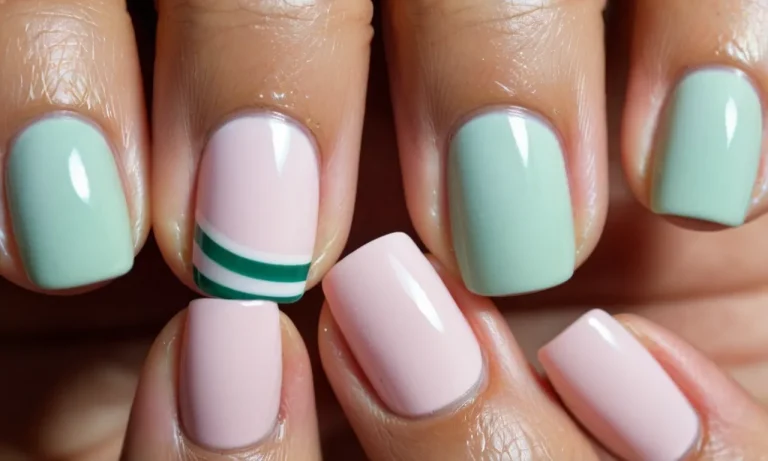
Select the Right Size and Custom Fit Each Nail
Find Your Perfect Size
Choosing the right impresses nail size is crucial for getting them to stay on properly. When trying on different sizes, you want one that fits your natural nail beds snugly without too much space around the edges. Going too small can cause discomfort and lifting.
Too large leaves excess room for bacteria and dirt to get underneath, causing the bond to fail.
Most impress nail kits include a variety of sizes, often labeled small, medium and large or numerically from 0-9. Test each to find your ideal fit. The nail tip should not extend past your finger pads by more than 1-2mm.
There should only be a sliver of space between the cuticle area and your natural nail.
Custom File and Shape if Needed
Sometimes even when you choose the correctly sized impresses nails, you may need to customize the shape for an optimal bond. Use metal nail files and buffers to gently smooth and shape the inside curve and edges. This helps create a flush connection to your natural nails.
Be very careful not to file off too much or thin out areas that need integrity for bonding.
You can also use clippers to shorten impress nail lengths if they are uncomfortably long. Always file the trimmed edges smooth. The goal is to tailor the adhesive underside and shape to mirror your nails for maximum contact.
This prevents lifting, cracking or other bond failures related to size and shape mismatches.
Avoid Having Nails Hang Off Sides
When wearing impress nails, you never want the artificial tips to extend past the nail beds of your fingers. Any overhanging material not flush with your actual nails means there is not enough surface contact. This significantly raises the chances of popping off, often within the first day.
Make sure to do a test fit when applying impress nails. Press down on the tips while looking at the underside bond. There should not be any visible nail hanging off the sides. File and adjust sizing as needed. Sometimes you may have to trim nail lengths if your nails are narrower.
The key is complete edge-to-edge contact with your real nails.
Following these tips on selecting the right size impress nails for your fingers and custom tailoring when necessary, will have your manicure lasting over a week rather than a day. Take the extra time to guarantee a flush mount and snug fit. Your nails will impressively stay fabulous!
Use a Strong Nail Glue and Apply Properly
Choose an Adhesive Designed for Press-Ons
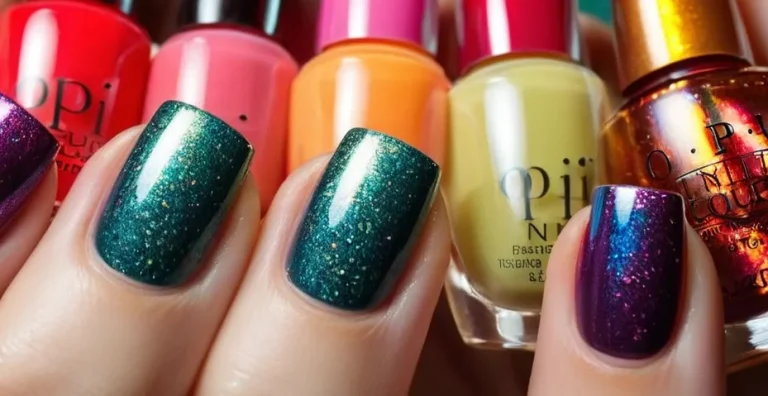
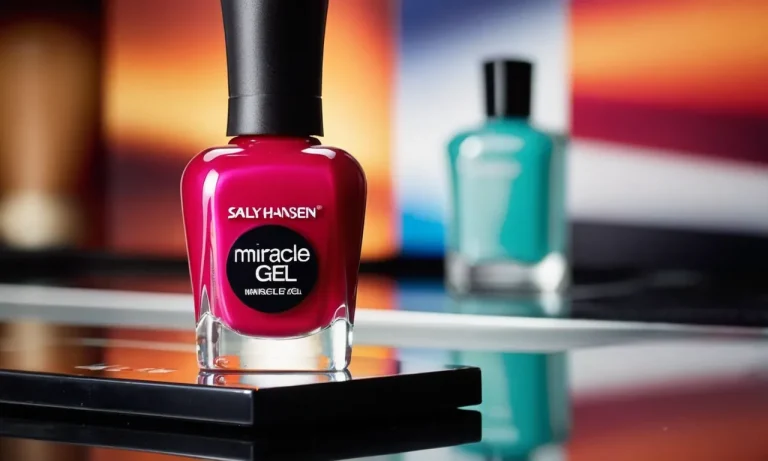
When it comes to achieving pro-looking press-on nails that actually stay put, using the right nail glue is crucial. Opt for one specifically formulated for application on nail tips and extensions, like the Kiss Brush-On Nail Glue.
Nail glue for press-ons is uniquely designed to bond securely on the nail surface. Formulas tend to be quick-drying yet flexible to allow for comfortable wear. Using alternatives like super glue or school glue simply won’t cut it and can damage the natural nail.
Apply a Thin Even Layer to Entire Nail
After sizing your press-on nails, apply a very thin layer of nail glue evenly across the entire underside of the tip, avoiding over-gluing near the edges.
Too much glue increases the chances of oozing mess and longer dry times. Aim for full coverage without puddling for best results. Allow the adhesive to get slightly tacky, about 10-15 seconds, before adhering to the natural nail below.
Hold Each Nail in Place Firmly for 60 Seconds
With the glue ready, gently press the artificial nail onto your natural nail. Place it right where you want the final look situated. Hold very firmly for a full 60 seconds, keeping contact and pressure over all areas of the nail tip.
This gives the glue its best shot at grabbing onto the nail surface and forming a lasting bond. Repeat the process quickly but carefully on the remaining nails. Try to avoid moving or adjusting tips once placed.
Apply Gel Top Coat to Seal Edges
Brush Top Coat Over Seam and Free Edge
Applying a top coat is key for getting your impression nails to stay on securely. After your impression nails have dried, use a gel top coat to seal the edges along the cuticle area and free edge of the nail.
This helps prevent lifting and creates a smooth transition between your natural nail and the enhancement. Using a gel top coat specifically (rather than regular nail polish) will provide more durable adhesion and long-lasting shine.
Using a flat brush, gently glide the gel top coat over the seam where your natural nail tip meets the enhancement, making sure to thoroughly cover this area. Avoid globs or uneven application. Then, smoothly brush top coat over the free edge to completely seal the tip.
Allow each nail to cure under the LED lamp before moving on to prevent smudging.
Cure Under LED Lamp According to Instructions
Once you’ve brushed the gel top coat over the seam and free edge of each nail, properly curing it is essential for getting the longest wear. Follow the product instructions for cure time, which is usually 30-60 seconds under an LED lamp.
Make sure when placing your hands under the lamp that the light hits every nail at the same angle for even curing. If some nails don’t get fully cured, the top coat won’t adhere as strongly over time leading to lifting or peeling.
If you notice any tackiness after the recommended cure time, place back under the LED lamp for an additional 30 seconds. Properly cured gel top coat should have a smooth, glossy finish with no stickiness. Doing this crucial step correctly ensures your impression manicure stays fresher longer!
Avoid Traditional Nail Polish as it Won’t Adhere as Well
It’s best to use a gel top coat after getting impression nails rather than regular nail polish. Polish doesn’t have the same binding agents as gel, so it won’t adhere as strongly to the enhancement or your natural nail.
This makes it more likely to chip and peel, especially around the vulnerable seam area.
Additionally, nail polish doesn’t cure under a lamp so it never fully hardens on the nails. The softness leaves it more prone to dents, scratches and damage that can ruin the smooth finish of your enhancements. Over time, these small imperfections accumulate and make the manicure look unkempt.
If you prefer regular polish for the color selection or affordability, apply a thin gel top coat first to seal the impression nails, cure under the LED, then apply polish. This creates a protective barrier so the polish bonds to the gel layer rather than directly to the enhancement.
However, this still carries a higher risk of lifting compared to gel alone.
Care Tips to Maximize Wear Time
Avoid Excessive Water Exposure
One of the biggest enemies of long-lasting press on nails is too much exposure to water. When the adhesive gets wet, it can start to lose its grip. Here are some tips to avoid this:
- Wear rubber gloves any time your hands will be underwater – doing dishes, cleaning, swimming, etc.
- When washing your hands, try to keep water away from the nail tips as much as possible.
- After handwashing, thoroughly dry your hands and gently push down on the nail tips with a towel to help reactivate the adhesive.
Use Gloves for Wet Work
In addition to protecting your press ons during hand washing, gloves can also help when doing other wet tasks. Here are some times to wear gloves around the house:
- Washing dishes
- Cleaning bathrooms, floors, windows, etc.
- Gardening or working with soil
- Dealing with chemicals like hair dye or self-tanning products
The right glove, like rubber, vinyl or nitrile, creates a barrier between your nails and the wetness. This helps the adhesive maintain its grip.
Be Gentle – Avoid Picking or Peeling
It can be tempting to pick at your press on nails if they start to lift up, but this will only make matters worse. Picking and peeling puts stress on the nails and adhesive, causing them to pop off faster. Try to keep your hands busy with other tasks and avoid mindlessly picking.
Also be very gentle with removing clothing, blankets, hair from your face, etc. Tugging on your press ons repetitively can loosen the bond.
Fill Any Gaps Quickly with Glue
If you do notice a nail starting to lift or detach slightly, act fast. Use a small amount of nail glue (super glue or clear press on glue) to re- adhere it. Look for any gaps between the artificial nail and your natural nail and fill it in.
Don’t wait too long to re-glue, or the lifting can get worse. It’s much easier to re-affix a nail when its only slightly lifted compared to one that is basically dangling off your finger.
Remove Properly at the End of Wear
Never Pull Off Suddenly
It’s crucial to avoid yanking off press-on nails. Attempting to rip them off puts stress on the natural nail underneath and increases the chances of causing breaks, cracks and damage. Instead, nail experts recommend taking a gentle approach when it’s time to remove the false nails.
Roll them off bit by bit, starting from the outer edge and working inward.
Gently Roll Off Starting at Free Edge
Start by gently gripping the very tip of the artificial nail and slowly rolling it off the natural nail underneath, moving from one side to the other. Take care not to bend the nails or apply too much pressure.
Continuing gripping and rolling the attached portion inward in small sections until the entire press-on nail lifts off. This may take a few minutes per nail, but protects the natural nail.
Use Adhesive Remover If Needed
If the nails seem stuck fast with adhesive, don’t force them. Apply a small amount of nail glue remover around the edges of the artificial nail, letting it soak in for 30-60 seconds. This helps dissolve the glue so the nails lift off easier without tugging.
Popular removers are by brands like Sally Hansen and Kiss Nail Glue Remover.
Moisturize Nails After Removal
Once the press-on nails have been fully removed, it’s important to nourish the natural nails since they were covered by acrylics for a period of time. Apply a moisturizing oil like jojoba, vitamin E or coconut oil to condition each nail.
Massage gently for a minute per nail to stimulate and restore moisture. Nails may feel dry or show light surface damage, so continue moisturizing daily while they recover.
| Benefit | Product |
|---|---|
| Deeply hydrating | CND SolarOil Nail & Cuticle Care |
| Antioxidant protection | Onsen Secret Active Serum |
| Stimulates growth | Sally Hansen Nailgrowth Miracle |
With some TLC, nails return to normal quickly after removing press-on nails. Avoid future damage by always gripping and rolling off gels or acrylics instead of pulling too hard. Taking good care of the nails means press-ons can be worn again and again fashionably and safely.
Conclusion
Impress nails provide an easy instant manicure that can last over a week with proper application and care. Prepping your nails, custom fitting each press-on, and reinforcing them with strong adhesive and gel topcoat will help them adhere securely and stay put.
Avoid excessive moisture and be gentle on your hands. With these tips, you can get impress nails to stay on for their maximum wear time, allowing you to enjoy beautiful salon nail art with minimal fuss and cost.