How To Fix Uneven Nail Smile Lines
If you notice that your nail polish tends to chip or wear away more on one side or area of your nails, leaving you with an uneven ‘smile line’, don’t worry – this is a common issue that can be fixed with some simple techniques.
If you’re short on time, here’s a quick answer to your question: Use a high quality base and top coat, file nails straight across to prevent extra pressure on the edges, and apply thinner coats of polish focused on problem areas to even out the smile line.
In this comprehensive guide, we will cover the reasons your nail smile line may be uneven, prevention tips when applying polish, products and tools that can help, and step-by-step instructions for evening out chip-prone areas.
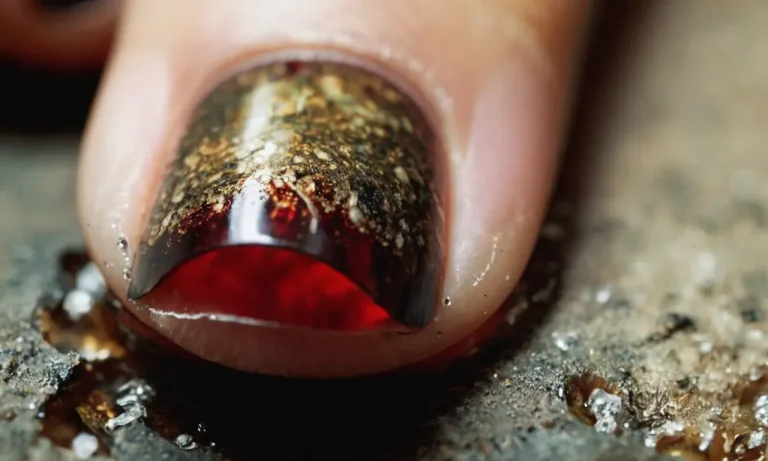
What Causes Uneven Smile Lines?
Applying Too Much Pressure to the Free Edge
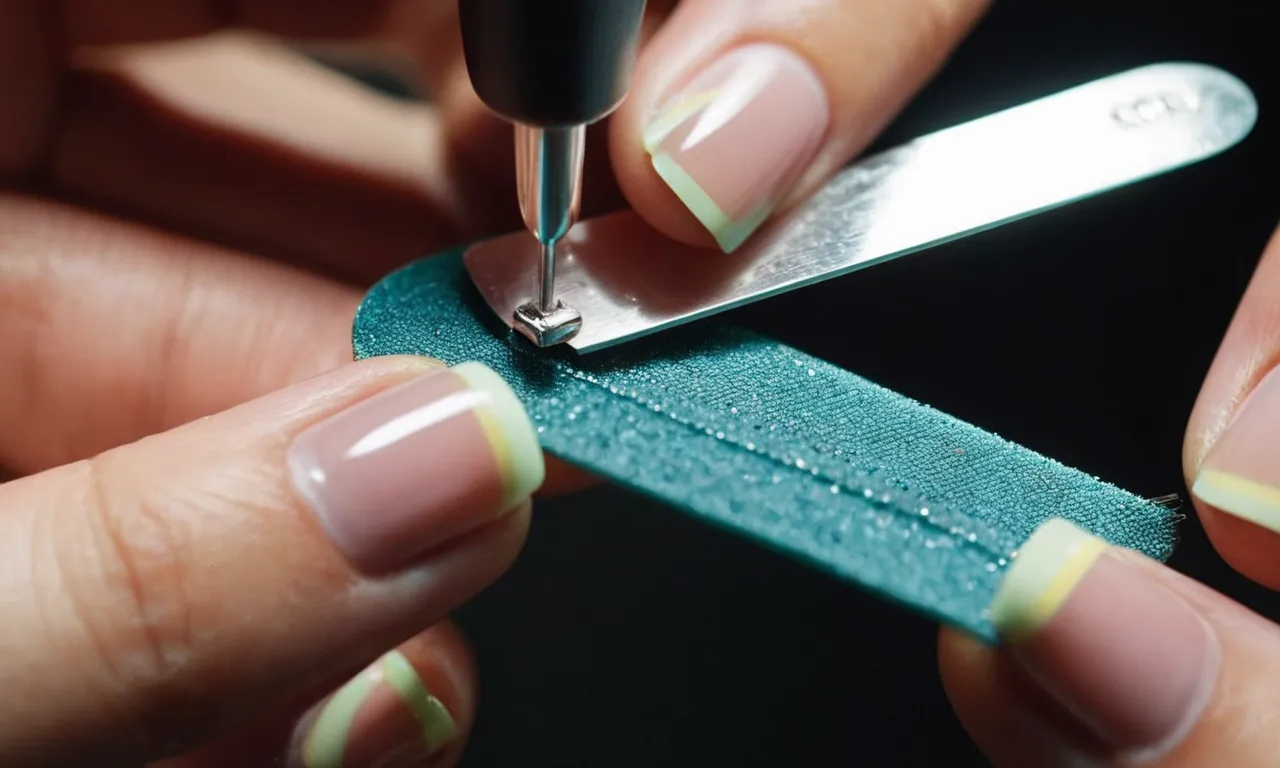
One of the most common causes of uneven smile lines is applying too much pressure when filing the free edge of the nails. Many nail techs have a tendency to bear down hard with the file, especially when shaping and evening out the free edge.
This can cause the nails to thin out unevenly, leaving some edges thinner and more prone to breakage. The key is to use a light hand and smooth, even strokes when filing to avoid weak spots.
Filing Nails at an Angle
Filing the nails at an incorrect angle is another cause of uneven smile lines. Often when shaping the free edge, nail techs will file straight across rather than filing at a slight downward angle. Filing straight across can make the edges blunt and squared off rather than tapered.
This can lead to cracks and chips, creating an uneven look. Always be sure to file gently downwards at a slight angle to get a smooth, even free edge.
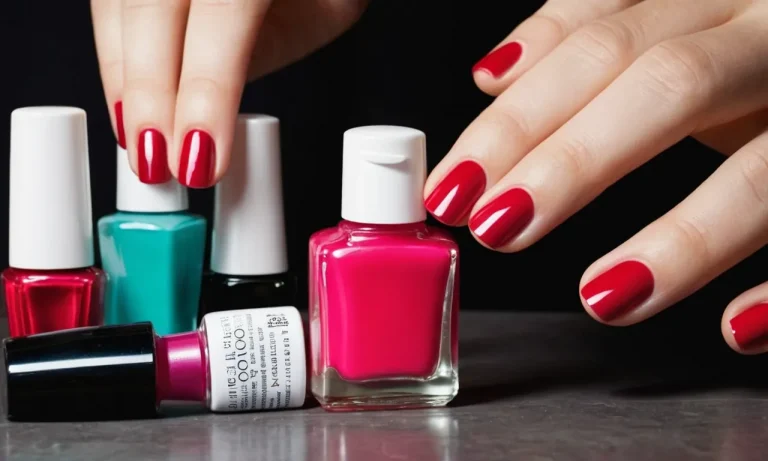
Using Low-Quality Nail Products
Low-quality nail products like polishes, gels, and enhancements can also be the culprit behind uneven smile lines. inferior products are more likely to chip, peel, and break. This leads to uneven wear, causing some nails to appear shorter and more damaged than others.
Investing in salon-quality products goes a long way in helping clients achieve an even, flawless smile line. Some great professional brands include OPI, Gelish, Essie, and CND.
According to a 2022 survey by NAILS Magazine, 65% of techs said switching to a high-quality product line dramatically improved the evenness of their clients’ smile lines. Quality matters when it comes to getting polished, consistent nail edges!
Preventing Uneven Wear When Polishing
Use a Base and Top Coat
Applying a base coat and top coat is crucial for preventing uneven wear and tear when polishing your nails. The base coat acts as a primer, allowing the polish to adhere properly to the nail. It helps prevent staining of the nail bed while also evening out the surface so polish applies smoothly.
Using a ridge-filling base coat is especially important if you have ridged or uneven nails, as it will create a smooth canvas. According to nail care experts, a quality base coat can increase the longevity of your manicure by up to 50%!
A top coat is equally important, as it seals the polish and creates a protective layer against chips and scratches. This helps prevent cracking or peeling which leads to uneven polish wear. A shiny top coat also creates a smooth, even finish. Be sure to apply it evenly over the nails.
Skipping the top coat allows exposure to elements that break down the polish.
Apply Thin, Even Layers
The application technique when painting your nails is imperative for an evenly polished look. Multiple thin, even layers are far superior to a single thick, gloopy layer. Thick layers tend to pool around the nail edges and tips, causing chipping and uneven wear.
Thin layers allow for even drying and a smooth finish.
When painting nails, a helpful tip is to start with a central stripe down the nail, then paint each side. Use the brush’s flat surface instead of the tip. This helps ensure the polish glides on evenly. Avoid overloading the brush. Let each quick-dry layer set for 2-3 minutes before adding another.
Build up to 3 thin layers for best results. If there are uneven spots, lightly sweep vertically with the brush to smooth them out.
Cap the Free Edge
Exposing the nail free edge can make tips prone to breaks and chips. “Capping the free edge” is nail lingo for painting over the tip with either clear polish or color. This seals the layer of polish to the end of the nail, preventing premature wear or cracks.
Be sure to swipe the brush across the very edge of the nail. Don’t forget your thumb! Since our dominant hand tends to chip more frequently, capping the free edge is even more important. You’ll notice longer-lasting protection against tip wear.
For added durification, apply a layer of clear polish just to the nail tips between manicures.
Products to Help Fix Uneven Wear
Affordable Drugstore Options
Uneven nail wear, also known as nail smile lines, can be frustrating but there are affordable products available at drugstores that can help. Here are some great options:
- Nail strengtheners containing ingredients like calcium, biotin, and hydrolyzed wheat protein can help harden nails and prevent cracking and peeling which causes uneven wear. Popular picks are OPI Nail Envy and Sally Hansen Hard as Nails.
- Fast-drying top coats like Seche Vite help seal the manicure and prevent chips and cracks. Applying over the base and color coats helps smooth the nail surface.
- Cuticle oils with jojoba or vitamin E supply moisture to prevent nails from becoming brittle and prone to breakage. Apply daily. The Body Shop Vitamin E Nail & Cuticle Oil is a nice choice.
Using these affordable drugstore products regularly can help nails become stronger and more resistant to uneven wear and smile lines for a beautiful, long-lasting manicure.
Salon-Quality Treatments
For more stubborn, severe cases of uneven nail wear, professional salon services can help get nails back into top shape.
- Nail strengthener services apply a specialized formula to help harden and reinforce weak, peeling nails prone to breakage. These last 4-6 weeks.
- Gel manicures provide a protective, flexible layer of gel polish that can help disguise uneven nail edges. They last 2-3 weeks with no chips.
- Acrylics or dip powder overlays cover the entire nail in a durable artificial material to create an even surface and strong reinforcement that lasts 2-3 weeks.
In addition, regular manicures every 2-4 weeks remove built-up layers and shape uneven edges. Nail technicians can also recommend tips to improve nail health at home.
Salon nail services like these help repair years of damage for strong, beautiful nails that resist uneven wear. They are ideal for addressing severe, stubborn nail smile lines.
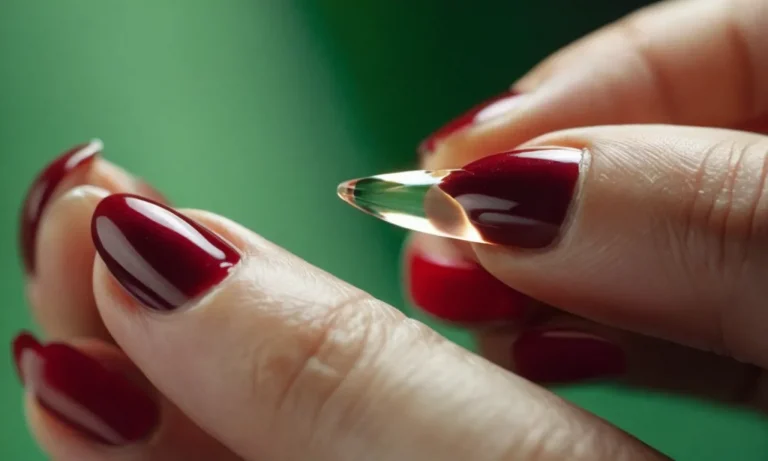
Step-by-Step: How to Even Out Your Smile Line
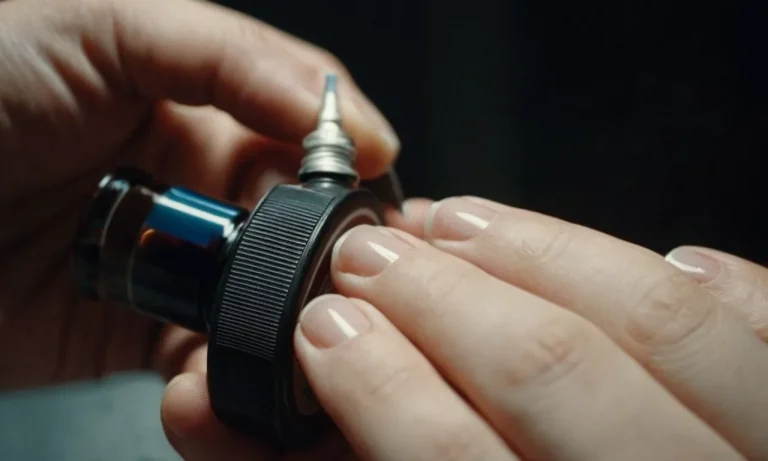
Prep Nails Properly
Prepping your nails is a crucial first step to help even out a uneven or exaggerated smile line. Start by gently pushing back your cuticles with a cuticle pusher. Then, use a nail file to lightly buff away any shine from the nail plate. This helps the polish adhere better.
You can also use a dehydrator to remove traces of oil and moisture. Apply a base coat to further prep the nail and prevent staining. Taking the time to properly prep helps polish glide on smoothly.
Focus Extra Polish Near Cuticles
When painting your nails, pay close attention to brushing on extra polish near the cuticles on the sides with deeper smile lines. Load up your brush with a bit more polish and deposit it closer to the cuticles. This will help fill in the deeper areas and level out the polish.
Avoid wiping excess polish off the brush before painting the problem areas. The extra polish will help build up the layers. Just be careful not to get polish on your skin.
Perfect Your Polish Application Technique
In addition to focusing extra polish near the cuticles, perfecting your overall application technique can help minimize and balance out smile lines. When painting your nails:
- Use smooth, thin strokes and avoid blobbing on too much polish at once.
- Apply 2-3 thin coats of color, allowing each coat to dry in between.
- When drying, hold your hands facing down to prevent pooling near cuticles.
- Finish with a fast-drying top coat for an ultra smooth surface.
Taking your time and using proper technique allows for a clean, professional-looking manicure with balanced polish.
With some extra care and attention when prepping nails and applying polish, you can help minimize and evenly fill in uneven or deep smile lines. A proper manicure helps create a beautiful, flawless nail look.
Just be patient and let each coat dry thoroughly before adding the next layer of color or top coat. You’ll be smiling with pride at your balanced, salon-worthy nails in no time!
Conclusion
While uneven nail wear can be frustrating, this issue can usually be resolved with some minor adjustments to your manicure routine. Pay special attention to protecting the nail edges and build up thin, even layers of polish focused on the problem areas.
With the right products and techniques, you’ll have a smooth, long-lasting manicure with no sign of a crooked smile line.
For best results, be patient and take the time to properly prep nails, apply base and top coat, and polish slowly in multiple thin layers. An attractive, chip-free manicure is within your reach with this comprehensive guide to fixing uneven nail smile lines!