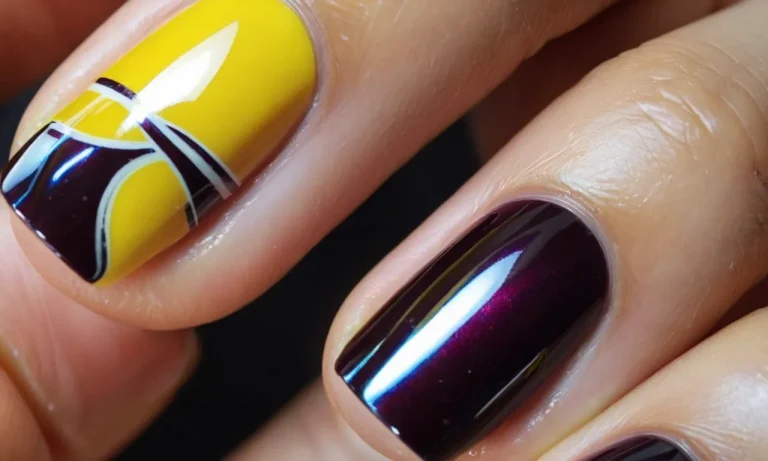
How To Fix Bubbles In Gel Nail Polish At Home
If you’ve just finished painting your nails with gel polish only to discover tiny annoying bubbles have formed, don’t panic. Dealing with bubbles can be frustrating, but the good news is there are several easy methods you can use at home to fix them.
Here’s a quick answer if you’re short on time: Gently press down on the bubbles with an orange stick or toothpick to flatten them out while the polish is still tacky. If that doesn’t work, try sealing the bubbles under a fresh coat of top coat gel.
What Causes Bubbles in Gel Nail Polish?
Trapped Air
One of the most common causes of bubbles in gel nail polish is trapped air. This happens when air gets caught between the natural nail plate and the gel polish layers as you are painting. The air has no place to escape, so it gets sealed in by the gel and forms unsightly bubbles.
Using thin coats of gel polish and allowing each layer to cure completely before adding the next can help minimize trapped air bubbles. Gently sweeping the gel over the nail from cuticle to free edge can also help push air out to the sides before curing.
Too Much Top Coat
Applying too much gel top coat is another culprit behind bubbly gel manicures. Top coat is designed to leave a smooth, glossy finish, but overloading the brush with product can cause it to pool on the nails. Those thick globs of top coat end up trapping air as they level out, leaving bubbles behind.
The fix? Use a light hand when applying top coat and coat the nails with thin, even passes instead of flooding them with product. Letting each layer of top coat cure fully before adding more can also prevent air bubbles.
Painting Over Uncured Gel
Rushing the curing process is a common mistake that leads to bubbly, wrinkly gel polish. Each layer of gel nail polish needs to be fully cured under the LED or UV lamp before painting on the next layer.
Brushing fresh gel over a tacky, uncured layer traps air underneath, resulting in bubbles as the products merge. Avoid this by allowing the manufacturer recommended cure time (usually 30-60 seconds) for each layer.
Use the full recommended number of coats, resisting any urge to stack on multiple layers at once. Patience pays off with a smooth, bubble-free gel manicure.
While bubbles can happen to even the most skilled nail techs, avoiding these common causes can seriously cut back on the chances of ending up with holes in your haute gel manicure. Take your time, use thin coats, and let each layer fully cure before moving on.
And if all else fails, catch bubbles as soon as possible with gentle filing or buffing to keep your nails looking flawless.
How to Get Rid of Bubbles
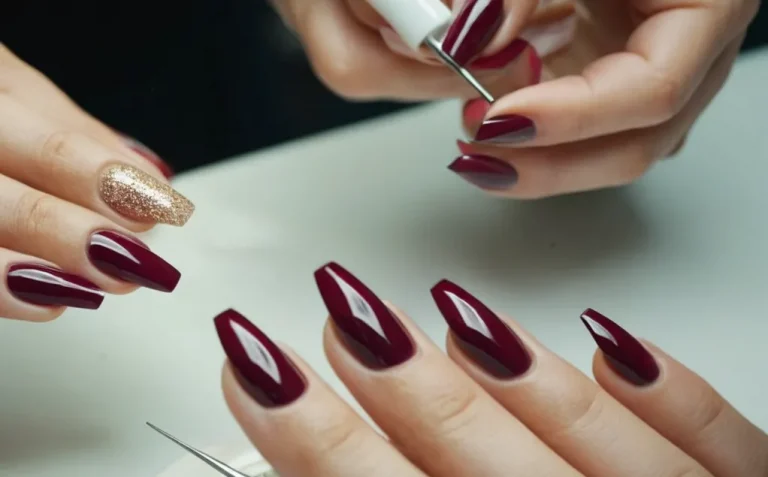
Use an Orange Stick or Toothpick
One of the easiest ways to remove bubbles in gel polish is by using a tool like an orange stick or toothpick. Gently run the stick over the bubble to press it down and smooth it into the layer below. This takes a bit of practice, but works well for small bubbles.
Be gentle as pressing too hard can damage the gel layer underneath.
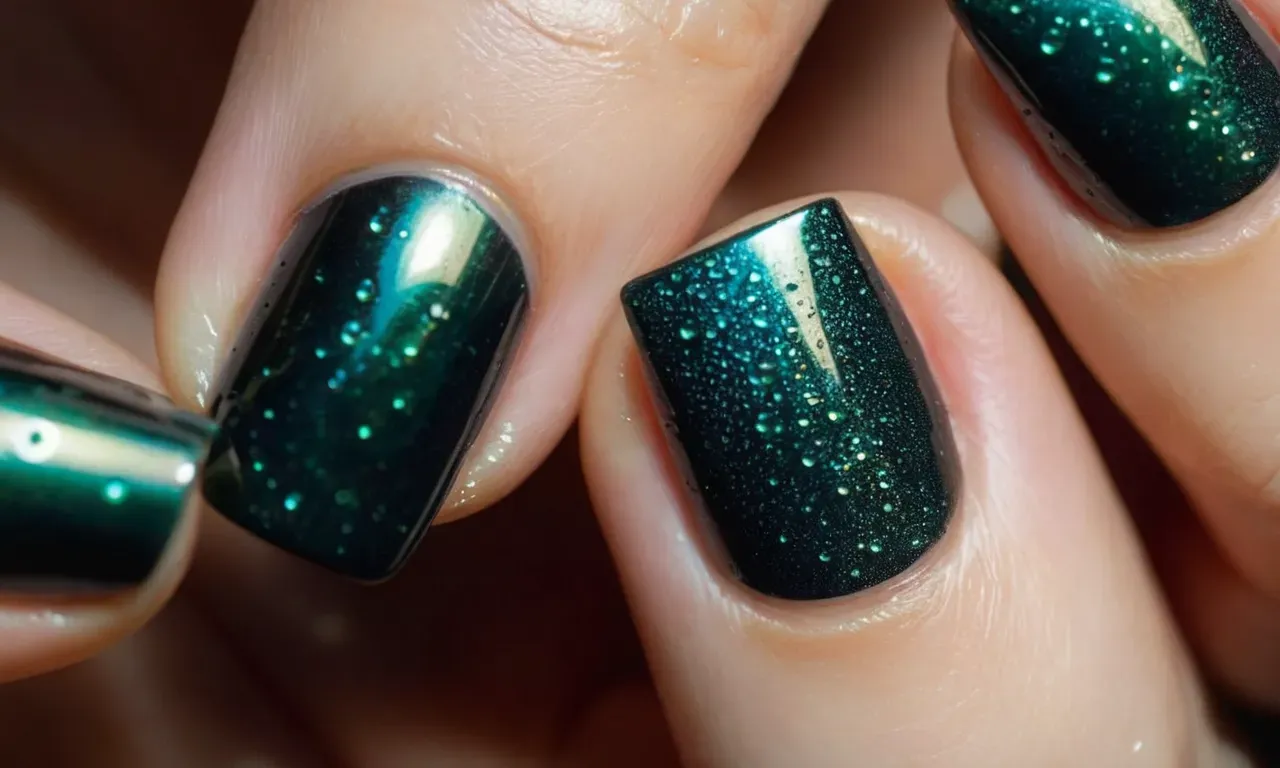
Apply Top Coat Gel
Another simple solution is to apply a thin layer of top coat gel over the bubbly area. Use a gel brush and gently glide over the bubbles. The top coat helps fill in indents and smooth over imperfections. Allow to cure under an LED or UV lamp as directed. This helps create an even surface.
Wipe With Gel Cleanser
Using a gel cleanser or nail prep solution can also help erase small bubbles. Soak a lint-free wipe and gently blot over the bubbly spots after initial application. Allow the gel to remain slightly tacky. Then continue application steps.
The cleanser helps remove air pockets without damaging the previous gel layer.
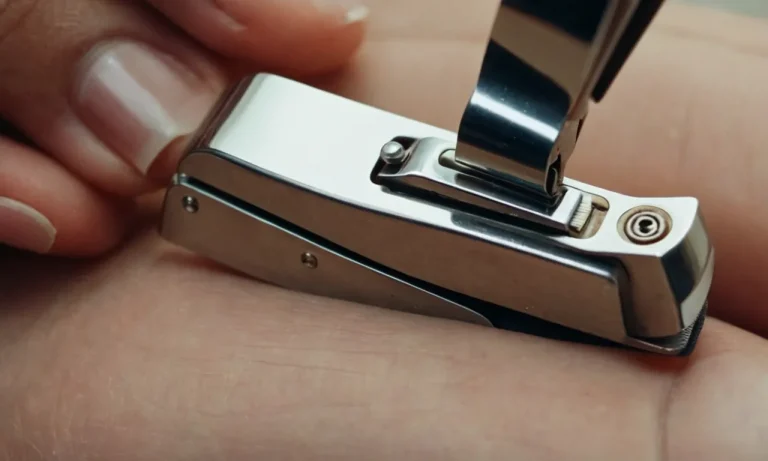
Buff The Surface
If bubbles remain after curing gel polish layers, buffing can remove them. Use a fine grit nail file or buffer to gently smooth over the bumpy area. Apply light pressure and buff in one direction. Be very careful not to file all the way down to the natural nail.
Follow with a top coat to fill uneven areas.
Use a Cure-Assist Spray
A specialized product like Gelish Cure Assist Spray can help banish bubbles. After applying gel color and before curing, lightly spray over nails. This allows air bubbles to rise to the surface so they can be smoothed out with an applicator tip. Then cure as usual.
The spray solvent formulation helps gels self-level.
Try the Heat Method
You can also use heat to get rid of pesky bubbles. After gel is applied and still uncured, hold nails under a blow dryer set to warm or low. Gently move the dryer over each nail for 5-10 seconds. The warmth helps air pockets rise up so they can be pressed down before curing.
Be very careful not to overheat nails.
How to Prevent Bubbles When Applying Gel Polish
Prep Nails Properly
One of the most common causes of bubbles in gel manicures is improper nail prep. Before applying gel polish, make sure to push back and clean underneath the cuticle area with a cuticle pusher and nail brush.
Use a nail file to lightly buff the natural nail plate – this removes any oils and creates a rough surface for the gel to adhere to. Wipe nails with isopropyl alcohol or nail dehydrator to remove any dust.
Proper nail prep removes debris, oils and creates the ideal surface for bubble-free application.
Don’t Rush the Application
It can be tempting to quickly apply gel polish to save time, but rushing often leads to bubbles. Take your time and use thin, even layers of gel products. Apply base coat thinly and cure fully before applying color coats. Make sure to cap the free edge of the nail with each layer too.
Rushing through and uneven application causes air bubbles. Patience pays off!
Avoid Overworking Layers
While it’s important to fully cure each layer, over-curing gel can cause bubbling issues. Gel polish usually cures in 30-60 seconds under an LED lamp. Avoid curing layers for longer than needed – this can over-harden the gel. It’s also best to avoid applying too many coats.
Typically, two thin coats of color is ideal for a smooth, bubble-free finish. Overworking the gel causes product to get too thick, trapping air pockets.
Don’t Overload the Brush
Using too much product on the brush is a common mistake. Only lightly dip the brush into gel – getting too much on the brush makes it hard to control. Gently wipe excess gel off along the neck of the bottle.
Use smooth, even strokes to apply a thin layer, avoiding pooling at the cuticles or flooding the sidewalls. Keeping polish layers sheer prevents trapping bubbles in thick gel.
Cap Free Edge
Failing to seal the free edge with each layer is a major cause of bubbles. Always finish each gel layer by lightly brushing over the tip of the nail to create a seal. This prevents air from getting trapped underneath subsequent layers.
Capping the free edge ensures full coverage and a bubble-free finish. It only takes a quick swipe of gel over the tip to prevent issues.
Following proper gel manicure techniques helps avoid unsightly bubbles in the polish. With the right prep work, careful application, and curing, you can achieve beautiful, smooth gel nails at home. Just remember – patience is key!
Slow and steady application results in a flawless, professional-looking manicure.
When to Seek Professional Help for Gel Bubbles
Applying gel nail polish at home can be tricky, and sometimes bubbles can form in the polish. While minor bubbling can often be fixed at home, there are times when it’s best to seek help from a professional nail technician.
Here are some signs that your gel bubble problem should be handled by a pro:
- The bubbles cover a large area of multiple nails. If the bubbling is widespread across your whole manicure, a professional will likely need to soak off and reapply the gel polish.
- The bubbles reappear immediately after you try fixing them. If the bubbles keep coming back after multiple home treatment attempts, it could indicate an underlying issue that requires a pro’s expertise.
- The bubbling is accompanied by lifting or peeling. Bubbles together with lifted or peeling gel polish means the manicure is failing and needs to be redone by a technician.
- Your nails feel sensitive or painful. Severe or persistent bubbling that leads to sensitivity or pain is a red flag for having a professional take a look.
A nail tech has specialized tools, products, and training to remove gel polish, fix any nail damage, and reapply it properly. They can determine if your bubbles are due to poor application technique, using too little or too much product, or another problem.
Based on the cause, they’ll be able to remedy it for a smooth, lasting manicure.
Don’t be tempted to pick off bubbling gel yourself! This can damage the natural nail. Instead, as soon as you notice any issues that you can’t easily fix at home, book an appointment with your nail salon.
Describe the bubbling issues you’re experiencing so they can plan the appropriate removal and renewal process.
With a nail tech’s skills, you’ll get a fresh start with a bubble-free gel manicure. And they can provide tips for applying gel properly on your own next time. A professional fix for stubborn gel bubbles helps protect your natural nails so they stay healthy.
Conclusion
While gel nail polish bubbles can be annoying, the good news is you can easily fix them at home without having to remove your manicure. Just remember to gently press them down while the polish is still tacky, add a fresh layer of top coat, or try gently buffing.
With a few simple tricks, you can get your smooth, flawless gel mani back in no time.