How To Fix A Broken Acrylic Nail
Oh no! Nothing ruins a perfect manicure faster than a broken acrylic nail. If you’re reading this, chances are you’re dealing with the aftermath of a broken acrylic and need to fix it fast. Don’t worry – with the right products and techniques, you can repair a broken acrylic nail in no time.
If you’re short on time, here’s a quick answer to your question: To fix a broken acrylic nail, you’ll need nail glue or acrylic powder and liquid. Use glue for quick minor breaks, or fill in larger cracks with new acrylic. File and shape when dry.
Then buff, prime, and paint the nail to blend it with the rest.
In this comprehensive guide, we’ll walk through all the steps and products you need to fix broken acrylic nails. You’ll learn tips for temporary and permanent repairs whether you have a small crack or a fully broken nail.
Assess the Damage
Look at the size and location of the crack or break
When an acrylic nail breaks or cracks, the first step is to examine where the damage is and how large it is. A small crack at the tip of the nail may be an easy fix, while a large split down the center of the nail or a fully broken nail will require more work.
Carefully look over the entire nail and determine if the break affects just the tip, goes down the side, or splits the nail in half.
Also note if the break is on your dominant hand or not. Repairing a broken nail on your dominant hand often requires help from someone else. A cracked nail on your non-dominant hand can usually be managed on your own.
Determine if it’s a quick fix or requires reapplication
Once you’ve assessed the location and size of the crack or break, you can determine if it’s a quick fix or will require soaking off the acrylic and reapplying a new nail.
- Minor cracks at the tip of the nail can often be fixed with nail glue or acrylic powder and liquid.
- Cracks down the side of the nail may need the nail soaked off and replaced if the underside is damaged.
- A fully broken nail will need to be fully replaced by soaking off the acrylic and applying a new nail.
Here are some guidelines on whether a broken acrylic nail can be quickly repaired or requires reapplication:
| Quick Fix | Reapplication Needed |
| – Small crack on tip of nail | – Large crack down side of nail |
| – Chip on corner of nail | – Fully broken or shattered nail |
| – Surface crack across top of nail | – Multiple cracks over entire nail |
If the underside of the natural nail is exposed, it’s best to soak off the acrylic and replace the whole nail to prevent damage and infection of the natural nail. For smaller cracks, quick DIY fixes can hold the nail in place until you can see a professional.
Gather Your Repair Supplies
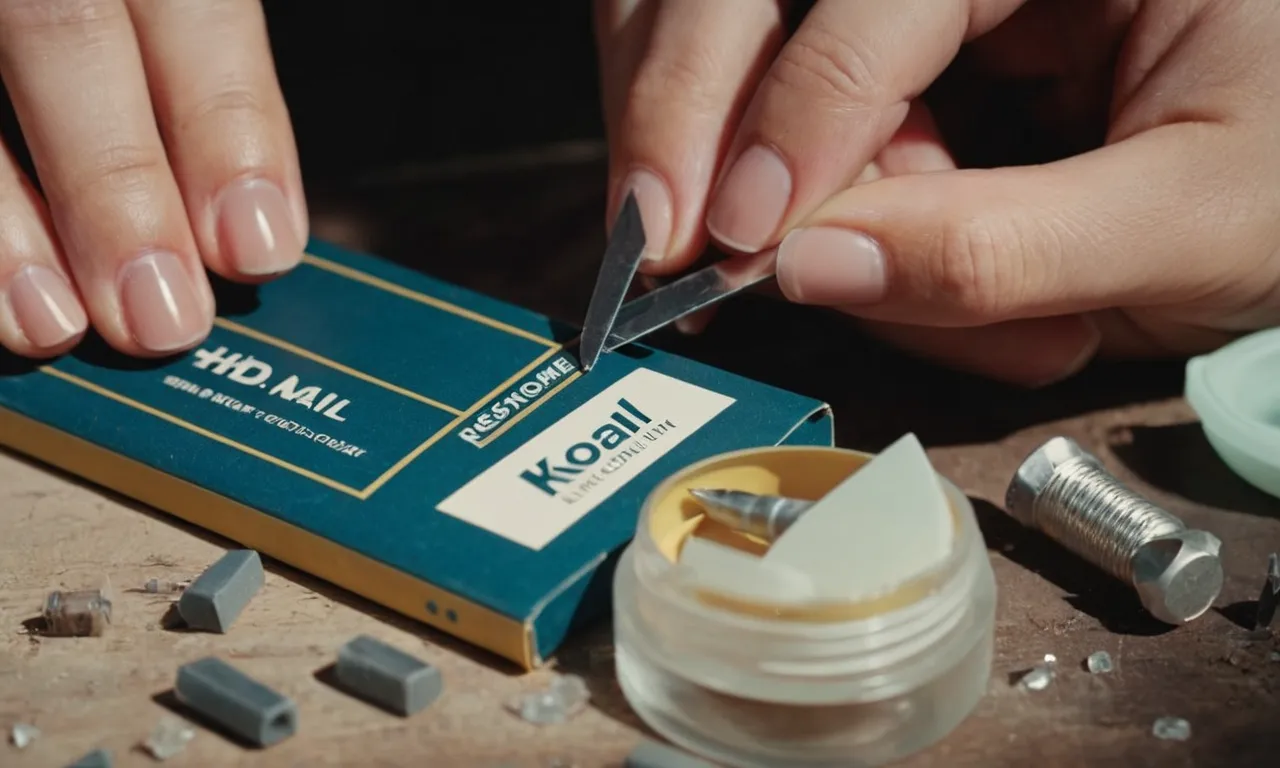
Having the right supplies on hand is crucial for fixing a broken acrylic nail quickly and easily. Here are some of the key items you’ll want to have ready before starting the repair process:
Nail Glue for Minor Breaks
If your acrylic nail has just a small crack or chip, you may be able to repair it using nail glue. Look for one specifically formulated for acrylics. Apply a thin layer of glue over the damaged area, wait 30 seconds for it to get tacky, then gently press the pieces back together.
Hold them in place for 30-60 seconds. Acrylic nail glue provides a fast, easy fix for minor breaks.
Acrylic Powder and Liquid for Larger Repairs
For more significant breaks, cracks, or pops, you’ll need acrylic powder and liquid. These are the same products used to initially apply and build acrylic nails. The powder is a polymer powder that hardens when mixed with the liquid monomer.
For repairs, use a small brush to apply the liquid, then dip the nail into the powder to fill in gaps or rebuild missing pieces. This will provide a smooth, durable fix that blends with the existing acrylic.
Nail File, Buffer, Primer
Some additional supplies that will help with the repair process include:
- Nail file – Use to shape and smooth down the fixed nail.
- Buffer block – Helps blend and polish the fixed area.
- Nail primer – Prepares the natural nail for acrylic application.
Having these tools on hand will allow you to file, shape and blend the fixed nail so that it looks natural. Be sure to prep the nail with primer first so the fresh acrylic adheres properly.
With the right combination of supplies – nail glue, acrylic powder and liquid, files, buffers, and primer – you can fix minor and major breaks in acrylic nails yourself. Keep them stocked in your manicure kit for easy repairs anytime. Your nails will look salon-perfect once again.
Clean and Shape the Nail
File away any jagged edges
If your acrylic nail has broken, the first step is to file away any jagged or rough edges. Use a coarse nail file and gently file in one direction, avoiding back and forth motions which can further damage the nail.
Lightly file just enough to smooth the edge – don’t file too much or you could weaken the remaining attached acrylic. Filing will help remove any snag-prone bits and create a clean surface for reshaping the tip.
Shape and taper the free edge
After filing, it’s time to reshape and taper the free edge of the nail. Use a medium grit nail file in gentle, one-direction strokes to create a uniform shape and arched tip. Angle the sides of the nail so they perfectly align with the sidewalls of your natural nail – this tapered look is key for a natural shape.
Avoid filing too thin at the tip, as this can lead to cracks and breaks. The taper should follow the natural width of your nail bed for optimal strength and beauty. Go slowly and check the shape often as you file. Use a nail buffer to further smooth and shape the edge.
Reshaping and tapering the broken nail is essential not just for appearance, but for preventing further cracking. Blunt, square tips with thick edges put extra stress on the nail and can lead to breaks. By tapering and thinning the free edge, you distribute force evenly across the nail.
This helps the acrylic reinforcement last longer. However, be careful not to over-file or create weakness with an overly thinned tip.
These filing and shaping steps will leave you with a smooth, balanced nail that flows seamlessly into the natural nail. It takes precision and patience, but it’s worth it for long-lasting and natural looking acrylics.
Don’t be afraid to take your time and double check the shape as you file – rushing this process can lead to uneven shaping and stressed areas on the nail. With the proper taper and thickness, your reinforced nail will be ready to polish and show off!
Apply Repair Products
Use nail glue for quick fix of small cracks
If you have a small crack or chip in your acrylic nail, using some nail glue can provide a quick and easy fix. When applying nail glue, it’s important to only use a tiny amount – too much can make a mess. Gently brush or dab on the glue over the cracked area using a thin nail art brush.
Hold firmly for 30 seconds to a minute to allow it to dry. The nail glue will act as a sealant and should repair cracks up to about 1mm in size. This can buy you some extra time before your next full acrylic nail fill appointment.
Apply new acrylic bead to fill in larger gaps
For larger cracks or chunks missing from your acrylic nail, you’ll need more than just nail glue to fix it. In this case, apply a small bead of new acrylic right over the damaged area using a nail form. Shape and blend it into the surrounding nail using a fine file or buffer.
Let it fully harden and cure for at least 24 hours before filing and shaping the nail surface smooth. This acrylic application will fill in gaps up to several millimeters in size. It creates a permanent fix, just like getting a partial fill at the salon.
Hold in place until fully dry
No matter which acrylic repair method you use, it’s crucial to hold the nail firmly in place until the product is completely dry and hardened. If applying nail glue, press down for 30-60 seconds. If using new acrylic, you’ll need to hold for at least 2-3 minutes.
Trying to removal your finger too soon can undo the repair job. Acrylic nail products work by forming strong bonds as they harden and cure. Prematurely disturbing the nail interrupts this process. Be patient and let the repair fully set before resuming normal use of your hands.
The fixed nail will be just as strong and lasting as a professional repair.
Blend and Finish
Gently file and shape the repaired nail
After the acrylic repair has dried and hardened, it’s time to blend it into the natural nail. Using a fine grit nail file, gently file the surface of the repaired nail to smooth it out and shape it. File in one direction, using light pressure.
Work the nail file from side to side to taper the free edge into a uniform point or round shape, matching the shape of your other nails. Be careful not to file too aggressively or you could thin out the acrylic repair. The goal is to get a smooth, even surface and contour.
Use buffer to smooth acrylic
Next, use a nail buffer block to further smooth and refine the nail surface. Buffers help blend the natural nail and acrylic so there is no obvious ridge or transition line. Work the buffer back and forth over the entire surface of the nail tip.
Go gently and avoid applying too much pressure to prevent heat damage. Buffing refines the shine of the acrylic and blends everything together into a flawless, glossy finish.
Apply primer
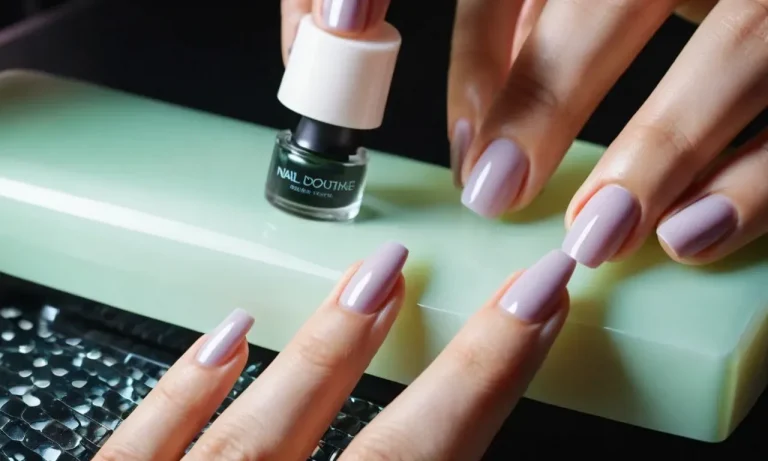
To help nail polish adhere to the repaired acrylic nail, apply a thin layer of nail primer. Primers act like glue between the nail and polish. Brush a small amount evenly over the entire nail. Let it dry completely before moving on. This helps prevent chipping and peeling.
Using primer leads to a more durable manicure that lasts.
Paint nail polish to match other hand
The final step is to paint the repaired nail with colored nail polish to match the other hand. Apply two coats of polish for full, even coverage and maximum color intensity. Make sure to cap the nail tip with each stroke. Let the first coat dry then follow with the second.
Apply a top coat for extra glossy shine and protection. This seals the manicure and prevents smudging and chips. Your fixed acrylic nail will look and feel amazing!
Conclusion
Dealing with a broken acrylic nail can be frustrating, but it doesn’t have to ruin your day. With the right products and techniques, you can easily repair cracks and breaks at home. Just assess the damage, gather supplies, clean and shape the nail, make repairs with glue or new acrylic as needed, then blend and finish with filing, buffing, and polish.
Your fixed nail will look good as new in no time. Just be patient during the process and avoid snagging the nail before it fully dries. With this guide, you can fix your broken acrylics and go back to rocking your perfect manicure.

