How To Do Ombre Nails Without A Sponge
Have you ever wanted to do stylish ombre nails at home without the mess of using a sponge? If you’re short on sponges or want an easier and cleaner alternative, here’s how to get gorgeous ombre nails using a makeup brush instead.
Ombre nails create a fun, faded effect between two nail polish colors. Typically people use makeup sponges to blend the polishes, but you can skip the sponge hassle by using a clean slanted makeup brush instead. The angled bristles smoothly transition between the colors just like a sponge would.
In this article, you’ll learn a simple step-by-step technique to do eye-catching ombre nails with a brush, from choosing your polish colors to sealing your finished manicure.
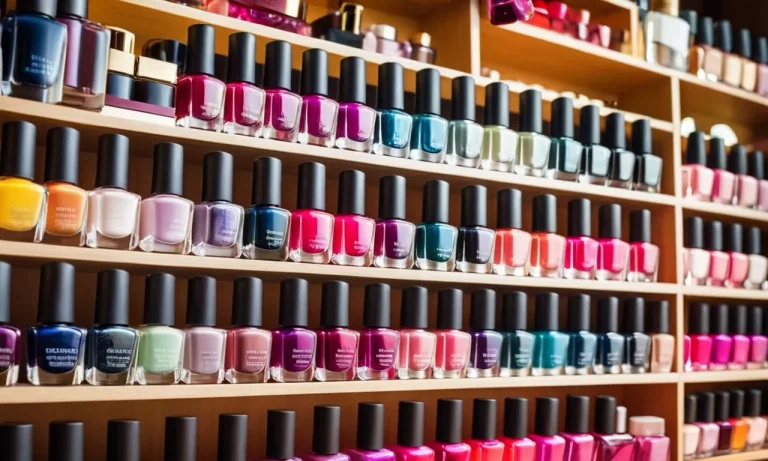
Pick Two Complementary Nail Polish Colors
When doing ombre nails without a sponge, it’s important to pick two nail polish colors that complement each other well. Here are some tips for choosing the perfect color duo:
Choose One Darker Color and One Lighter Color
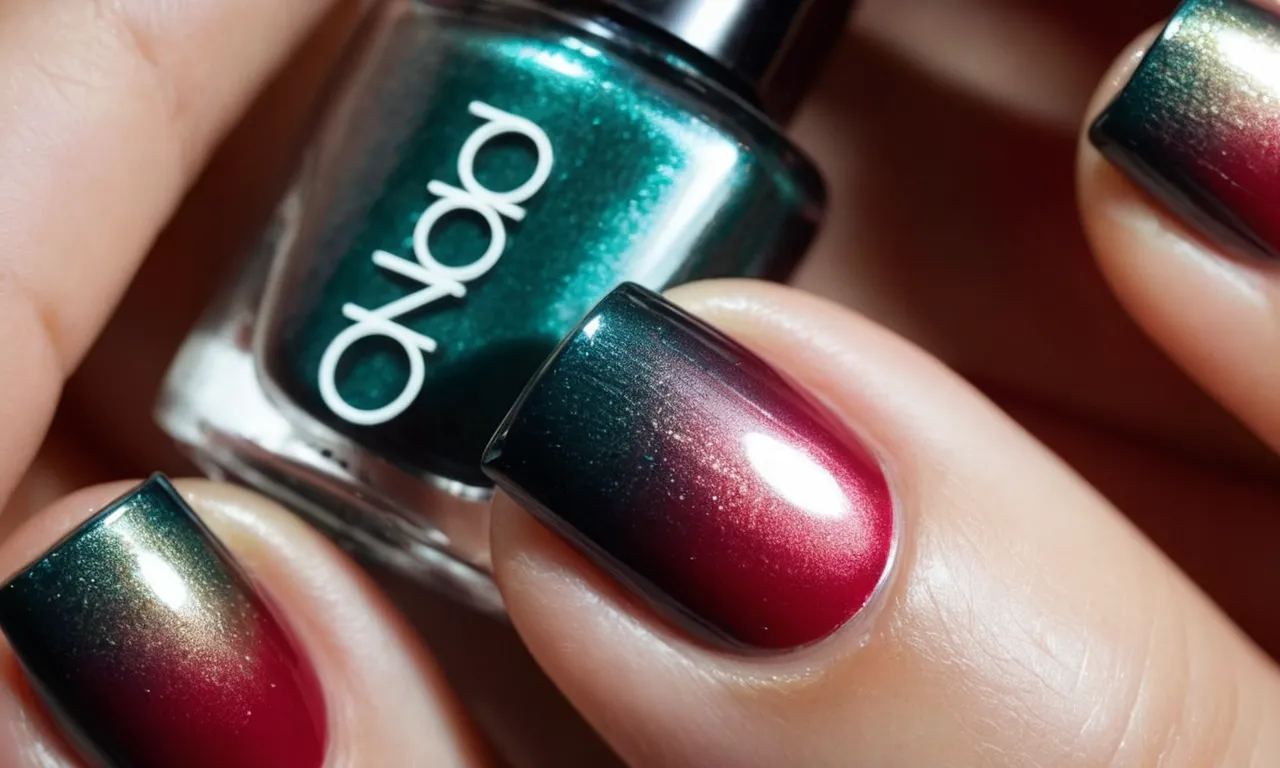
The classic ombre look transitions from a darker color at the top of the nail to a lighter color at the tip. When selecting your two polishes, make sure there is a noticeable difference in shade between the dark and light colors. Choose a dark color like black, navy, maroon, or dark green.
Then, pick a lighter version of that shade or a color within the same color family for the other polish. For example, pair a deep burgundy with a lighter pinkish red.
Consider Color Combinations That Flatter Your Skin Tone
Make sure to pick nail polish colors that complement your skin’s undertones. Warm skin tones look great with warm shades like peach, coral,bronze, and gold. Cool skin tones are flattered by cool colors like pastels, berry tones, and silvery polishes.
Neutral or olive skin tones can go for either warm or cool shades. You also generally want the colors to contrast with your skin tone – lighter skin looks striking with darker colors, while deeper skin stands out with lighter colors.
Here are some suggested ombre color pairings for different skin tones:
- Fair skin: black to gray, navy to baby blue, plum to lavender
- Light skin: burgundy to blush, chocolate to tan, emerald to sage
- Medium skin: royal blue to sky blue, cherry red to pink, espresso to mocha
- Tan skin: mustard to peach, brick red to coral, charcoal to ash
- Dark skin: white to baby pink, electric blue to robin’s egg, neon orange to melon
When doing your own ombre manicure without the help of sponging, taking the time to find two nail lacquers that pair beautifully together is key. Complementary colors in darker and lighter shades that flatter your complexion will result in a stunning ombre fade.
Prep Your Nails Before Painting
Shape and File Nails
Properly shaping and filing your nails is a crucial first step before painting an ombre design. Here are some tips for prepping your nails:
- Start by filing your nails to your desired length and shape. Almond, square, or rounded tips work great for ombre nails.
- Use a nail file to smooth the edges of your nails so they are even all around. Get rid of any rough edges or peeling layers.
- Gently buff the surface of each nail with a buffing block or fine grit nail file. This removes shine and oils from the nail plate, allowing the polish to adhere better.
- Push back and trim your cuticles with a cuticle pusher and nail clipper. Make sure the nail plate is completely clean and ready for polish.
- Wash your hands thoroughly with soap and water. Use a nail brush to scrub under and around each nail bed.
- Swipe nails with nail prep solution or rubbing alcohol to further remove dirt, oil, and moisture.
Taking the time to properly shape, buff, trim, and clean your nails will help the ombre polish last longer without chipping or peeling. Your prep work establishes the perfect blank canvas for your gradient design.
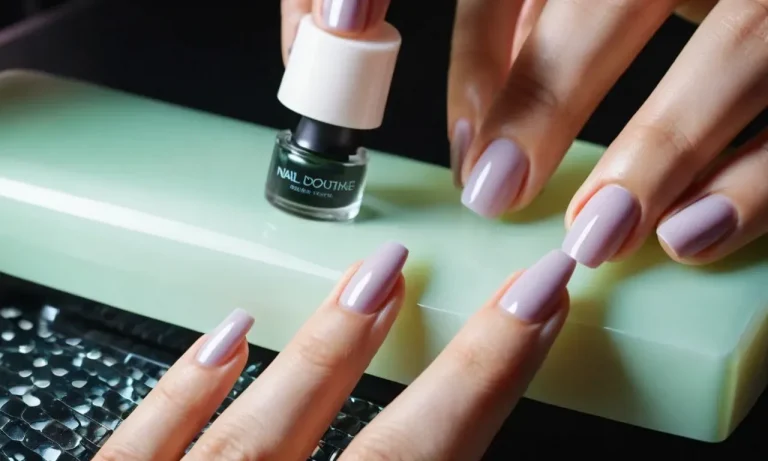
Apply Base Coat for Longer Wear
Applying a quality base coat before painting an ombre manicure is a key step to help the polish adhere to your nails and extend the wear time. Here’s how:
- Use a dedicated base coat, not just regular clear polish. Base coats are formulated to bond to the nail plate.
- Apply a thin, even layer of base coat to each nail, going almost to the edge but not wrapping the tips.
- Let the base coat dry completely, about 2 minutes. The polish should feel smooth and not tacky.
- A ridge-filling base coat helps smooth out any nail imperfections. This gives the polish an even surface to grasp.
- Quick-dry base coats help expedite your mani. Look for fast-drying formulas.
- Base coat also prevents nail staining from pigmented polish. This keeps nails looking fresh.
Taking the time to base coat is worthwhile to help your artistic ombre nails last longer without chips, dings, or discoloration. The right base sets up a strong foundation for your gradient polish design.
Paint the Dark Color on Your Tips
Ombre nails are a gorgeous way to add some depth and dimension to your manicure. The ombre effect is created by gradually blending two nail polish colors together, with the darker color concentrated at the tips. Painting the dark color on your nail tips is crucial for achieving that faded ombre look.
Here are some tips for applying the dark polish to your nail tips:
Prep Your Nails
Before painting, make sure your nails are clean, dry, and buffed to create a smooth surface for the polish. Push back and trim your cuticles if needed. Use a base coat to help the polish adhere and protect your nails from staining.
Choose Your Dark Color
Pick a rich, deep shade for the tip color. Dark blues, blacks, burgundies, and grays work beautifully. Avoid glitter polishes, as the flecks can make blending trickier. Go for creams or satiny polishes.
Paint Just the Tips
Apply the dark polish only to the nail tips, leaving 1/4 to 1/3 of your nail bare at the base. Use steady strokes and don’t overload the brush with polish. Let the dark color dry completely before moving on.
Clean Up the Cuticle Area
Once dry, go back with a small brush dipped in remover to gently tidy up any polish on your skin or cuticles. This helps ensure clean lines between the light and dark shades.
Seal with a Top Coat
Finish by applying a glossy top coat over the dark tips. This smooths and evens out the polish. Let the top coat dry before moving on to blend in your light color. Applying top coat first prevents the colors from mixing together too much.
Taking the time to cleanly paint on the dark polish at your tips is the key to creating stunning ombre nails. Avoid overloading the brush, let each layer dry thoroughly, and tidy up with remover. With practice, you’ll be able to nail the ombre effect without any special tools needed!
Use a Slanted Brush to Feather the Gradient
Load Brush with the Lighter Nail Polish
When doing an ombre nail design without a makeup sponge, you’ll want to use a slanted brush instead. To start, pour some of the lighter colored polish that will act as your basecoat into a disposable container or onto a paper plate.
Then, load up your slanted brush with a generous amount of this light polish.
Make sure to fully saturate the bristles of the slanted brush so you have enough polish to cover the entire nail in even strokes. Having excess polish on the brush is better than not having enough when working to create that faded ombre effect.
Gently Brush Upward in Strokes
With the loaded slanted brush in hand, begin applying polish at the base of the nail near the cuticle area. Gently pull the brush up towards the nail tip using soft, feather-like strokes so the polish fans out.
You don’t need to apply too much pressure, as the weight of the loaded polish on the tilted brush will do most of the work for you.
Continue brushing upward and outward on each nail, reloading the brush with more polish as needed. The goal is to create a gradient effect, so focus brush strokes on the areas you want to look lighter, keeping the polish thinner and more translucent towards the nail tips.
Quickly Blend the Colors Before They Dry
Once you’ve created a faded base layer with the lighter polish, uncap your darker ombre shade. Swiftly paint on the deep polish near the base, similar to where you would normally apply a french manicure tip.
Before the polishes have a chance to dry, use the slanted brush to softly streak and blend the two shades together. Brush upward to mix the colors into one another. The gradient effect will start to emerge with this blending step.
You can continue layering on additional coats of the lighter and darker polishes, blending in between, until your ombre design looks bold and seamless. Work quickly though, as you don’t want prior layers to dry before getting a chance to diffuse any harsh lines.
Finish with a shiny top coat like Seche Vite to seal and protect your salon-worthy ombre nail job. The slanted brush technique may take some practice, but allows you to achieve stunning results without using messy makeup sponges.
For more tips on nailing this trending look, visit popular nail art websites like NAILS Magazine and Byrdie. Their step-by-step instructions with photos walk you through best application practices. You’ll be rocking an expert ombre mani/pedi in no time!
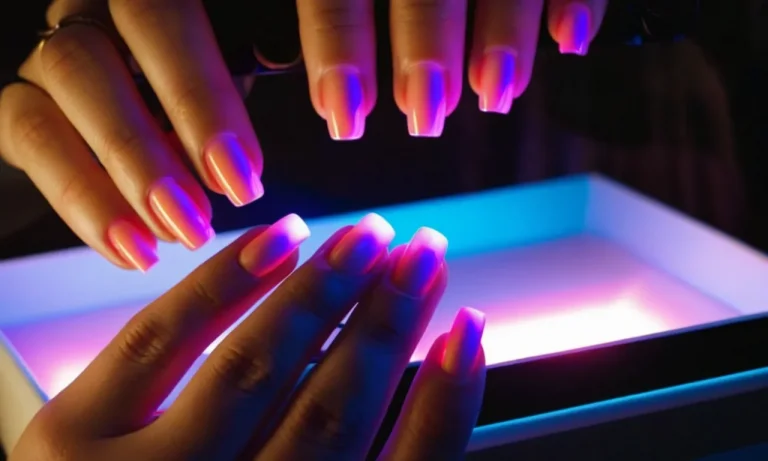
Apply Top Coat and Let Manicure Dry
The final step in creating a beautiful ombre manicure is to apply a top coat and let your nails dry completely. This helps seal in the color, adds shine, and protects your design.
Apply Top Coat
Once you’ve finished applying the gradients and designs to each nail, it’s time to lock it all in with a top coat. Here are some tips for applying top coat to an ombre manicure:
- Use a fast-drying top coat formulated specifically for nail polish. This will help prevent smudging or smearing as your nails dry.
- Apply a thin, even layer of top coat over each entire nail. Make sure to cap the tips so the color doesn’t chip there.
- Let the top coat dry for at least 60 seconds between nails. This prevents dragging wet polish and messing up your gradients.
- Consider applying two coats of top coat for maximum shine and protection. Make sure the first layer is completely dry before adding the second.
A good top coat helps smooth out any bumps or ridges in your polish and really makes the colors pop. It’s worth investing in a salon-quality brand like Seche Vite or Essie Gel Couture.
Let the Manicure Dry
After applying your top coat, it’s crucial that you let your ombre nails dry completely before doing anything with your hands. Here are some drying tips:
- Try to avoid using your hands or fingers until the polish is totally cured. This can take 10-20 minutes for regular polish or up to one minute under an LED lamp.
- Run your nails under cold water – this can help set the polish. Just don’t immerse your whole hands or the water can mess up the design.
- Sit still and don’t do any activities like texting, washing dishes, or opening cans. Even small movements can smudge uncured polish.
- You may want to wait up to an hour before showering or washing your hands to be safe.
If you bump or snag your nails before they’ve fully dried, you can use nail polish thinner to gently smooth out any ridges or uneven spots. This helps keep your manicure looking perfect.
With some patience while drying, your gorgeous ombre look should last 5-7 days without chips or fading. Be sure to use cuticle oil daily to condition the nails and skin. And once the polish starts looking worn, it’s time to redo your ombre design in a fresh new color scheme!
Conclusion
Ombre nails are a gorgeous, summery look that is surprisingly easy to DIY at home with the right makeup brush. By choosing two coordinating nail polish shades, prepping your nails properly, and using a slanted brush to feather and blend the colors, you can achieve professional-looking ombre nails without the sponge hassle or mess.
So next time you want fashionable dip-dyed nails, grab your polishes and an angled makeup brush. With just a bit of blending, you’ll have enviable ombre tips in minutes.