How To Do Nail Art: A Step-By-Step Guide For Beginners
Nail art is a fun and creative way to decorate your nails and express your personality. With some practice and the right tools, anyone can create beautiful nail designs right at home. In this comprehensive guide, you’ll learn everything you need to know about getting started with DIY nail art.
If you’re short on time, here’s a quick answer to your question: Start with clean, shaped nails. Gather supplies like nail polish, brushes, tape, rhinestones, etc. Paint a base coat. Add designs with polish, tape, stamps, decals, foils, or rhinestones. Finish with a topcoat to seal the design.
Choosing Your Nail Art Supplies
Nail polish
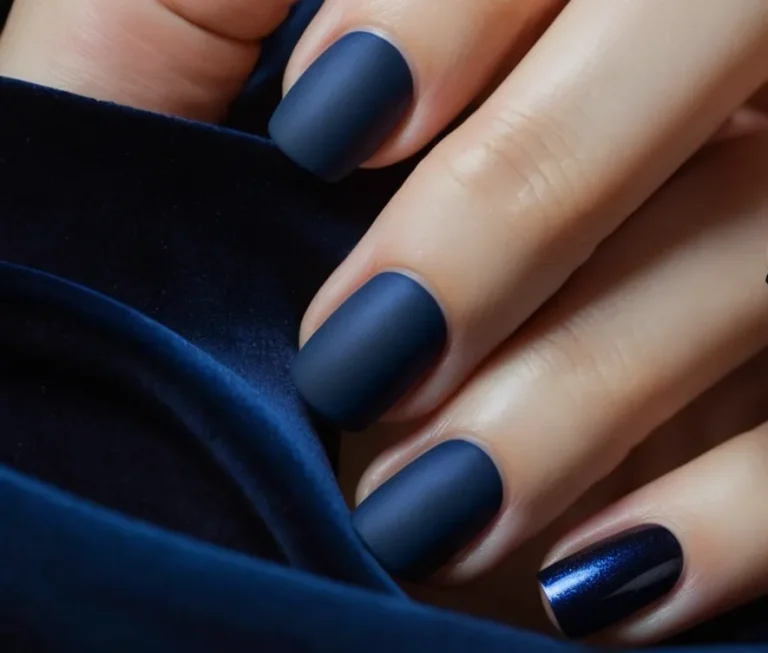
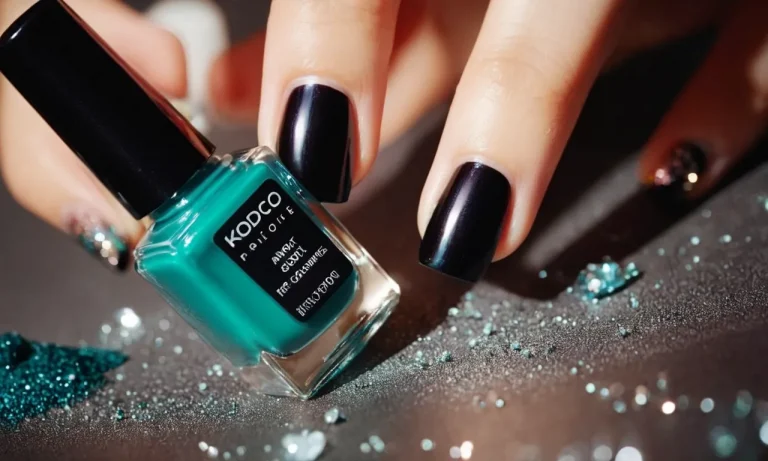
Having a good variety of nail polish colors and finishes is key for nail art (Bustle). Start with basic colors like black, white, nude, red, pink, and blue, then build up your collection with fun shades like pastels, neons, metallics, and glitters.
You’ll also want regular cream polishes as well as top coats. A top coat like Seche Vite can help nail art last longer without chipping or fading.
Nail art brushes and dotting tools
Nail art requires specialized brushes for details and effects. Must-have brushes include a small detail brush, striping brush, fan brush, and angled brush (Allure). Dotting tools in various sizes allow you to create patterns of dots and other spots.
Start with a basic dotting tool set for maximum versatility. Using quality brushes with fine tips is key for getting crisp, clean lines for your nail art designs.
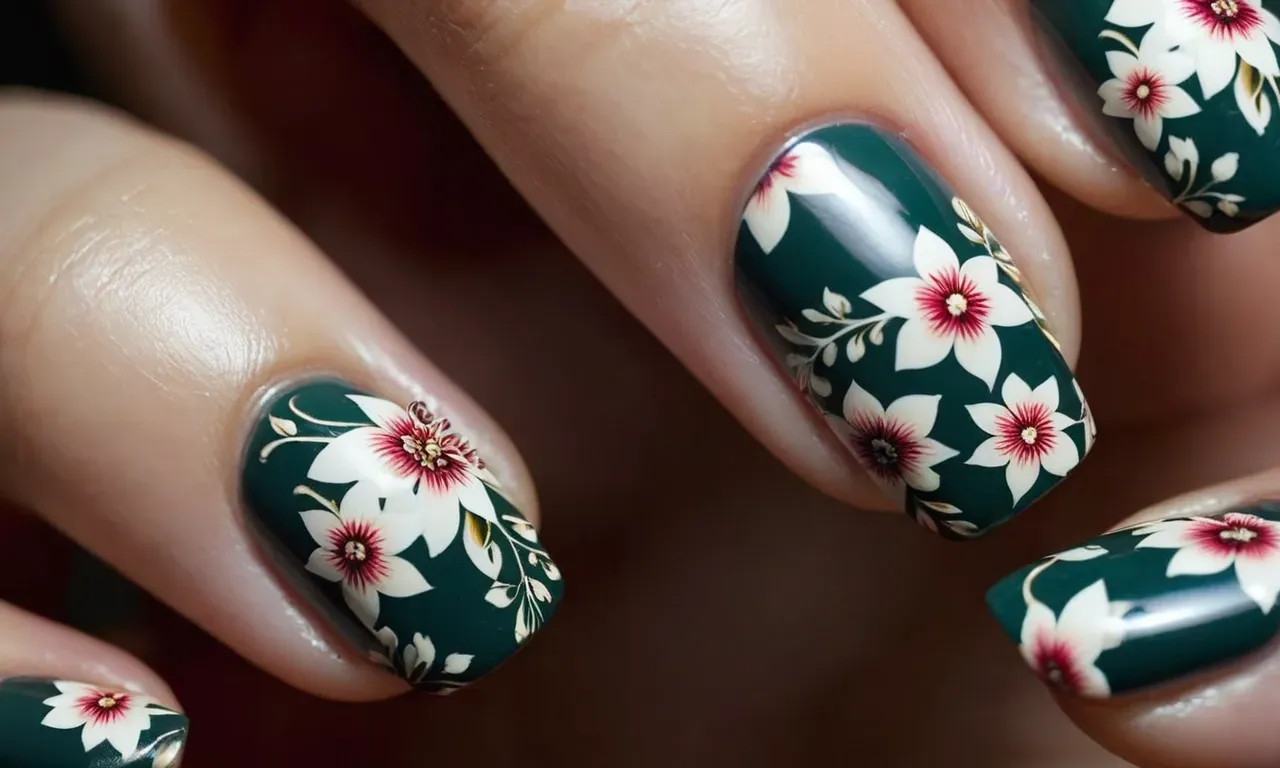
Nail art stamps and decals
Nail stamps and decals make it easy for beginners to apply cute designs. Stamping involves transferring images from a metal plate to your nails using a scraper and stamper. With decals, you simply peel off the design and stick it to your nail where desired.
From floral motifs to geometric patterns, stamps offer tons of fun options for customizable looks.
Nail art tape
Using tapes allows you to create sharp lines and patterns like chevron stripes or color blocking with ease. Washi tape for nail art comes in various widths perfect for tiny details. You can find tapes ranging from basic colors to fun prints and metallics too.
Apply them across nails, then paint over top with polish. Peel off gently after painting for an eye-catching border effect.
Rhinestones and embellishments
No nail art supply collection is complete without bling! Rhinestones, glitter flakes, and charms can take your designs to the next dazzling level. Using nail glue, you can affix them on top of base colors or detailed art for extra pop.
Embellishing an accent nail or two is a simple way to add some shine without going overboard. Have fun playing around with different styles and shapes of embellishments.
Preparing Your Nails for Nail Art
Shaping your nails
Properly shaping your nails is an important first step before applying nail art. Start by filing each nail into the desired shape using a nail file. An oval or squoval shape tends to suit most nail beds best. Be sure to file in one direction and avoid sawing back and forth to prevent damage.
Gently buff the surface of each nail to smooth any ridges or imperfections. Apply firm pressure, but not too much to avoid thinning your nails. Well-shaped, smooth nails make the perfect canvas for nail art.
You can get creative with nail shaping by trying a rounded edge, pointy stiletto or angular edge for an edgy look. Just be careful with very sharp nail shapes as they are prone to breaking. It’s also best to keep nail tips shorter if you’re new to nail art, so you can get used to handling a brush without bumping the edges.
Applying a base coat
A base coat is a must for protecting your nails before polish application. Look for a base formulated to help nail art adhere and last longer without chipping. Apply a thin, even layer to each nail, swiping down the center first then brushing over each side.
Let the base coat dry thoroughly before moving forward with art, usually about 60 seconds under a nail lamp or 5 minutes air dried.
Using a ridge filling base coat helps smooth uneven textures for flawless polish application. It also prevents staining of nails from pigmented polish. For very soft or oily nails, try a bonding base coat to help nail art grip better without lifting or peeling.
Getting into the habit of always using base coat will help prep your nails for amazing art every time. Don’t forget to seal your finished design with a fast-drying top coat as well to lock in your artistic efforts!
Nail Art Techniques for Beginners
Freehand Nail Painting
One of the easiest ways to start creating basic nail art designs is by painting freehand directly on your nails. All you need are a few nail polishes and a steady hand! It may take some practice, but you can paint fun shapes like flowers, zig zags, dots, or geometric patterns.
Start with nail polish brushes that have a fine tip for better control.
For freehand flowers, first paint on the petals using light, long strokes outward from the center of the nail. Then add a round dot in the middle for the flower center. You can even layer different polishes to mix colors.
Dots and stripes are also super easy beginner designs – alternate polishes and make rows of dots, diagonal lines, or vertical stripes over a base color.
Using Nail Art Tape
Washi tape or masking tape cut into thin strips makes creating straight lines and geometric shapes a breeze. Simply stick on pre-cut pieces of tape where you want sharp lines or borders between colors. Then paint over top with contrasting polish colors.
Finish with a top coat to smooth and seal in your design. Let your creativity run wild with chevron, crisscross, or color block patterns.
You can find special nail art tapes already pre-cut into popular widths and shapes like chevrons or french tips online or at beauty supply stores. These tapes help you skip the prep and achieve professional looking manicures faster.
Applying Nail Art Stamps and Decals
Nail stamping allows you to quickly apply intricate designs like animal prints, florals, and geometrics. Start with a 2-piece stamping kit which includes a metal plate etched with patterns and designs along with a scraper and stamper head.
Paint a wide stripe of polish over your design of choice on the plate. Use the scraper to remove excess polish. Then firmly press the stamper straight down and lift off the design.
Then simply roll the stamped image from the stamper head directly onto your nail where you want it. For best results use stamping polishes and primers which help transfer the designs. Add decals and stickers over an accent nail for easy 3D embellishment without sticking each rhinestone by hand!
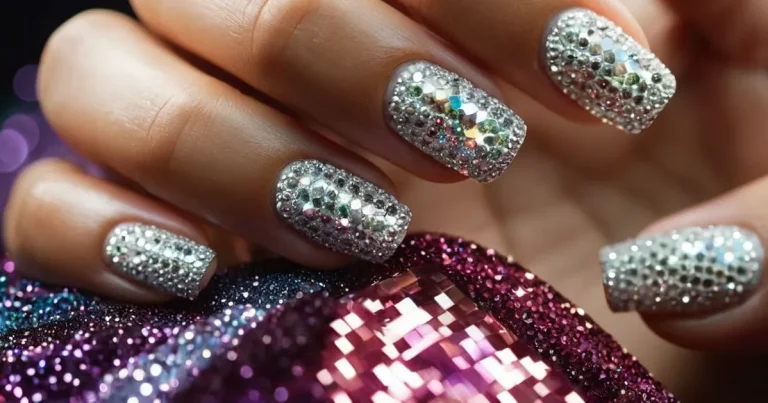
Creating Designs with Rhinestones
No nail look sparkles quite like a dazzling rhinestone manicure! While gluing on tiny individual rhinestones can be tedious, crystal nail powders streamline the process. These fine glitter powders contain tiny flat-back crystals that stick to any nail polish, no glue needed.
Simply paint on your base color, then pat on the powder liberally over the entire nail.
Finish by sealing it in with a glossy top coat layer. The crystals with automatically orient flat against your nail for a smooth bedazzled look. Beyond full coverage, you can paint on polish stripes or dots first to embellish smaller sections for simpler bling.
Let your nails shine bright with trendy Swarovski crystal nails!
Sealing Your Nail Art with a Top Coat
Applying a top coat is an essential final step when doing nail art. Using a quality top coat will help seal and preserve your design while adding a smooth, glossy finish. The right top coat can also help prevent chipping, smudging, and fading. This helps keep your nail art looking fabulous for longer.
Why Apply a Top Coat?
There are a few key reasons why applying a top coat is so important for nail art:
- It seals the design – A top coat creates a protective barrier over the nail art, locking all the colors and details in place.
- It smoothes texture – Chunky glitters, decals, and 3D embellishments can feel rough. A top coat evens out the surface for a flawless finish.
- It prevents smudging – Without a top coat, intricate nail art details can get accidentally smudged. The top coat acts like a shield against blurring or transferring.
- It resists chipping – Multiple thin layers of a top coat reinforce nail art designs, acting like a fortifying armor against chips and cracks.
In short, adding a finish of top coat is the best way to make sure your artistic efforts pay off with a long-lasting manicure.
Choosing a Top Coat
With so many top coat options on the market, it can get confusing finding the right one. Here are some tips:
- Avoid dulling top coats – Steer clear of matte top coats since these will remove shine and vibrancy rather than enhance it.
- Consider a thick formula – Thicker top coats tend to apply more smoothly without dragging across nail art details.
- Look for fast-drying – Quick dry top coats are ideal since they rapidly seal in nail designs before accidental smudging can happen.
- Check if it’s chip-resistant – Superior adhesion and flexibility help prevent pesky chips.
Popular top coat picks like Seche Vite Dry Fast Top Coat or Essie Gel Couture Top Coat tick all the right boxes. Salons often use professional lacquer top coats too.
How to Apply a Top Coat
It only takes a few extra minutes to seal the deal with a flawless top coat finish:
- Wait until base polish and designs are touch-dry first. Don’t apply too soon or it may drag the art.
- Wipe nails with nail polish remover to erase any oils for better adhesion.
- Apply top coat starting closest to the cuticle and drag the wide brush straight to the tip in one smooth stroke. Repeat for each nail.
- Wrap tips slightly over the edge for extra reinforcement against chips.
- Be patient and allow to dry thoroughly. Avoid quick movements that may dent or smudge it.
The right technique helps provides full coverage over nail art without flooding the intricate details. Remember that two or even three thin top coat layers are better than one thick globby coat.
Caring for Nail Art Top Coats
To keep top coats performing at their peak ability, be sure to:
- Recap tightly after every use and store upside down. This keeps the brush soaked and prevents drying or thickening of the formula.
- Don’t layer on too much product at once. Overloaded brushes apply unevenly.
- Replace top coats every six months to a year even if some remains. Older formulas get thicker or develop a film.
- Remove residue on the bottle rim and brush with a lint-free wipe occasionally to prevent clumping when the lid gets closed.
- Handle gently since heavy shaking or dropping can cause separation or bubbles.
By taking proper care of top coats and using good application techniques, you’ll get the most mileage from each bottle for professional quality, long-wearing nail art.
Removing Nail Art Safely
Removing nail art can be tricky, but there are some safe and effective methods to get it off without damaging your natural nails. Here are some tips for safely removing different types of nail art:
Glitter Polish
Glitter polishes can be notoriously difficult to remove. An acetone-based nail polish remover is the most effective option. Soak a cotton ball in acetone-based remover and hold it against each nail for 30-60 seconds before gently sliding the glitter off.
This helps break down the polish so the glitter comes off cleanly. Avoid scraping too rigorously as this can damage the natural nail.
Gel Polish
Soak cotton in pure acetone and place each finger in aluminum foil, wrapping the acetone-soaked cotton around the tip of each nail. Leave on for 15-20 minutes before gently pushing off the gel polish with an orangewood stick or rubberized cuticle pusher.
Be patient and take care not to peel off layers of the natural nail. This method slowly dissolves the gel polish for easy removal.
Nail Foil
Use a cuticle pusher to gently lift the foil off the nail. Take care not to tear the foil or scrape too hard. If foil is adhered with gel or acrylic, follow removal steps for those products first. For glue-on foil that’s lifting at the edges, you can also apply a small amount of acetone with a cotton swab at the edge to gently dissolve the glue and make the foil easier to remove.
Rhinestones
If glued with nail glue, gently roll and slide rhinestones off the nail. If set with gel, remove the gel polish first then gently pick off any remaining glue residue. Use a small amount of acetone on a cotton swab as needed to remove excess glue, taking care not to flood the cuticle area with acetone.
Nail Wraps
Start by gently lifting up the edges of the nail wrap. Slowly peel it away from the nail, applying slight downward pressure as you pull. For stubborn wraps, soak a cotton ball in acetone-based remover and hold on the nail for 10-15 seconds before peeling off. This helps loosen the adhesive.
Watch for excess residue and use a small brush dipped in remover to clean up as needed.
Avoid Damaging Nails
- Don’t pick, peel or scrape nails forcefully.
- Apply remover-soaked cotton pads instead of flooding nail with acetone.
- Use an aluminum foil wrap for gentler gel removal.
- Soften adhesives with acetone instead of scraping.
- Stop if you feel significant nail pain or see damage.
With the right products and gentle technique, you can remove nail art without causing damage. Take your time and carefully follow polish and adhesive dissolving steps for safe removal. Avoid repeated exposure to acetone by using nail oil after removal and give nails a break between elaborate art applications.
Conclusion
With some creativity and practice, you can let your inner artist shine through fabulous nail designs. Start simple and don’t get discouraged if your first attempts don’t come out perfectly. Nail art is a fun way to express yourself and develop your artistic talents.
For more inspiration and design ideas, check out nail art tutorials online or on social media platforms like Instagram, Pinterest, and YouTube.