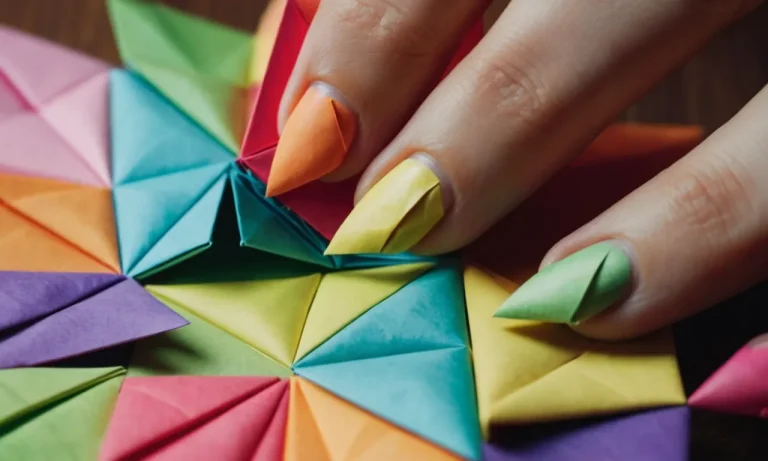
How To Do Gel Nail Extensions: A Step-By-Step Guide For Beginners
Getting long, strong nails has never been easier with gel nail extensions. These nail enhancements allow you to have beautiful nails that last for weeks without chipping or breaking. If you’re looking for a quick answer on how to apply gel nail extensions yourself, here it is: Prepare your natural nails, apply nail forms, apply the gel base coat, sculpt extensions with gel, cure each layer under an LED or UV lamp, file and shape extensions, apply gel top coat to seal, wipe with nail cleanser.
Read on below for the detailed steps along with tips and recommendations for doing gel nails at home.
In this comprehensive guide, you’ll learn everything you need to know as a beginner about applying sculpted gel nail extensions. We’ll cover tips for natural nail prep, step-by-step application instructions, how to avoid common mistakes, removal and upkeep recommendations, and more to help you get salon-worthy gel nails at home.
Gather the Necessary Gel Nail Supplies
Doing gel nail extensions at home requires gathering some key supplies and tools. Having the right products will make the application process easier and help achieve a professional-quality manicure that lasts.
LED or UV lamp
A UV or LED lamp is essential for curing or hardening the gel polish. LED lamps tend to cure gel polish faster, while UV lamps are more affordable. Look for one with a built-in timer and adjustable settings. Popular options include the SUNUV 48W UV LED Nail Lamp and MelodySusie Portable UV Nail Lamp.
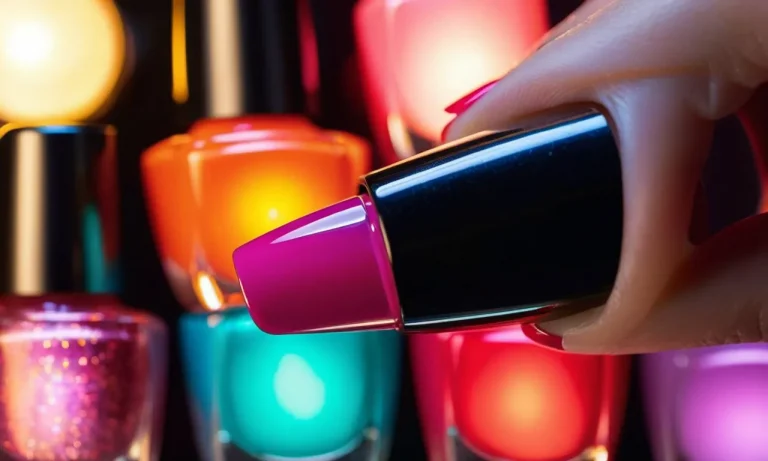
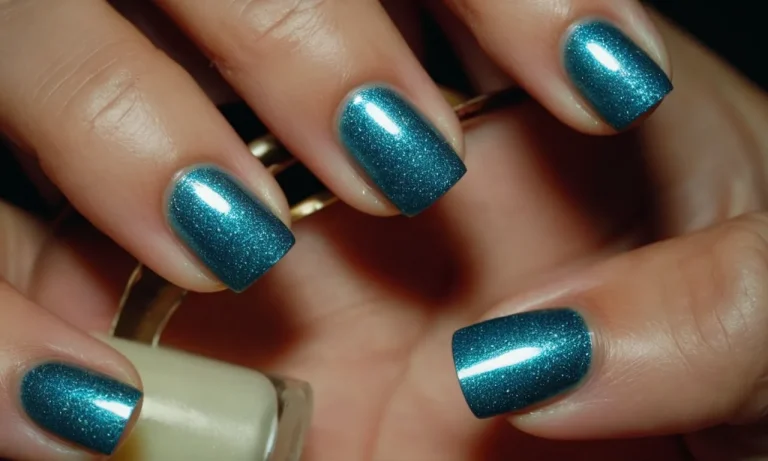
Gel nail polish system
Invest in a complete gel polish system that includes a base coat, color polish, and top coat specifically formulated to cure under UV/LED light. Leading salon-quality gel brands include OPI GelColor, Gelish, Shellac CND, and more. Make sure to choose polish colors you love!
Nail forms
Nail forms fit over the natural nail and help sculpt and build the extension. Look for durable, flexible full cover forms made of thin plastic or mesh. Purchase different sizes to find the right fit for each finger.
Nail prep supplies
Prepping the natural nails properly is crucial for gel extension success. Pick up these supplies:
- 100% acetone nail polish remover – removes oil and residue
- Nail dehydrator – preps nails for extensions
- pH bond – aids adhesion of gel to the natural nail
- Nail primer – enhances bonding of gel for longevity
Application and sculpting tools
These tools will help apply gel cleanly and sculpt extensions seamlessly:
- Gel nail brushes
- Dappen dishes – for gel application
- Nail clippers and cuticle trimmer
- Nail filers and buffers
- Synthetic sculpting brushes
Finishing and cleanup tools
Finish off your DIY gel manicure like the pros with:
- Nail wipes with acetone – for quick cleanup
- Cuticle oil – hydrates skin after application
- Nail file and buffer- create desired nail shape
- Top coat – protects polish and adds shine
With the right supplies and some practice, you can create stunning gel nail extensions in the comfort of your home. For best results, watch video tutorials and follow all product instructions. Take the time to prep nails thoroughly and work methodically.
Your beautiful gel manicure will last 2-3 weeks with proper application and care!
Prepare Your Natural Nails
Trim and shape your nails
Before applying gel nail extensions, it’s important to start with a proper foundation by trimming and shaping your natural nails. Use nail clippers to trim your nails straight across to remove any ragged edges or excessive length.
File the edges smooth using a 100/180 grit nail file in long, even strokes from the outside edges toward the center. Shape your nails into a uniform shape, such as square, round, squoval or coffin, filing the corners round for a flattering look.
This prep ensures the gel will adhere properly and allows you to customize the length and shape before extensions are added.
Push back and clean up cuticles
Nicely groomed cuticles make for a polished nail service. Gently push back cuticles with a cuticle pusher or orange wood stick, avoiding cutting or tearing them to prevent infection. Use cuticle nippers to carefully snip off any loose, dead cuticle tissue if needed.
Swipe on cuticle remover fluid and allow it to sit for a minute before gently pushing cuticles back again. Wipe away excess remover and use a cuticle pusher to clean up any remaining cuticle debris near the nail plate. Your nail tech can provide recommendations on the best cuticle care methods.
Remove shine from nail plate
Removing the natural shine or oil from the nail plate helps the gel adhesive stick better. Gently buff the entire nail surface using a 180 grit file or buffer. Avoid over-buffing, which can thin the nails. The goal is to create a matte finish for optimal adhesion.
According to nail care experts, a roughed up surface provides grip for the gel polish.[1] Proper dehydration is key for long-lasting extensions.
Apply nail dehydrator
After removing shine, apply nail dehydrator to further prep the nails. This removes any remaining oil and moisturize. Brush on dehydrator evenly over the entire nail plate and allow it to dry completely, which takes about 60 seconds. This helps the gel adhere properly for maximum wear.
Most professional nail techs recommend using dehydrator containing ethyl alcohol, which thoroughly dries out the nails.[2] Avoid getting dehydrator on your skin or cuticles.
Use primer if needed
Some natural nail types may also benefit from using a nail primer before gel application. This can help with adhesion if you have oily nail beds, weak or peeling nails, or other nail conditions. Check with your manicurist to see if a nail primer could help prep your nails.
Apply a thin, even layer to each nail and let it dry completely. Then apply dehydrator and continue with the gel steps. Using both primer and dehydrator ensures your nails are prepped for success.
Size and Apply Nail Forms
Determine proper form size for each nail
Choosing the right nail form size for each finger is crucial for creating a natural look. Start by holding forms up to nails to gauge width—too narrow causes sidelifting problems. Forms should extend just beyond the nail’s edge.
For length, follow your client’s wishes, usually keeping a gentle arch shape. Accurately sizing forms takes practice, but don’t worry – with experience, you’ll be selecting perfect sizes in no time!
Customize form shapes as needed
While most forms have a generic shallow “C curve”, customization optimizes the extension shape. File the side edges for a narrower or wider fit, and use curved nail clippers to create a deeper arch if desired. Avoid over-filing forms as it weakens their durability.
For clients with longer nail beds, cut forms to prevent irritation. Personalized shapes help forms adhere properly and build gorgeous extensions.
Adhere forms securely under free edge
Proper form adhesion prevents lifting and contamination under extensions. Lightly buff the nail plate below its edge to roughen the surface. Apply nail dehydrator and primer to eliminate oil and moisture that impedes bonding.
Place the back bottom edge of forms just under the free edge, aligning side walls with the nail plate. Ensure the extensions’ underside won’t touch skin or cuticles. Press firmly along the form’s top edge to maximize adhesive contact.
Careful form application means long-lasting, professional-quality gel nails!
Apply Gel Base Coat
Applying a quality gel base coat is one of the most vital steps when doing a gel manicure or sculpting a gel nail extension. The base coat helps the other gel polish layers adhere properly to the natural nail plate.
Using base coat correctly will help the manicure last longer with less chance of cracking, peeling or lifting.
Use Base Coat to Prep Nail and Form
Apply a thin, even layer of gel base coat to prep the natural nail first. Let the nail plate absorb the base coat fully. This primes the nail to bond with the sculpted gel extension or colored gel polish layers.
Using a gel base containing ridge filling properties can help smooth uneven nail growth layers.
When sculpting a tip using a nail form, also apply gel base coat to the inside of the form. Brush inside the full length of the form where the extension gel will adhere. This helps the sculpted nail stay bonded to the form during application and shaping.
Let the base coat inside the form cure tacky before pouring in extension gel.
Cure Base Coat Per Manufacturer Instructions
It’s crucial to cure the gel base on the natural nail and form properly. LED and UV base coats have different cure times. Follow your gel system’s advice, usually 30 seconds under LED or 2 minutes under UV. Under-curing base won’t harden fully and can reduce longevity of the service.
Over-curing can damage nails and skin.
Here are some gel base coat curing tips:
- Use the LED or UV lamp matched to your gel system
- Cure each hand separately instead of both together
- Cap free edge with lamp to ensure full cure
- Enter cure times correctly matching gel base coat type
- Replace lamp bulbs annually for proper wavelength output
Properly prepping nails with a cured gel base coat makes for the best adhesion and longevity for a sculpted gel or polished manicure. Always use base formulated for gel polish, not regular nail polish. This provides flexibility to move with the natural nail’s growth without cracking or peeling off.
Following the right application and curing steps when using gel base coat allows the gel nail extension or polish to stay beautiful for 2-4 weeks on most clients. Pay attention to prep and bond the sculpted or polished layers correctly to the nail plate.
Allowing proper base coat cure time ensures the manicure withstands daily wear without issues.
Sculpt Gel Nail Extensions
Apply thin gel layers and cure until desired length
When sculpting gel nail extensions, it’s important to apply thin layers of gel and cure each one fully before adding the next. Thick layers tend to crack and peel off sooner. For longevity and strength, take the time to apply multiple thin coats, curing for 30-60 seconds under an LED or UV lamp between each one.
Build up the extensions gradually until you achieve the length you want. Most clients will need 2-3 coats of gel to extend the nail bed a few millimeters. Be patient and let the gel cure fully each time – this ensures proper bonding and reduces the risk of lifting or damage later on.
Avoid overfiling for ideal strength and longevity
It’s tempting to aggressively file and shape gel extensions right after applying, but this can weaken the layers. The best practice is to do only minimal filing after sculpting and focus on perfecting the shape during the final finessing stage.
Otherwise you risk compromising the integrity of the gel and causing cracks or chips down the road. Lightly file away any lumps or imperfections, then seal the free edge with a thin layer of gel top coat to smooth and protect it. When extensions are still curing and hardening, it’s best to be gentle.
Save more rigorous filing for the end when they’ve fully set. This allows the gel layers to harden to their maximum strength and keeps the extensions looking flawless longer.
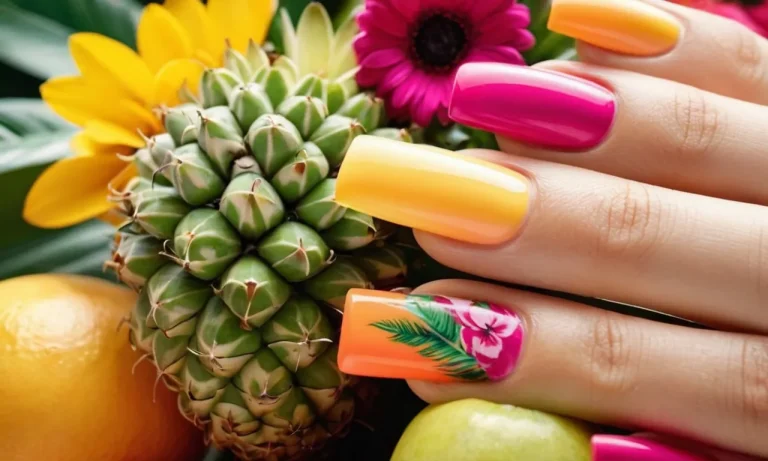
Refine shape and smooth surface with gel
Once extensions have cured completely, the last step is refining the shape for a seamless, polished look. Use a fine-grit file to contour the sidewalls and free edge into a natural silhouette – straight across or rounded into a squoval or oval shape.
Look at the nail from all angles to ensure symmetry. Use a buffing block to refine the surface until smooth. Wipe away dust, then seal with a thin layer of gel top coat. Cure for 30-60 seconds. The top coat fills in any microscopic pores for a glassy finish.
Avoid over-filing at the free edge – leave a little margin of extension gel so the seal of top coat protects from chipping or peeling. Proper shaping and sealing helps sculpted gel extensions retain their beauty for 2-3 weeks of wear.
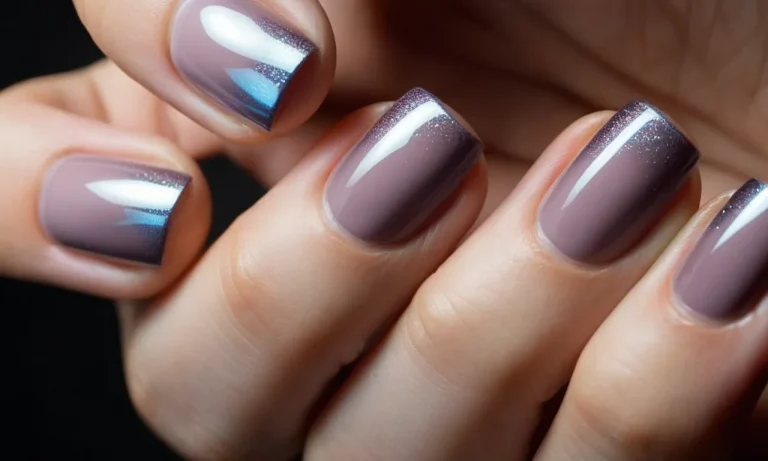
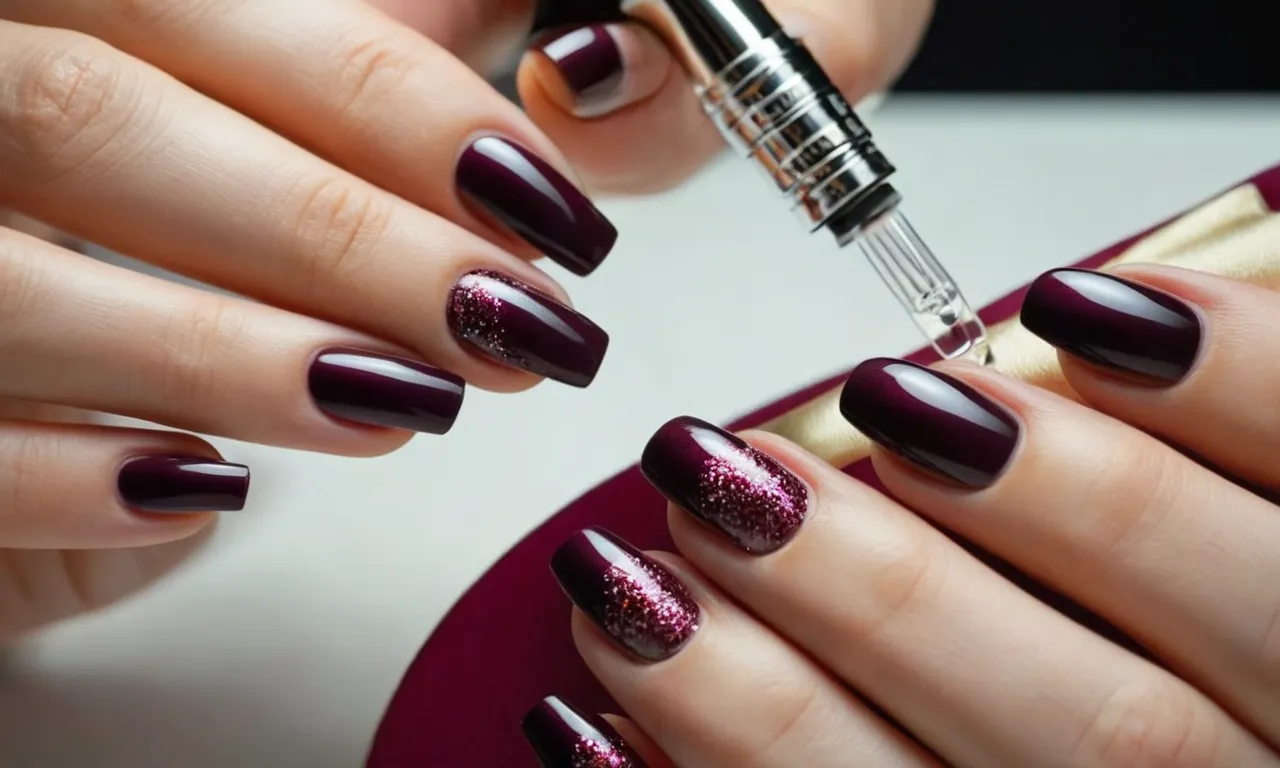
Finish the Gel Nail Extensions
Seal extensions with gel top coat
Applying a gel top coat is the final step to seal and protect your new gel nail extensions. Use a clean gel brush and apply a thin layer of gel top coat over the entire nail, making sure to cap the free edge. This creates a smooth, glossy finish and seals in the color underneath.
Allow each coat to cure under the LED or UV lamp for 30-60 seconds before moving on. Two coats of top coat are recommended for maximum shine and chip resistance. Just be careful not to apply too much top coat or it may flood the cuticles. The top coat adds that final gel salon touch!
Cure top coat completely
It’s crucial to cure each layer of gel polish completely under the lamp. Under-cured gel will stay tacky and soft, leading to dents, smudges and peeling. When finishing the gel manicure, cure the top coat for a full 30-60 seconds per coat until it’s smooth and hard to the touch.
Don’t skimp on cure time! Properly cured gel should be totally dry with no stickiness. If you’re unsure, give it an extra pass under the light. Fully curing each layer locks in the color and ensures a long-lasting manicure. Don’t forget to cap the free edges too!
Wipe nails with nail cleanser
Once the top coat is fully cured, give the nails one final wipe down with nail cleanser on a lint-free wipe or pad. This removes any tacky residue from gel application and preps the surface for the last steps. Using cleanser creates a squeaky-clean finish so the nails look flawlessly polished.
Pay extra attention to the cuticles and sides of the nails where gel can flood. Take a close look under good lighting and inspect for any leftover tackiness or imperfections. A final wipe with cleanser polishes off the nails and reveals your gorgeous new gel set!
Massage cuticles with oil
Bring the DIY gel manicure home by massaging the cuticles and nail beds with cuticle oil or hand cream. Pushing back the cuticles and filing the nails during application can leave the skin around the nails dry and cracked. Hydrating with oil or lotion restores moisture and prevents painful hangnails.
Use a drop of oil and gently rub into the skin, nudging back any excess cuticle. Jojoba, vitamin E and coconut oils work wonderfully. Massaging improves circulation and allows the skin and new gel nails to integrate smoothly.
Finish with a relaxing hand massage – you deserve it after completing your own professional gel manicure!
Maintain and Remove Gel Extensions
Use cuticle oil daily to nourish nails
Using cuticle oil daily is crucial for maintaining healthy nails and cuticles when wearing gel extensions. The extensions can leave the nails feeling dry and brittle. Massaging in cuticle oil allows moisture to penetrate the nail plates and softens the cuticles, preventing tearing or damage when removing the extensions later.
Look for cuticle oils that contain nourishing ingredients like vitamin E, jojoba oil, and essential oils. Avoid ingredients like acetone that can dry out the nails. Apply a few drops of oil around each nail and cuticle area twice per day.
Gently push back the cuticles after applying for best absorption.
Fill in growth every 2-3 weeks
As your natural nails grow out, you’ll notice a gap forming between the gel extension edge and cuticle area. It’s important to get fill-ins every 2-3 weeks to prevent lifting or cracking. Filling in the new growth maintains the structure and reinforcement of the extensions.
The process is faster and uses less product than a full set. The technician will file off the top layer skin of the grown out section, apply primer, and brush on new gel to integrate the natural nail and extension. Filling in consistently prevents a bulky or thickened look.
Soak off extensions carefully every 2-3 months
While gel extensions can last up to 4 weeks or more without lifting or damage, it’s best practice to fully soak them off and allow the natural nails to breathe every 2-3 months. Removing extensions requires patience to prevent nail plate damage.
Start by filing off the top layer of the gel gently with a buffer block. Next, apply pure acetone-based remover and wrap each nail in foil, keeping the solution saturated for 10-15 minutes. Gently slide a cuticle pusher around the free edge to break the seal.
Finally, use a plastic pusher to gently scrape off remaining gel residue.
Follow up by applying cuticle oil and hydrating cream to renew the nail beds. Allow nails to fully renew their strength before reapplying extensions. Be extremely gentle removing extensions from fragile or thin nails.
Conclusion
With the right supplies and step-by-step technique, you can achieve stunning gel nail extensions from the comfort of your own home. Taking the time to properly prep and prime your nails, accurately size and apply forms, meticulously sculpt extensions, and properly finish the gels will help your manicure last for weeks.
Be patient as you learn and don’t get discouraged if your first attempts aren’t perfect. With a little practice, you’ll be doing gel extensions like a pro in no time!
For optimal results and nail health, be sure to keep up with regular gel fills, cuticle care, and proper removal techniques. Gel nail extensions allow you to enjoy lengthy, chip-free nails without the damage of acrylics or dip powders.
Follow this guide and you’ll have beautiful, salon-worthy nails anytime you want them.