How To Get Checkered Nails: A Step-By-Step Guide
Nail art is a fun and creative way to express your personal style. If you’re looking to try something new and eye-catching for your next manicure, checkered nails are a great option. With some practice, you can easily get checkerboard nails at home.
If you’re short on time, here’s a quick answer to your question: Start with a base coat. Paint alternating nails in two contrasting colors, using striping tape to get straight lines. Top with a fast-drying top coat. Finish by removing the tape promptly while the polish is still wet.
In this comprehensive guide, you’ll learn everything you need to know to get perfect checkered nails. We’ll cover choosing colors, using striping tape, applying polish, sealing the design, and removing the tape correctly.
Pick Two Complementary Nail Polish Colors
Choose Highly Contrasting Shades
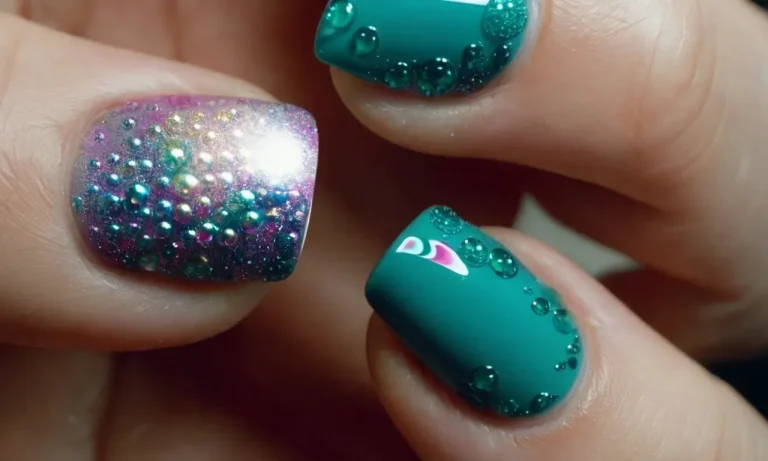
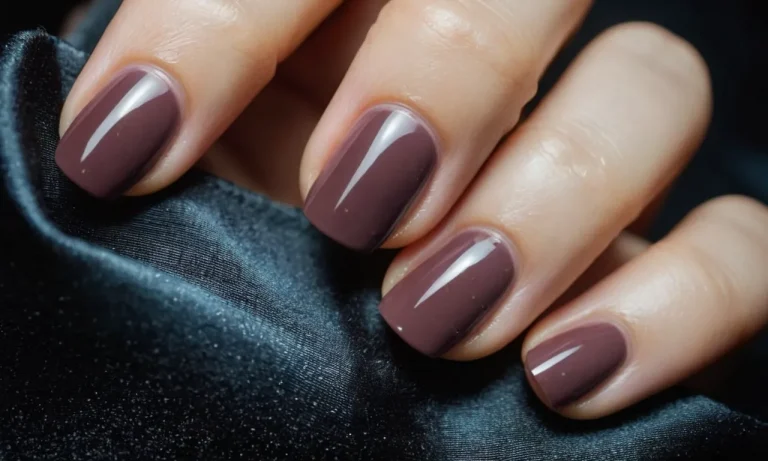
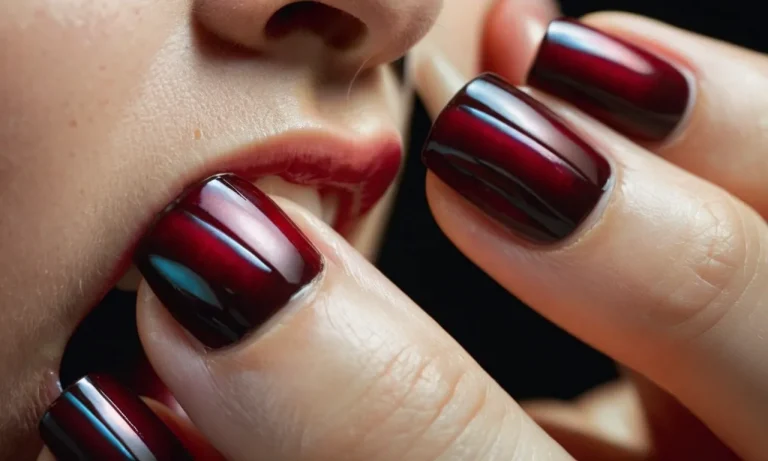
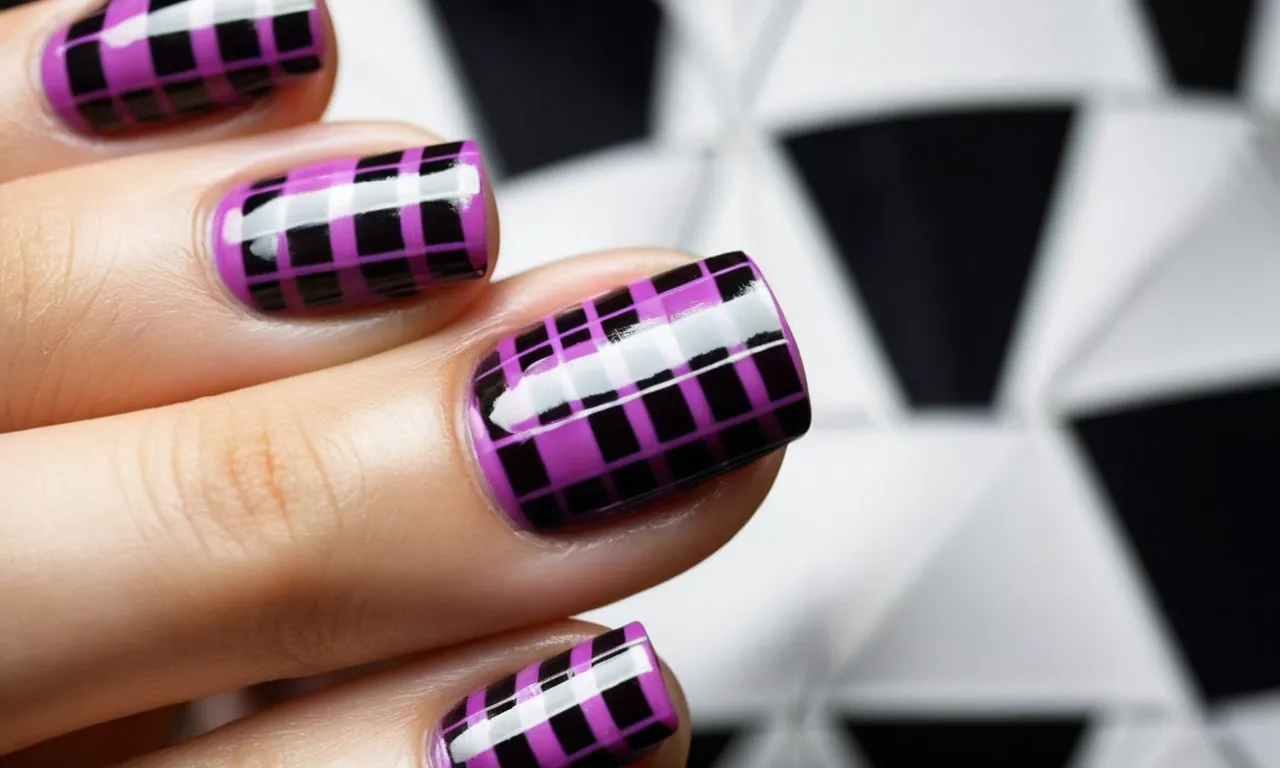
When creating a checkered nail design, picking nail polishes in highly contrasting shades is key for making the checks really stand out. Go for polish colors on opposite sides of the color spectrum for maximum contrast – like a deep burgundy and a pale blue, or a bright orange and a minty green.
You want the shades to be noticeably different at a glance. Stay away from color combinations that have hues which are too similar – this will make your checkered design look muddled.
For a foolproof color combo, stick to a darker color like black, deep purple or navy blue as your base color. Then choose a lighter pastel shade like baby pink, light blue or peach as your contrast shade.
According to beauty statistics, these types of pairings are tried-and-true winners, allowing even nail art beginners to get a graphic, eye-catching checkered manicure on the first try.
Consider Color Combinations That Appeal to You
While high contrast is key, the most important thing is choosing two nail polish colors that you genuinely like together. Determine what color scheme you’re attracted to – do you prefer “icy” pairings like seafoam green and pale blue?
Or maybe warmer tones like terra cotta and marigold orange are your style. If you love color, go bold with electric purple and neon coral!
Take a look at graphic prints that you own and like for inspiration on complementary color pairings. The shades used together in the patterns of your favorite skirt, cardigan or pillow can translate beautifully into a fresh, fashionable checkered manicure!
Don’t be afraid to think outside the box either. As fun beauty surveys show, unexpected polish pairings like crimson red with lime green or fuchsia pink with seafoam blue delightfully surprise both the eye and the artistic soul.
Select Striping Tape for Clean Lines
Opt for Wider Tape for Bolder Checks
When creating checked nail art designs, the width of the striping tape you use can make a big difference. Wider tape, around 1/4 inch or more, will create bolder checks and graphic prints. This is great if you want your nail art to really stand out.
Wide striping tape comes in a variety of patterns and can help you quickly decorate your nails with fun checkerboard or plaid looks.
Some great options for wide striping tape include:
- Maniology BM-XL174 Extra Large Stripe Tape – 1/4 inch width
- Twinkled T Corrugated Striping Tape – 5/16 inch width
- Born Pretty Black & White Checker Stripe Tape – 1/4 inch width
The thicker striping tape makes it easier to align clean lines on your nails. You’ll have more room for error without the edges of the tape showing. The bold patterns will really stand out too. So if you want high impact graphic nail art, go for wider striping tapes.
Have Thinner Tape for Intricate Patterns
For more intricate checked nail designs, you’ll want to use thinner striping tape. Tape that is 1/8 inch or less will allow you to create daintier checks and tiny geometric patterns. This is great if you want something a bit more subtle and complex.
Some excellent thin striping tapes include:
- Twinkled T Slim Stripe Tape – 1/16 inch width
- Born Pretty Black & White Plaid Stripe Tape – 1/10 inch width
- Maniology BM-Petite Precision Tape – 1/16 inch width
The narrow tape makes it easier to fit tiny checks and plaids on each nail. You can add multiple stripes right next to each other. This allows for very intricate striped and checked designs. The thinner tape also enables you to curve it around the edges of your nails for a rounded effect.
However, thinner tape can be trickier to apply straight. It takes a steady hand and patience to align perfect lines. If you want to create complex geometric nail art, go for narrower striping tape. But be prepared to take your time applying it.
Prep Nails and Apply Base Coat
Getting checkered nails starts with proper nail preparation. Here are the key steps:
Trim and Shape Nails
First, use nail clippers to trim your nails to your desired length. File the edges with a nail file to smooth any roughness. Shape your nails into a rounded or square shape, whatever you prefer. Removing any hangnails or trimming cuticles will also give you a clean canvas to work on.
Clean Nails
Use a nail brush and soap and water to thoroughly clean underneath and around each nail. This removes any oil and debris so the nail polish adheres better. You can also use nail polish remover or acetone on a cotton pad to clean the nails.
Apply Cuticle Oil
Massage a drop of cuticle oil around each nail and cuticle. This hydrates the nails and cuticles, preventing painful hangnails. Let the oil soak in for a few minutes before continuing.
Use Dehydrator and Primer
For long lasting nails, apply a nail dehydrator first to remove traces of moisture, then use a nail primer to help the polish bond to the nails. Let each product dry before moving to the next step.
Apply Base Coat
Paint a layer of clear base coat onto each nail and let it dry completely. This creates a smooth foundation for the nail polish and prevents staining of the nails. Using a base coat is a must for a manicure that will look freshly painted for days.
Now your nails are prepped and primed for polish! Next comes the fun part – painting on your checkered design.
Paint Each Nail a Different Color
Work Methodically to Avoid Smudges
When painting your nails in a checkered pattern, it’s important to work slowly and methodically to avoid smudges. Here are some tips to get clean, precise lines:
- Start with your dominant hand first. It will be easier to paint your non-dominant hand if your dominant hand is already done.
- Work one nail at a time. Paint the entire nail before moving onto the next one.
- Use nail guides or tape to create straight lines if needed. Place them just above or below the nail tip.
- Apply thin coats of polish and let each coat dry completely before moving on. Thick coats take longer to dry and are more likely to smear.
- Keep tissues or a clean up brush handy to tidy up any small mistakes right away.
- Be patient and take your time. Rushing through the process will likely result in messy nails.
If you stay focused and paint meticulously, you’ll be rewarded with a professional-looking checkerboard manicure. Take a short break and stretch your hands if you start feeling fatigued.
Let First Coat Dry Before Second Coat
With any manicure, it’s important to let each layer of polish dry thoroughly before adding another coat. This prevents the polish from dragging or getting gunky. With checkered nails, letting the first coat dry is especially crucial to keep the lines looking perfect.
Here are some tips for neat, multiple coats:
- Allow 10-15 minutes between coats. Test if a nail feels dry by gently touching it to see if it’s tacky.
- Apply quick-dry top coat sparingly between layers to speed up the drying process.
- Wave hands to encourage drying or sit under a fan. Avoid touching anything until nails are dry.
- Add the second coat using thin, precise strokes following the lines you already painted.
- Finish with a glossy top coat for a smooth, even shine.
Rushing the process by adding more polish too soon can cause bubbling, smudging, and a messy finish. While multiple coats extend the time commitment, they result in richer, more opaque color. So be patient and let each layer dry for flawless checkered nails that will turn heads.
Apply Striping Tape and Fill In Checks
Place Tape Diagonally Across Nails
Once you have applied your base coat and first color, it’s time to add the striping tape. This will create the diagonal lines that divide your nails into checks. Carefully place pieces of striping tape diagonally across each nail, starting near the cuticle and extending toward the free edge.
Make sure the tape lies smooth and flat without any bumps or wrinkles. Leave a small gap between each piece of tape for the contrasting color. If the tape overlaps the edge of your nail, gently press it down with a wooden stick so it adheres properly.
Paint Contrast Color in Remaining Checks
After the striping tape is in place, it’s time to fill in the exposed checks with the contrasting color. Use steady, even strokes to apply the polish. Make sure you completely fill in each check so there are no gaps or unevenness. Apply two coats of the contrasting polish for full opacity.
Let each coat dry thoroughly before adding the next. The contrast between the two colors will create a super fun checkered pattern!
Use Steady Strokes for Clean Edges
When painting the contrasting color between the striping tape, it’s important to use smooth, steady strokes. This will minimize the chance of getting polish on the tape. Try to glide the brush along the edges of the tape for the cleanest lines.
Don’t overload the brush with too much polish or press down too firmly near the tape. Applying the polish carefully will prevent bleeding under the tape. Let the contrast color dry completely before removing the striping tape. Peel it off slowly and evenly at a low angle to reveal perfect checks.
Finish with a glossy top coat to seal in the design!
Seal the Design with Top Coat
Use Quick-Dry Top Coat
Applying a top coat is the final step to ensure your checkered nail design lasts as long as possible. Using a quick-dry top coat is crucial for sealing in the design and preventing chipping or smudging. When choosing a top coat, look for one formulated to dry fast – usually within 60 seconds or less.
Popular top coat brands like Seche Vite and Essie Speed Setter dry quickly to lock in your checkered nail polish.
A fast-drying top coat works by forming a hardened layer over the manicure underneath. This helps protect the color and design from bumps, knocks and general wear and tear throughout your day. Using a quick-dry top coat over checkered nails is especially important.
The crisp lines and geometric contrast are prone to smudging or blurring without a protective finish. So taking the time to apply a top coat will help keep your checkered pattern looking sharp.
Apply Thin, Even Layer
When applying top coat over checkered nails, you’ll want to use a thin, even layer. This will help retain the definition of the checkered pattern underneath. Take your time painting on the top coat, resisting the urge to glob it on too thick in the interest of speed.
Build up light, smooth strokes instead for the best finish.
Be sure to seal the free edge of the nail with top coat as well. Getting top coat on the underside tip will reinforce this fragile area. Avoid flooding the cuticles with top coat, as thickness here can cause peeling.
Cap off the free edge, but keep the brush strokes thin and neat around the cuticle and sides.
Once you’ve sealed the entire nail with a smooth layer of top coat, cure it right away. Use the LED light on your nail polish curing lamp, or let air dry top coats fully set. This locks in the protection and high-gloss shine. Avoid touching or bumping the nails until the top coat has fully hardened.
Taking the time to carefully apply a fast-drying top coat is the best way to make sure your checkered nail art lasts. The top coat protects the geometric pattern and bold colors from wear, chips, scratches and fading.
So don’t skip this crucial step, and be sure to reapply fresh top coat every 2-3 days to keep your checkered manicure looking fabulous.
Remove Tape Promptly and Correctly
Take Tape Off While Polish is Still Wet
When doing a checkered nail design, it is crucial to remove the tape while the polish is still wet for clean, precise lines. Leaving the tape on too long allows the polish to dry and seep underneath the edges. This can lead to blurred lines and an imperfect checkerboard pattern.
As soon as you finish painting on the last coat of polish, gently peel off each piece of tape one by one. Be careful not to smudge the fresh polish. Work slowly and methodically. If the polish has started to dry and stick to the tape, soften it with a drop or two of nail polish remover.
This helps detach the tape cleanly.
Some tips for easy tape removal:
- Use a toothpick underneath the edge of the tape to help lift it.
- Pull the tape off parallel to the nail, not upwards.
- Try to remove it in one smooth motion to avoid jagged edges.
Remember, patience is key. Taking the tape off too soon risks smudging your design. But leaving it on too long makes removal messy. Timing it right while the polish is still tacky yields the cleanest checkerboard lines.
Use Tape to Clean Up Edges if Needed
Even if you take the tape off promptly, you may still have a few ragged edges or imperfections. Don’t fret! The tape trick can also help refine and sharpen your checkered pattern.
Here are two simple ways to use tape for correcting edges:
- Place fresh tape precisely along any messy lines to recreate a straight edge.
- Dab a little polish remover on a Q-tip and run it along the tape to wipe away any polish that bled underneath.
You can also try applying a fast-drying clear top coat first. Once dry, put tape over any flawed lines. Then, use the opposite color polish to repaint over the tape for a crisper border.
With some careful tweaking, you can achieve incredibly clean lines and a professional checkerboard manicure. Using tape allows endless opportunities for experimenting with geometric nail art.
Conclusion
With some basic supplies and following these steps, you can easily achieve stunning checkered nails at home. Feel free to get creative and make the checks as bold or delicate as you like. Top it off with a shiny topcoat to really make the colors pop.
Checkered nails are versatile and fun for any occasion!