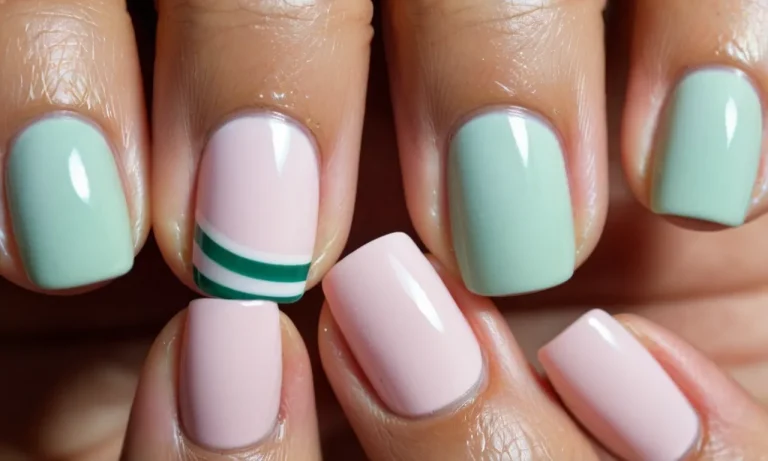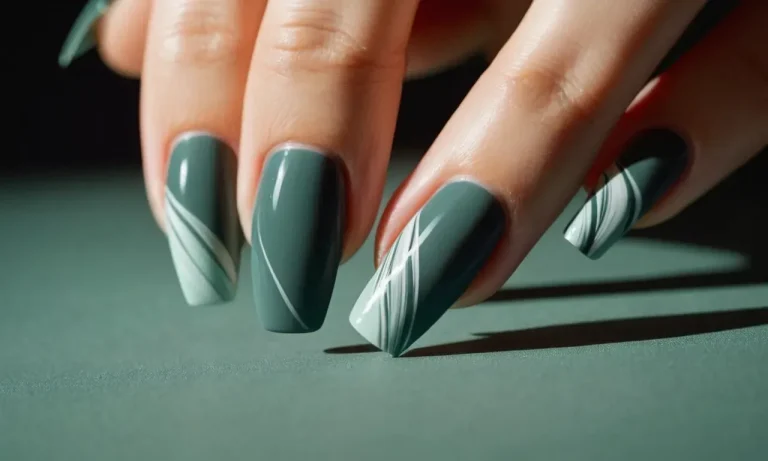
How To Clean Nail Brushes: Keep Your Nail Brushes In Tip-Top Shape
Getting professional-quality results at home when doing your own nails starts with having clean tools. While it may seem trivial, dirty nail brushes loaded up with old nail polish, skin cells and oils will make your manicure look messy.
Keep reading to learn everything you need to know about properly cleaning nail brushes.
If you’re short on time, here’s a quick answer to your question: Soak nail brushes in pure acetone or nail polish remover for 10-20 minutes to dissolve any remaining polish. Use a old toothbrush and soap to scrub away any clinging residue.
Rinse well and allow to air dry completely before reuse or storage to prevent mold growth.
Why It’s Important to Clean Nail Brushes
Keeping your nail brushes clean is crucial for a variety of reasons. Not only does it help extend the life of the brushes, but it also prevents the transfer of dirt, oils, and germs that can negatively impact the health of your nails and cuticles.
Prevent nail polish build up
Over time, layers of dried nail polish, nail glue, oil, and nail product residue can cake onto the bristles of your brushes. This buildup not only reduces the effectiveness of the brushes, but it also impacts the quality and tidy application of the polish.
Frequently washing brushes helps restore them to a clean, functional state.
Avoid transferring oils and bacteria
When brushes aren’t properly cleaned, you risk transferring dirt, dead skin cells, nail dust, oils, and bacteria onto your polished nails. This can lead to nail infections or other issues like brittle, discolored nails.
One CDC report showed that improperly sanitized nail tools were responsible for some fungal nail infections.
Make brushes last longer
The accumulated gunk that sticks to unwashed nail brushes can steadily degrade the bristles over time. But giving them a regular wash helps remove the debris so the bristles stay intact longer. The end result is extending the usable lifespan of your quality nail brushes by months or even years.
The average brush lasts 12-18 months with proper care compared to just 6 months with infrequent cleaning.
By taking a little time each week to wash any used brushes, you can keep them clean and functional for applying flawless manicures. Simply mix a small amount of brush cleaner and water, swirl the bristles around, rinse, and allow to fully dry. Your nails will thank you!
Supplies Needed for Cleaning Nail Brushes
Nail polish remover or pure acetone
Having some nail polish remover or pure acetone on hand is crucial for cleaning nail brushes. These products break down and dissolve nail polish, glue, and other sticky nail product residue that can build up on your brushes over time.
You’ll need enough nail polish remover or acetone to fully submerge the bristle heads of your brushes while cleaning. Opt for pure acetone if possible, as this is the strongest solvent for breaking down nail products. You can find pure acetone at any drugstore or beauty supply retailer.
Just make sure you work in a well-ventilated area, as the fumes from these products can be strong.
Small bowl or jar
You’ll need a small container like a bowl or jar to soak the bristle heads of your nail brushes in the nail polish remover or acetone. Glass and ceramic work best, as these inert materials won’t absorb any residue.
The container should be wide enough to fit the bristle head of your biggest nail brush. For extra cleaning power, look for a bowl or jar with a lid. This helps prevent the acetone from evaporating too quickly while your brushes soak.
Old toothbrush
An old toothbrush is the perfect tool for scrubbing and agitating your nail brushes to lift away stubborn polish, glue, or gel residue. Look for a toothbrush with medium or stiff bristles. The bristles shouldn’t be overly worn down or frayed.
Before using, make sure to clean the toothbrush thoroughly with soap and hot water to remove any toothpaste or germs. The toothbrush bristles will help sweep away residue from between the tiny bristles of your nail brushes for a deeper clean.
Dish soap
A small squirt of regular dish soap helps amplify the cleaning power of the nail polish remover or acetone. The surfactants in dish soap help break down oils and residue so the solvent can penetrate deeper. Dish soap also helps remove any traces of dirt or germs.
A mild hand dishwashing liquid works best. Avoid harsh degreasing formulas, as these can dry out the delicate bristles on your nail brushes over time.
Clean hand towel
Have a clean hand towel on standby to wipe down and dry your nail brushes once they’re cleaned. A basic bath towel or tea towel works fine. The texture helps whisk away excess moisture and polish remover from the brushes after cleaning.
Make sure to use a fresh towel each time you clean your nail brushes, so you don’t transfer any lingering residue back onto the bristles. The towel may get lightly stained, so use an older one you don’t mind getting marked up.
How to Clean Nail Brushes in 3 Steps
Step 1: Soak in remover
The first step to cleaning your nail brushes is to soak them in nail polish remover. This helps break down any old nail polish, glue, or debris that may be stuck in the bristles. Fill a small container with pure acetone nail polish remover and fully submerge the nail brush heads.
Let them soak for 10-15 minutes so the remover can fully penetrate the bristles. The remover will help dissolve any built-up gunk, making it easier to scrub away later. Just be careful not to soak any wooden or plastic handles, as it could damage them.
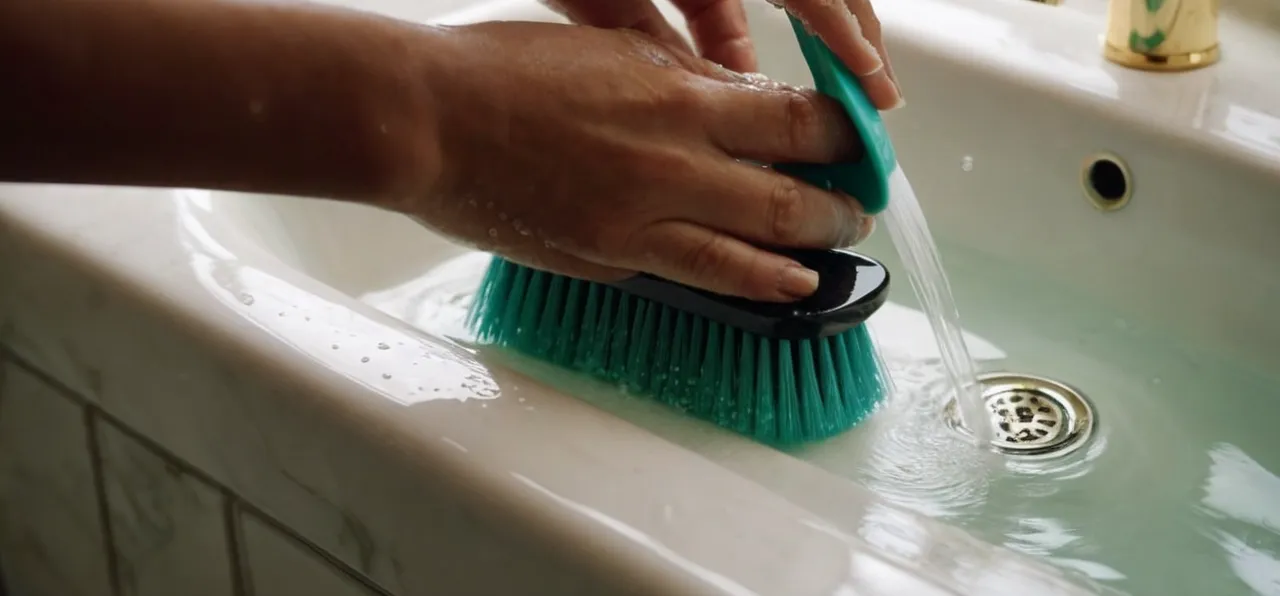
Step 2: Scrub with soap
After soaking, it’s time to scrub! Take an old toothbrush or small scrub brush and gently scrub the nail brush bristles with some antibacterial soap and warm water. This physical scrubbing will help dislodge any leftover polish, glue, or dead skin cells from between the bristles.
Make sure to rinse thoroughly to get rid of all the soap. For extremely dirty brushes, you may need to soak and scrub a few times to get them completely clean. The more you scrub, the better!
Step 3: Rinse and dry
The final step is to thoroughly rinse the brushes under warm running water. Rinsing removes all traces of remover, soap, and grime so only clean bristles remain. Make sure to rinse until the water runs completely clear.
After rinsing, gently press the brushes into a clean towel to soak up excess moisture. Then, allow the brushes to air dry completely before using them again. Lay them flat or hang them with the bristles pointed down. Never store wet brushes, as it can breed bacteria. And that’s it!
With this simple 3-step process, you can keep your nail brushes looking like new!
Tips for Keeping Nail Brushes Clean
Clean brushes after every use
One of the best ways to keep your nail brushes clean is to wash them after each use. Allowing nail polish, nail dust, oils, and dead skin cells to build up on the bristles can shorten the life of your brush and lead to streaky application of polish.
As soon as you’re done painting your nails, use nail polish remover or brush cleaner to break down the polish and wipe away any residue. Give the brush a good swish in the solution and gently wipe the bristles on a clean paper towel or cloth until all traces of polish are gone.
Doing this simple step each time will keep bristles supple and ready for your next manicure.
Store brushes tip-down
After cleaning your nail brushes, proper storage is key for keeping them in great shape. Always store brushes tip-down rather than bristles-up. This prevents the bristles from being bent or crushed while not in use. You can find special brush guards that suspend the brush and keep the shape intact.
Or improvise your own holder using a tall glass, can, or jar with a narrow opening to insert the brush handle through. Letting the bristles fan out freely pointing downward allows gravity to keep them straight and orderly. Storing them upright can lead to flattened, bent tips over time.
Replace brushes regularly
No matter how diligent your cleaning routine, nail brushes do wear out over time. The average life span of a quality nail brush is 3-6 months with regular use. Signs that it’s time to replace your brush include frayed or broken bristles, shedding when brushed against your nail, a flattened or bent shape, and polish application that seems streaky or patchy no matter how much you clean.
Don’t try to prolong the life of a worn-out brush, as it can lead to messy, unsuccessful manicures. Get in the habit of replacing brushes seasonally or every 6 months if you paint your nails frequently. Investing in a fresh, high quality brush will make polish application easy and flawless.
Disinfect with alcohol
Since nail brushes come into contact with your fingers, nails, and cuticles, it’s a good idea to disinfect them periodically. This helps prevent transfer of bacteria or fungi that can lead to nail infections. An easy way to sanitize nail brushes is by swishing the bristles in rubbing alcohol.
The alcohol will kill 99% of germs without damaging the bristles. Let the brush soak for 5-10 minutes, then allow to fully air dry before storing or using again. For an even deeper clean, you can use a mild soap and water too. Just be sure to thoroughly rinse away any soap residue.
Disinfecting your manicure tools every 2-4 weeks helps keep them fresh, safe, and ready for flawless polish application.
Signs Your Nail Brushes Need Replacing
Frayed or bent shape
Over time and repeated use, the shape of your nail brushes can become frayed or bent. This makes application messy and imprecise. Frayed bristles don’t hold nail polish nicely and make it hard to paint neat, straight lines. Bent brushes also cause uneven and sloppy polish application.
If you notice the overall shape of your brush is no longer straight and precise, it’s definitely time to replace it. A quality nail brush should maintain its original shape for many manicures before needing to be swapped out.
Hardened bristles
Another sign your nail brushes need replacing is if the bristles start to feel stiff and hardened. Fresh, high-quality nail brushes have soft, pliable bristles that bend as you apply polish. Over time, repeated exposure to acetone and nail polish can cause the bristles to become brittle and hardened.
Hard bristles don’t hold polish as well and make application streaky. They don’t conform nicely to the nail either. If you notice your brushes feel stiff and rigid, toss them out for a set with soft, supple bristles.
Visible nail polish buildup
No matter how thoroughly you clean them, most nail brushes eventually develop visible buildup and staining from repeated nail polish use. This buildup impacts performance and causes drag and streakiness during application.
If you notice polish residue caked onto the bristles or brush base no matter how much you scrub it, the brushes are past their prime. Some discoloration is normal, but heavy staining and clumping are signs to replace your tools.
Investing in higher quality brushes can help them last longer before building up gunk.
Musty or sour odor
Finally, if your nail brushes ever develop an unpleasant musty or sour odor, trash them right away. Even with regular cleaning, bacteria can build up on used brushes over time. This causes bad smells and raises the risk of transferring germs or infection.
A strong odor is a definite sign your brushes aren’t sanitary. Toss them and replace with fresh ones. Getting into the habit of replacing your brushes every few months is smart. This ensures you always have the best quality tools for flawless, hygienic DIY manicures.
Conclusion
With the right supplies and techniques, it’s easy to keep your nail brushes in pristine condition for beautiful DIY manicures. Be sure to thoroughly dissolve all traces of old polish and don’t let moisture linger. Well-maintained brushes lead to more professional looking nails.
Taking just a few minutes to regularly clean nail brushes improves results, extends the life of your tools and helps prevent the transfer of germs and bacteria when doing your nails. Investing in quality brushes and replacing them as needed is key for a perfect at-home manicure.