How To Ask For Acrylic Nails: A Step-By-Step Guide
Getting a fresh set of acrylic nails can instantly elevate your look. But knowing exactly what to ask for at the nail salon is key to getting the nails of your dreams.
If you’re short on time, here’s a quick answer to your question: Clearly communicate the nail shape, length, and color you want to your nail technician. Bring reference photos. Specify if you want any nail art or embellishments. Ask for nail prep and care instructions.
In this comprehensive guide, we’ll go over everything you need to know to ask for acrylics like a pro, from choosing your nail goals to prepping for your appointment and communicating clearly with your nail tech.
Decide What You Want
When getting acrylic nails, it’s important to decide on the specifics of the nail look you want before going to your appointment. Consider the nail shape, length, and color that will best complement your hands and lifestyle.
Nail Shape
The shape of acrylic nails can dramatically change the look of your hands. Popular options include:
- Round: A rounded tip, well-suited for shorter nails
- Squoval: A square shape with rounded edges
- Square: A sharp, 90-degree angle across the tip
- Stiletto: Very pointed tips for a dramatic look
- Almond: An oval shape that flatters most nail beds
When deciding on a shape, consider factors like your nail bed length, finger width, lifestyle habits, and personal style preferences. For example, very sharp stiletto or square shapes may not pair well with frequent typing.
Softer squoval or round shapes may be better suited to a job involving lots of computer work.
Length
Acrylic nails can range dramatically in length – from just extending your natural nail a couple millimeters, to extremely long talon-like extensions. According to Nailsmag, a length around 1 to 2 centimeters past your fingertip is average.
Very long nails around 5 centimeters or longer usually require more maintenance. Consult with your manicurist on finding a fashionable yet manageable length for your lifestyle.
| Length | Description |
|---|---|
| Short | Only extends a couple millimeters past your nail bed |
| Medium | Extends 1 to 2 centimeters past your fingertip |
| Long | 2 to 5 centimeters past your fingertip |
| Extra Long | Over 5 centimeters past your fingertip |
Remember, longer acrylic nails require more careful maintenance to prevent cracking or breaking. Make sure to pick a length you’re comfortable managing.
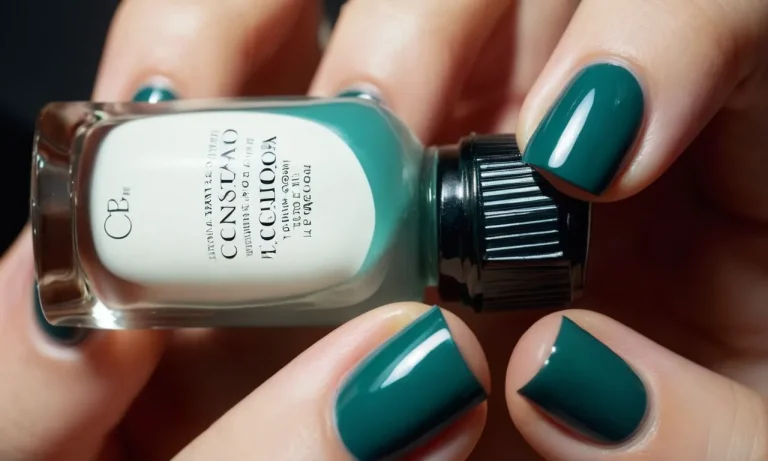
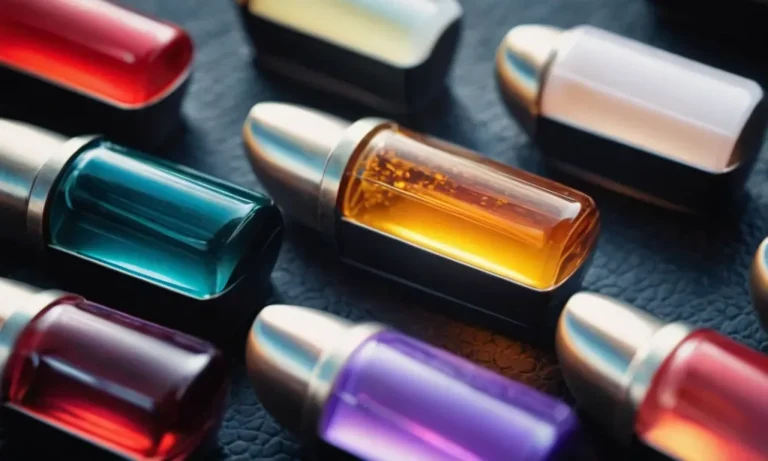
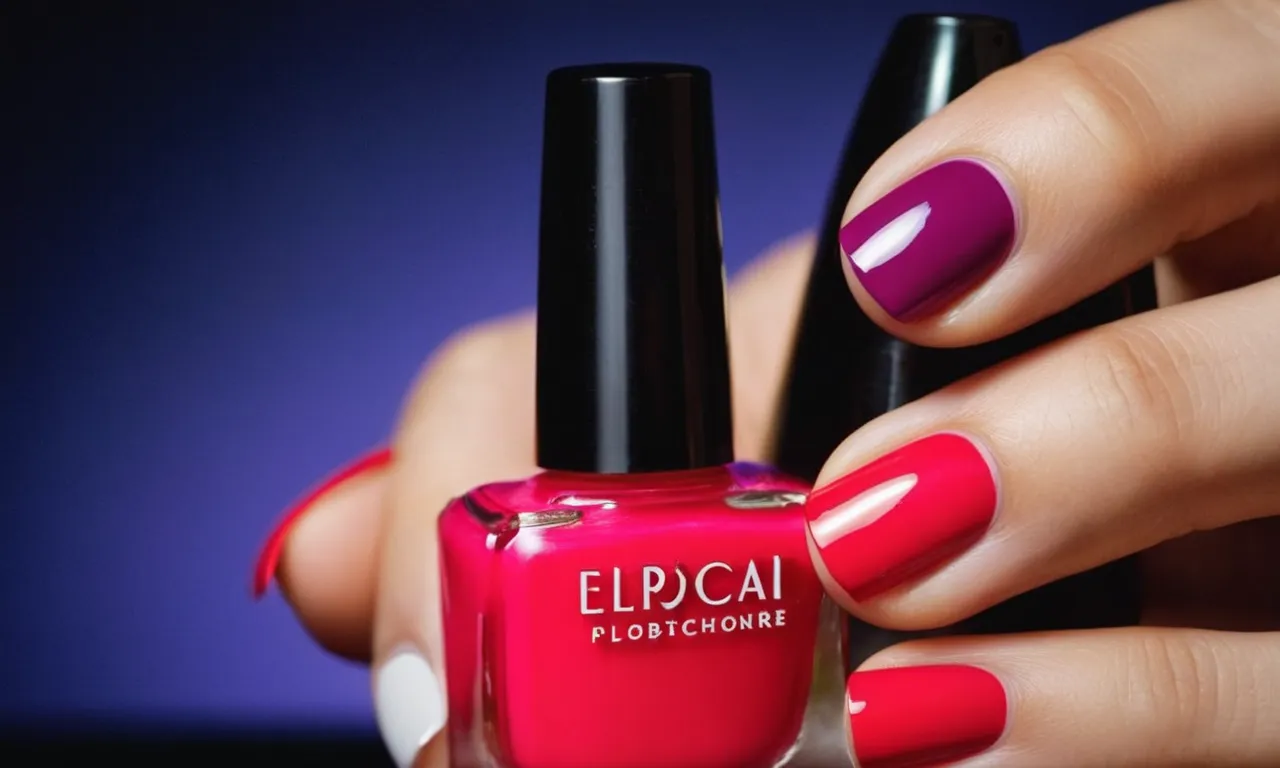
Color
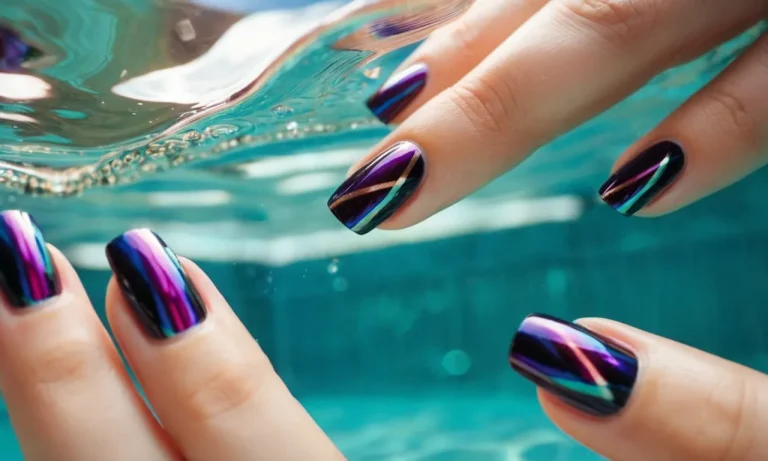
The options for acrylic nail colors and designs are endless! From bright and daring neon hues, to classic nudes and patterns, acrylic manicures allow you to take nail art to the next level. Some popular choices include:
- French tips: White polish on nail tips with nude base color
- Nude shades: Mix of pink, peach, and brown hues
- Bright solids: Electric pink, blue, green – make a statement!
- Metallic accents: Iridescent gold, chrome, rose gold overlays
- Art designs: Floral patterns, geometric shapes, ombré tones
The American Academy of Dermatology notes that dark nail polish shades do show chipping quicker than lighter colors. So those bright blue or vampy blacks may require more frequent touch ups. Talk with your nail tech about finding acrylic colors and designs that best match your personal style and maintenance preferences.
Prepare Reference Photos
One of the most important steps before getting acrylic nails is to prepare reference photos to show your nail technician. Having a clear vision of the style, shape, and colors you want will ensure you get the perfect manicure. Here are some tips for preparing great reference photos:
Find Photos that Match Your Nail Shape Preference
Look for photos of hand models that have a similar nail shape to yours – square, oval, almond, coffin, etc. This will help your nail tech sculpt the acrylic to properly suit your natural nails. Pull up photos on Pinterest or Instagram and save ones with your ideal nail shape.
Pick Your Preferred Length
Acrylic nails can be created in any length, from a subtle extension to super long stilettos. Find reference photos that match the length you want – short, medium or long. Measure your own nails to get an idea of your ideal length in millimeters or inches. Photos help communicate this clearly.
Choose a Color Scheme
Browse nail art photos and select images with your desired colors and patterns. Cool tones, warm tones, neutrals, French tips, ombré, marble – options are endless! Pick 1-2 photos with your top color choices. Don’t be afraid to show examples with creative designs if you want to get adventurous.
Look for Inspo for Special Effects
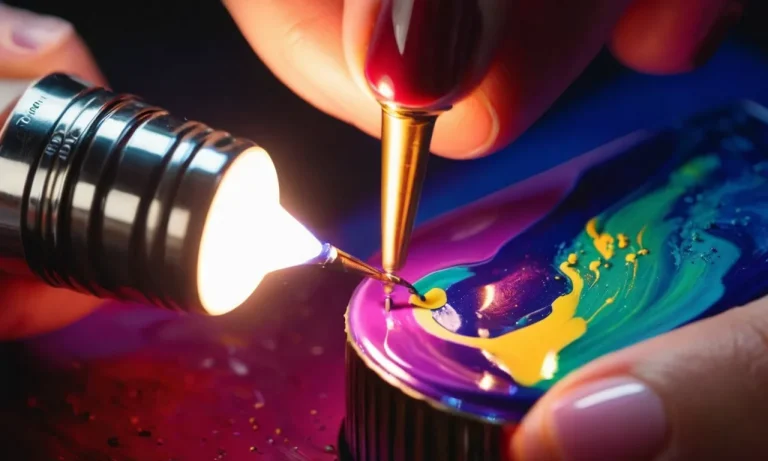
If you want to add some pizzazz with glitter, rhinestones, chrome powder or other special effects, look for inspiration photos. Many nail techs have access to an array of special effect products to make your mani unique. Show examples of any dazzling details you want to include.
Select Images that Match Your Lifestyle
Consider your daily activities and look for acrylic nail photos that will match your lifestyle. Shorter, square nails may be better if you use your hands frequently. Those with office jobs may prefer longer almond nails. The shape and length should complement your routine.
Save Photos on Your Phone
Once you’ve gathered a few good reference images, save them to your phone. Having them easily accessible to show your nail tech ensures you get exactly what you want. Explain aspects you like about each photo. They’ll combine your inspiration to create the perfect acrylic manicure!
Request Any Nail Art or Embellishments
Nail Art
Getting acrylic nails creates a perfect canvas to show off your unique style. Discuss with your nail technician any nail art or designs you may want to add. Some popular nail art options to consider include:
- Glitter or shimmer – A dazzling finish that adds flair to any nail look.
- Flowers or floral patterns – Classic designs that are feminine and chic.
- Polka dots – A retro and fun pattern that’s endlessly customizable.
- Ombre or color gradients – Blend multiple shades for a stylish ombre effect.
- Striping tape – Crisp lines and geometric shapes for graphic nail art.
- Jewels or rhinestones – Elegant embellishments that dazzle.
The options for nail art are endless – get creative with your nail tech! Many salons will have galleries of design options or can help you customize something unique. Some more advanced nail art like hand-painted designs or portraits may have an additional charge.
Be sure to decide on any nail art you want when you first sit down, so the technician can plan the design and timing accordingly.
Embellishments Like Rhinestones or Charms
In addition to nail art, you can also embellish your new acrylic nails with sparkly or novelty embellishments. Some ideas include:
- Rhinestones – Add megawatt sparkle by gluing flat or 3D rhinestones on one or more nails. Pick a theme color or mix shapes and sizes.
- Glitter – Dip powder colors with glitter or confetti give a festive, party vibe.
- Foil – Foil nail stickers or metallic foils underneath clear acrylics create dynamic effects.
- Charms – Tiny charms like bows, hearts or initials show off your personality.
- Gems – Colored flat-back gems in shapes like triangles, circles or squares add flair.
Just like with nail art, be sure to communicate any embellishments you want to your nail tech early on. That way they can prepare supplies and plan timing. Most salons charge a small additional fee for add-ons like rhinestones, usually ranging $1-$5 per nail.
But it’s worth it for that extra pop of pizzazz!
With the right nail art and sparkly embellishments, your new acrylics will be dressed to impress! Don’t be afraid to get creative and show off your unique style – the possibilities are endless for making your nails shine.
Ask About Nail Care and Prep
Nail Prep Before Your Appointment
Proper nail prep before your acrylic nail appointment is crucial for getting the best results. First, make sure to remove any old nail polish or acrylics – come with clean nails. Use a nail file to gently shape your nails into a uniform length and shape.
Soak your nails in warm water mixed with soap or salt to soften your cuticles and remove oils. Gently push back and trim your cuticles so they don’t get in the way during your service. Use a nail buffer block to smooth and shine the surface of your nails – this allows the acrylic or gel polish to adhere better.
You may also want to talk to your technician ahead of time if you have any allergies or sensitivities. For example, some places use acrylic powder containing methyl methacrylate (MMA), which some clients are allergic to. Make sure to speak up about any concerns beforehand.
Post-Appointment Nail Care
Caring properly for your new acrylic or polished nails after your appointment is key for keeping them looking fabulous. Be very gentle with your nails for the first 24 hours as they fully harden and cure. Avoid using your nails as tools and scraping against hard surfaces.
Wear gloves when doing household cleaning or chores involving chemicals, which can weaken acrylic nails. Use cuticle oil daily to condition the skin around your nails.
When your regrowth appears, resist the urge to peel or pick at your nails. Book a fill appointment when your regrowth reaches about 1/4 inch to prevent lifting and breakage. Between appointments, file gently if you notice small cracks or chips forming.
Remove all nail polish before fills so your technician can rough up the surface for better adhesion.
Communicate Clearly With Your Nail Tech
Getting acrylic nails requires clear communication between you and your nail technician. Here are some tips for effectively conveying what you want for your nails:
Show Reference Photos
Bring in photos of nail designs or shapes that appeal to you. This gives your tech a good visual guide for the length, shape, and style you’re hoping for. You can find inspiration from nail art instagram accounts, Pinterest boards, or even photos of your own nails from the past.
Be Specific About Length and Shape
Tell your nail tech exactly how long you want your nails to be or use your hands to demonstrate the desired length. Also specify if you want square, round, almond, or coffin shaped nails. These details make a big difference in the final look.
Ask About Maintenance
Consult with your nail tech about properly caring for your new acrylics and how often to come for fill-ins. Improper maintenance can lead to lifting, cracking or other damage. Getting professional guidance sets you up for nail success.
Give Feedback During Your Appointment
If the length, shape or design is not what you expected, speak up right away while your nails are still drying. This gives your tech a chance to adjust and ensure you leave happy with your fresh manicure. Don’t be shy about asking for tweaks or changes.
Clear, considerate communication allows you and your nail professional to create fabulous looking acrylics tailored to your personal taste. Don’t hesitate to ask questions or provide input – it will lead to stunning nails you can’t wait to show off!
Conclusion
With this guide, you now have all the tools you need to ask for the acrylic nails of your dreams. By deciding on your nail goals, preparing reference photos, and clearly communicating with your nail tech, you can walk out of your appointment with a gorgeous new set.
Knowing what to ask for ahead of time will ensure you get exactly the acrylic nails you want. So next time you book a nail appointment, keep these tips in mind – happy nail day!