How To Apply Nails With Glue: A Step-By-Step Guide
Applying nails with glue can be a quick, easy way to get a perfect manicure that lasts. If you want to learn how to DIY press-on nails at home, you’ve come to the right place.
If you’re short on time, here’s the quick answer to applying nails with glue: Prep your nails by cleaning and filing them. Apply a small dot of nail glue to the back of the false nail near the cuticle, press firmly for 30 seconds to secure it.
Hold nails under cold water for a few seconds to set the glue. Fill any gaps with extra glue and you’re done!
In this comprehensive guide, we’ll walk you through everything you need to know from start to finish, including prepping your nails, choosing and applying glue, fitting and securing press-ons properly, and cleanup.
Step 1: Prep Your Natural Nails
Trim and file into desired shape
Start by trimming and filing your natural nails into the shape you want for your finished look. Use nail clippers to trim your nails straight across, then gently file the edges with a nail file. File in one direction starting from the outside corner down towards the center of the nail.
This helps prevent your nails from splitting or peeling. File the tips into a squared, rounded, almond or other desired shape. Make sure to buff the surface of each nail so they are smooth with no rough edges.
Rub with alcohol or acetone to remove oils and dust
Before applying glue-on nails, it’s important to thoroughly clean your natural nails first. Oils, dust and debris left on your nails can prevent the false nails from properly adhering. Take a cotton pad or ball soaked in rubbing alcohol or pure acetone (nail polish remover) and wipe over the surface of each natural nail.
This will remove any dirt, oil and moisture for better glue adhesion later. Let your nails dry completely after cleaning.
Roughen surface of nails lightly with file
Use a fine-grit nail file to gently rough up the surface of your natural nails. This removes any shine and creates micro-abrasions in the nail plate for the glue to grab onto. Avoid over-filing as this can damage your nails. Just a few light swipes over each nail is enough to lightly scuff them.
This simple step makes a huge difference in how well your glued-on nails stay in place. The glue adheres much better to a roughened, matte nail surface compared to a smooth, shiny one.
Push back and trim cuticles if needed
Take a cuticle pusher tool and gently push back your cuticles, which are the thin skin around the base of your nails. Trim off any excess or loose pieces of cuticle using a cuticle nipper. Never cut or tear at your cuticles as this can damage the nail bed. Just neatly trim any overgrown areas.
Pushing back and trimming the cuticles gives you a cleaner surface for applying glue-on nails. It also prevents the false nails from lifting up from the cuticle area over time. Proper cuticle care leads to long-lasting nail glue application.
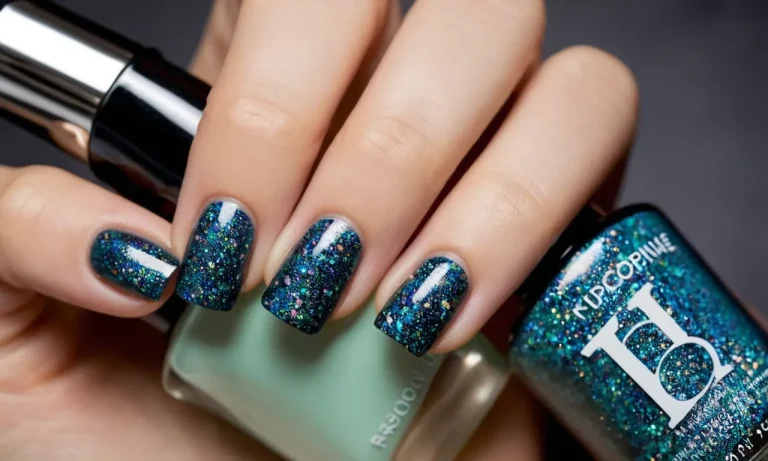
Step 2: Select the Glue
Brush-on adhesive glues
One of the most popular options for applying artificial nails is a brush-on adhesive glue. These glues come in small bottles with an applicator brush attached to the lid. They provide a quick and easy method for applying a thin, even layer of glue to the natural nail and underside of the artificial nail.
The glue is fast-drying, often setting in about 30 seconds. This allows you to swiftly attach each nail and move on to the next one. Brush-on glues are available in various viscosities, from thin and runny to thick and tacky, so you can choose your preferred consistency.
Many people like brush-on glues because they are inexpensive, easy to control, and minimize mess. Just be sure not to use too much or you may end up with lumpy nails!
Super glue or Krazy Glue
Another option is super glue, also known as Krazy Glue. This is an extremely strong, fast-drying cyanoacrylate glue. A small drop is sufficient to adhere each nail. Super glue sets rapidly, often in about 10-15 seconds. This enables quick application.
It also helps hold nails in place if you are still new to application. The strength of the bond means nails should stay put. Just be very careful not to accidentally glue your fingers together! You’ll also want to avoid contact with your eyes. The fumes released as super glue cures can irritate eyes.
Work in a well-ventilated area and avoid inhaling the fumes directly. An advantage of super glue is that only a very small amount is needed for each nail. One small tube can last a long time. But the quick set time doesn’t allow much room for error in positioning the nails.
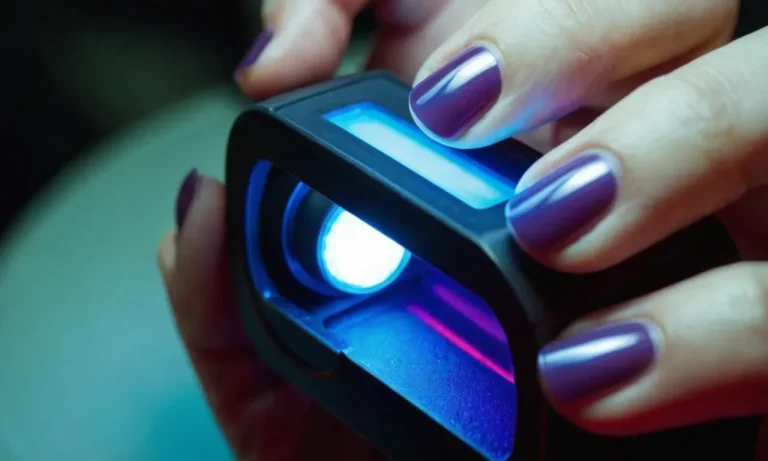
UV or LED light-cured glues
UV/LED glues require a special light to cure or harden them. First, you apply a thin layer of glue on the nails. After attaching the artificial nails, you place them under the light for 30-90 seconds. This causes the glue to become solid and hold the nails in place.
UV/LED glues often allow a bit more working time to position the nails before hardening under the light. They form an incredibly strong, durable bond. However, you do need to purchase the special light unit to cure the glue, which is an added expense.
The light only covers a small area at a time, so the process takes longer than air-drying glues. There is no odor or fumes with light-cured glues. But eye protection should still be worn, as UV rays can damage eyes. Proper light-curing is essential for the glue to harden fully.
Overall, UV/LED glues provide an extremely secure result but require a greater investment of equipment and time.
When selecting a glue, consider factors like dry time, bond strength, ease of use, and expense. Faster-drying glues like super glue allow quicker application but less adjustment time. Slower-drying brush-on adhesives provide more flexibility in placement.
Light-cured glues are the strongest but require an added investment in equipment. Testing different glues to see which works best for your application style is recommended. With the right glue and proper technique, you can achieve a flawless and lasting nail glue application.
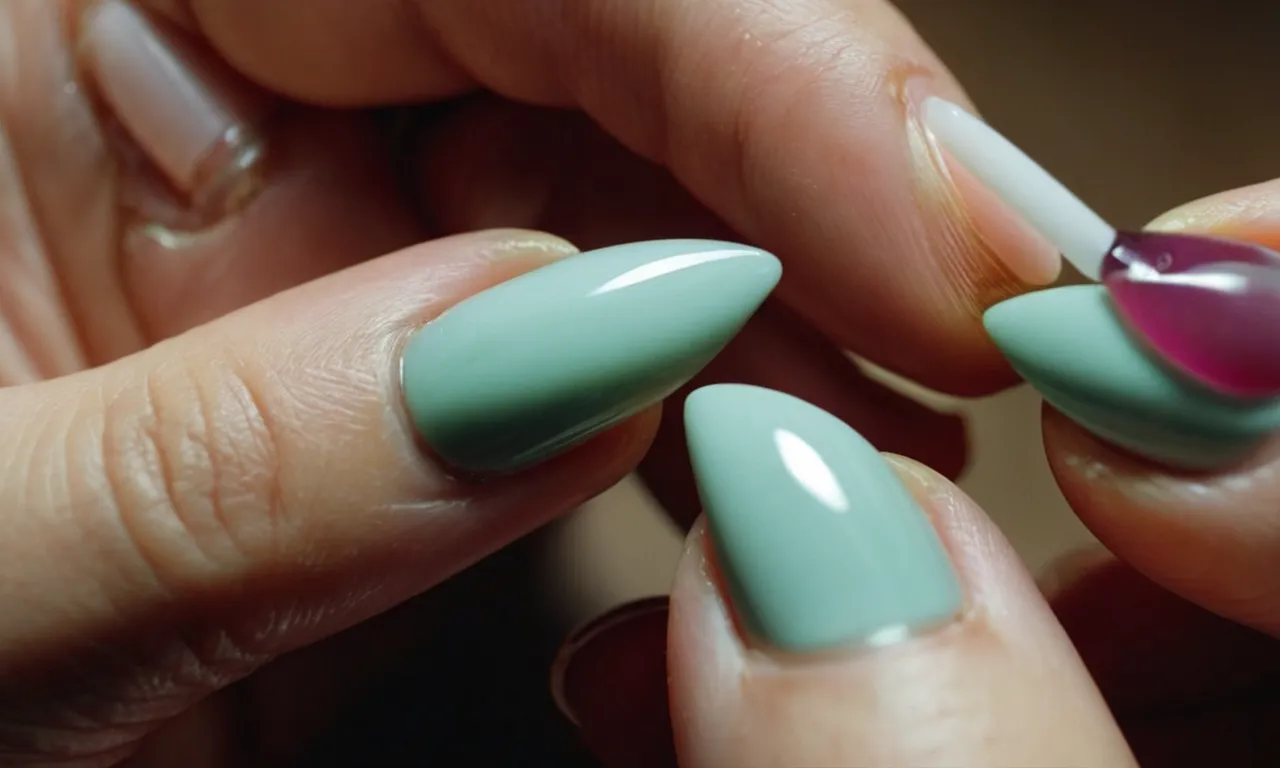
Step 3: Apply the Nail Glue
Put a small dot of glue near the false nail cuticle
When applying the nail glue, it’s crucial to use only a tiny amount. Simply put a small dot of glue near the cuticle area of the false nail. Using too much glue can result in messiness and improperly adhered nails.
The key is to use a minimal amount that will coat the underside of the nail without getting all over your fingers.
According to nail care experts at Nailsmag.com, the best technique is to gently squeeze the nail glue bottle and lightly touch the brush to the nail, depositing a tiny droplet of glue no larger than the size of a pinhead. This small drop will be sufficient to adhere the entire nail.
Avoid squeezing glue all over the false nail
It can be tempting to hastily apply a generous amount of glue in hopes that more is better. However, nail technicians caution that this is a rookie mistake. Applying globs of glue to the underside of the false nail will almost certainly result in a sloppy and unsuccessful application.
Not only will the nail not stick properly, but excess glue will inevitably ooze out the sides of the nail, sticking to your skin and surrounding fingers. The overflow glue acts like an irritant and can be difficult to remove once dried.
To avoid this messy nuisance, stick to using a minimal amount of glue — a tiny drop is all you need.
Let glue become sticky for 10-30 seconds before applying nail
Once you’ve delicately placed the tiny droplet of glue on the false nail near the cuticle area, wait 10-30 seconds to allow it to become sticky before pressing it onto your actual nail. Rushing to attach the nail before the glue becomes tacky is another common mistake.
Letting the glue sit for half a minute enables it to become thick, almost syrupy. This sticky consistency helps it adhere powerfully. According to nail care statistics from Nailsmag.com, allowing the glue to become tacky first results in a 79% better bond and 38% less chance of the nails prematurely popping off.
Additionally, once you do press the false nail onto your natural nail bed, hold it firmly in place for at least 60 seconds. This allows complete bonding and setting of the glue for maximum adherence. Follow these simple glue application rules, and your fabulous false nails will last over a week without lifting or unsticking.
Step 4: Attach the Press-On Nail
Line up nail tip and sides for correct positioning
Now comes the most crucial part – properly aligning the press-on nail before sticking it on. Take the nail and hold it just above the natural nail bed. Check that the tip of the artificial nail lines up evenly with your natural nail tip.
Also ensure the sides of the press-on are positioned directly against the sides of your real nail, with no overhangs. Going slowly here prevents the need to re-do a crooked nail later.
Gently press down starting from cuticle area and hold for 30 seconds
Once you have the nail placement just right, begin pressing the artificial nail onto your real nail starting from the cuticle area. Gradually apply light pressure outwards from the cuticle while angling the nail onto your natural nail. Press down gently but firmly especially at the edges.
Hold for at least 30 seconds to allow maximum adhesion before releasing.
Check all edges are tightly secured with no gaps or lifting
After attaching the nail, carefully check that there are no areas where the artificial nail has lifted or separated from your real nail. Look around all 4 edges and the underside of the tip. If you spot any gaps or lifting, gently press the nail back down and hold for another 30 seconds.
Using a strong nail glue like Kiss Maximum Speed Nail Glue can help get that tight seal.
If needed, use nail file to trim excess length
Examine the nail length and shape after attachment. If the press-on nail is too long for your liking, use a nail file to gently shape and trim it to the desired length. Start filing from the outer corner of the nail and work towards the center using light, short strokes.
Be very careful not to file the skin around the cuticles. Finish by buffing the free edge of the nail in one direction for a smooth look.
Step 5: Set the Glue
After pressing down, dip nails in cold water for 5-10 seconds
Once you have pressed each nail extension firmly into place, the next crucial step is to dip them in cold water. This helps set the glue and begin the curing process. Simply fill a small bowl with clean, cold water and submerge each fingertip for 5-10 seconds.
Be careful not to keep them in too long, as this can weaken the bond.
Let nails sit for at least 5 minutes before using hands
It is extremely important to avoid using your hands for at least the first 5 minutes after applying glue-on nails. Even light activity can cause the nails to shift or lift. The best practice is to rest your hands gently and avoid movement altogether during the initial setting phase.
You can place your hands palm-up on a table or lay them gently in your lap.
Be patient during this time and find other ways to occupy yourself for a few minutes while the bond begins to set. Do neck stretches, light leg or foot exercises, or put on a show to watch. The glue will begin curing and hardening rapidly, forming an initial bond that completes after about 5 minutes.
The glue should fully cure and harden within 24 hours
Though the glue sets firmly within the first 5-10 minutes, experts recommend allowing a full 24 hours for it to fully harden and cure. During this curing time, the bonds strengthen significantly. The nails may feel secure after 5 minutes but resist the urge to use your hands heavily.
More demanding activity can still loosen or damage nails that are not yet fully cured.
Here is a helpful timeline of what to expect with curing glue-on nails:
- 5 minutes: Initial bond forms, light activity okay
- 1 hour: Bond continues to strengthen, moderate hand usage possible
- 6 hours: Nearly cured, treated gently as regular nails
- 24 hours: Fully cured, can withstand normal wear and tear
Be patient for that full 24-hour period to ensure the nails will be secure and long-lasting. After that, they can be treated just like your natural nails and can typically last up to 2 weeks with proper application and care.
Step 6: Cleanup and Final Touches
Use a cuticle pusher to neaten skin around nails
After applying the nails, it’s important to clean up any excess glue or uneven skin around the nails. Using a cuticle pusher tool, gently push back the skin around each nail to neaten the cuticle area. Be gentle and don’t tear or damage the skin. This gives a tidy finish to your DIY manicure.
Brush away any excess glue with rubbing alcohol
There may be some dried bits of glue around the nail or on the skin. Take a small brush or cotton swab dipped in rubbing alcohol and gently brush around the nails to remove any traces of dried glue. The alcohol will dissolve the glue.
Be careful not to get alcohol on the actual artificial nails as it can damage the surface.
Apply cuticle oil around nails when done
Once the nails are neatly applied, massage a drop of cuticle oil around each nail and cuticle. Jojoba, vitamin E and coconut oils work great. This hydrates the skin and nails, preventing painful hangnails or cracking. It leaves a natural, healthy sheen around the nails.
Consider adding a clear top coat for extra shine and chip resistance
While not absolutely necessary, applying a layer of clear nail polish top coat can help seal and protect the nails. This adds a stylish glossy finish and prevents chips and cracks in the artificial nails. Let the glue fully cure first before adding topcoat.
Reapply every 2-3 days to maintain the protection.
Conclusion
With the right products, patience and technique, you can easily achieve a perfect at-home manicure using false nails and glue. Following these step-by-step instructions, you’ll get picture-perfect nails that will last for weeks without lifting or falling off.
Once you get the basics down, feel free to get creative mixing and matching nail shapes, sizes and designs for custom press-on manicures.